Hello
creative souls!
I am Jenny Grant, and I am so excited to be
here and share
my grungy
world of mixed media art with you!
One of the pitfalls when
working with mixed media is to buy loads of art supplies and
then not use them. Trust me, there are so many fun things
to buy, BUT you can get a long way with just
a few supplies,
everyday items that you can use as tools and, of course, plenty of scraps. I
always think about who I buy my art supplies from. I want my hard-earned money
to not only give me good products but that the money ends up with someone that
I want to give them to. This is the reason why I buy my stencils from StencilGirl®.
Here is the list of the supplies
that I use in this video:
•
A canvas board, size 8”x8” (20x20cm)
•
Acrylic
modeling
paste. I use Liquitex.
•
Acrylic Paint I use white, Black, Van Dyke Brown and Light Gold.
•
Acrylic Ink I use Oxide Yellow, Deep Violet and Sepia.
•
A Palette
knife
•
Sand paper
•
A couple
of paint brushes
•
StencilGirl® Loopy Leafy Vines Background
• Water spray
bottle, old plastic lids, a makeup sponge and a rag
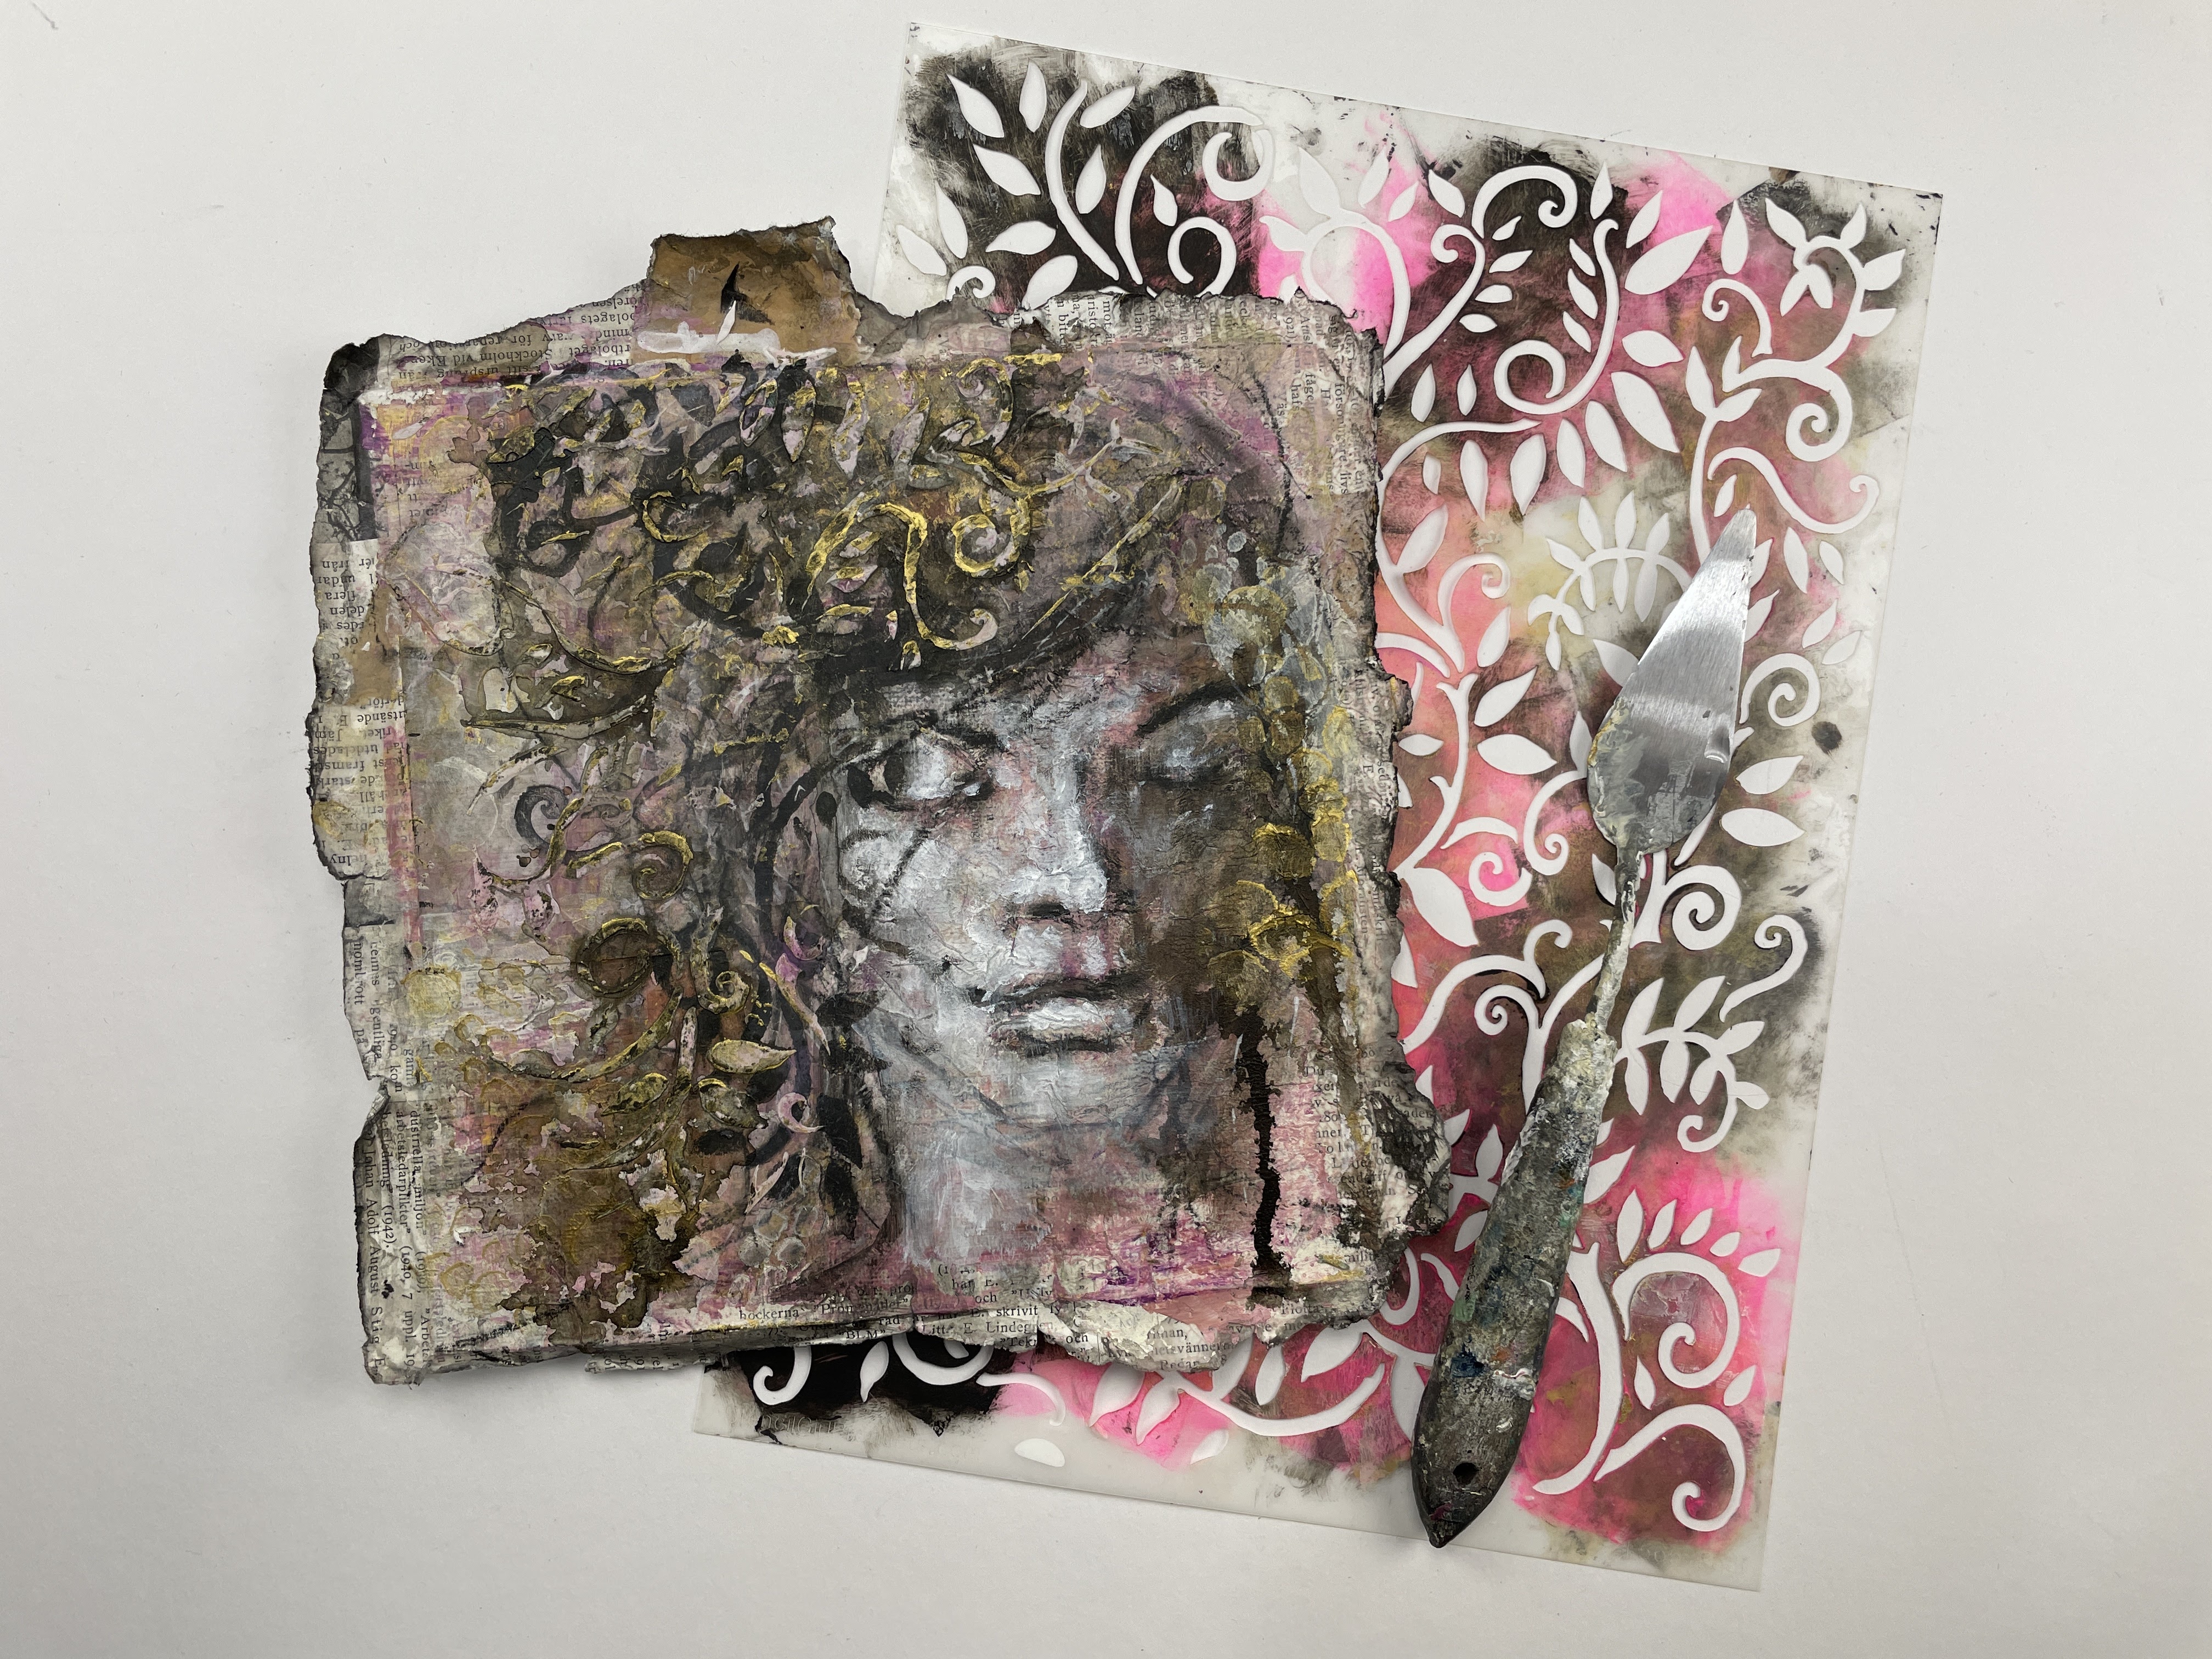
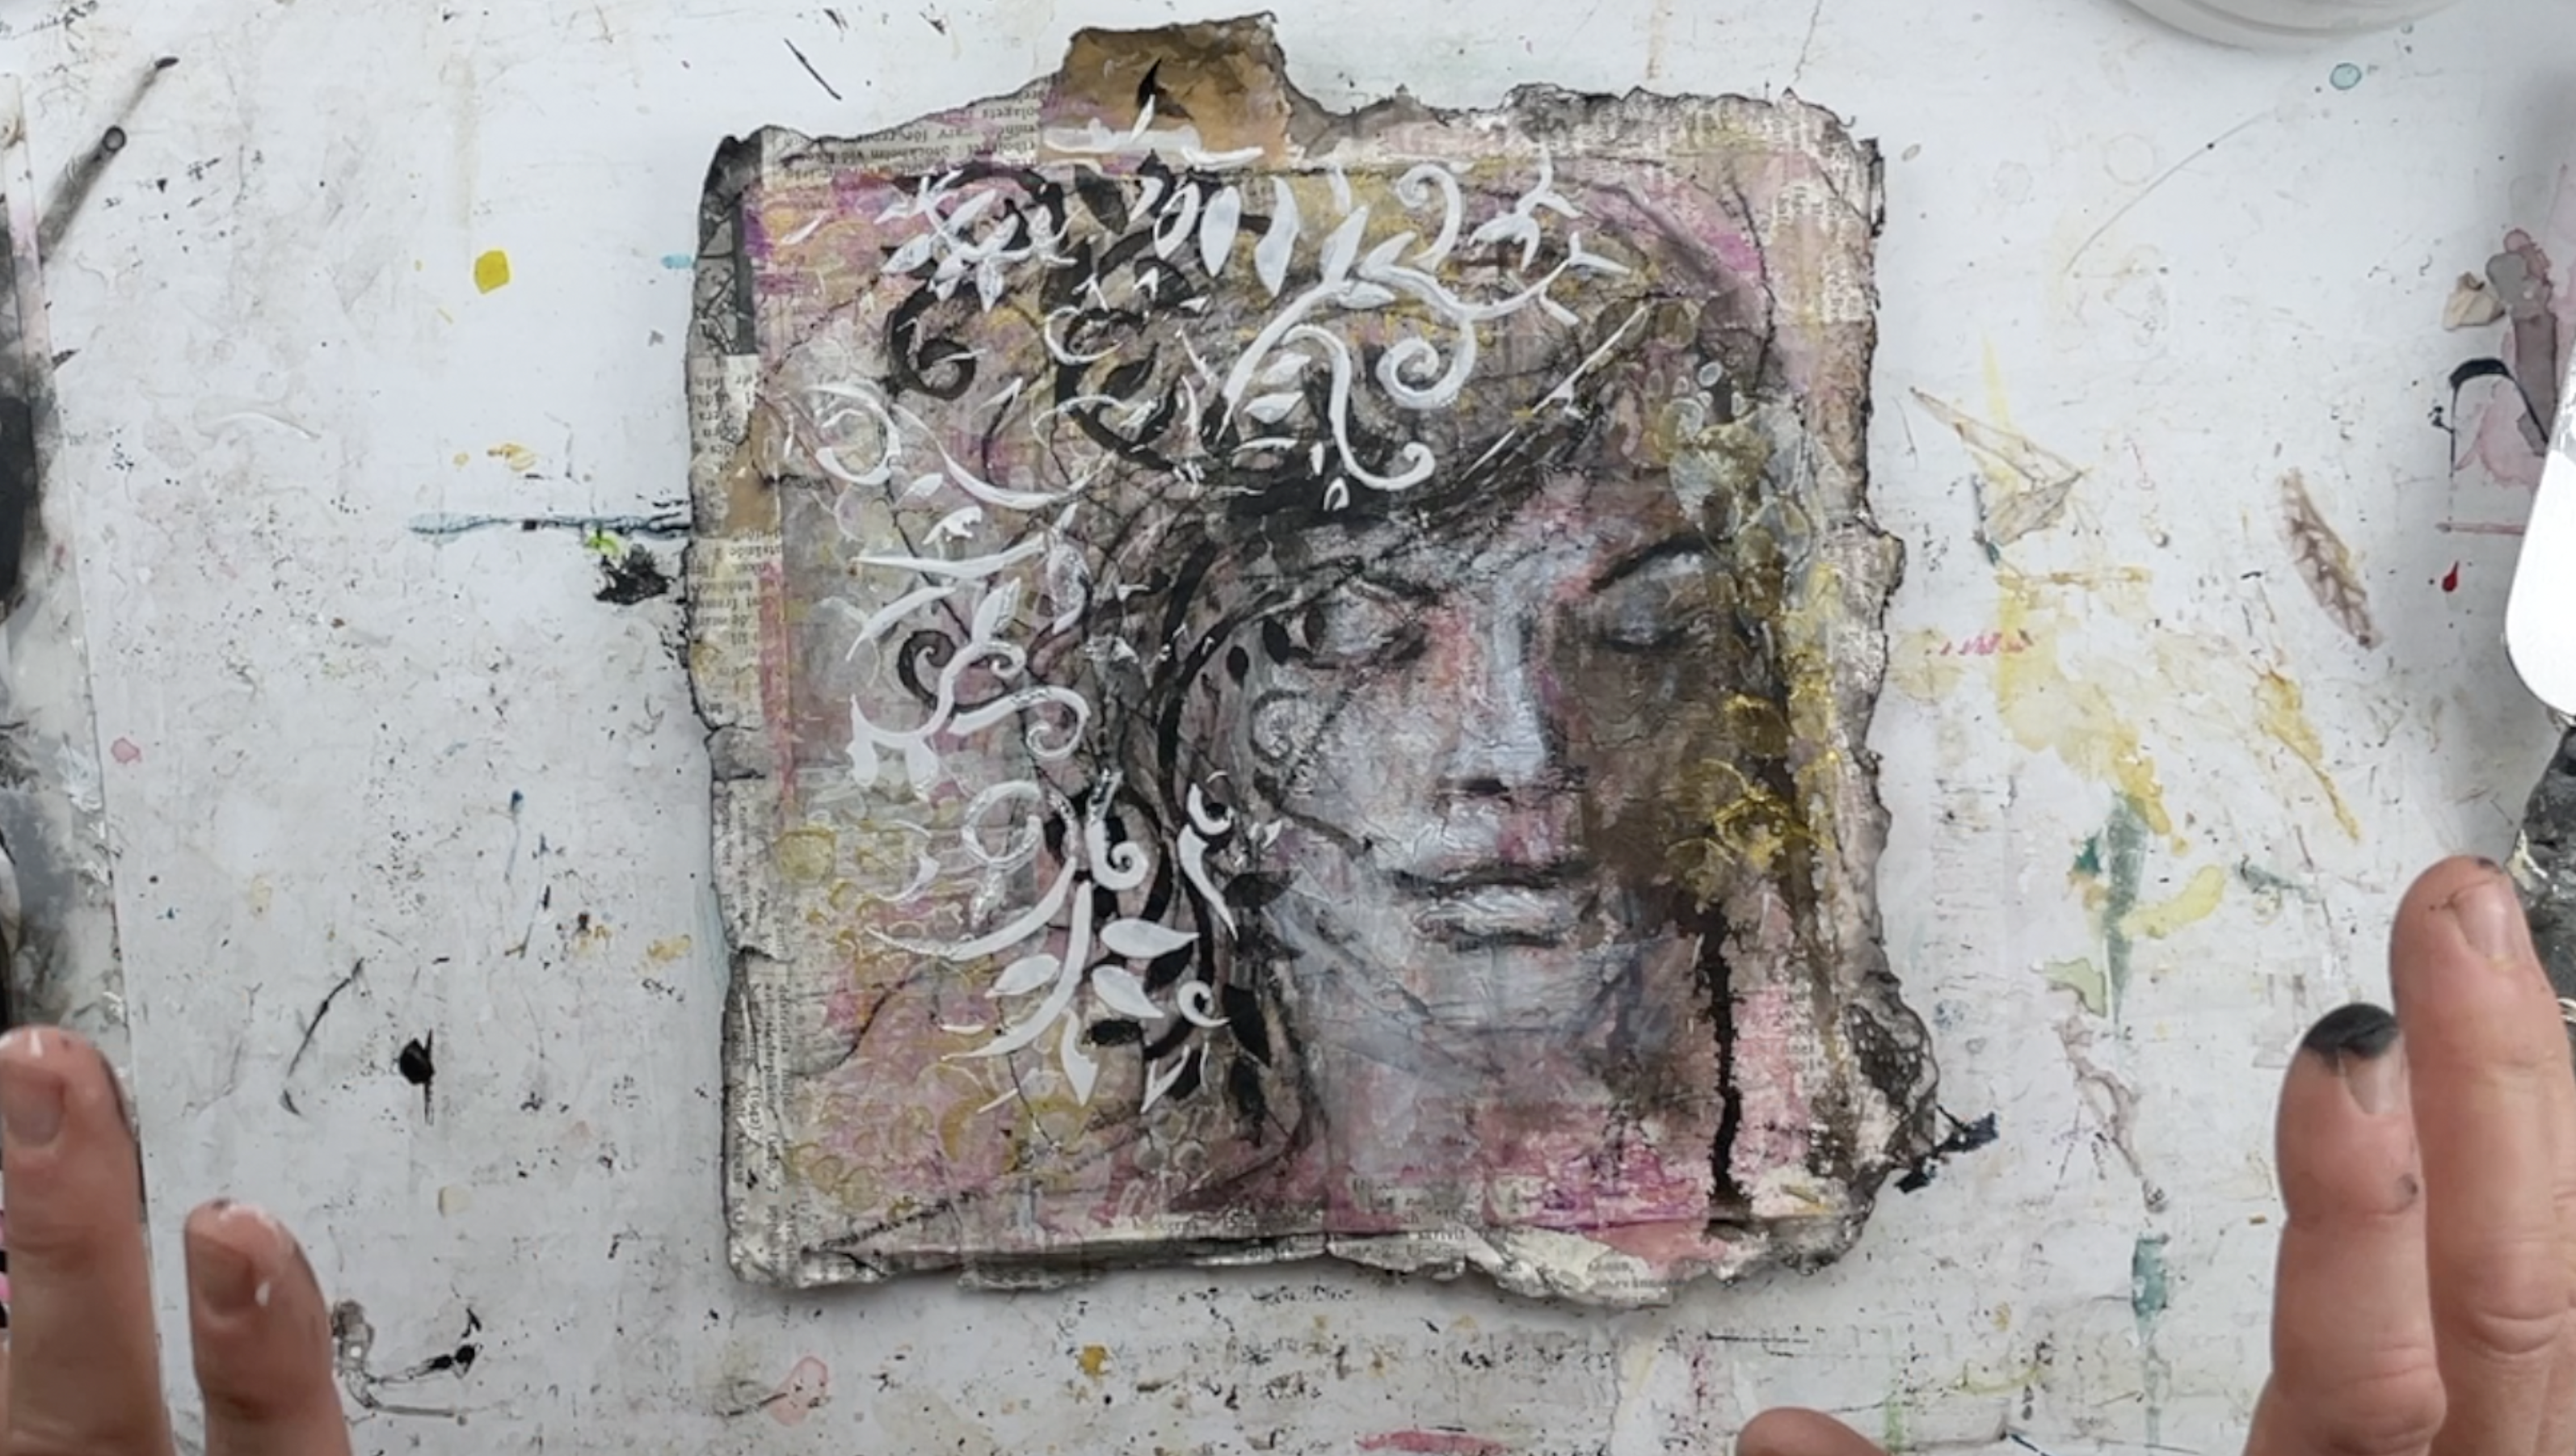
I start with adding some dark contrasting marks with Acrylic Paint and the StencilGirl® stencil. These marks will show in the background of my next layers and give a great depth to my design. I am using a mix of Van Dyke Brown and Black.

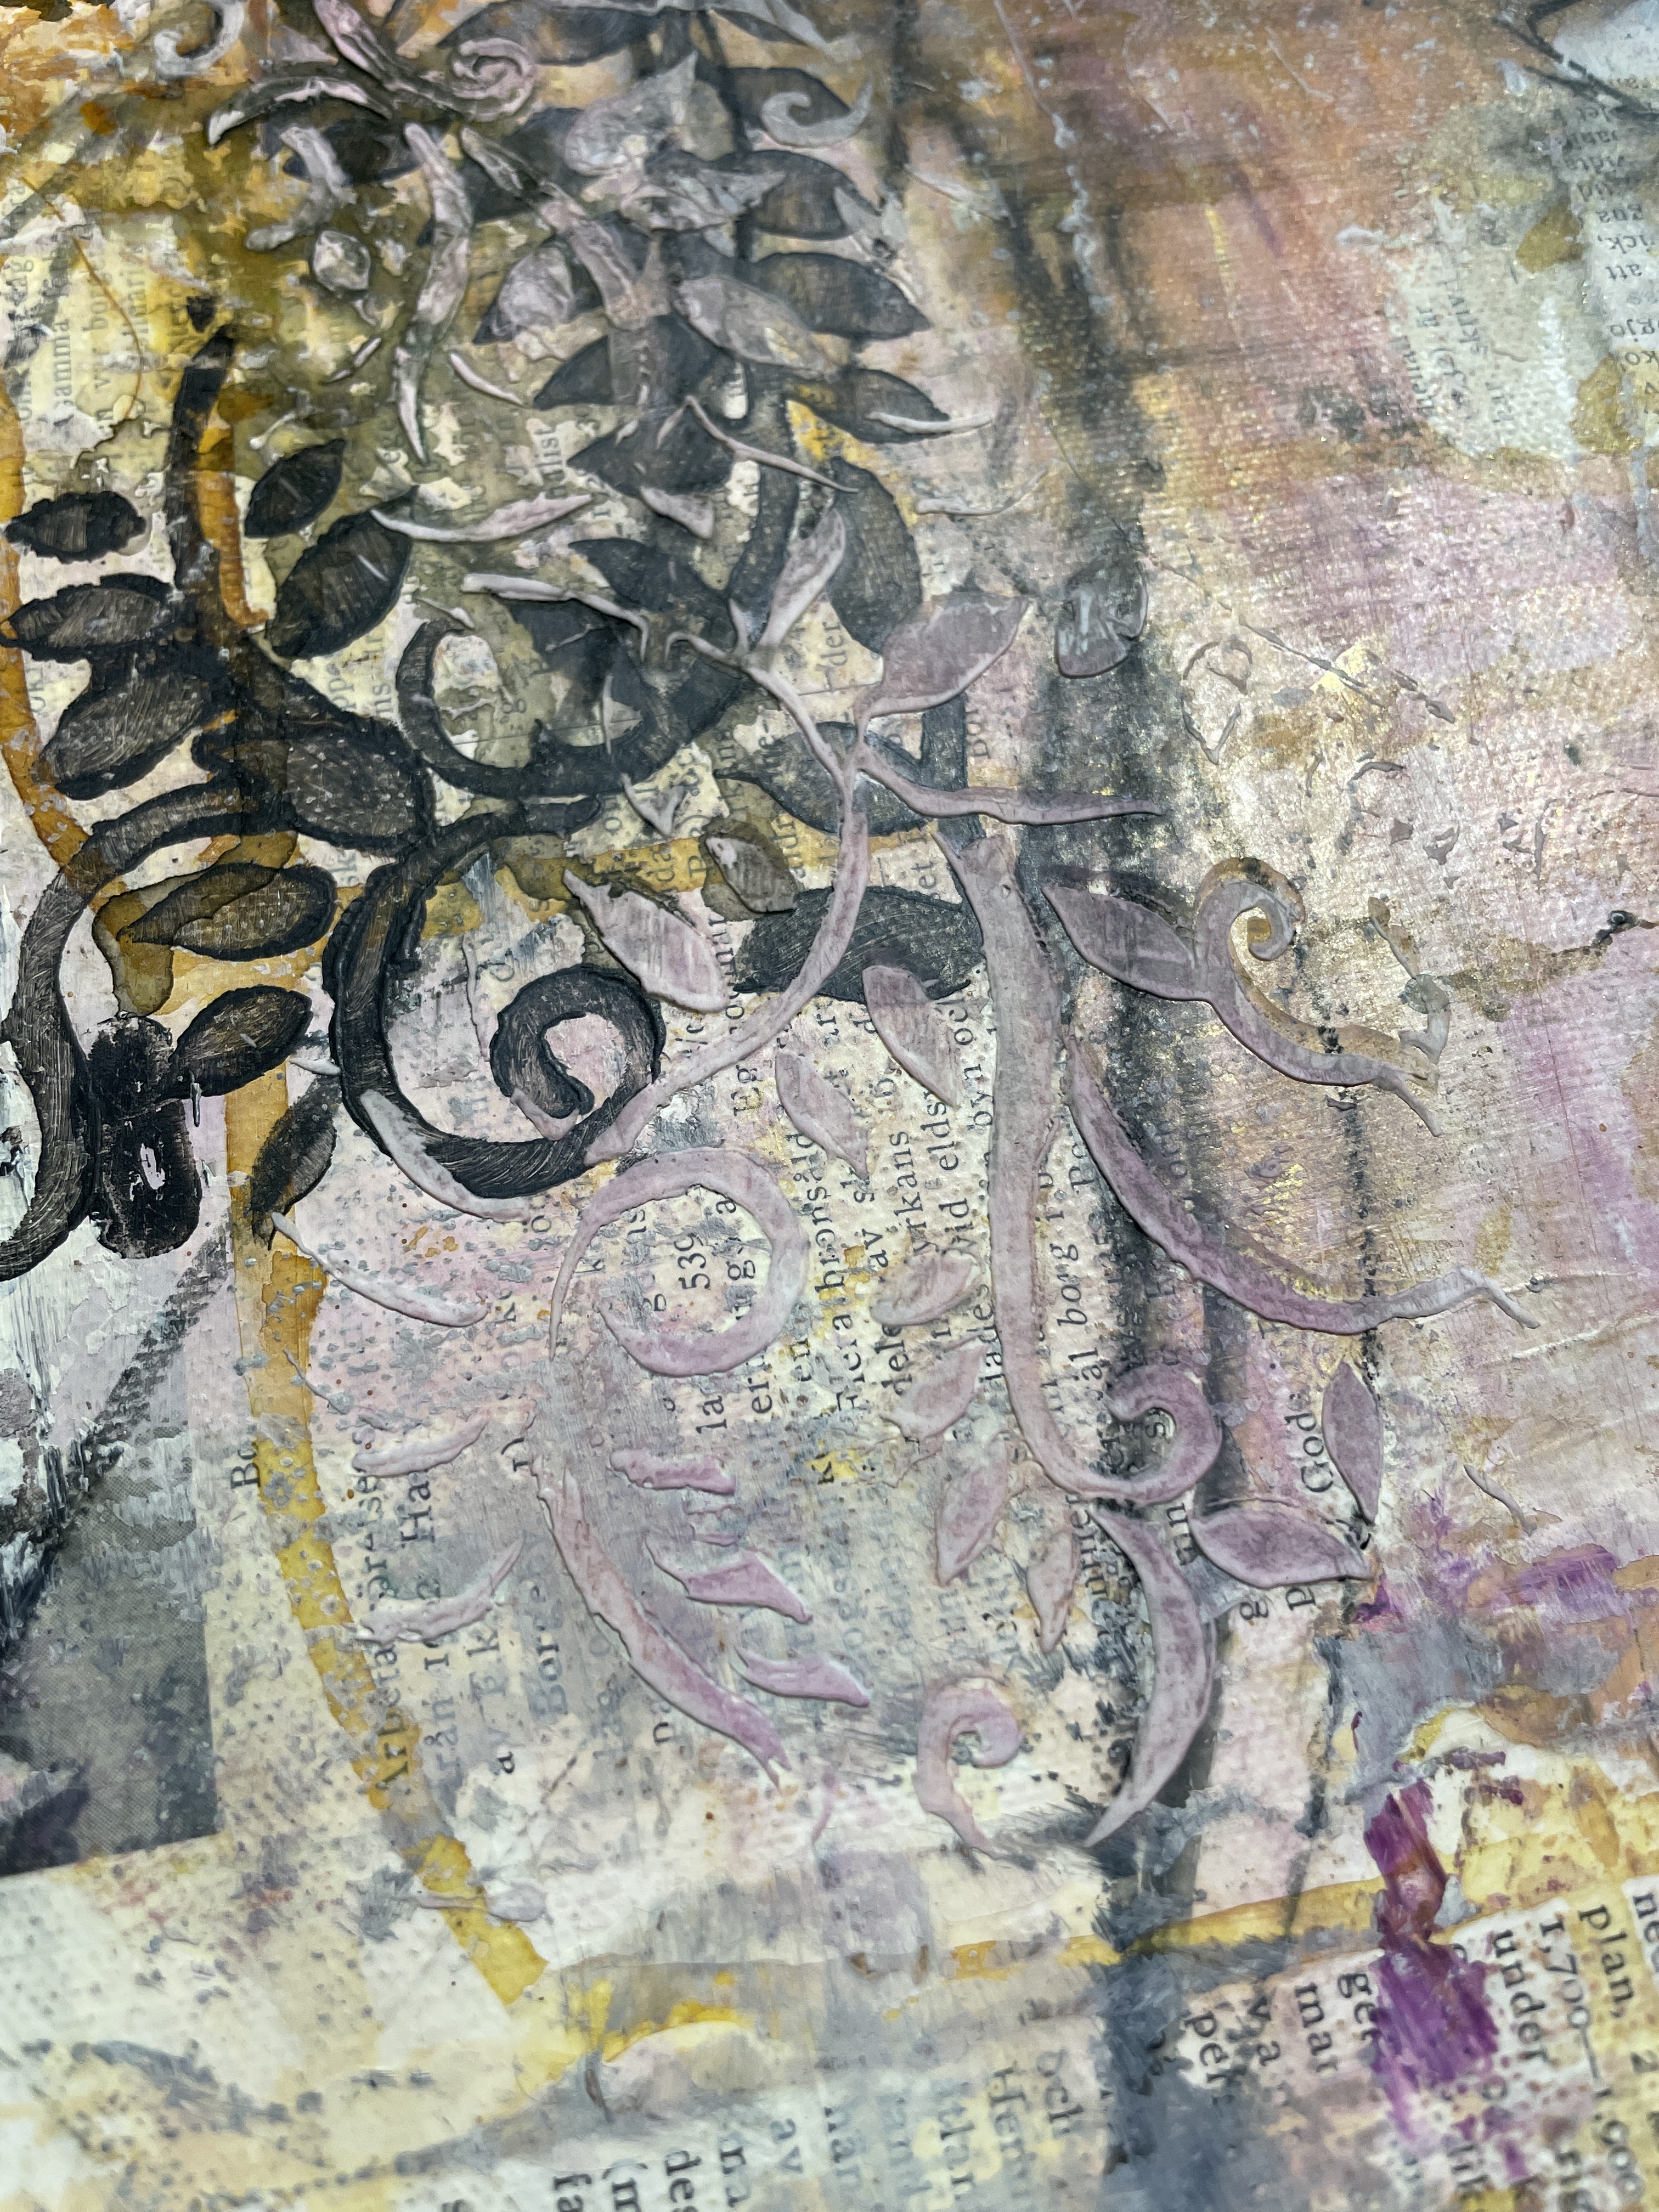
In this step I add modeling paste through my stencil. A thin layer put on with the help of my palette knife.
When the modeling paste is totally dry, I sand it down to a very smooth surface. This is recommended to do outside. This step is needed to achieve the effect I am after in my last step. Make sure that all dust is brushed off before next step.

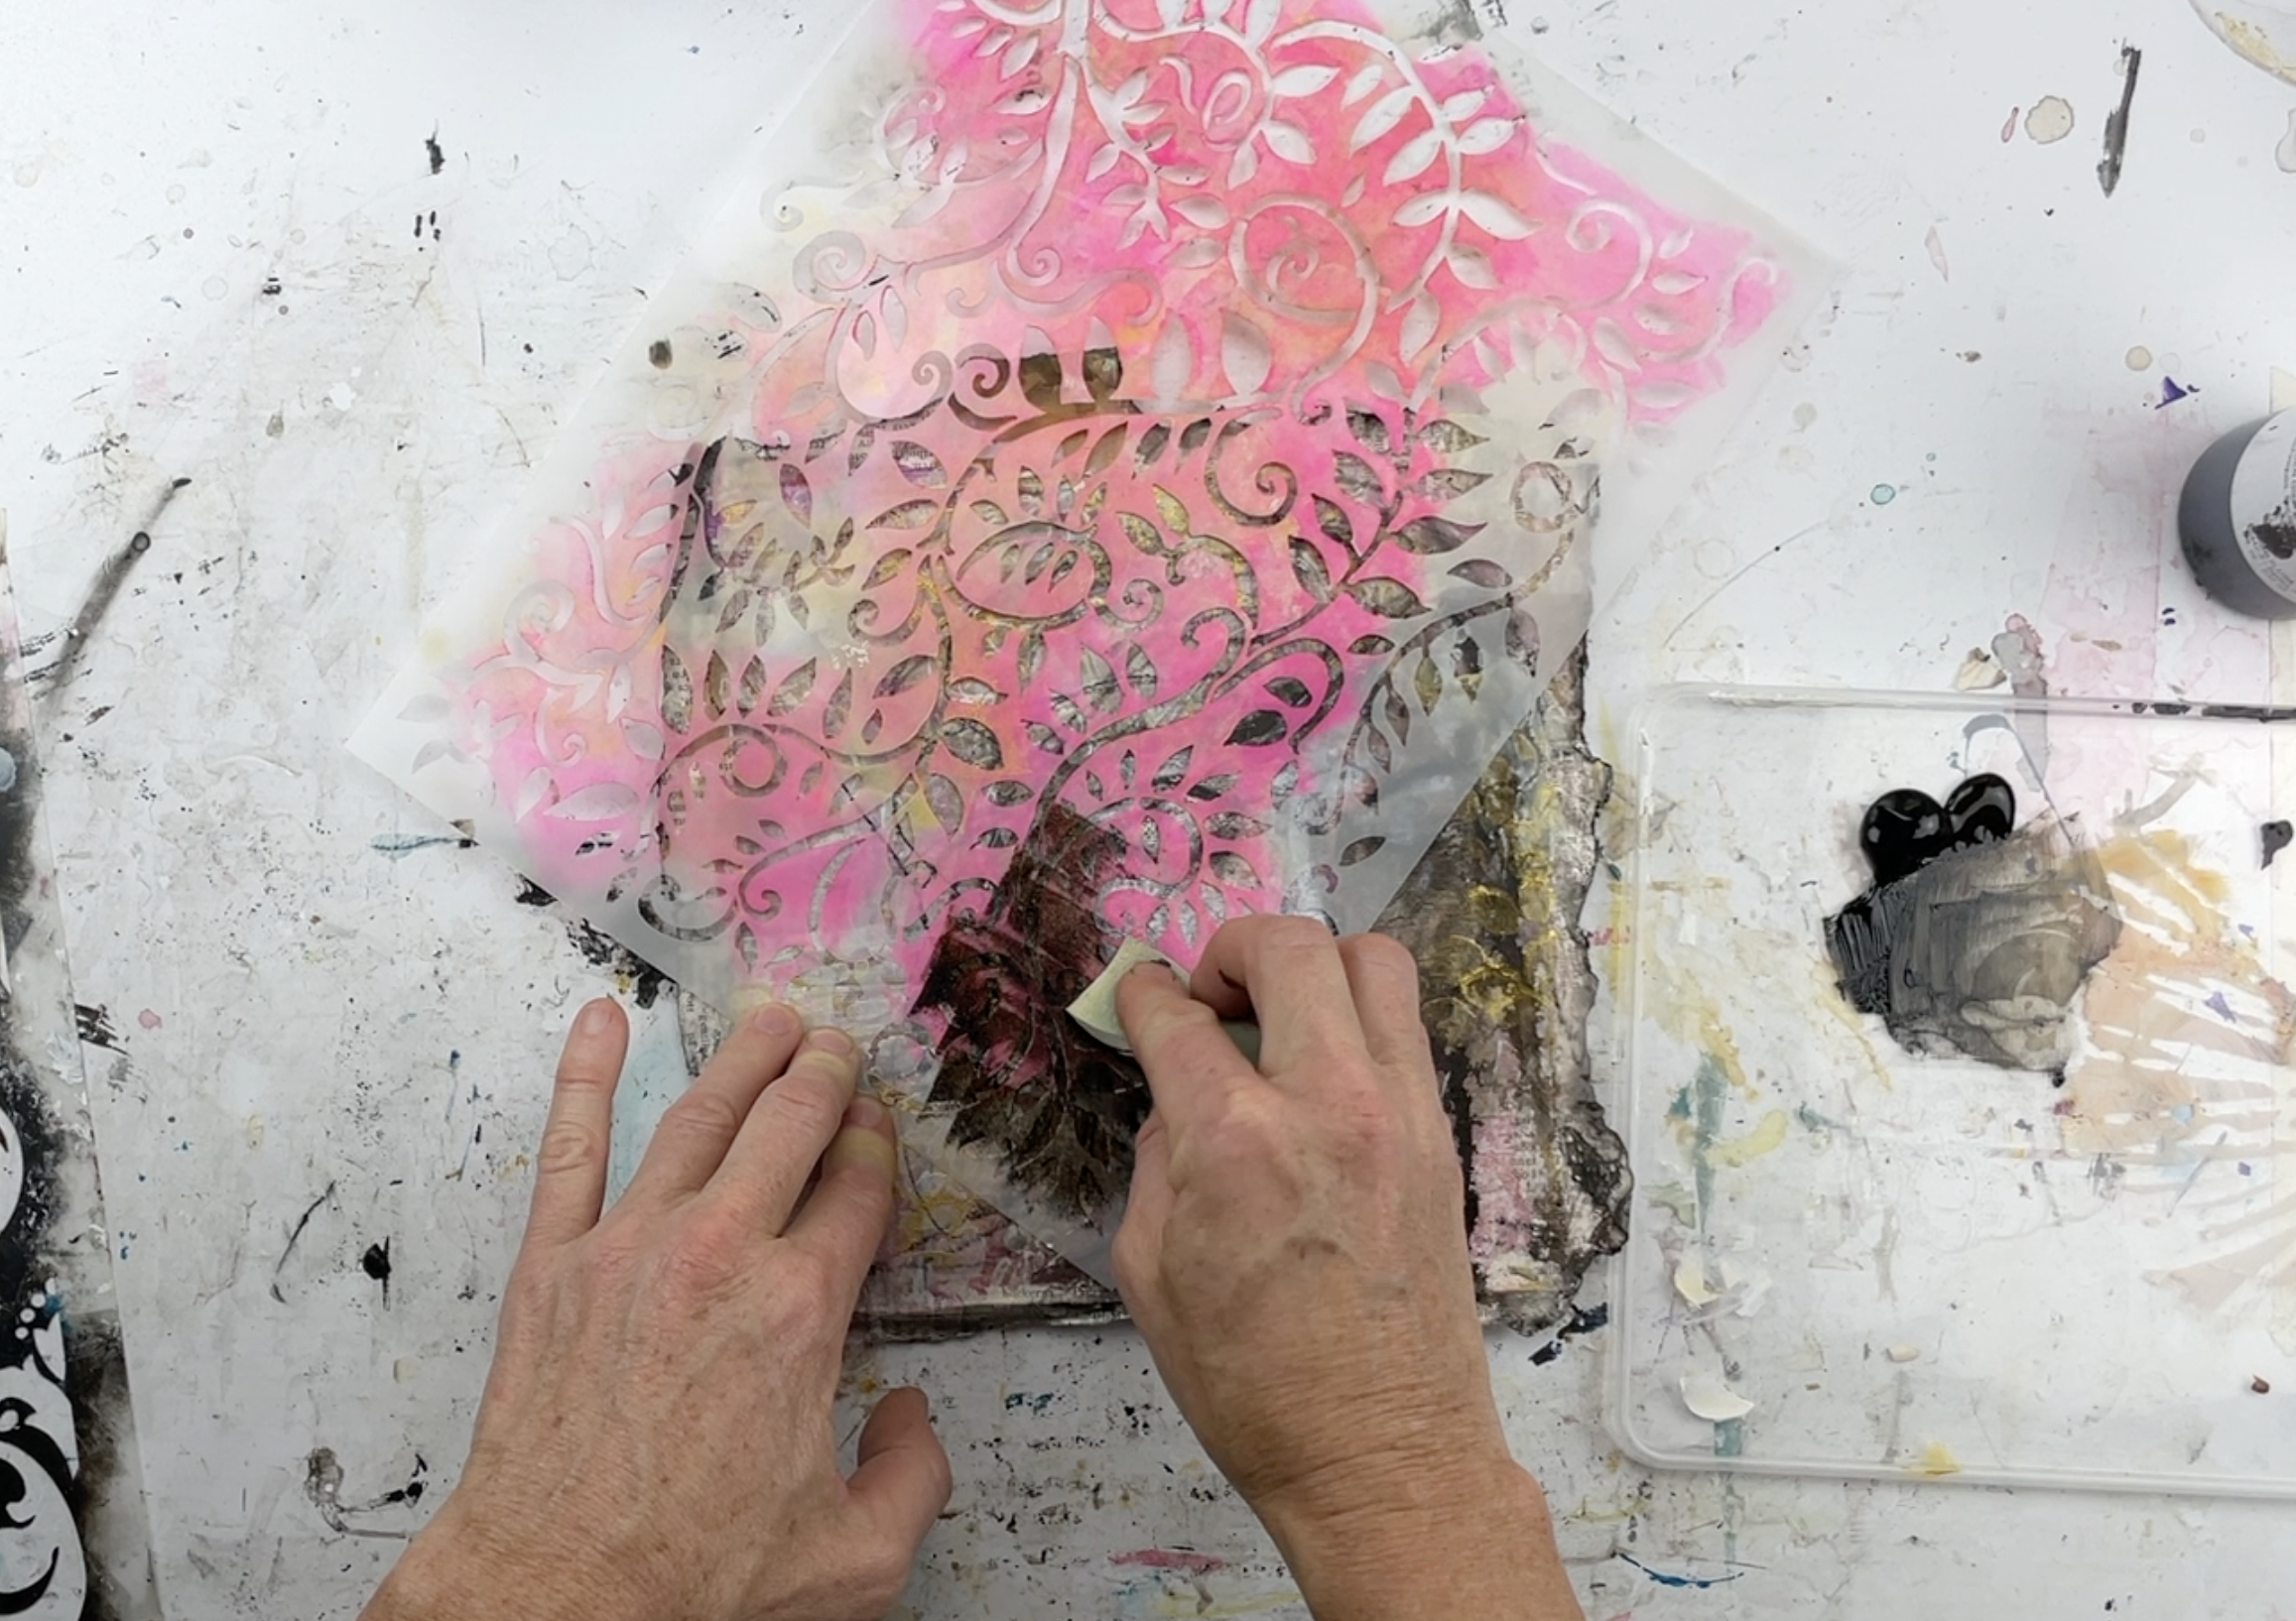
In this step I tint the modeling paste with a light color wash. I add Acrylic Ink (Oxide Yellow and Deep Purple) and some White Acrylic Paint. Some modeling pastes are easier to tint than others. I use Liquitex that I find works really well.
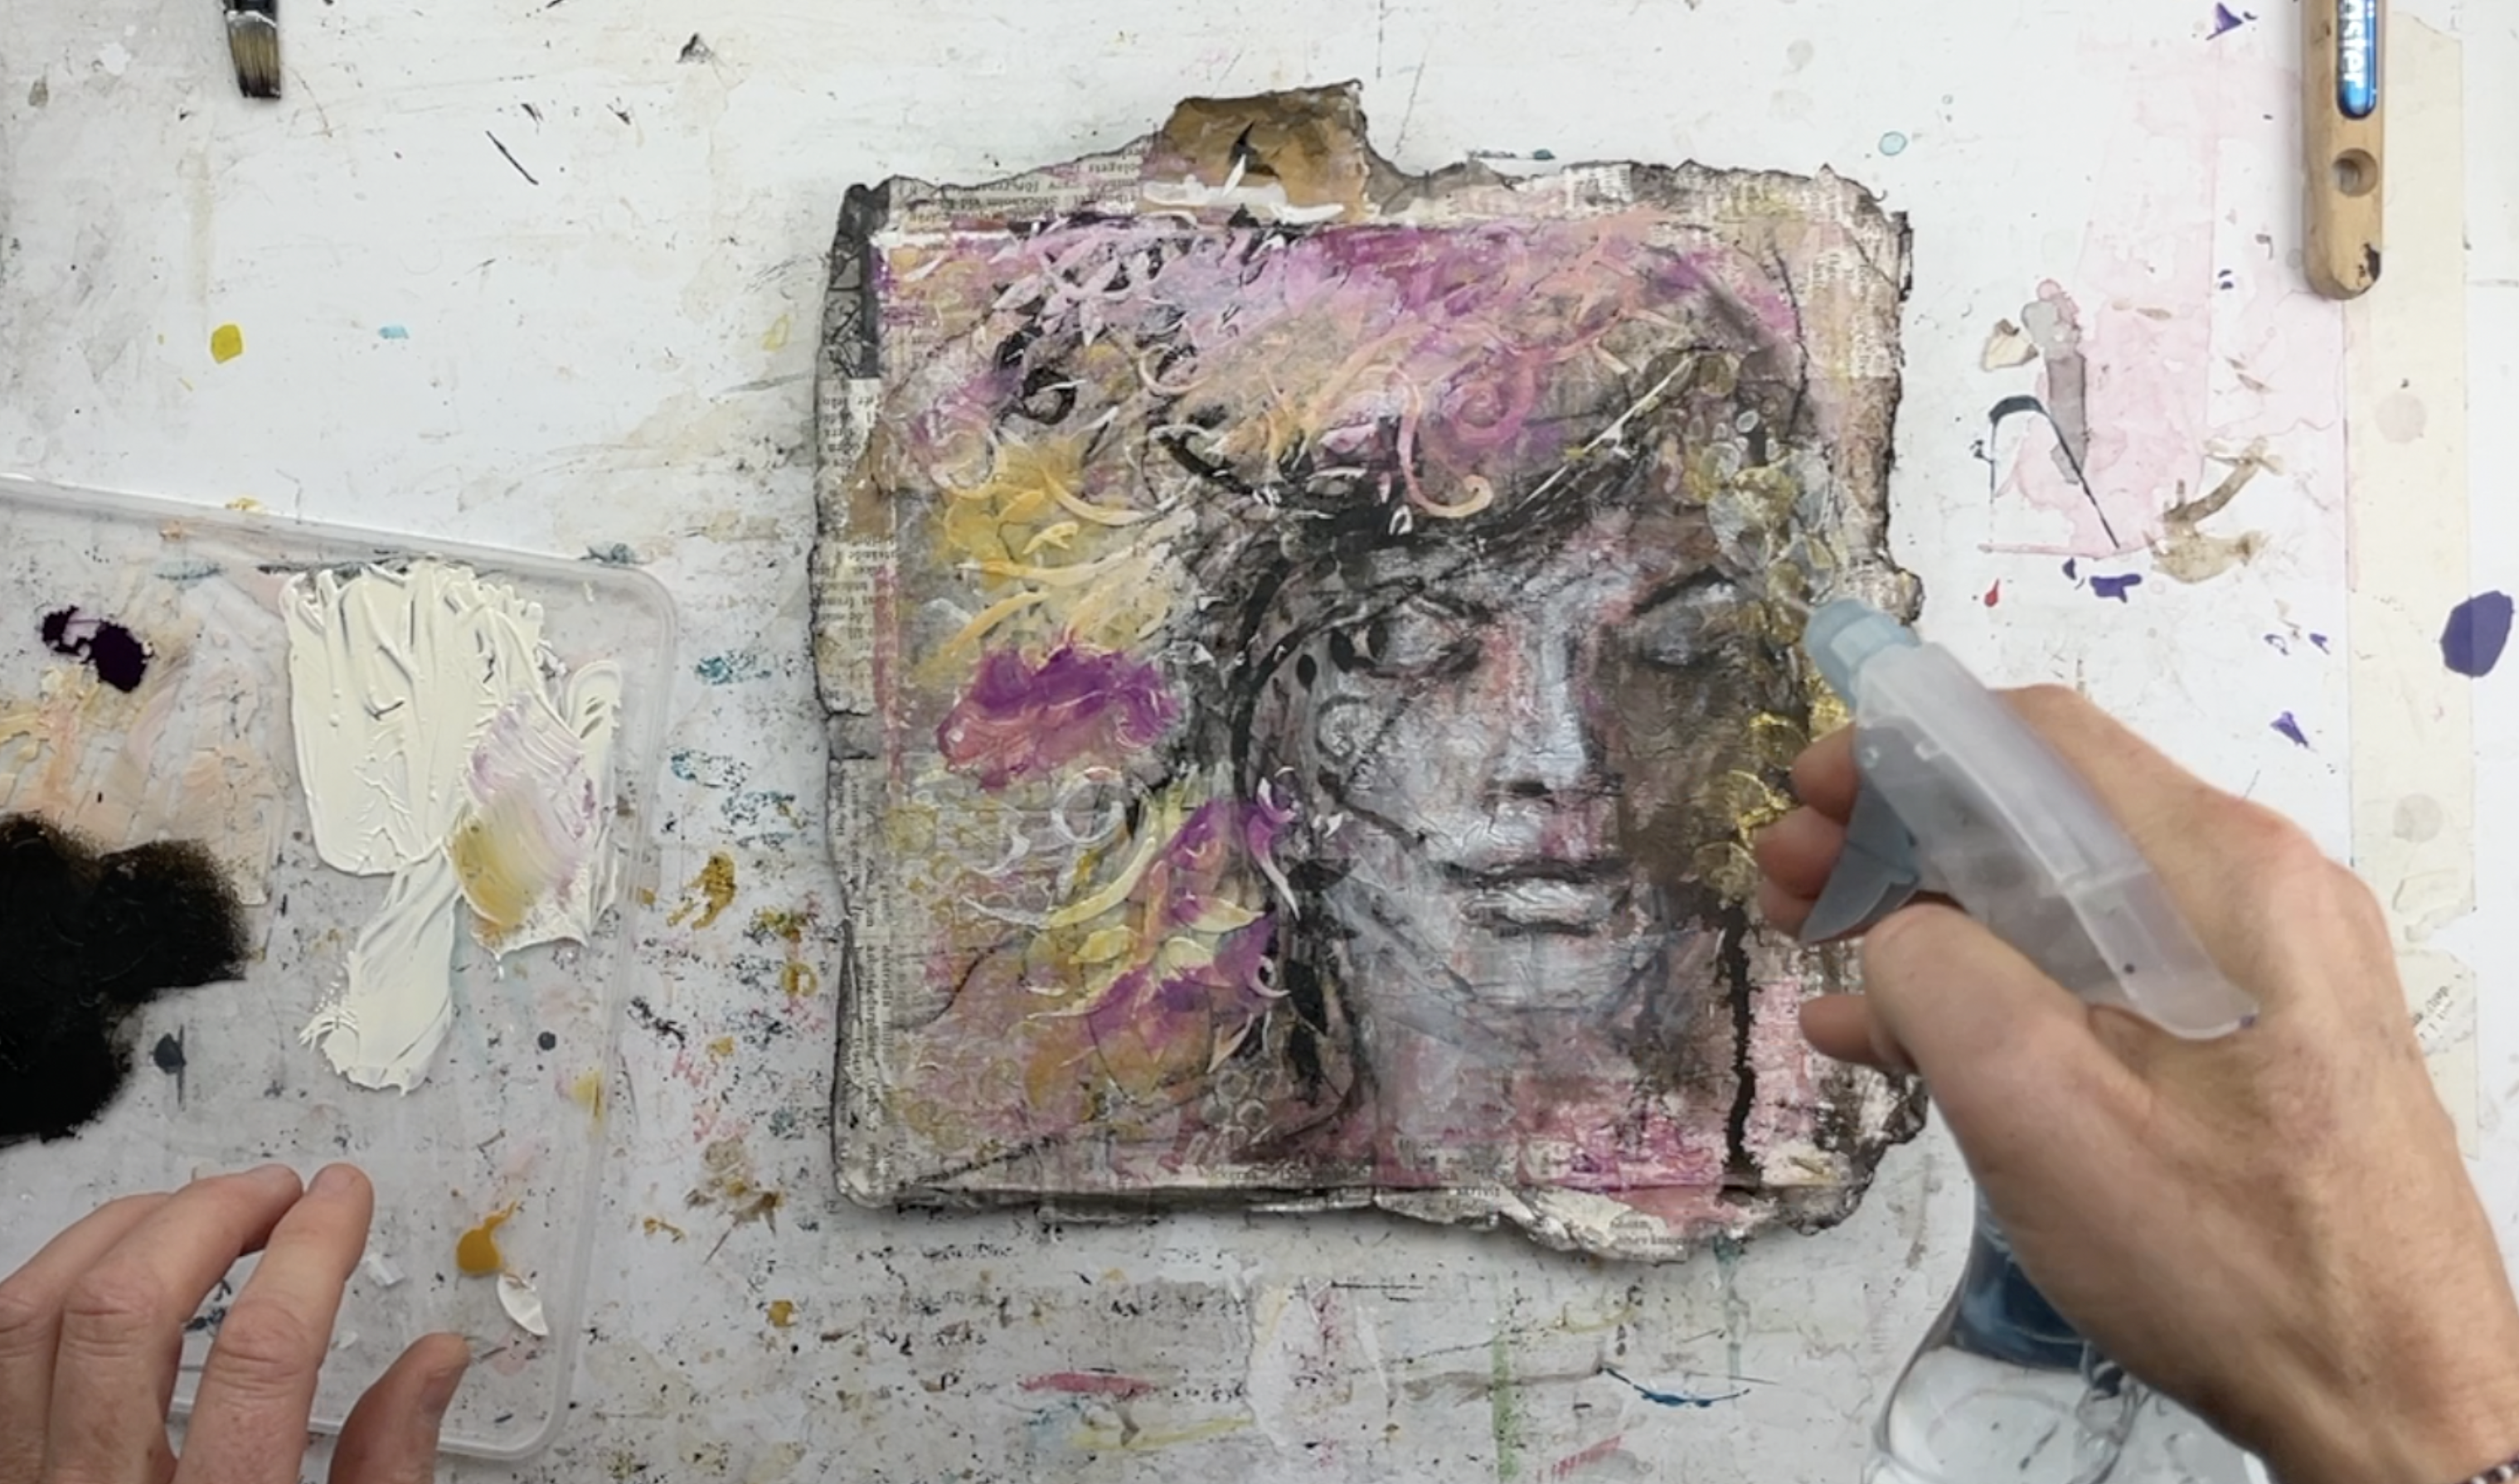
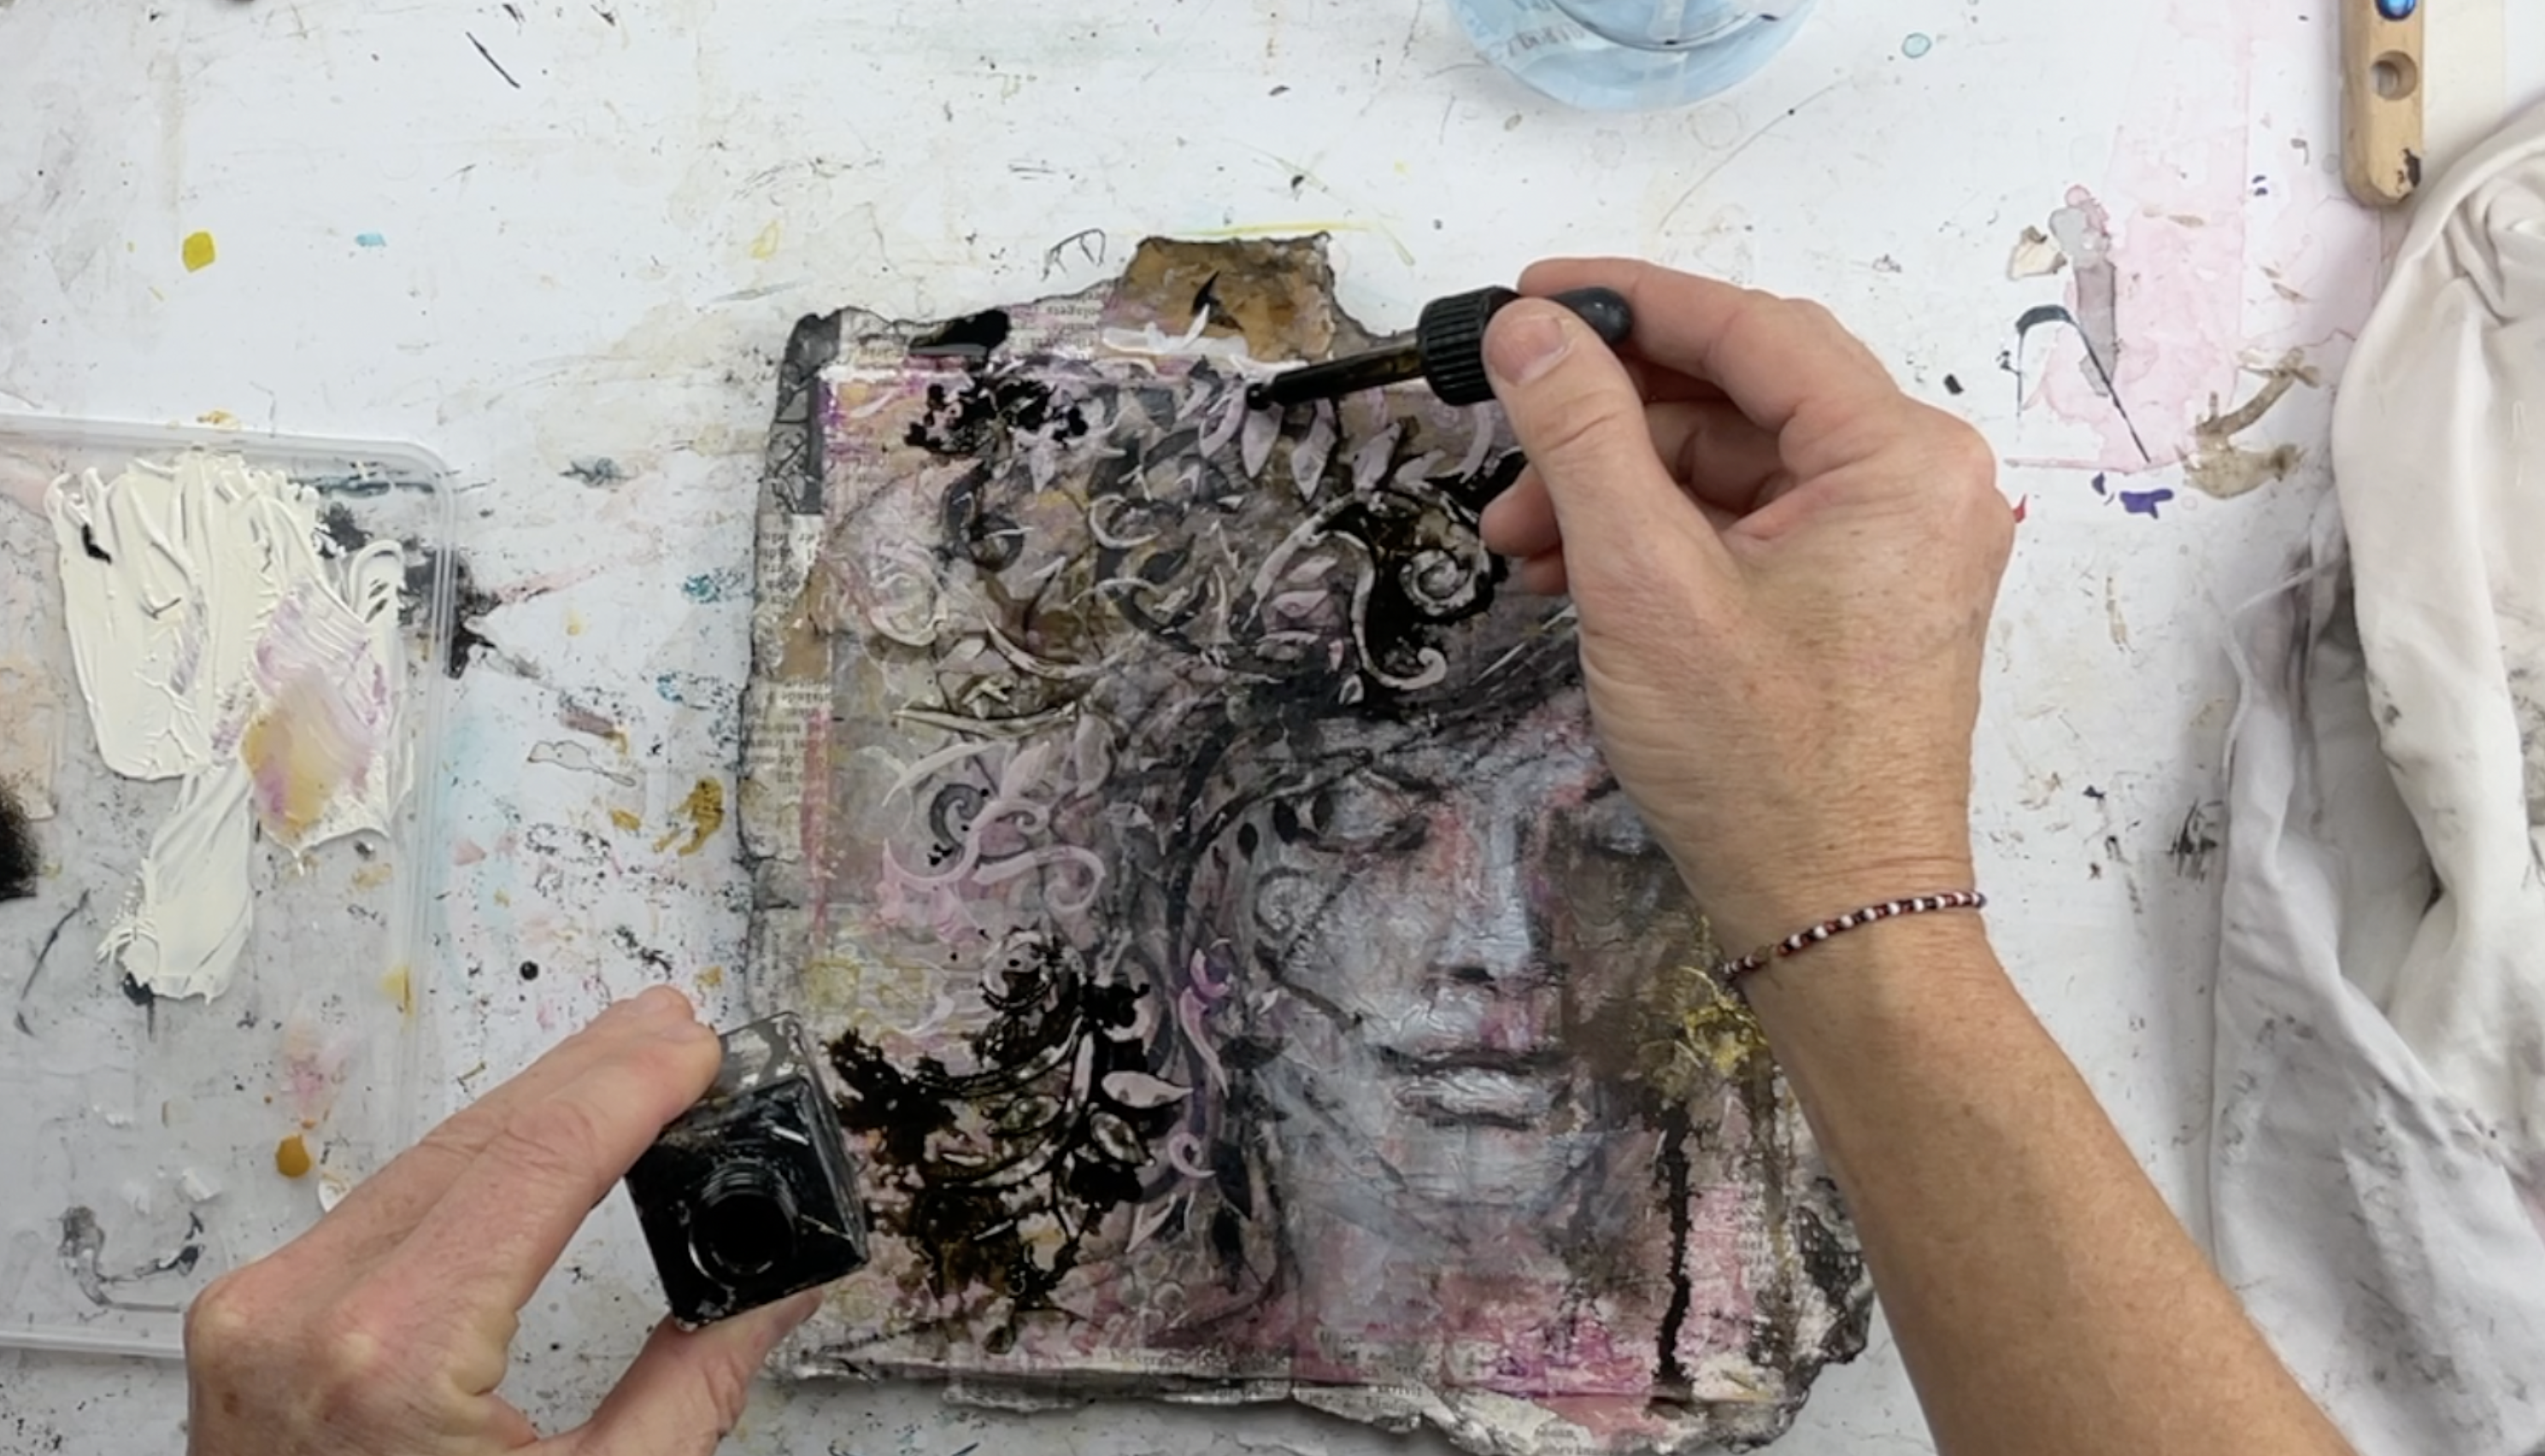
In this step I add dark Acrylic Ink (Sepia). I add it to the grooves of the modeling paste and try to get it to run along the modeling paste to give the design an outline. I love that I cannot control this process and I looooove the drips and grunge that it adds to my design.
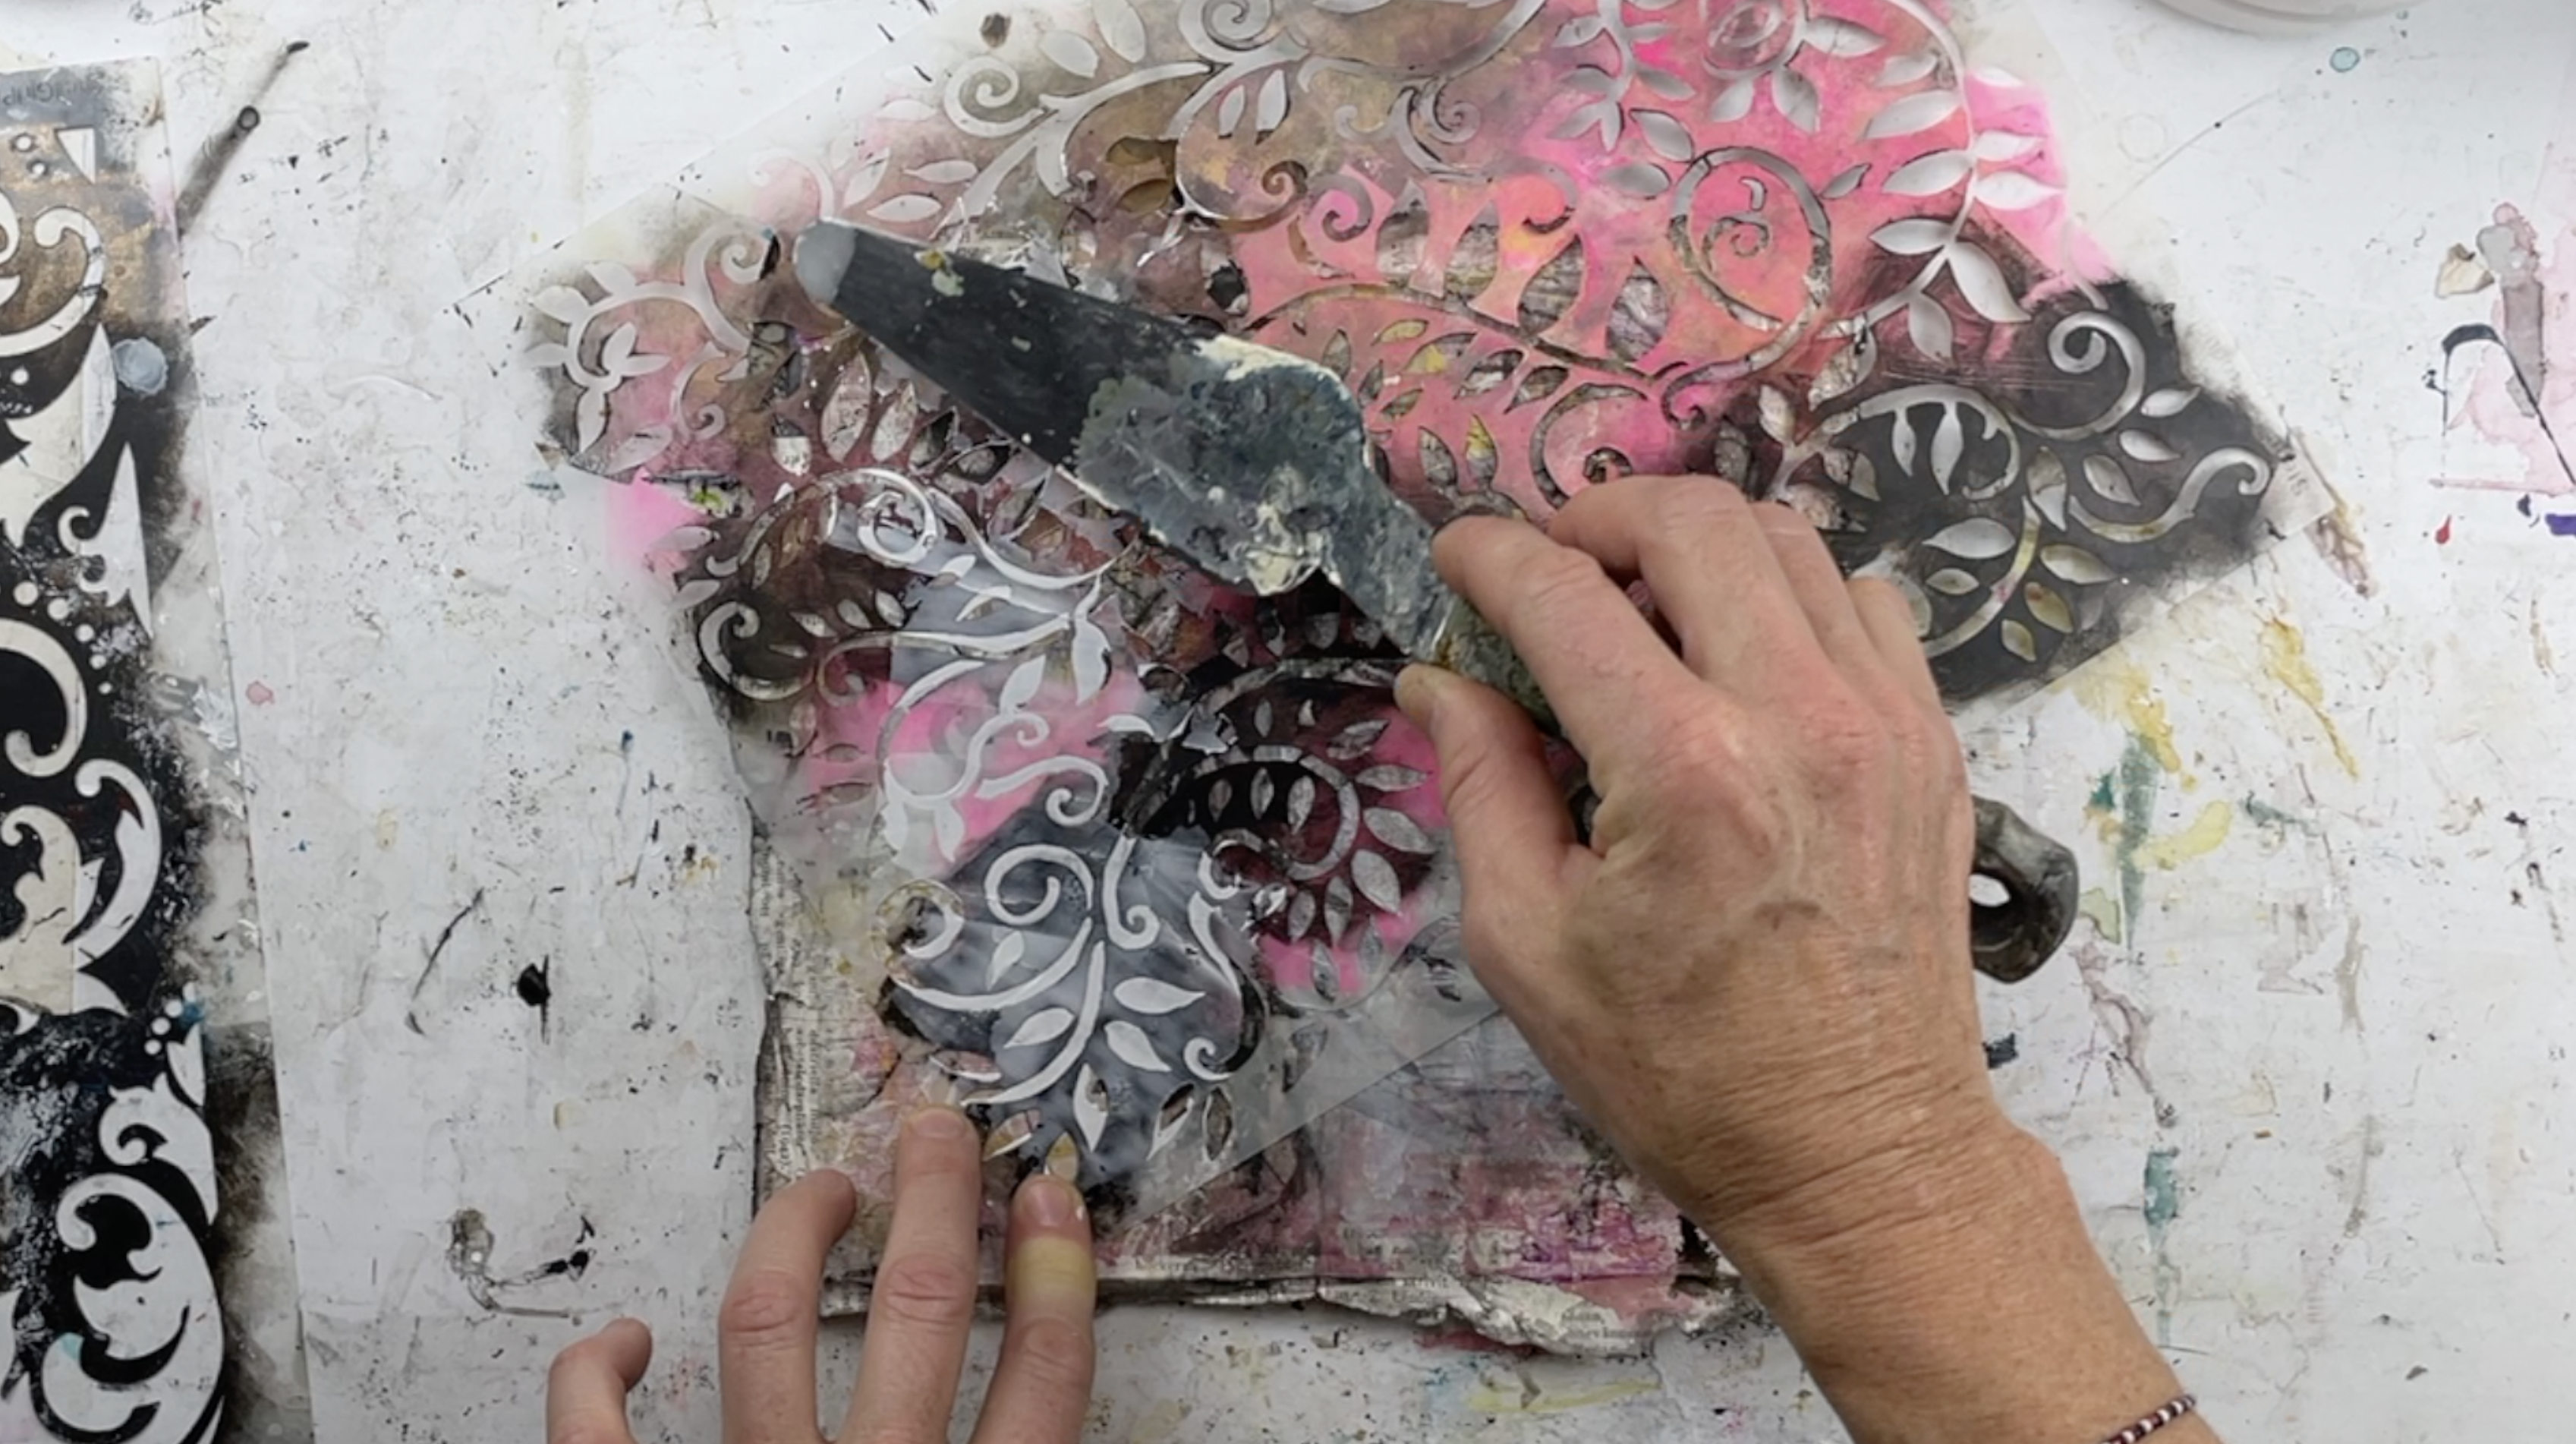
The Final Touches are created with Acrylic Paint. I add VERY LITTLE paint to my palette knife and use the knife flat against the modeling paste to grunge the surface of the modeling paste. I first apply a dark layer and then a metallic layer (gold). This is not possible to do if you do not sand your modeling paste to a smooth surface.


I hope you enjoyed the process and that you got
inspired to jump in and use your StencilGirl® stencils.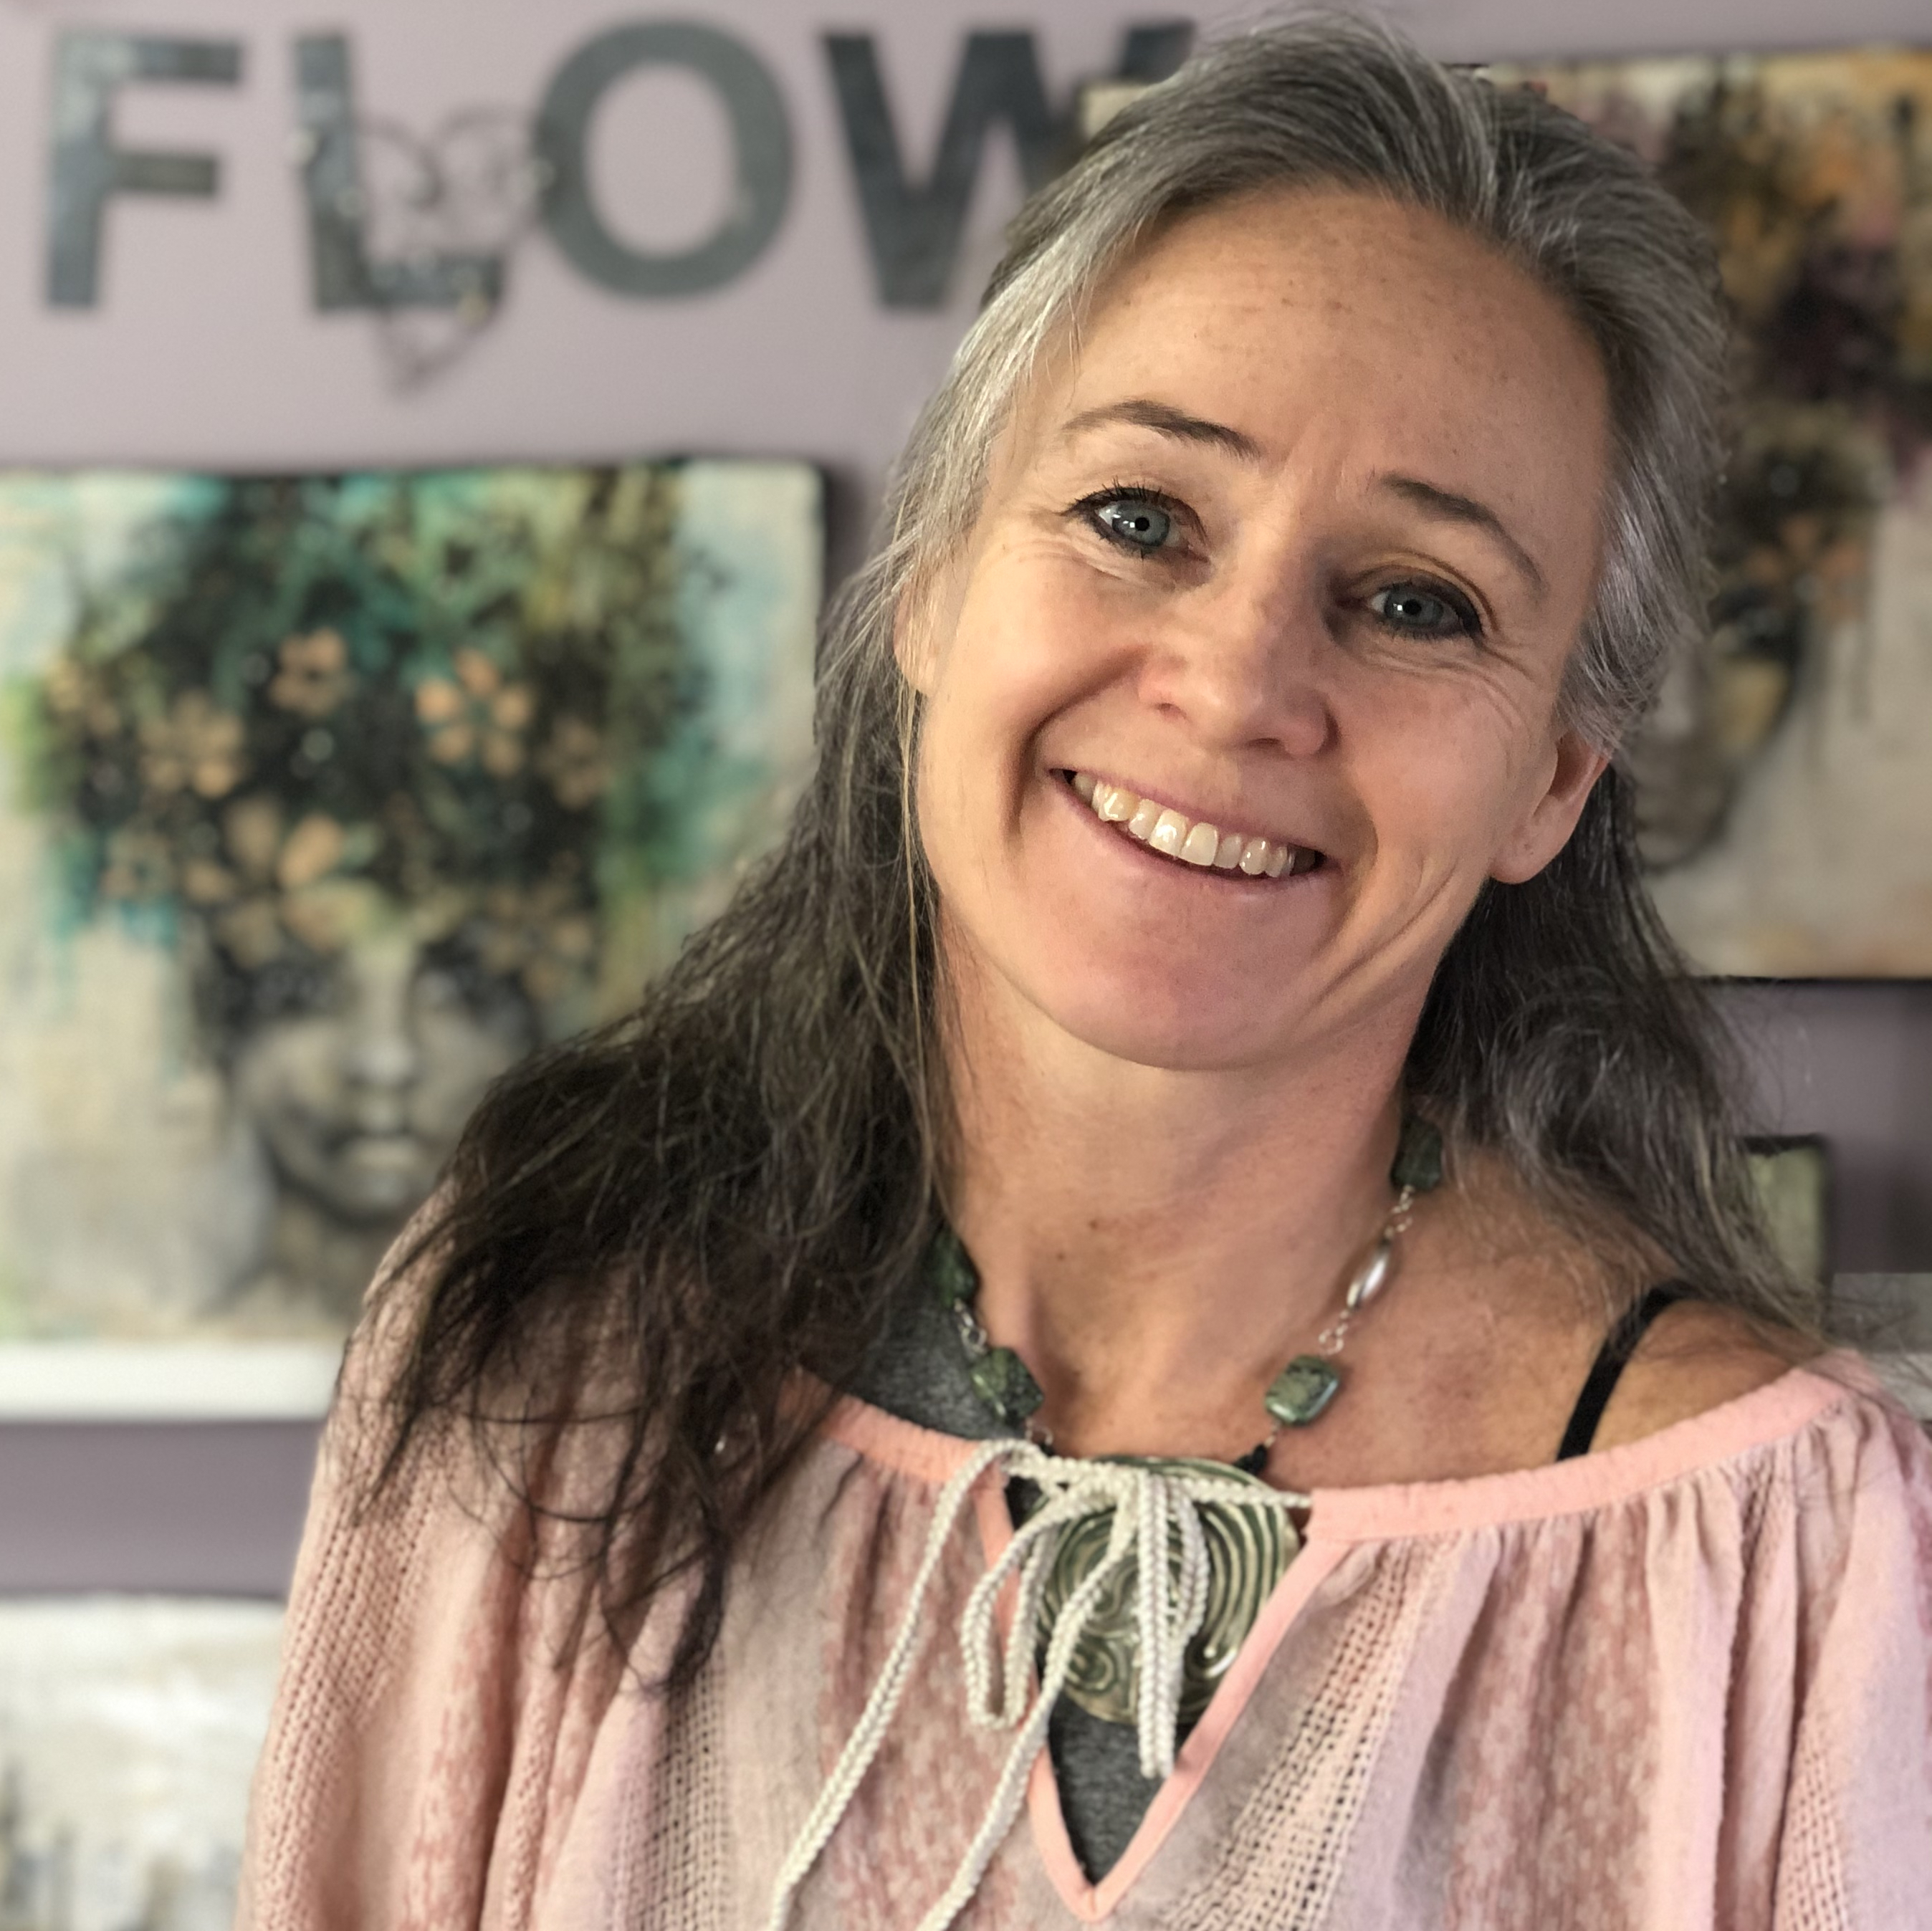
Jenny Grant
Jenny Grant is a mixed media artist working with her art business full time. She has found the magic creative spark within herself and she is on a mission to inspire and guide others to explore theirs. She does this through her art, her online workshops and her in-person workshops around the world. Jenny loves painting big but she is also addicted to Art Journaling. She paint in many layers and her work is very rich with many layers that add depth and texture to her work. There are no limits, nothing is wrong and there are no mistakes. The process is the fun! Being creative allows her to explore herself, to let go and it helps her to be here and now. Her base is her studio, Studio Flow, just north of Stockholm in Sweden.
Instagram: @flowbyjenny
Facebook: JennyGrantArt
YouTube: FlowbyJenny
Pinterest: FlowbyJenny
www.jennygrantart.com
No comments:
Post a Comment
If you are entering a GIVEAWAY, please add your email address in the event we need to contact you.
To avoid SPAM, please write it like this:
marybeth (at) stencilgirltalk (dot com)
Thank You!