
Materials You'll Need
- Watercolor paper
- Water cup
- Spray bottle filled with water
- Watercolors (your choice of palette)
- Chrysalis Stencil and Mask (L390) by Flora Bowley
- Paintbrushes
Step 1: Prepare Your Paper
Begin by spraying your watercolor paper with water. This helps the paint flow beautifully across the surface. Choose your favorite colors and start laying them down loosely. For the first design, I used the stencil portion of the Chrysalis set. Don’t worry about precision—this is all about playful experimentation!


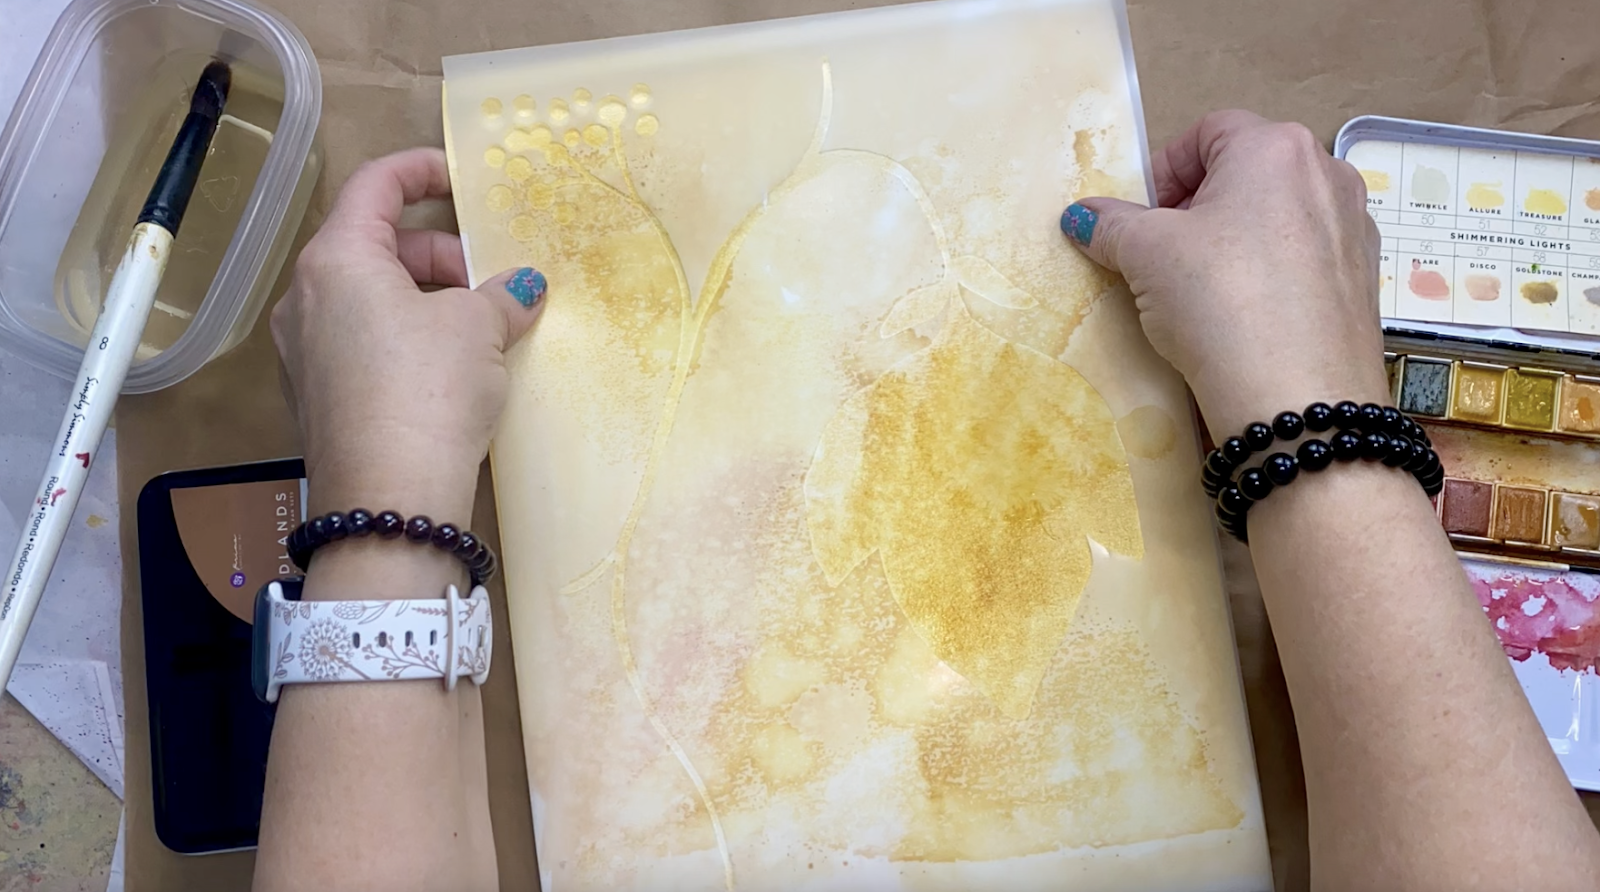
Step 2: Adding the Stencil
While the paint is still wet, place the stencil portion of the Chrysalis set onto your paper. Use a brush to fill in the stencil with your chosen colors. You can keep the application loose and watery to allow for natural blending and movement within the stencil shape. Once you’re satisfied, let the paper dry completely with the stencil on top.

Step 3: Experimenting with the Mask
For the mask portion, I experimented with a faux-rusty effect. First, lay down your colors as before, then place the mask onto the wet paint. Add more layers of color around the edges of the mask for extra depth. Spray with water to blend and soften the edges. When you’re happy with the coverage, let the paper dry with the mask on top.


Step 4: Adjusting Details After Drying
Once the paint is dry, remove the stencil or mask to reveal your design. If some areas lack definition or clarity, don’t worry! You can always reapply the stencil or mask and add more paint. For my stencil design, I deepened the tones around the stem to enhance visibility (for the stencil flood) while keeping the overall effect soft and vibrant. I also increased the rust tones (for the mask flood).


Step 5: The Final Reveal
The most exciting step is revealing your finished watercolor floods! Carefully peel away the stencil or mask to uncover the design. If any areas feel too bold, you can easily adjust the colors—this is the beauty of working with watercolor. Add or subtract paint as needed until you’re happy with the final look.

Why I Love Watercolor Floods
Watercolor floods are perfect for creating unique backgrounds for your projects. You can let them dry, store them in your paper stash, and use them whenever inspiration strikes. Their versatility allows you to revisit and modify them even after they’ve dried—perfect for evolving creative ideas!
Give It a Try!
I hope this tutorial inspires you to experiment with StencilGirl stencils and masks to create your own watercolor floods. This technique is a wonderful way to play, explore, and let your creativity flow.
Thank you for joining me! You can find more of my work at janebellanteart.com.
Happy creating!
xoxo,
Jane
No comments:
Post a Comment
If you are entering a GIVEAWAY, please add your email address in the event we need to contact you.
To avoid SPAM, please write it like this:
marybeth (at) stencilgirltalk (dot com)
Thank You!