Showing posts with label Celestial grove. Show all posts

Tuesday, October 23, 2018

The art of being grateful - a mixed media canvas by Sandee Setliff


The art of being grateful is an easily practiced skill and, I believe, can have nothing but positive effects. Practicing gratefulness can help put you in a positive mindset, a mindset that will give you a stronger foundation to face daily challenges and be more present with the things and people you love. So keeping that in mind, I made a small canvas to hang up to remind me daily to cultivate the art of being grateful every day.


I knew what I had in mind for my canvas to become so I began by cutting a piece of deli paper to the size of my canvas to create a mask by using a craft knife to cut circles for where I wanted flowers. I am doing this because the stencil I am going to use to create the flowers has nothing to do with ... well, flowers!


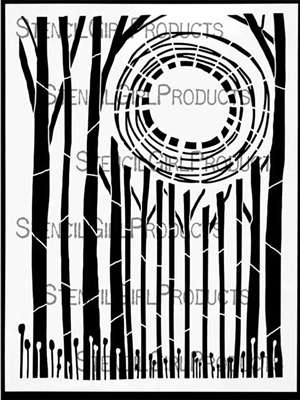
And as usual, for me....one idea is always ahead of another idea so I have to backtrack and prep my canvas. I began to build layers by adding some background paint and using a dry brush to blend the colors together and then let that dry before adding my next layer which was the bottom half of the Celestial Grove stencil. I used a sponge to apply the Moonlight Duo Tint & Hue ink pad in Asteroid Umber ink through the stencil giving it a light but distinctive marking.
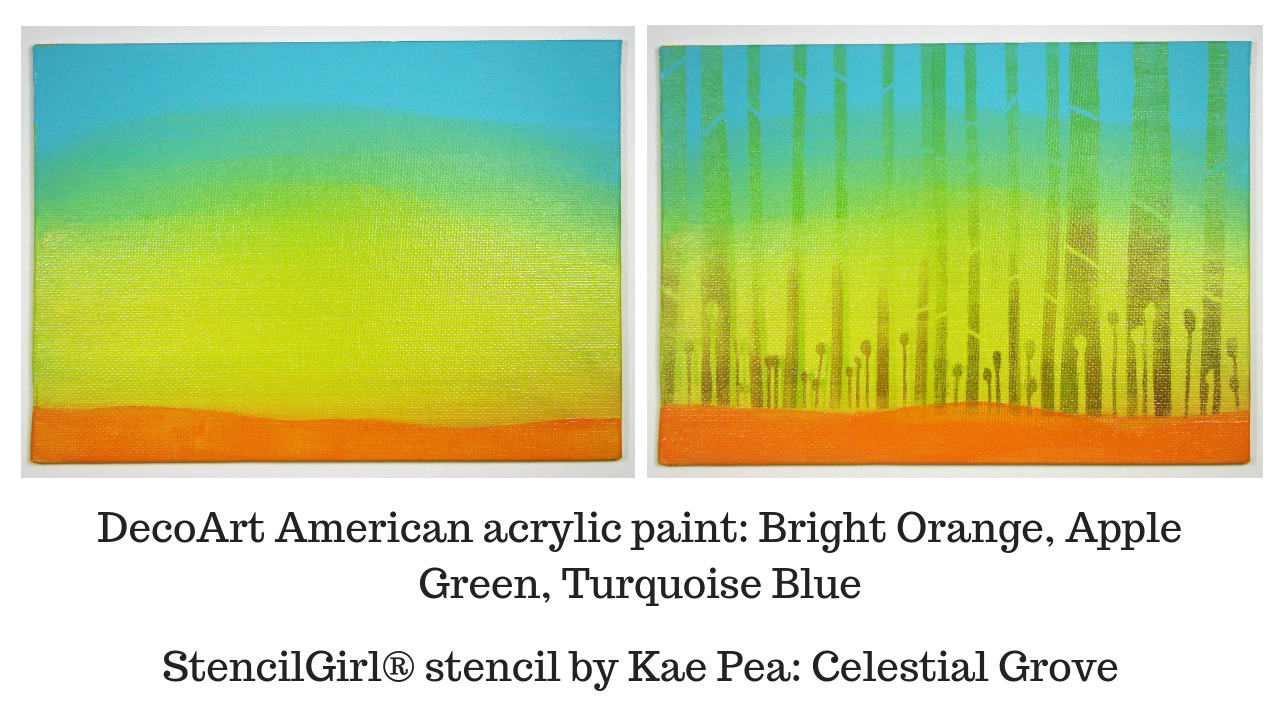

I don't know about you but I love to try and look at stencils differently like this Stylized Fireworks stencil by  June Pfaff Daley. Once you look past the firework motif you will see all sorts of wonderful designs that can be used to enhance your projects.
Now comes the part that I really enjoy which is making doodles on top of the 
stenciled patterns with my pens and adding in some rubber stamping like I did with the stems for the flowers with the Stampstacts 2 stamps by Kae Pea.


I wanted one more layer so I used Andrew Borloz's Wheel Spokes Set #2 stencil to create a bokea effect. (  Bokeh has been defined as "the way the lens renders out-of-focus points of light". ) And I used white and blue ink to create this soft effect.


My last step is adding a sentiment or quote to my piece. This is an important step for me as words always seem to tie a piece together. I know there are a lot of people out there who dislike using their handwriting and if you are one of them ( I know I am ) then embrace any flaws and make it whimsical!


Gratitude strengthens relationships, improves health, reduces stress, and, in general, makes us happier. So it doesn't hurt to make a project that you can hang up somewhere to help you to remember...

there is always something to be grateful for.


Tuesday, July 10, 2018

Honoring Mother Nature (including video tutorial!) by Cheetarah Cheda


Hi everyone! It's Cheetarah here and I'm so excited to share with you my first post ever for StencilGirl® Talk as part of the creative team! This month we let ourselves be inspired by a theme which is "In honor of" and I have made a watercolor Art Journal page inspired by Mother Nature and honoring her. We as women can have a really strong connection to mother nature, the moon phases and all that comes with it. When we honor our goddess within that connects to it all, we serve mother nature as well. This sentiment has inspired me to make the above art journal page and I have recorded it for your viewing pleasure! 

It's about 20 minutes long and sped up (but you can adjust the speed at the settings) and I'm showing you the process of this page. So get a drink/snack and watch the tutorial at your leisure :)


Most of my art journals are intuitive, so there was no real plan in the beginning. I was mostly experimenting and all I knew was that I wanted to use the gorgeous Celestial Grove Stencil and waterproof inks mixed with watercolor and create some kind of forest setting for my goddess. I have to tell you, and you will see this in the video, I really struggled with the leaves to get them just right! Perhaps it's because I used the gorgeous Art Deco Peacock Feather as a leaf base and I just kept thinking "but this is a feather! not leaf!" LOL! But it was also good to push yourself to use the stencils in other ways than designed for, right? In the end I did get the leaves to look the way I wanted! Though - and oops here-  I forgot to press record when I added finishing touches on the page - but no worries, in the video I explain what I have done to get to the end result. And if you have any questions on the process or materials I used, feel absolutely free to ask, here or on YT  and I'll do my best to answer them.

Here are a couple of process shots for you:


The waterproof ink seeped through my stencil, but that just gives it a lush forest look and the whimsy of nature! The Magical shaker colors are super saturated colors so a little goes a long way to make the colors just pop! 


After I traced the feminine images from the Sacred Feminine stencil with the waterproof ink in my Pilot Parallell pen, I then added a light layer of grey waterproof ink mixed with a bit of water. The sheer effect you get is just awesome!


Added some white highlights/accents with a gel pen. 


In the end I added bolder accents with a semi waterproof black lettering marker (the Saruka pigment marker- semi waterproof because when it's wet you can move it a little bit with water. When dried it's completely waterproof.) and the Jane Davenport white paint over pen. 


Did the same for the lettering in the sentiment and added little highlight dots with the sakura gelly roll white gel pen. 


After trimming the piece I used double sided tape to adhere it in my mixed media letter sized art journal. This picture was made during sunset and somehow the color variation and shimmer at the bottom just popped in that light :) In the video you can see the shimmer and under layers a lot better. 

The StencilGirl® Stencils I used: 
Celestial Grove Stencil
Celestial Grove by Kae Pea

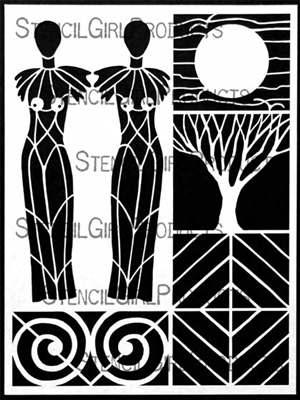
Sacred Feminine Stencil by Carol Wiebe
Sacred Feminine by Carol Wiebe

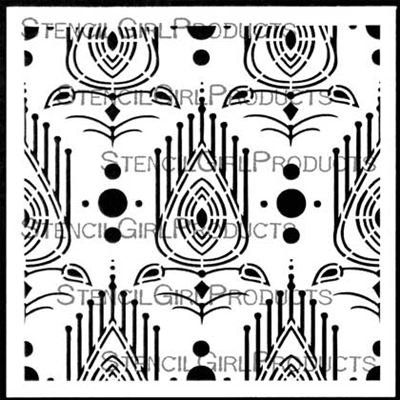
Art Deco Peacock Feathers Stencil by Gwen Lafleur
Art Deco Peacock Feather by Gwen LaFleur

Other materials I used: 

The watercolors were decanted in pans, which you will see in the video. The distress ink and blending tool I used to edge the piece after trimming so it blended the stark white edges to a softer grey. Oh, and on top is the Tombow eraser which I erased the pencil sketch lines with. 


Thanks so much for stopping by today! I hope you liked watching the process of this art journal page. Have a wonderful creative day and catch you on the next blog post!


Tuesday, April 3, 2018

Never stop dreaming


 I will never stop dreaming.
No matter how old I am!
How about you?
Are you out there pursuing your dreams? I hope so!


 Ever since I created A Plethora of prints I knew one of them would be turned into a dream catcher so I grabbed one of my gel prints papers out of my stash and a couple of my StencilGirl feather stencils and set out to create one in my art journal.

I love the versatility of stencils whether it's using them to trace your design or sponging paint through them, they are so easy to create with.

Time Saving tip:
Using your monoprint stash of papers makes short work of a project because you have a multitude of backgrounds already created. 

Spontaneity is fun:
Sometimes inspiration hits you along the way like adding some stars and moon by sponging ink through the stencil. The "beads" in my dream catchers are punched out from the left over scraps of paper I had from making the feathers. 

Side note:
One thing I also like doing is coordinating my art journal pages, so the colors flow from one page to another. Visually, I think they are more appealing, I don't always master this, but sometimes it's easy.

Case in point: It was easy to find colors that went together with my Wanderlust page. By changing out the ratio of colors you can achieve a look that compliments one another without "matching" each other.

Stencils used:
Sun and Moon Stencil by Cathy Nichols
Sun and Moon

Celestial Grove Stencil
Celestial Grove Stencil designed by Kae Pea

Classic Feather Retake Stencil by Rae Missigman
Classic Feather Retake stencil, designed by Rae Missigman

Imaginary Bird Feather Stencil by Rae Missigman
Imaginary Bird Feather was designed by Rae Missigman

Thanks for stopping by and remember to keep dreaming!
Sandee


Tuesday, January 23, 2018

Fragile Heart


I've decided to begin a new Valentine's Day tradition, to spend as much time "arting" away in my journal...and eating chocolate! Yeah, well, that's pretty much like any other day of the year for me so I guess it's not much of a stretch to declare it a tradition for Feb. 14th. 😜
Anyway, that's my plan and I'm sticking to it!


So... like many of my pieces, I don't begin with a plan other than which stencil I choose to work with and in honor of Valentine's Day I picked out the Heart Swirl stencil designed by Margaret Applin as my focal point and then the rest just fell into place intuitively.  


I sponged ink through my stencil because I felt that I should keep my page "light & airy". Since I was working on a piece of deli paper that's translucent I believed that acrylic paint would be too "heavy." I suppose "fragile" was long in my head before I even knew what words I was going to use. Even using the white ink to lighten up the orange fit into my delicate theme of mind.

It's funny how things flow together sometime without meaning to do it. The butterfly washi tape caught my eye because of the colors, and I needed something to hold the strip of paper in place that I added while I sewed it together, but now as I write this I realize that butterflies are deep and powerful representations of life. Many cultures associate the butterfly with our souls. And this page is all about feelings and how ones' soul can affect another soul...and how my soul affects my art.

Part of working intuitively is to trust yourself and take your time. Sewing slows me down and gives me time to meditate on what I'm working on. To feel the texture of the paper, to hear the sound of needle meeting paper. 
I love to sew on my art for 2 reasons. 
1. It defines the area better than pen work (my opinion) 
and
 2. It gives me texture without adding bulk to my art journal. I prefer them to lay flat. 

Allowing yourself to be open to "play" is also an important part of expressing yourself. I have fallen back in love with embossing powders once again but using them differently. I have discovered many ways they can add texture to my art journal page like splattering the powder over wet paint or ink, much like one would do with paint. The effect is amazing.

But of course the old tried and true effects of edging word strips with embossing powder still holds a place in my heart that beckons me way back to my scrapbooking days!

I added some phrases I thought would portray my message and by layering them under the side strip of deli paper that I had sewed onto the page, they became softer, less judgemental. The last step was to adhere the page into my journal with some decoupage and I felt done...completed...satisfied...happy.

products used:
Heart Swirl Stencil designed by Margaret Applin
The background paper came from my stash of mono-prints that I made during a previous post. You can check out the video tutorial by clicking on the link below.

Celestial Grove stencil by Kae Pea
Other products:
Rubbermoon, DecoArt , Gwen Lafleur Studio
When you see how fragile and delicate life can be, all else fades into the background. Jenna Morasca
Thanks for visiting!

Tuesday, October 31, 2017

Hello, my name is Claudia! :) :) :)

Here's a ghost story for you.....


Hello Hello :) It's Louise. Today I would like to share with you a canvas that I painted of Claudia! 


Claudia is a lady of the lake! She arises from the deep, when the moon is full, to roam the Celestial Forest. Claudia was born in a time long ago when times were very hard and true love was not easily found. However, Claudia did in fact find her true love; a good hard working man who loved her dearly and deeply. They lived together as husband and wife and worked hard on their land, living a meagre existence. Despite the hardship they were happy. Then, one awful fateful day her one and only true love was killed. Killed defending his land, home and his true love.
Claudia was completely and utterly bereft! Claudia was completely overwhelmed by grief at the loss of her true love! So much so that she decided that she could no longer go on. Claudia made the fateful decision to ascend to the heavens to be with her one and only! Claudia rose form the table, walked out the door of her humble home, along the path towards the lake. She continued into the lake, walking until she was completely submerged, taking her last breath and swallowing in the murky lake waters. It was to be her last. At long last she would be reunited with her loved one, or so she thought! 
Little did Claudia know that the lake was cursed! Cursed by the souls of the loveless ones! From this time on, Claudia's ghost would be seen raising from the deep, every full moon, raising from the lake, to roam the Celestial Forest, looking to be reunited with her one and only true love!


Claudia was painted on a deep set canvas with acrylic paints by Mont Marte. 
I have included a pictorial collage below to show the steps of how this painting involved.
To create the forest I have used the glorious Celestial Grove Stencil Designed by Kae Pea.


To apply the Celestial Forest on the canvas background I have used a make up sponge to apply the paint over the stencil.


This is a close up photo of the stencilled Celestial Grove pattern on the canvas background.

So that is it form me for this month. I do hope you enjoyed my fanciful lil story of Claudia, the lady of the lake.

Cheers and Happy Creating

Louise :) xxx