Showing posts with label botanical. Show all posts

Thursday, November 30, 2023

Introducing Vintage Gardens from Rae Missigman


As she so often does, Rae was greatly inspired after days of study and sketching in a botanical garden that boasts a rich history of the local flora. Learning that many of the plants and flowers she studied had ancient roots in neighborhood gardens, and drawn to the delicious assortment of shapes and sizes of both the floral and non-flowering beauties, Rae was prompted to create a peek inside the gardens of the past.


The Leafy Garden Mask was inspired by the abundance of rich green ferns, vines and ornamentals studied at a local botanical garden that Rae Missigman frequently visits near her home in Florida. The gardens enormous collection of non-flowering plants was the seed behind this leafy beauty.

This mask, paired with watercolor, creates lovely and fluid garden backgrounds. It would also be perfect for creating the peek-a-boo layers of a vintage garden. A gel plate and assorted mixed mediums make layering quick and easy. These stencils and masks would also be wonderful for use with inks, which when mixed with masks can create beautiful fluid lines and brilliantly unpredictable results.


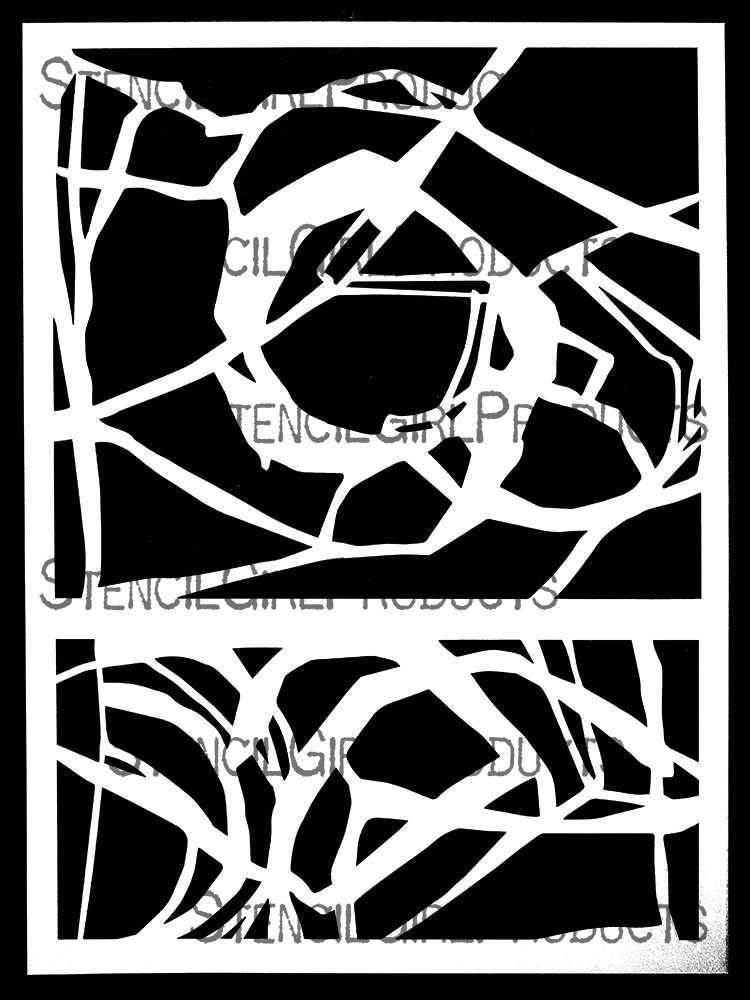
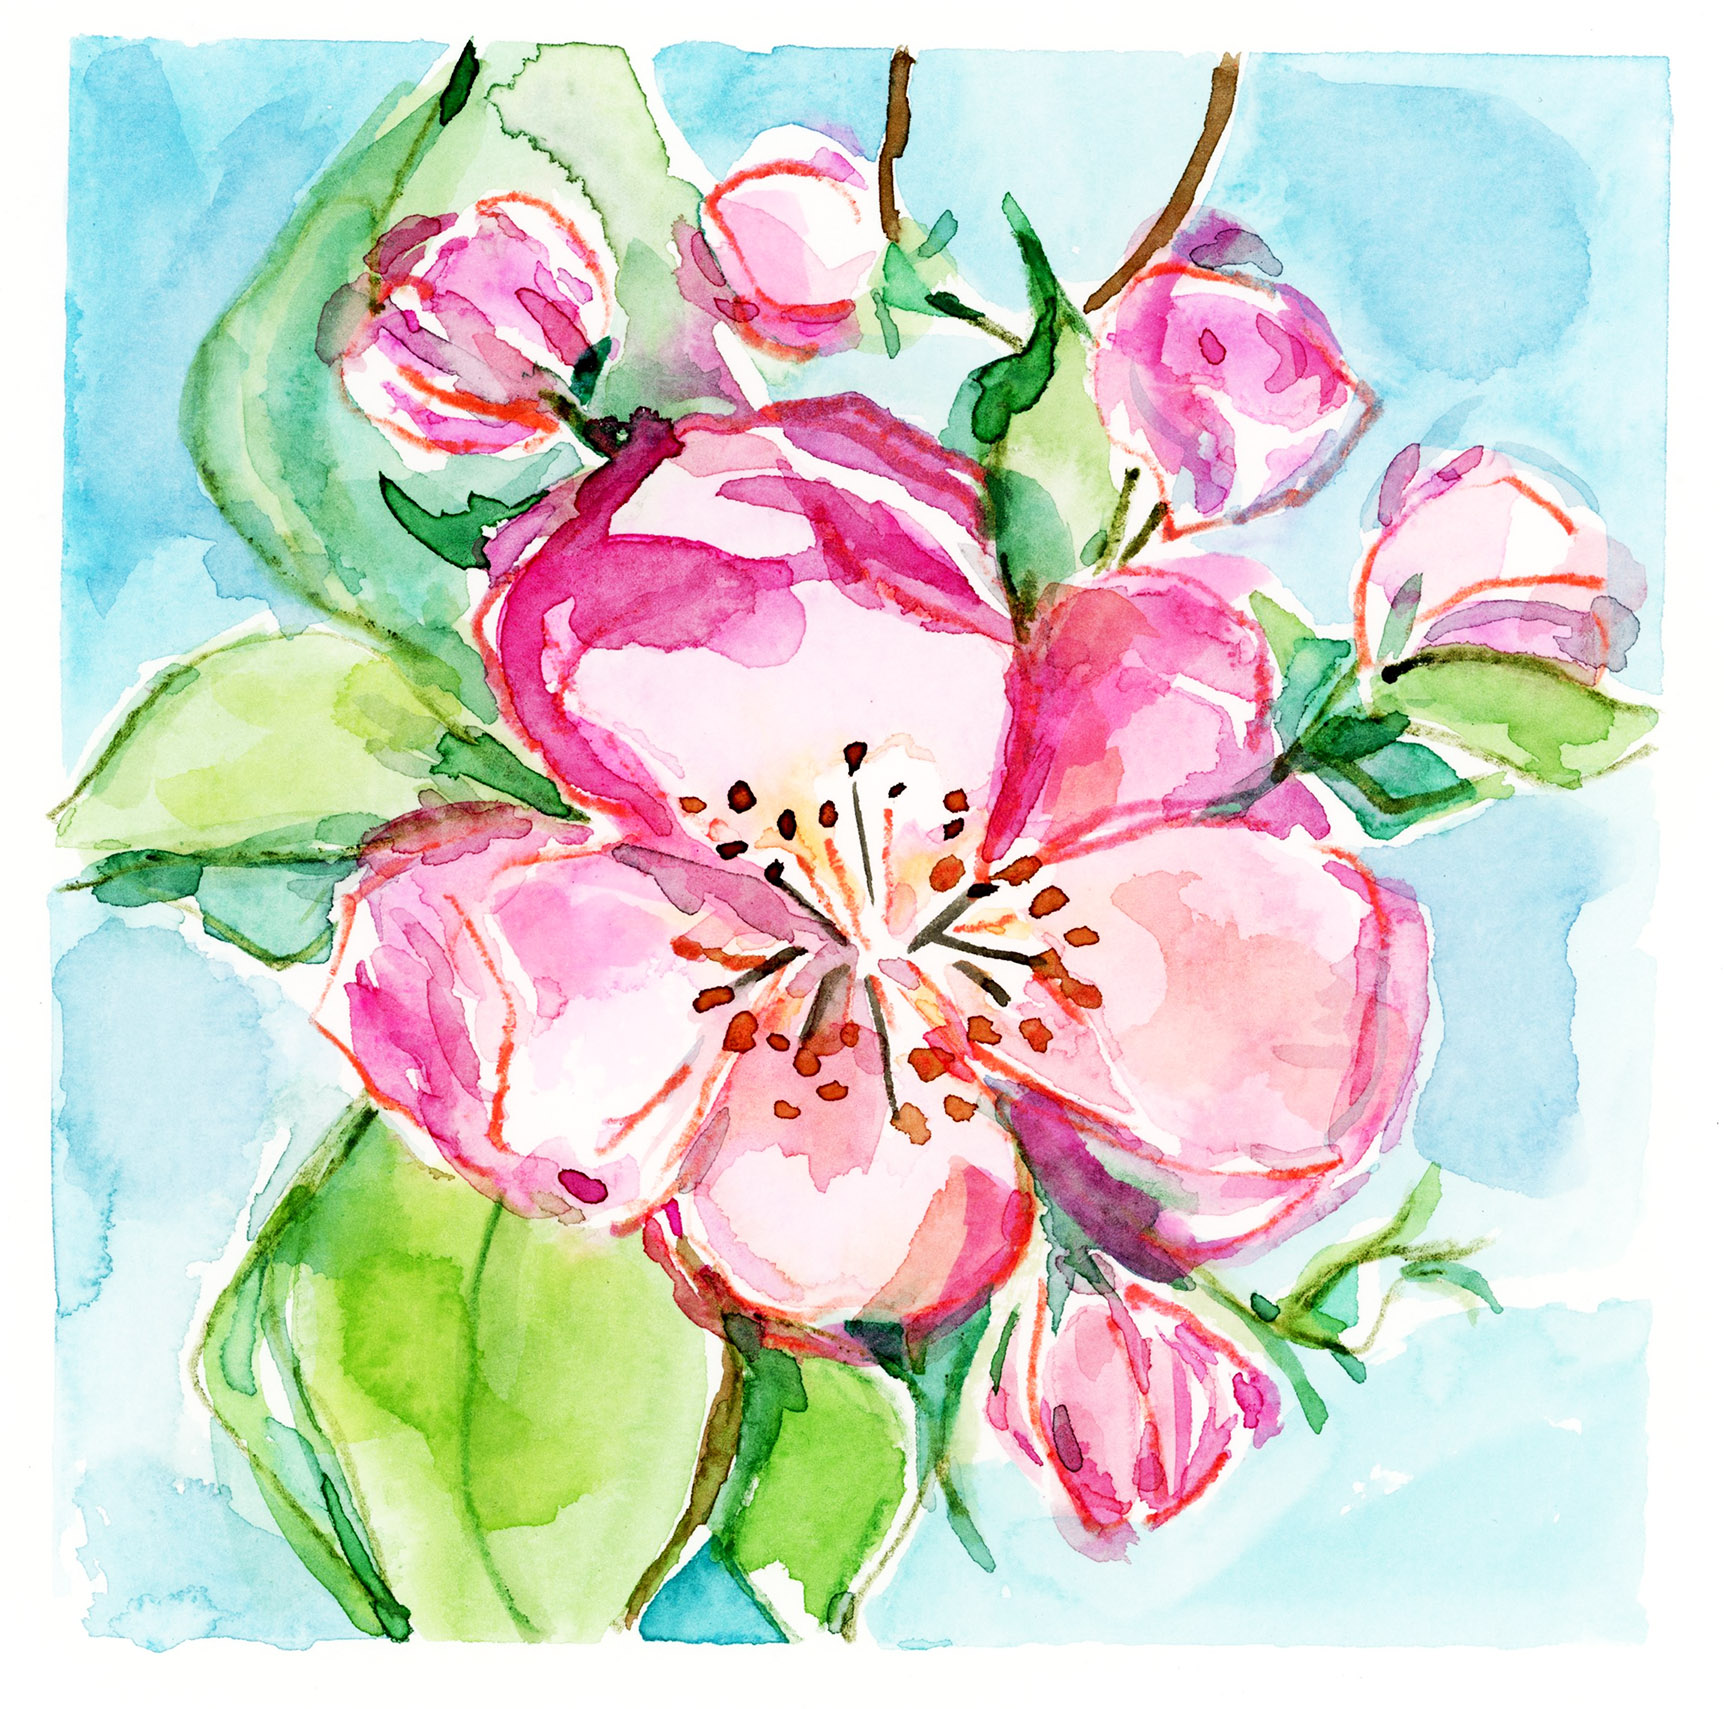
The Vintage Camellia stencil and mask was inspired by the layers of ruffled petals, delicate stalk-like stamens and large glossy leaves of this antebellum age flower. Upon closer study, Rae found that each heavy bloom was a festival of intricate shapes that changed into something new with each rotation of the stem. 

This stencil would be wonderful to use with watercolor paint to create soft ethereal florals, while the mask would be perfect for creating the peek-a-boo layers of a vintage garden. A gel plate and assorted mixed mediums make layering quick and easy. These stencils and masks would also be wonderful for use with inks, which when mixed with masks can create beautiful fluid lines and brilliantly unpredictable results.


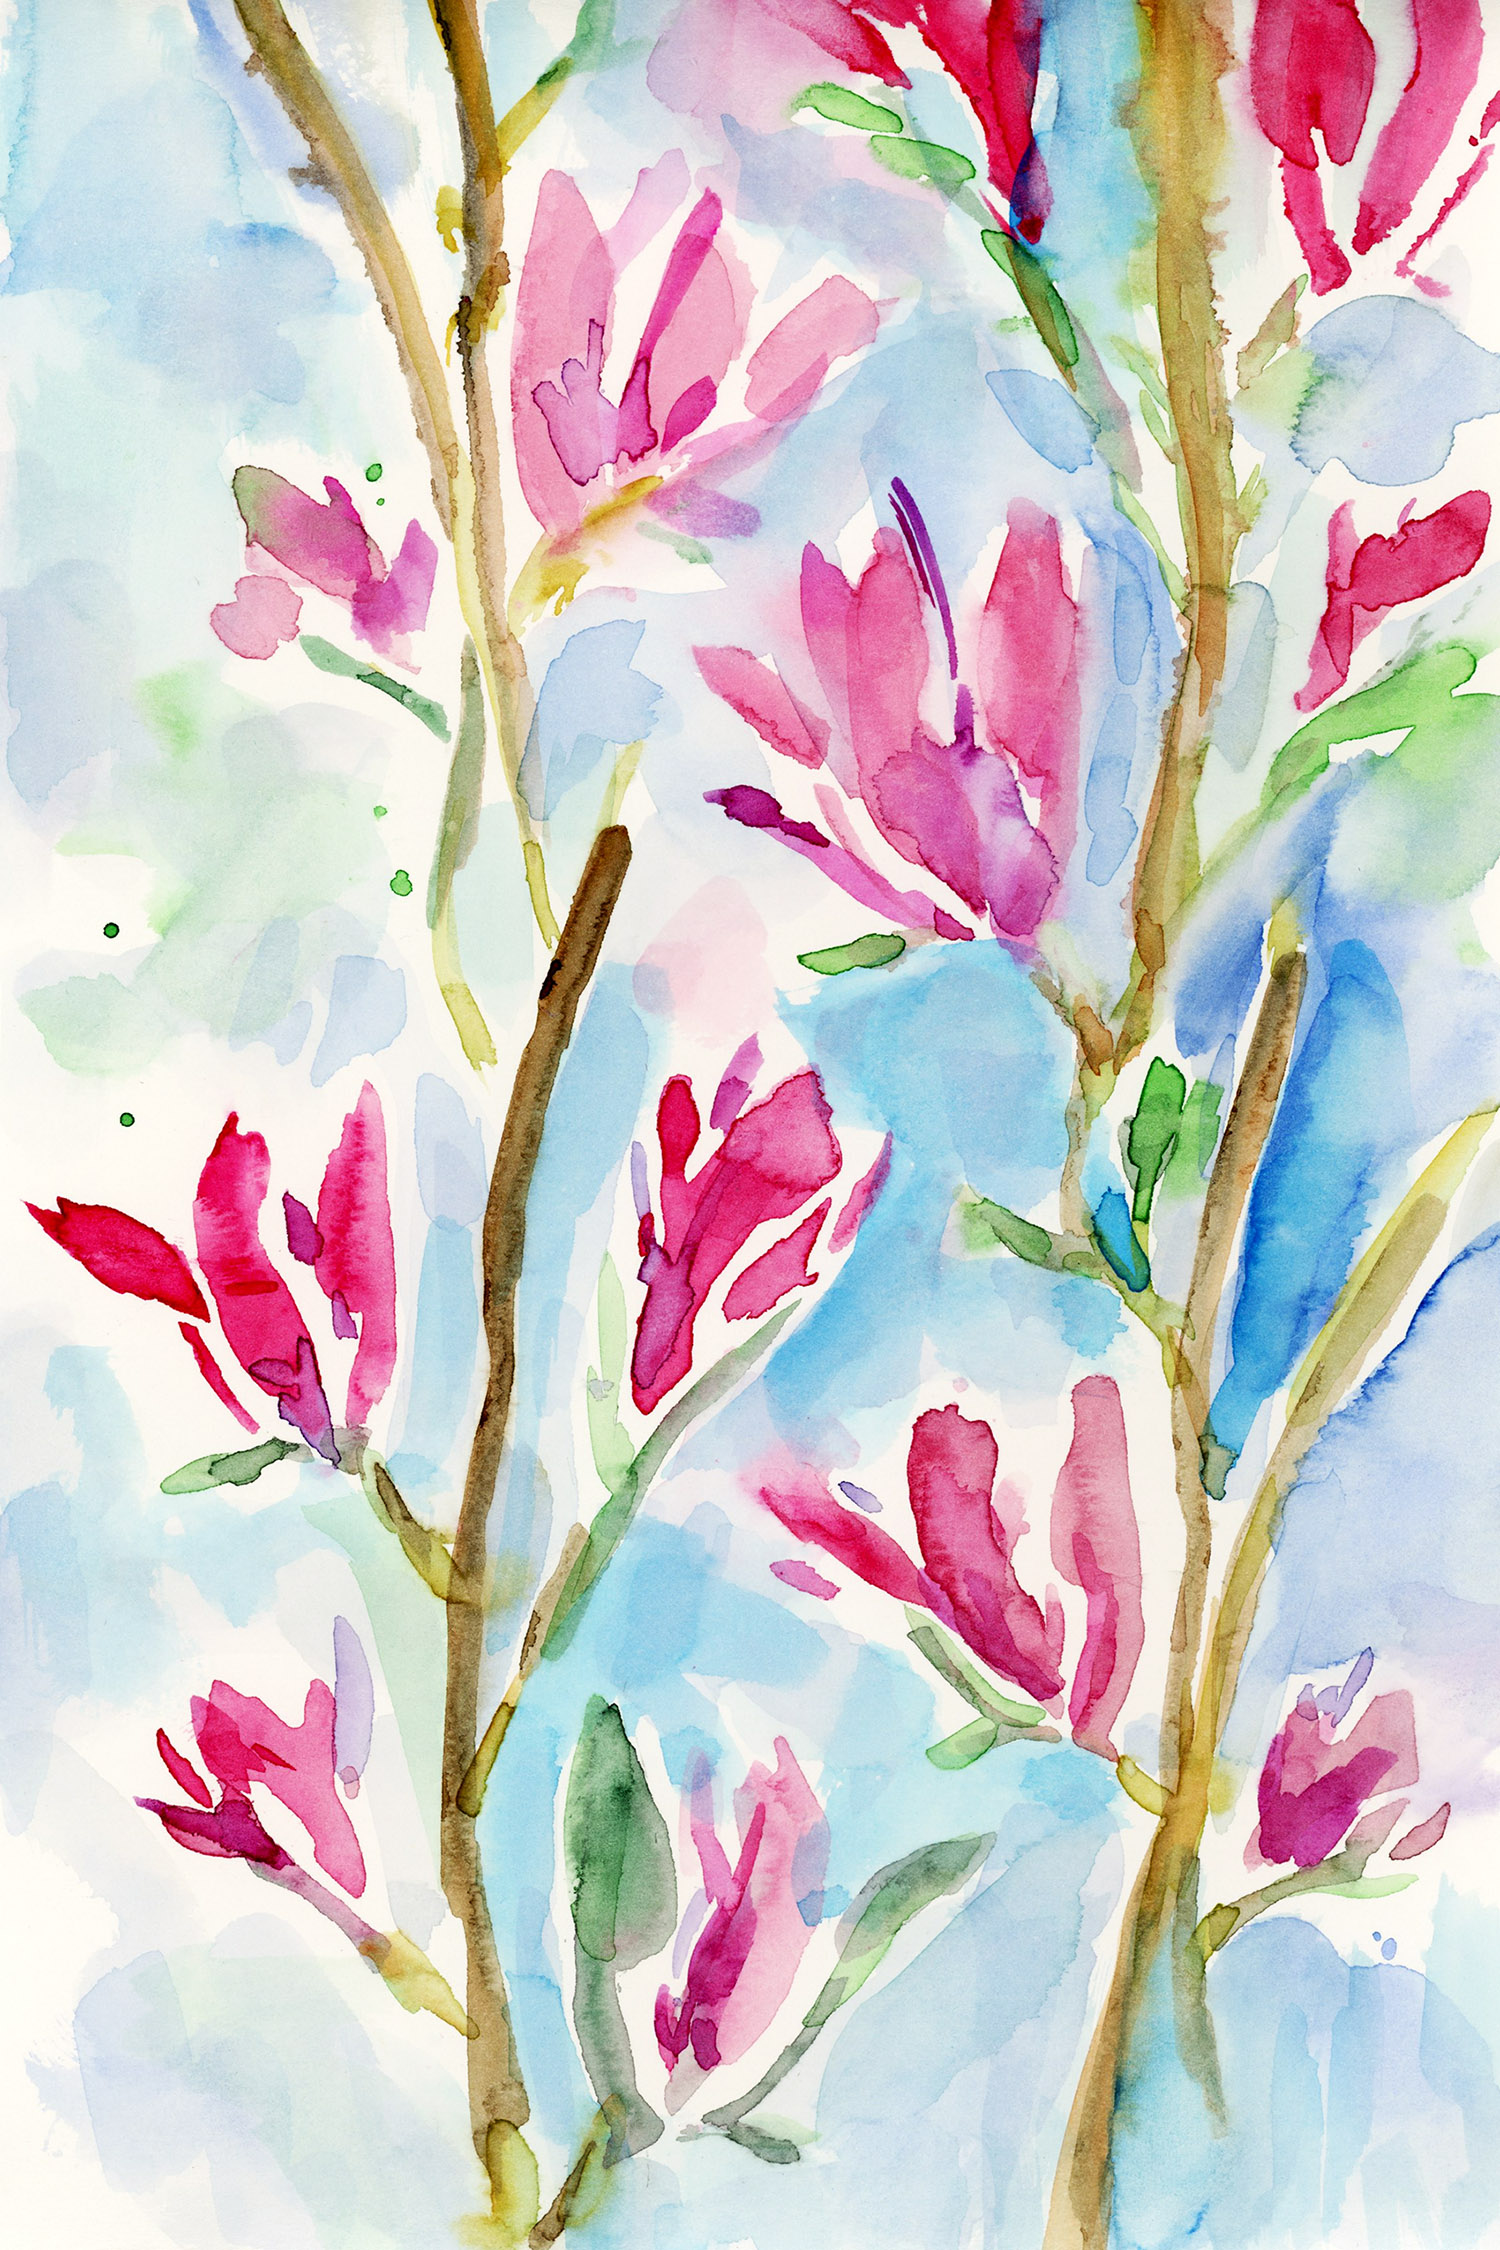
The Vintage Tickseed stencil and mask was inspired by this delicate blooms jagged edged petals and seed like center. First drawn it’s variegated colors Rae soon learned that up close, this bloom curved it’s florets this way and that begging to be seen. Long sturdy stems supported more curved ball like buds that made the entire cluster of flowers a riot of color and lines.

This stencil would be wonderful to use with watercolor paint to create soft ethereal florals, while the mask would be perfect for creating the peek-a-boo layers of a vintage garden. A gel plate and assorted mixed mediums make layering quick and easy. These stencils and masks would also be wonderful for use with inks, which when mixed with masks can create beautiful fluid lines and brilliantly unpredictable results.


The Vintage Coneflower stencil and mask was inspired by the vibrant drooping petals of this endangered native wildflower. While it’s cascading petals are what attracts most flower lovers, Rae, fascinated by the disk florets at the center of this bloom, gave these bud like centers a special place on this stencil and mask, making it perfect for adding buds to all of your floral stenciling.

This stencil would be wonderful to use with watercolor paint to create soft ethereal florals, while the mask would be perfect for creating the peek-a-boo layers of a vintage garden. A gel plate and assorted mixed mediums make layering quick and easy. These stencils and masks would also be wonderful for use with inks, which when mixed with masks can create beautiful fluid lines and brilliantly unpredictable results.


Rae's stencils are available now at stencilgirlproducts.com


Thursday, July 27, 2023

Fabulous New designs From Jennifer Evans and an In-person Workshop!

Check out Jennifer's latest designs and the Paint with Periwinkle Workshop Jennifer is co-hosting this fall in Colorado.  


When I begin an abstract, I usually start with mark-making. I create a series of expressive wide and rough marks made with charcoal or pastel, followed by thin and whispy pencil marks. Before the addition of paint, I stand back and look at the main shapes created by the overlapping marks. Although we recognize geometric shapes, I prefer a rougher, more organic look. These stencils are the result.


These rectangular shaped designs include spheres and curved intersecting lines. Use this stencil to block off areas by using just a portion, or the whole design. Play with negative space by adding color around the spheres. If you're working on a large substrate, continue building the abstract out from the center (like a web).


If you're working on a long vertical (or horizontal) canvas, stack these stencils on top of one another (or side by side) to continue the movement of lines. As you build your abstract, notice what you "see" -- what shapes could be combined and which should stand out? My example uses pastel and colored pencil to outline shapes for emphasis.


I love a square abstract. Especially ones that can be used on a 6"x6" canvas or on a Gelli plate. This abstract introduces triangles to the rough sphere shapes.


Cherry Blossom - S966


I love to paint cherry blossoms, both the full tree in bloom and the individual blooms. They are so vibrant and cheerful. Although this stencil could be used for any blooming branch by altering the color palette, my artwork sample is inspired by the traditional bright pink flowers.


This stencil design was inspired by yellow loosestrife from my mother's garden. It grows in a vertical spire. Yellow flowers always brighten the mood. For this design, I zeroed in on one single bloom (macro style). It's amazing what details you can see using the zoom feature on your camera phone or using a macro lens on a traditional camera.


Inspired by the point of view of looking up a single cherry blossom branch, this stencil can be repeated for a border. Use the design in typical fashion, then clean your stencil, flip it over and repeat the design at the top or bottom of your first imprint. (Refer to example for visual).


Jennifer's stencils are available now at stencilgirlproducts.com.


Thursday, July 13, 2023

Add the Beauty of Nature to your Art with these New Designs from Margaret Peot


Margaret has created 3 step by step tutorials for you using her new designs.  Be sure to scroll to the end and bookmark this page so you can reference it later. 


Everyone has a favorite bird that comes to their backyard feeder. What’s yours? Here are nine of my favorites: Cardinal, Carolina Wren, Sparrow, Chipping Sparrow, Goldfinch, Junco, Eastern Bluebird, Tufted Titmouse, and the Ruby-Crested Kinglet. These can be used as a printed pattern, but I think they are most fun cut into nine individual bird stencils. Use them for ATCs or to add a bird to a landscape, to a journal, or to make cards or prints for family and friends.


A friend showed me a dandelion blossom gone to seed and asked, “Do you see  the end of a flower or a potential wish?” This stencil is inspired, like my Tall Flowers stencil and Marsh Flowers, by the flowers I grew up picking along the fence row in Ohio: mallow, flax, painted daisies, and dandelions. This makes a good border in a journal, a cheerful edge along a tablecloth, and is varied enough to make a tangled meadow painting.


Learn the steps Margaret took to make this below.


Dogwood Blossoms - L977


These Dogwood Blossoms are in full bloom on delicate branches with small spring leaves just starting. This stencil is inspired by the dogwood trees that have bloomed lavishly this spring in New York after being frozen out last year. I love the way the petals are shaped, and that the flowers face up towards the sky.


Learn the steps Margaret took to make this below.


Bees as pollinators are so important in our lives. This stencil was inspired by seeing an open glass hive at the NY Botanical Garden’s Bee Festival. The stencil is a combination of different bees, as well as tiny flowers and graphic honeycomb-like designs. The bees can be used individually, or the stencil can be used to print an allover pattern on a tea towel or perhaps a gardener’s apron.


Learn the steps Margaret took to make this below.


Margaret's stencils are available now at stencilgirlproducts.com


The Tutorials

Dandelions and Lilies Tutorial 


I want to use the 9 x 12 Dandelions and Lilies stencil to create a painting that would look like the tangled meadow where I might have picked flowers as a kid. You can use these same techniques to create a moody journal page. I started by using ink, Ranger sprays and some spattered rubbing alcohol to make a textured background on a half-sheet of Rives BFK paper.


I added a paper horizon mask and sprayed a dark teal ink through the Dandelions and Lilies stencil, and let this dry.


Then I used semi-opaque Kuretake watercolors and a brush to add some colored flowers and foliage to the foreground.


I removed the horizon mask and added a couple more flowers to the foreground, and some more bright cream dandelion fluff here and there.


I drew into the painting with a Kuretake fine line pen and added iridescent green to finish the scene.


Dogwood Tutorial

I want to use the 9 x 12 Dogwood Blossom stencil to create a painting that would look like dogwood blossoms by streetlight—the way the flowers seem to glow in the night. I started by using ink and Ranger sprays to make a textured background on a half-sheet of Rives BFK paper.


Then I sprayed Ranger Distress Resist Spray through the Dogwood Blossom stencil, and let that dry.


After the Resist Spray dried, I sprayed it with a deep blue-black water based ink, and wiped the resist areas clean with a paper towel.


Using that same dark blue ink, I added some branches with a brush and the Dogwood Blossom stencil.


Then, I added some shadow branches and flowers with the dark blue ink spray.


Now for the fun part—adding the glowing white flowers! Using white and gold gouache, I added white and cream-colored flowers with gold centers to my nighttime scene


And some more flowers as well as a delicate branch.


Bees Tutorial

I wanted to use the 9x12 Bee stencil to create a stand-alone artwork. I started by using ink and Ranger sprays to make a textured background on a half-sheet of Rives BFK paper.


I cut a sunflower stencil with scissors and used it with Ranger Distress Resist Spray as well as a Ranger Spray Ink to lay in some sunflower blossom shapes. I unscrewed the top of the Resist spray and sprinkled some resist stuff across the surface of the paper, and let this dry before proceeding.


Using Kuretake watercolors, I added black, raw umber and gold through the Bee stencil.


And then with a small brush, painted some additional yellow and gold into the bee body stripes.


I decided to draw into the painting, using a Kuretake fine line pen to add detail to the sunflowers, as well as some vertical stems and leaves.


And then using a cerulean blue Prismacolor pencil, pushed and pulled the warm background of the bee painting.


I cut a little texture stencil to add some iridescent blue texture to the background, and also some gold texture to the sunflowers.