
Hello! Nicole here, and I don’t know about you, but I am so ready for spring! For some reason, this past winter felt really long, and I live in the southern part of the US where we typically don’t see a lot of snow. We did, however, have a really bad ice storm this year taking out many of our tree branches.
With that longing for spring as my inspiration, I grabbed my art journal and some stencils to begin creating. However, it was a struggle! My vision didn’t go as planned, I over-thought a lot, I made some mistakes that I had to fix. In the end, it came together, but there was a lot of problem solving involved.
I began by gessoing my journal pages. I used a journal that had a normal watercolor type paper on the left and a canvas page on the right, so I spread the gesso over to that canvas page a bit.

Next, I added a ledger page to each side with matte medium and some gesso on top.

Since I knew I wanted to use the thistle stencil, I grabbed a bunch of paints to make a purple-pink palette to match the color of thistles. I watered-down the paint a bit and allowed it to mingle on my pages, letting it to mostly flow horizontally. Since the thistle stencil has a vertical direction, I wanted to contrast this with the paint.

To add even more interest to the background, I used three different stencils. My process was the same for each application. I applied the paint through the stencil with a foam applicator in three different areas to create interest and move the eye around the page. Then, I “scruffed” the marks up a bit with my paint brush and extra water. I added a bit more watered-down paint and some splatters, too.
First, I used the plus signs from the ATC mixup art marks stencil with yellow green paint.

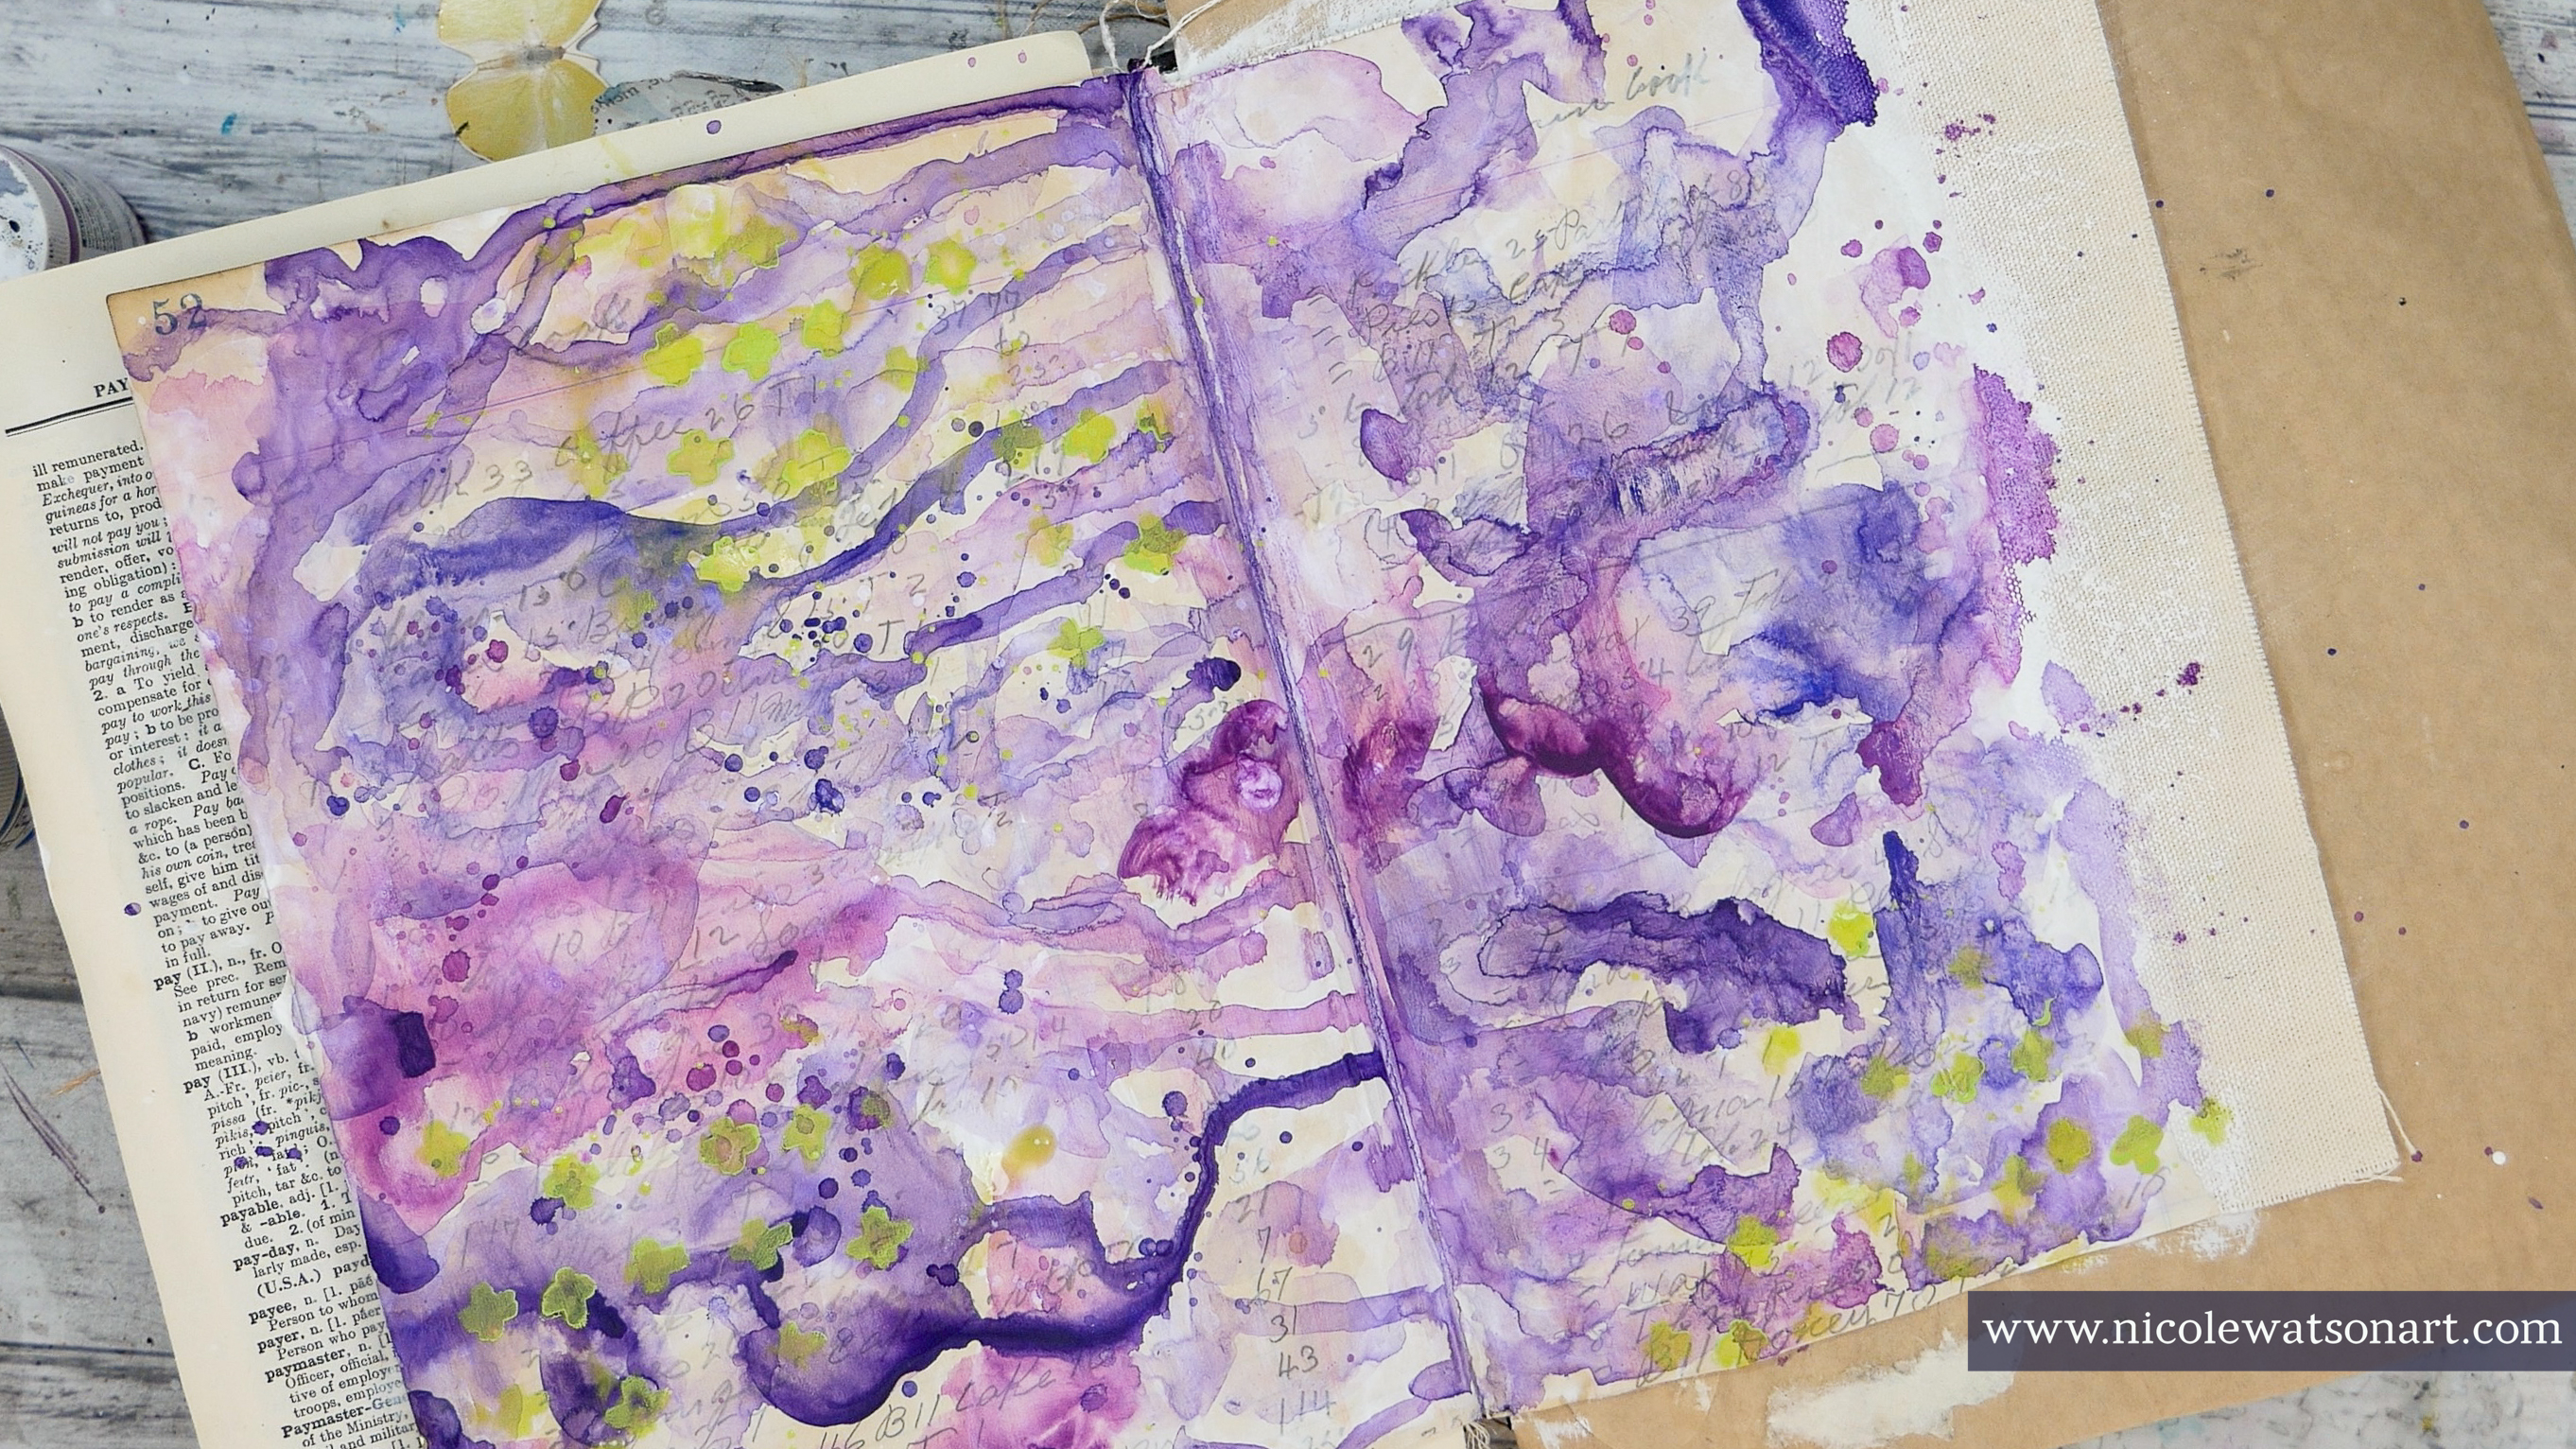
Then, the small lines from the Boro stencil with dioxazine violet deep.


Last, the circles from the interesting dots stencil with red violet. For this one, I stenciled a bit more so the circles would really flow across the spread.


I also circled around the stencil marks with the graphite and black stabilo all pencils and activated with water.

After all those layered stencils, I evaluated my pages and realized I needed more small lines. My eye was stopping and not moving around the pages, so I added a few more to the background.
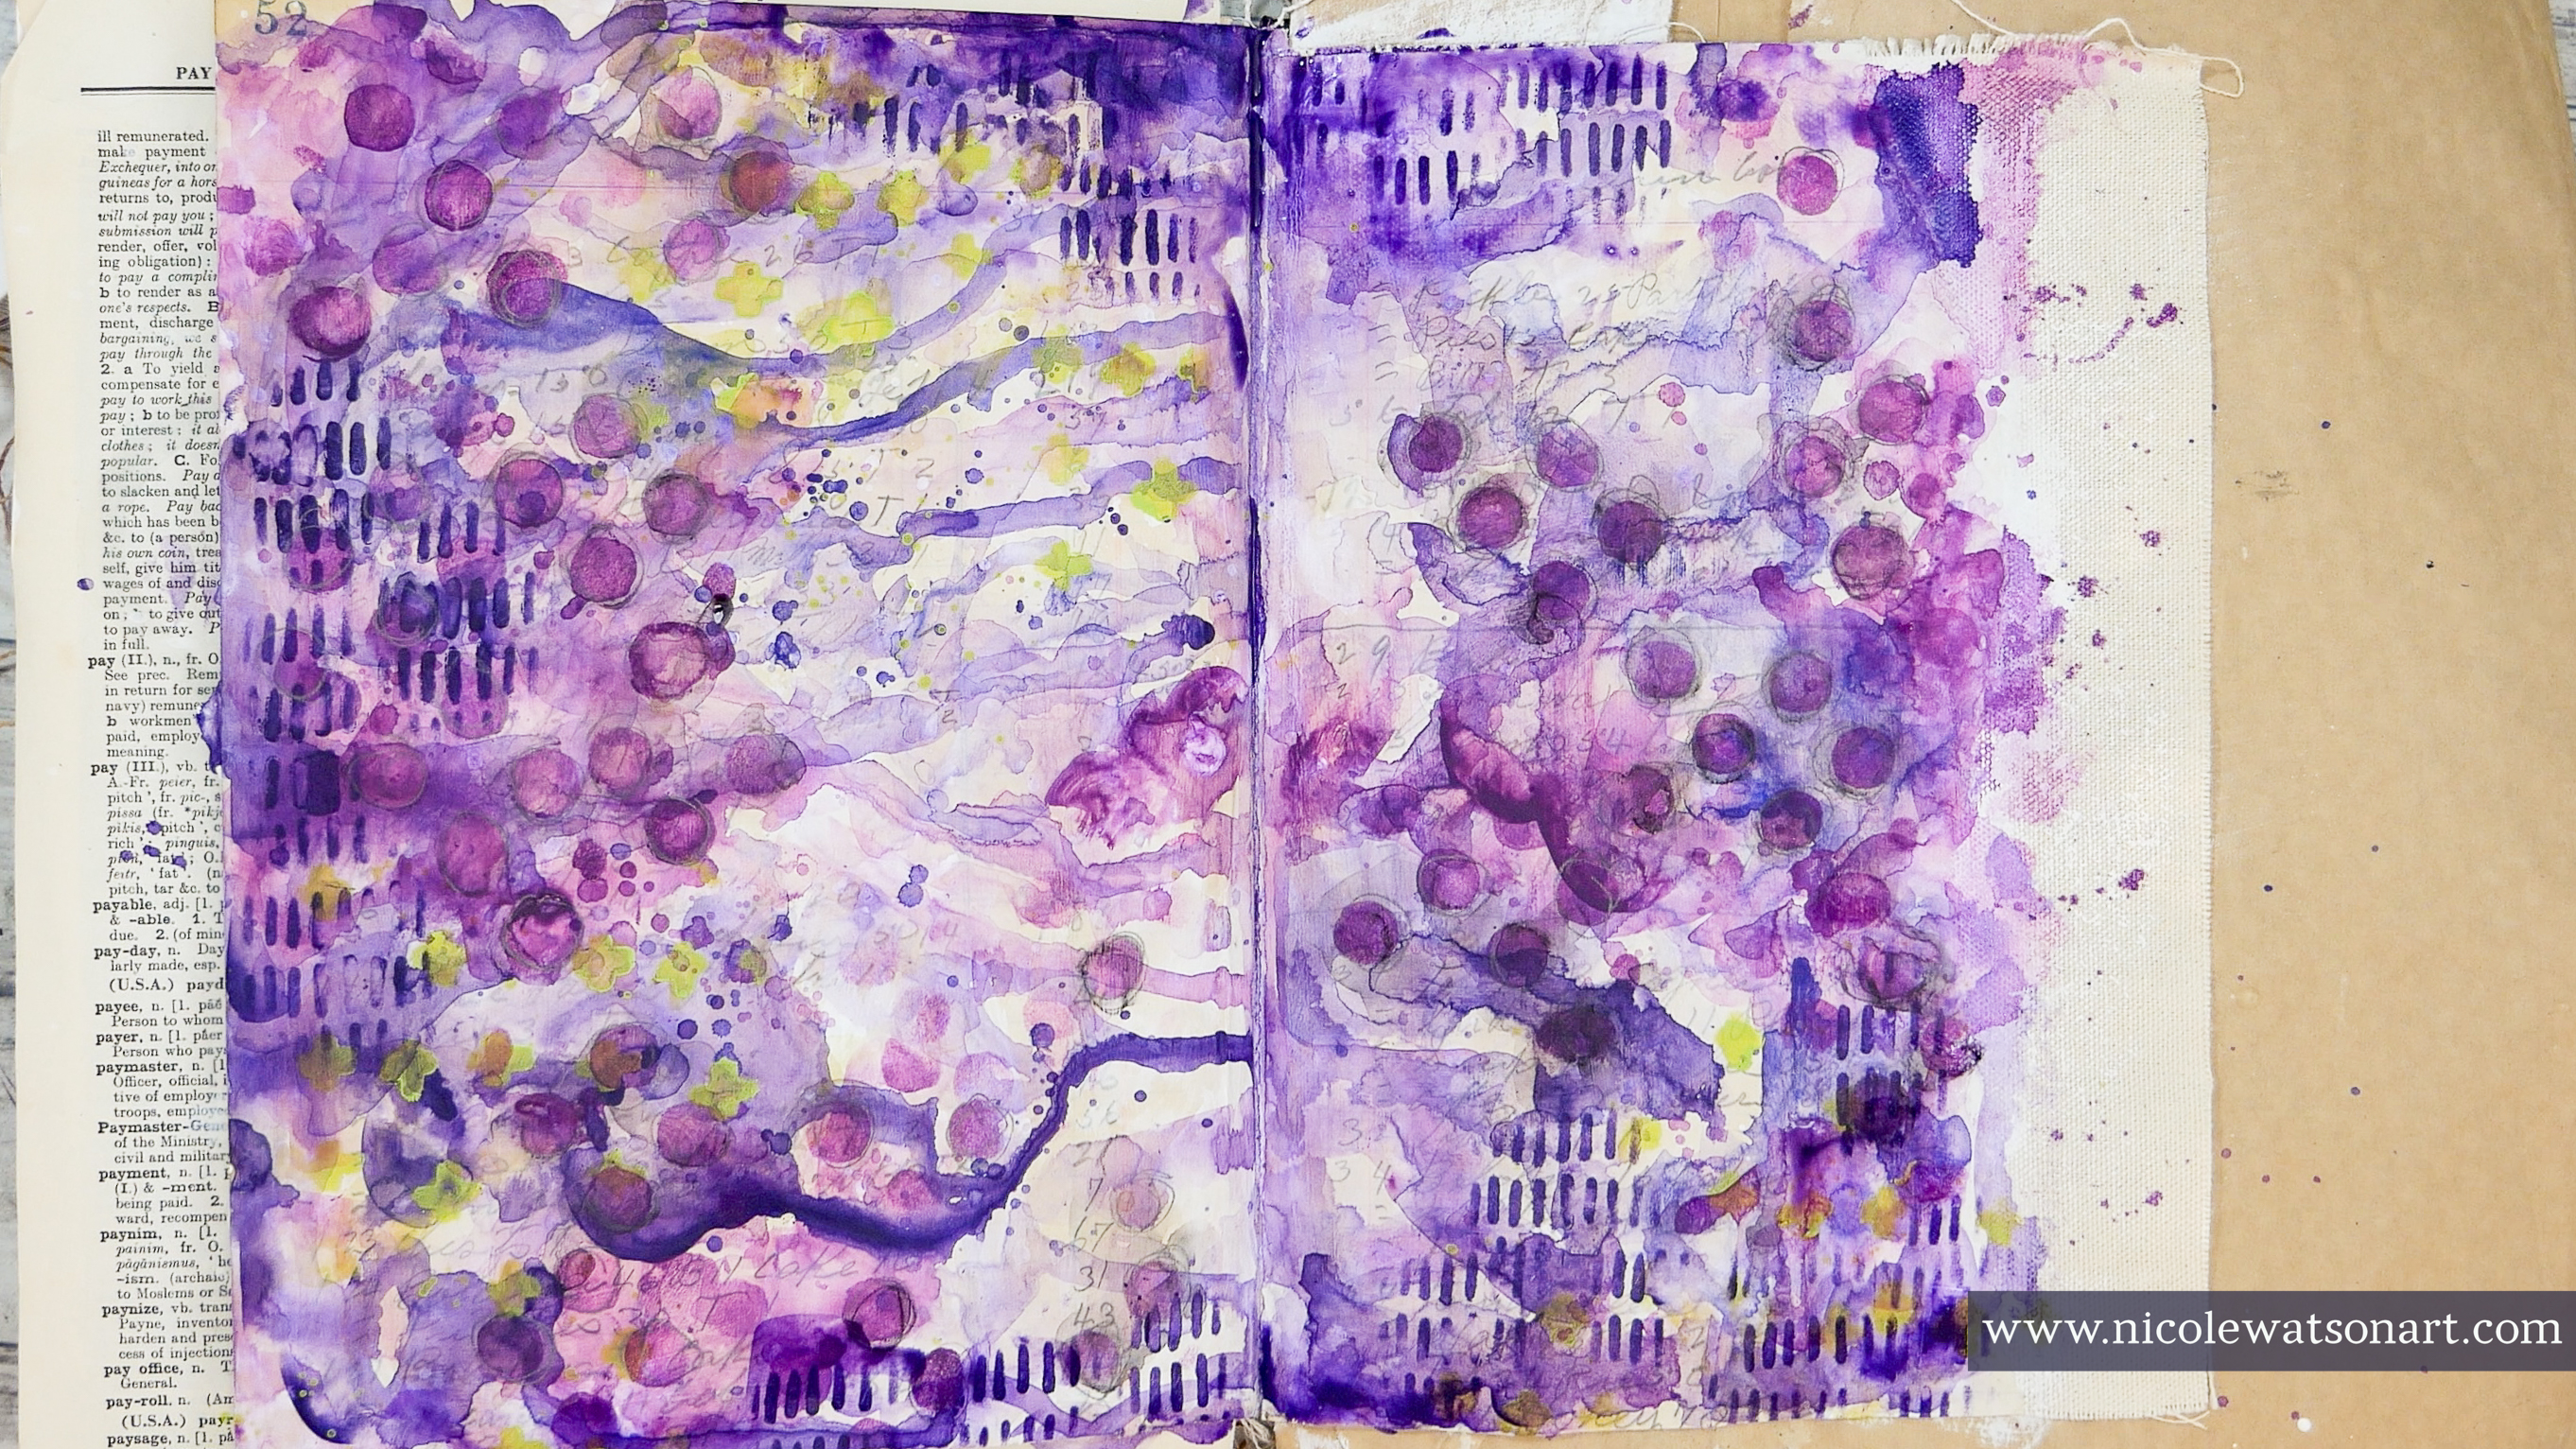
Now that the background was finished, it was time to add the thistles. I went back and forth on how I wanted to approach this, and in the end, I decided to use light molding paste. I spread the paste through the stencil to add the flowers to my page and allowed it to dry overnight.


The next day, I was indecisive again in how to color my thistles, but I decided to do some glazing. I mixed about two-thirds glazing medium with one-third Payne’s gray, applied it to the flowers and edges of my pages (scary, right?) and then waited about a minute.

With lots of baby wipes ready, I wiped away the glazing medium mixture. The glaze was left behind in the uneven texture of the molding paste and added a grungy hue to the outside of my pages. I wanted just a bit more, so I repeated this process with a little less medium and in specific areas that needed it.
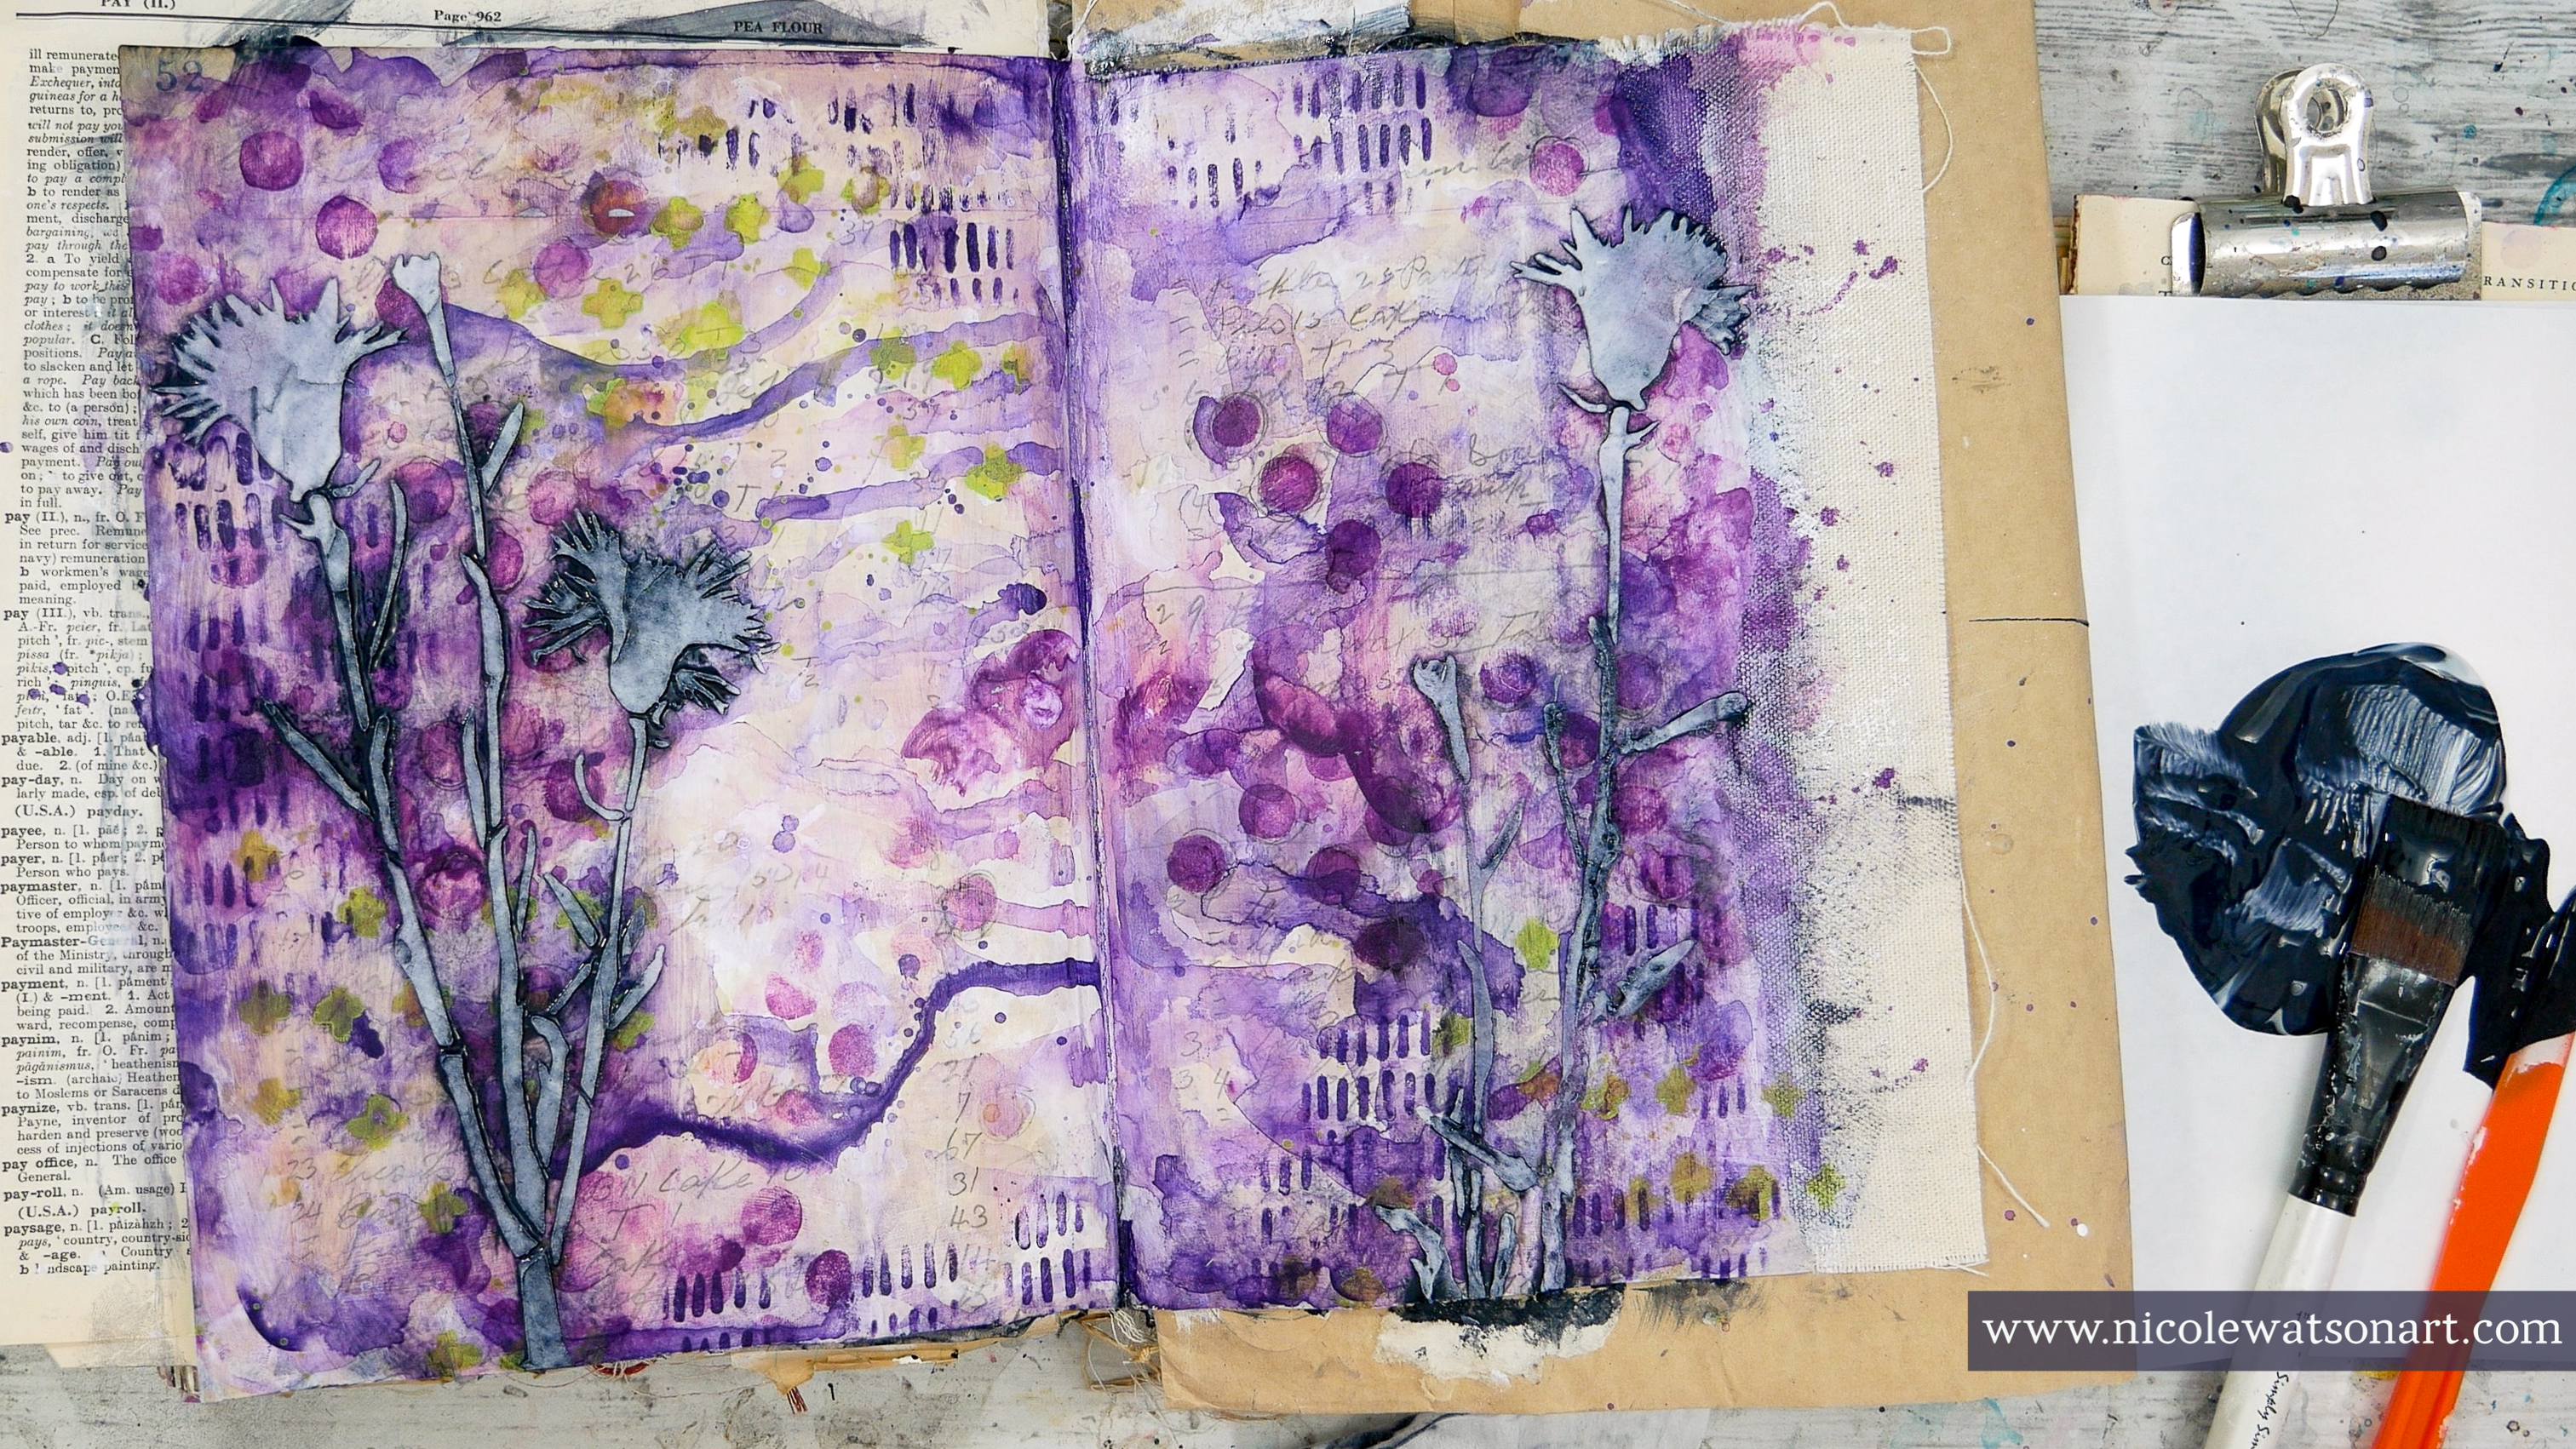
The flowers weren’t sitting right, so I made a bold move and painted them a bit with Payne’s gray and grabbed some walnut ink to add to them. I pulled some away with a baby wipe to add some highlights back. They were started to look a bit better.

I also added some walnut ink on my pages to warm them up.

Then, it was too warm and dark, so I added some light back in with watered-down gesso.

Bravely, I grabbed my fluorescent violet paint to add a bit to the flowers and some spatters to the background, too.

Then, it went a bit downhill. I think I was suffering from problem-solving fatigue, and I added to it!
I thought the canvas edge on the page looked funny, and wouldn’t it be cool to cut it off and have the rest of the ledger page on the next journal spread. Well, it didn’t look as cool as I thought it would, and I cut it all uneven.

After lots of thinking and pondering, I decided to just stick the pages together with matte medium. I fixed my cutting mistakes, then added some gesso to that ledger page.
I actually really liked that plain ledger page peeking out on the right, but it needed something. So, I used the thistle stencil to trace one flower with stabilo pencils and activated it with my dirty paint water, that was slightly purple at this point.

As a reminder to myself, I added a little encouragement that I cut from Dina Wakley’s typed ledger sheets and a chipboard piece as well.


Art journals are always a place that I play, explore and discover new ideas. I really like how all the stencils layered together on these pages. While these pages were a struggle, I also made a fun, new discovery.
The way the plain ledger with the simple flower contrasts with the darker pages is really cool, much cooler than my original idea. I know I’ll be using that technique again!

Grab some stencils and make your own discoveries today!
-Nicole

Connect with me on
Stencils
Supplies
- Dina Wakley Media Journal, black edition
- Gesso
- Matte Medium
- Golden So Flat Paint (blue violet, fluorescent violet, dioxazine violet deep, red violet, yellow green)
- Walnut Ink
- Light Molding Paste
- Stabilo All Pencils (graphite and black)
- Dina Wakley Media ledger sheets and chipboard
- Baby Wipes


