Showing posts with label Terri Stegmiller. Show all posts

Monday, November 6, 2023

Guest Designer Frieda Oxenham

Time to start thinking about gifts and as we all know hand-made ones are the best. So here is my suggestion:

1.     On an A3 sheet (11.7 x 16.5”) and using a permanent black permanent marker outline patterns onto the page with a selection of your favourite stencils. I used the large stencil of the April 2020 StencilClub, B stencil of the April 2023 Club, stencil 1 of the November 2022 Clublarge stencil from the June 2023 Club, the large stencil from the March 2021 club, as well as stencils ATC Mix Up Kerr, Crazy Dazey, MB CM Patterns 2021, ATC Mix Up 1, Verdant Moon, Straight Stems, Curvy Stems, and Buildings. Finally I used Large Bubbles to fill in any empty spaces between patterns. 

2.     Colour in the patterns. I used permanent paint markers, mainly Posca ones.

3.     Now fold the page to make it into a booklet. It helps to use a bone folder to make the folds nice and sharp. First fold the page in half along its longest length.

Unfold and fold width wise. Keep the page folded and fold one edge to the last fold you made. Do the same for the other side. Unfold the previous two folds but keep the first width wise fold folded. Cut from that fold to the next fold. Open up the sheet that now has a slit in the middle and refold it to the first fold you made. Pull the sides away from each other and the booklet will emerge.
If this all sounds confusing check it out on YouTube where there are many videos showing the process.

4.     Colour in the background of the pages. If you want to have the same colour background for all the spreads in your booklet you can do this before the folding, but I alternated between silver and black as my background so did the colouring after the folding.

5.     I rather enjoyed the peaceful process of colouring and folding so made another booklet using a red background for all the spreads using the stencils as in step 1.

6.     I then repeated the process using a smaller A4 sheet (8.3 x 11.7”) and made a selection from my smaller 6 x 6” stencils to use with a blue background.

I enjoyed making these booklets very much and expect that I will make a lot more of them. Using different stencils and/or background colours makes them all look very different as would using different colouring media such as watercolour.

© Frieda Oxenham 2023

Friday, June 2, 2023

New Art Tutorial by Frieda Oxenham with StencilGirl® Products

StencilGirl® Products has a wonderful selection of stencils to choose from and today’s project was inspired by a set of stencils that themselves were inspired by tiles. They are all sized 6 x 6” and designed by Laurie Mika. They are gorgeous and I used three of them in today’s art. Here is the tutorial:

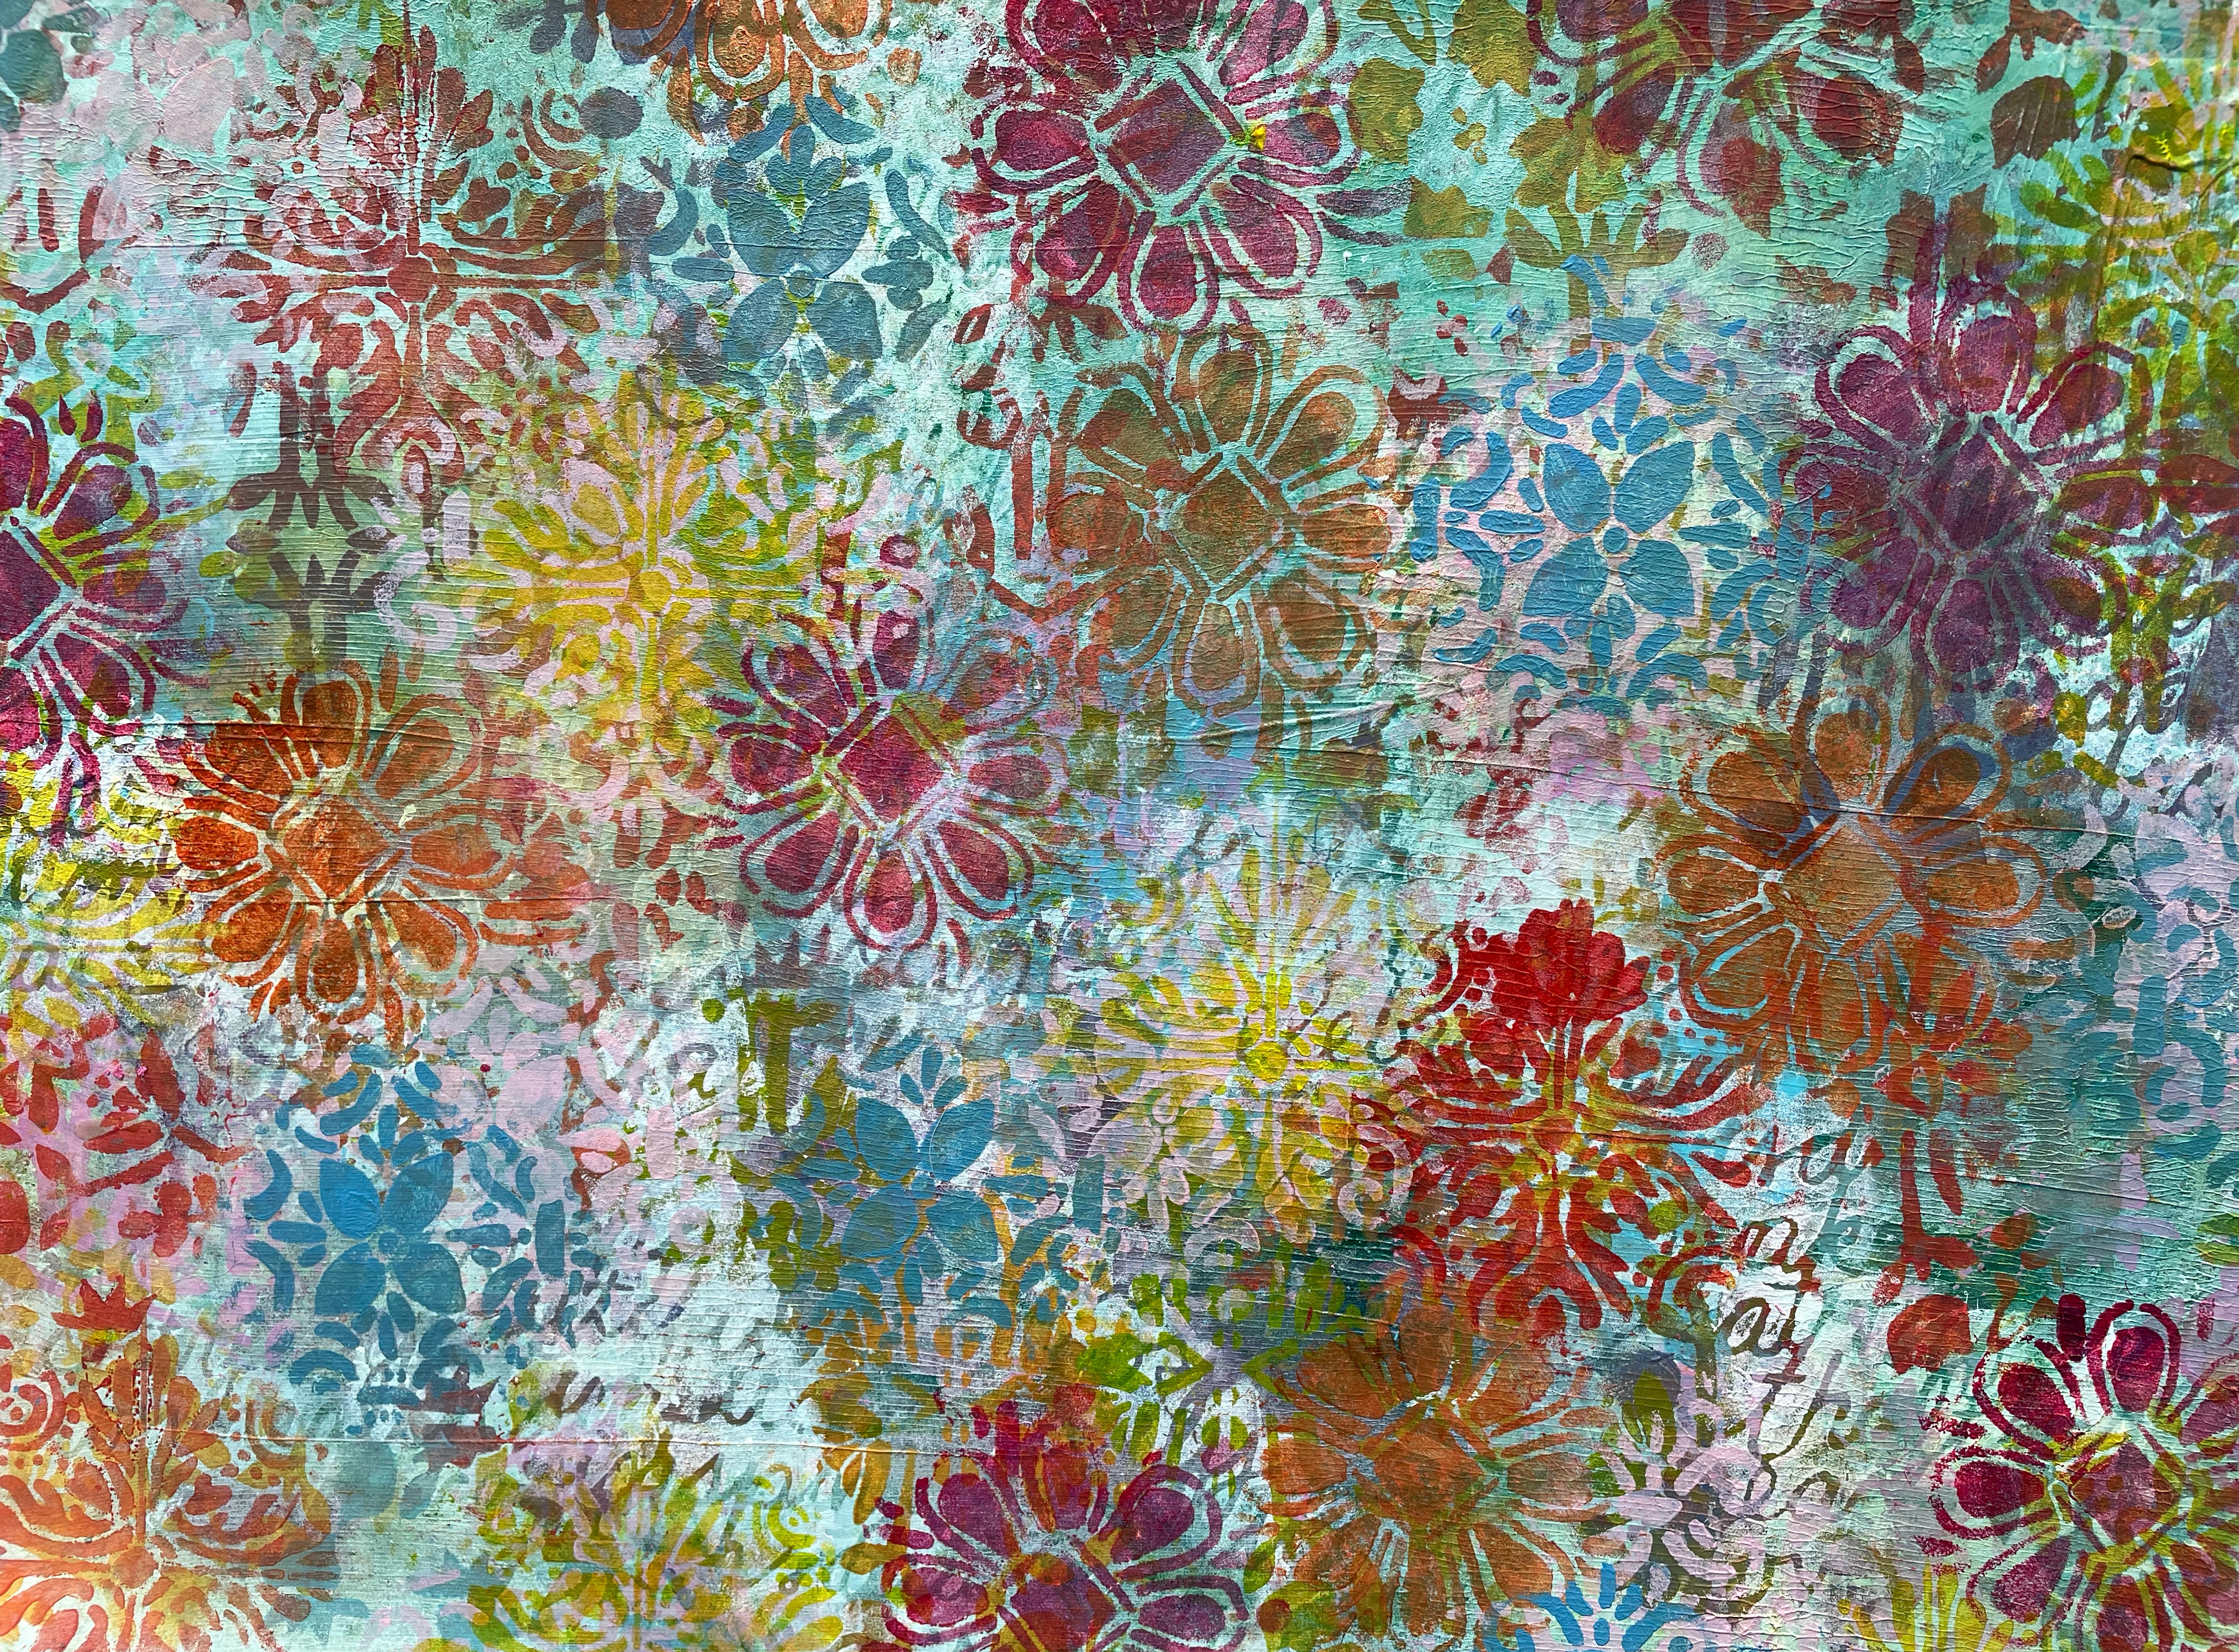
1.     Take a sheet of A3 sized (11.69 x 16.54”) watercolour paper and brayer on white gesso. My sheet was by Crawford and Black

2.     Spray the sheet with a variety of spray paints. I used mainly Lindy’s Starburst sprays for an extra bit of sparkle

3.     Stencil randomly through the text stencil from March 2023 StencilClub using Titanium White acrylic paint.


4.     Using a variety of colours stencil randomly over the sheet using a cosmetic wedge and stencil L921 Japanese Tulip Oriental Rug.


5.     Repeat step 3.


6.     Repeat step 4 but using different colours of acrylic paint and stencils S933 Lisbon Tiles, S932 Douro Valley Tile and S931 Cascais Tile.


7.     Using black acrylic paint and stencil L281 Bold Flowers, stencil on flowers pointing towards the centre of the page. To make this easier I cut the stencil into individual flower parts. I used 3 different sizes of flower.


8.     Add white text to the black flowers by putting the stencil pieces you used in step 7 on the black flowers and then adding the text stencil from step 3 on top of that and then stencilling with Titanium White acrylic paint using a cosmetic wedge.


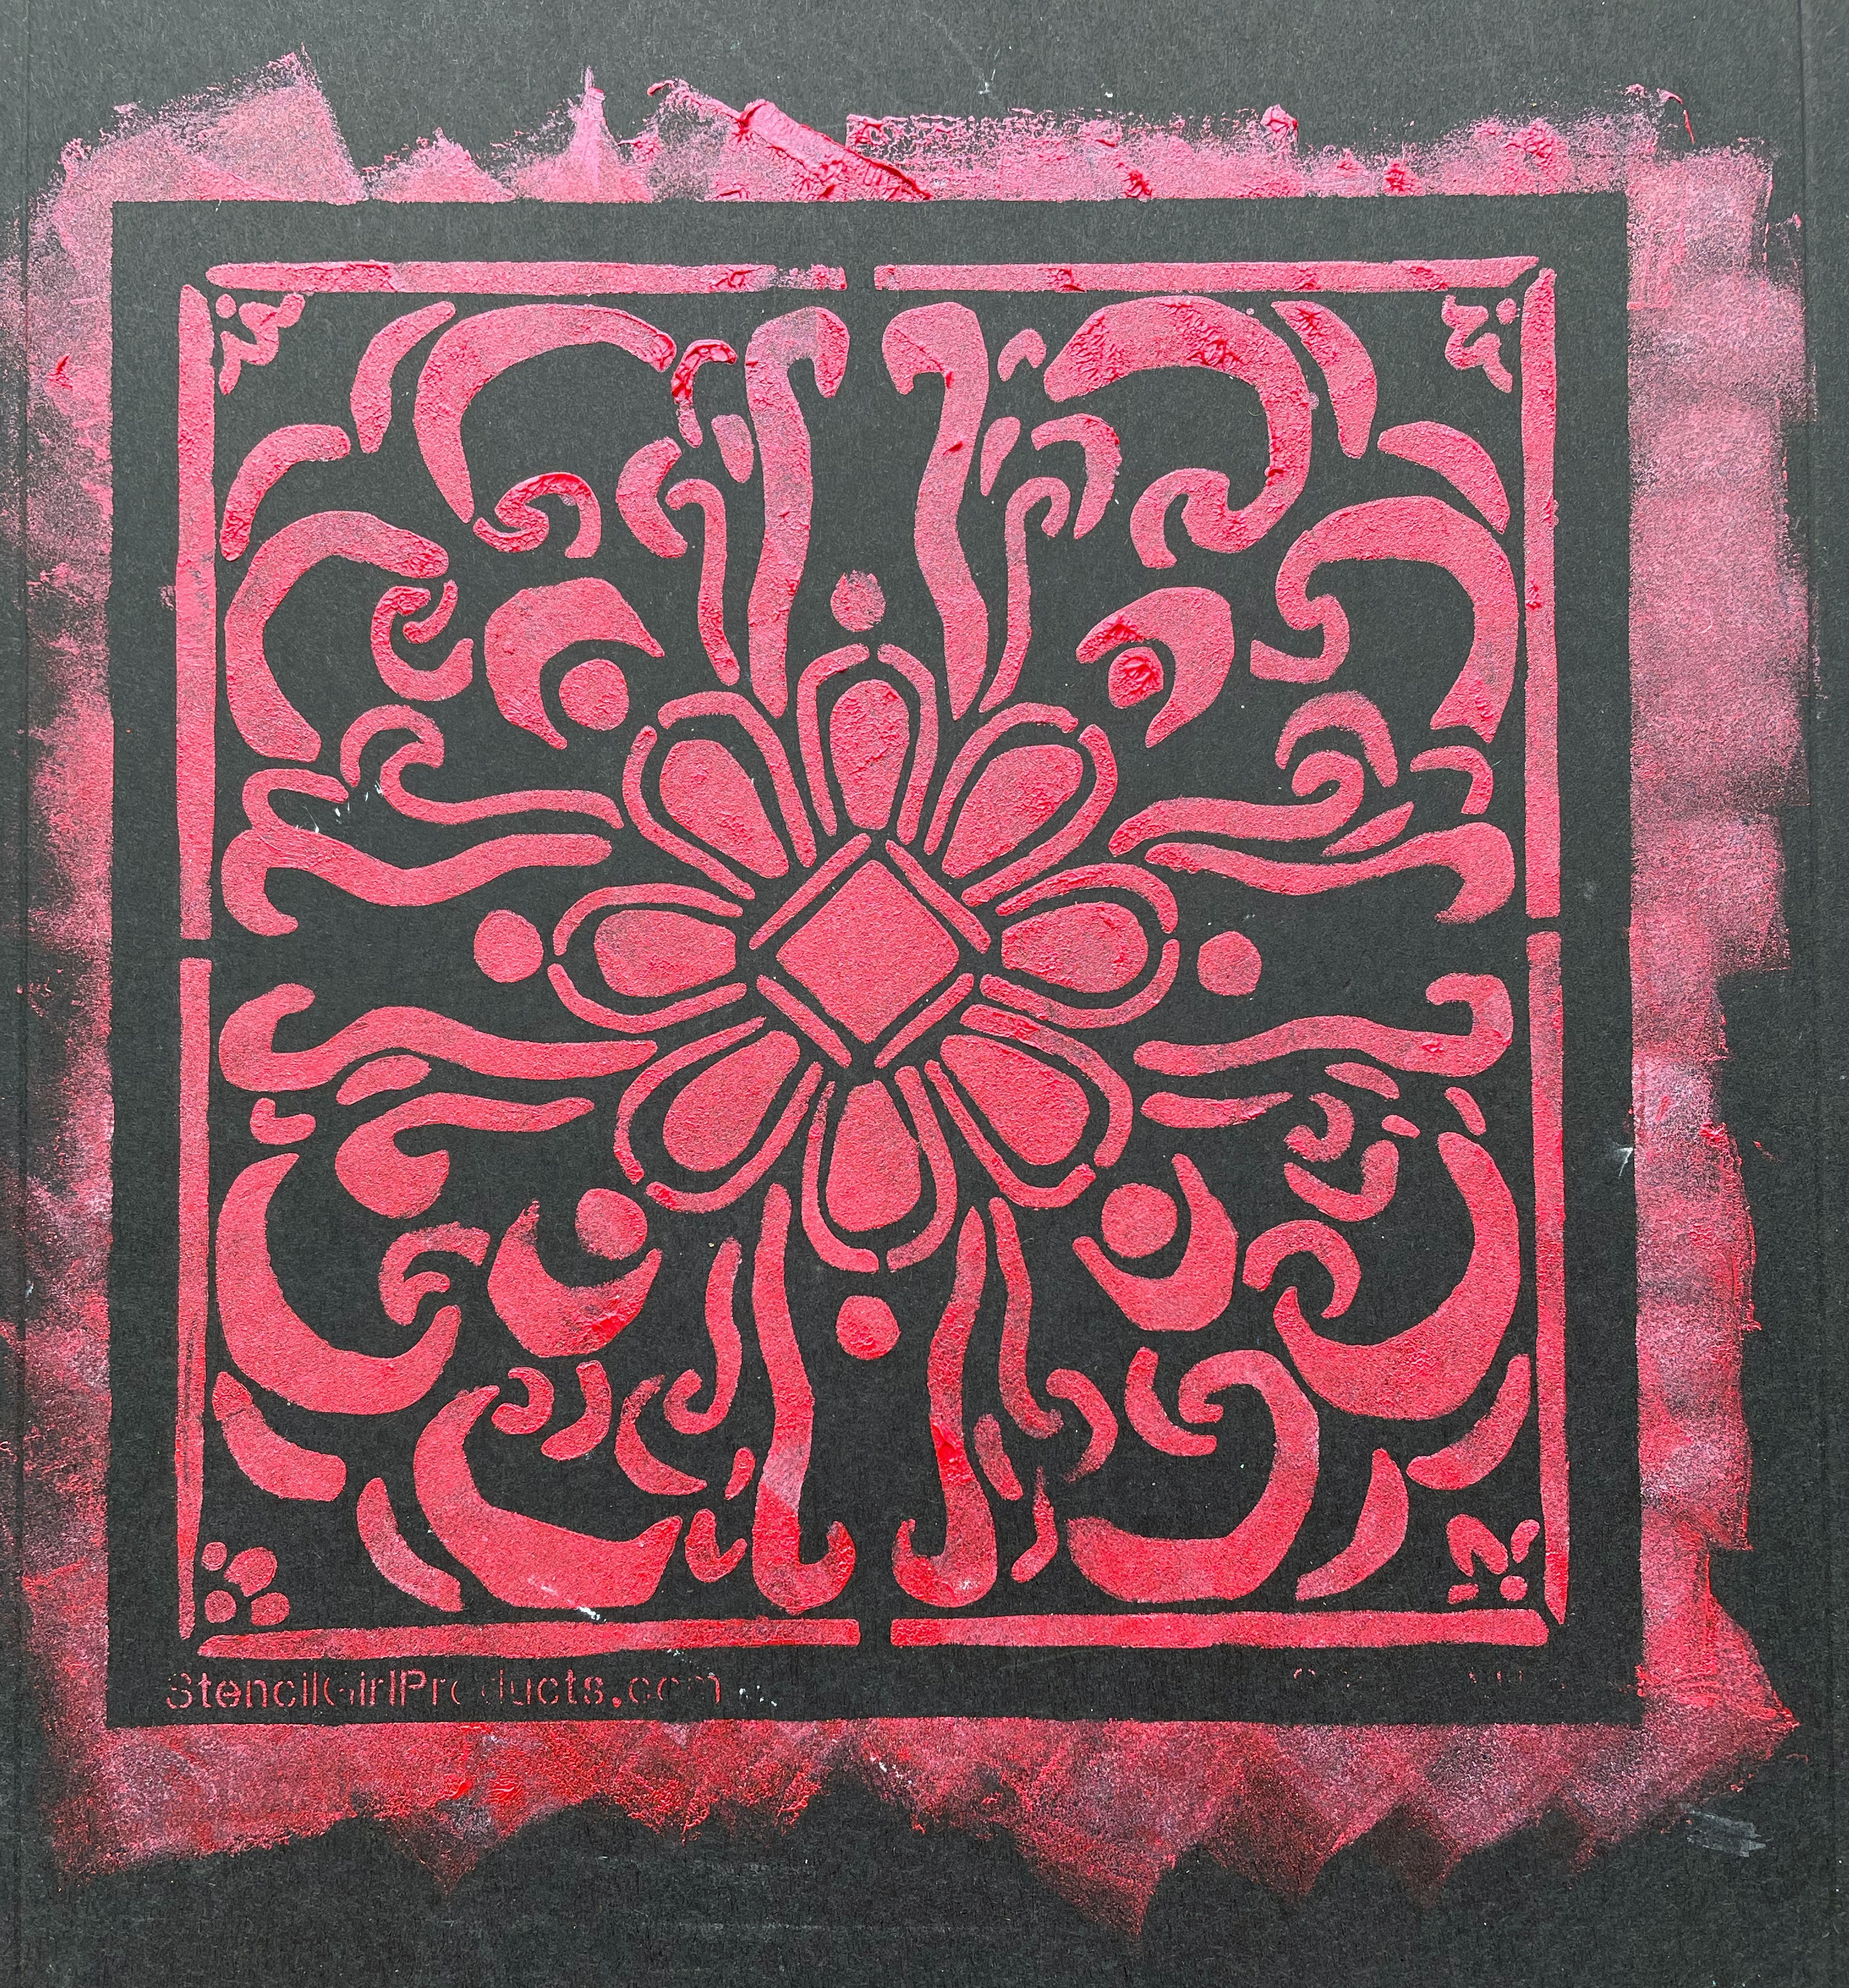
9.     Using stencil S931 Cascais Tile and crimson Stencil Butter paint, stencil the tile twice onto black paper.


10.  When dry, cut out the two tiles and cut one in half. Glue onto the sheet as shown. I used double sided tape, but gel medium will also work.

11.  Using the small alphabet stencil from the April 2014 Stencilgirl® Club and a red Posca (or other) permanent paint marker stencil on your chosen quotation onto black paper, cut out and add to the sheet as shown

12.  Using a white Posca marker, outline the tiles and the text.


13.  Add a black frame of approx. ¼” around the sheet with a black Posca marker.

©Frieda Oxenham May 2023

Wednesday, June 22, 2022

StencilGirl® Guest Designer: Kate Word

Hi everyone! I’m Kate Word, and I’m thrilled to be asked to be a guest designer for StencilGirl® Products today. I use StencilGirl® stencils exclusively and have been a club member for about a year. 


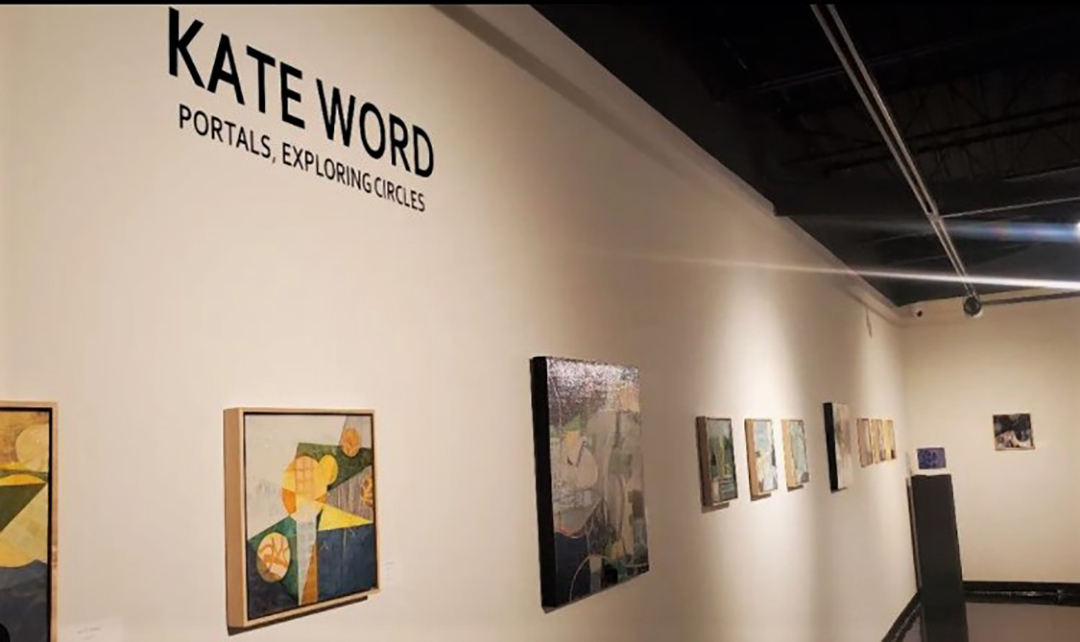
I used many StencilGirl® stencils in my artwork for my solo show in January 2022. The exhibition was part of my Best of Show Membership Award at my local art center in 2021.  

I am an abstract, non-objective painter, and I also create a lot of mixed media collage using my own hand painted/printed papers with my gel plate and stencils, of course. I paint mostly geometric shapes, their intersections, grids, lots of rich surface texture, and pattern. I love circles and have a new fondness for triangles! I describe myself as a woman of contrasts, a country girl living in the city, a mountain lover living by the coast. I find inspiration for balancing contrasts in modern architecture, nature, and textiles, and I intentionally juxtapose organic shapes with geometric lines and grids. Though some methods are calculated, I welcome intuition, spontaneity, and many accidental discoveries along the way. 


I had a year to produce this body of work for my exhibition. As I created these 54 pieces, my theme was “Portals, Exploring Circles,” and it was easy to incorporate my love of circles, emphasizing them with pattern or my favorite calligraphy stencils: StencilClub May 2019, Script Collection by Cecilia Swatton, Abstract Calligraphic Alphabet. Most of my artworks were 12”x 12” flat panels and framed with floater frames, but some were 8”x 8”, 20”x 20” and 24”x 24”. The largest gallery wrapped canvas was 48”x 60”. 


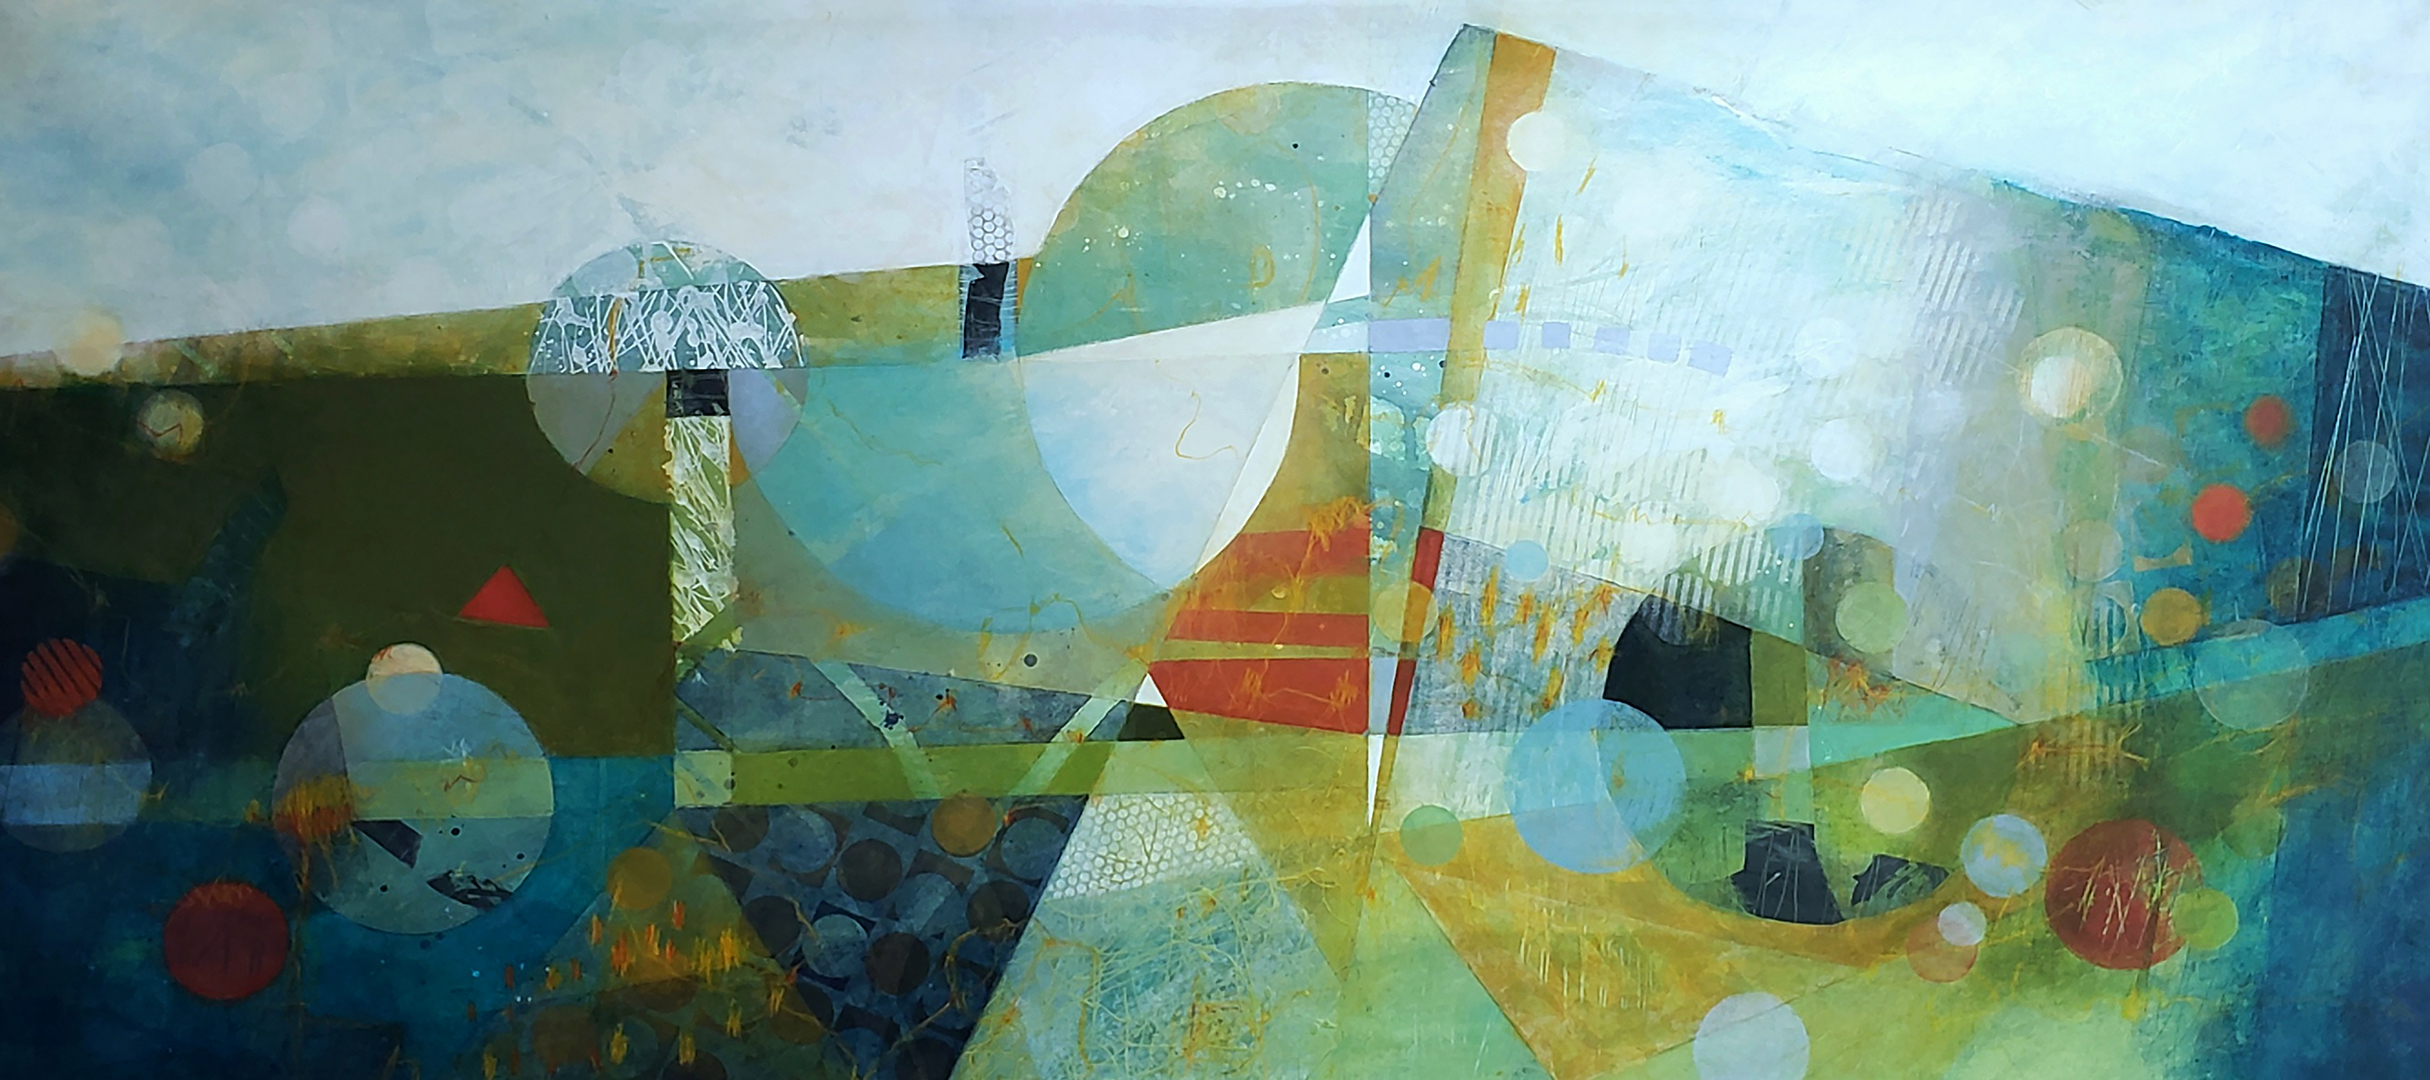
I never considered myself an abstract landscape painter, but inspiration for 12 paintings came from watching the Netflix series, “Moving Art” by Louie Schwartzberg, a world-renowned cinematographer. Three seasons feature episodes with mountains, waterfalls, crevices, plateaus, desert, and patterns in nature. One night while watching, I used a sketchbook to draw my impressions in very graphic ways.  


These images below show favorites from three series, “Summit I-VI“Brink I-III,” and “Fathom I-III.”  

For continuity, I used the same two stencils in all 12 landscape pieces, contrasting Cecilia’s script stencil with a simple grid stencil, Mary Beth’s Grid set 9. Here’s a YouTube video about my show if you’d like to see.


So, how was it to produce an exhibition, to work on a theme for a full year? It was a learning experience. It took discipline, consistency in my daily studio practice, activating my imagination to see my exhibit finished, a continuity with my color palette, and foremost, having fun with my process. With that fun, came boldness in my decisions, and then, of course, a confidence as I completed each painting and delivered my paintings on January 2 


A favorite mantra, “Less is more” was important after seeing a previous show in the same gallery that seemed heavy and overwhelming. I couldn’t get out of the gallery fast enough, and I certainly didn’t want my viewers and collectors to feel the same overwhelm! This show after all, was new work for me and I did want my former collectors to love my new direction as much as I do. And they did, 13 RED DOTS! 

What am I working on now after completing the show in January? Of course, I still use StencilGirl® products. I have a passion for layers in my work, paint, collage, stencils, paint, collage, stencils, repeat. Since I have a penchant for circles and triangles, I look for those shapes and patterns in combination with striations and now, botanical elements. Here are larger mixed media paintings I’ve just completed using Longwood Floral Stencil by Cecilia Swatton, Rock Wall by Mary Beth Shaw, Tire Tracks by Terri Stegmiller, Half Ring Squared Small by Andrew Borloz and Circular Patterns for Play by Carolyn Dube:

As you can see, I am still exploring circles and triangles, especially their geometric intersections, but in new and different ways. I think that’s the beauty of stencils. Soooo many possibilities and so little time to explore!  Happy painting! 

### 

About Kate Word:  

Since childhood, Kate Word found art to be a great friend. A native Texan and a product of the 60’s, Kate grew up on a family cotton farm and was influenced by Civil Rights, Women’s Rights, and the Psychedelic Movement. This “flower child” loved color and ALL things beautiful. Grit and faith melded the family history with her future making Kate a woman of many contrasts. 

Kate studied fine arts at Texas Woman’s University, and a backpacking trip to Europe in the 90’s with an art history professor fueled interests in cathedrals, cobblestone patterns, wrought iron gates, and botanical gardens, grand or small. Raising two children, living briefly in North Dakota, painting murals in CA, and operating a weaving studio in Taos, NM have all contributed to her artistic expressions. Kate traveled widely and explored the mountains and high deserts of New Mexico every year until she returned to Texas with her husband, William, who is sight impaired. She intentionally creates large paintings with bold and saturated colors so that he can enjoy her artwork.