Showing posts with label artful holiday. Show all posts

Friday, November 29, 2024

From Autumn Leaves to Christmas Trees!


Hello, friends! Nicole checking back in with an out of the box way to create some holiday/Christmas cards this year. (Plus, a couple extra ideas as well!) Can you believe we’re just a couple of days away from December first? This year has cruised by! Wasn’t I just creating last year’s cards? 

In case you missed them, I made these fun tree cards using stencils and a gel plate last year:


I really enjoy making cards to send for holidays and coming up with a new idea for each year. Back in October, I created some fun fall décor using the Autumn Leaves stencil. As I was cutting out all the leaves, I realized how perfect the shapes were for Christmas trees! I just had to use this stencil again, but instead of the “as-designed” leaves, I’m making trees!


Like my last tutorial, I knew I wanted to stencil on vintage papers. Thankfully, I already had a pile leftover, so I didn’t need to make more. I also had a sheet music page leftover from another project that I thought would add a festive feel to the trees.


If you’ve never lightly gessoed vintage papers before, it’s really easy. Simply add watered-down gesso to some old book and ledger pages. This does a couple things. It adds some integrity to the sometimes-brittle pages and allows for a better surface to paint on. Since I don’t want to cover up the text and I don’t need a thick layer of gesso, I water it down. You can also use clear gesso. Since I didn't create any this time, here are couple pictures from my wildflower greeting cards post:


To make the trees, I grabbed shades of green paint, an applicator and began to play. This is a fun, simple process but does require some patience. The Autumn Leaves stencil is a bit more delicate, so sometimes you have to hold down parts of it while you stencil. 


For my first trees, I created an ombre design using white. First by adding a green, then using the white and blending back with the green and even white again if needed.


I thought I’d use a different green and design in each tree (leaf) style, but as I began to play, I decided to keep the same greens in each tree. Don’t worry, I’ll use these first leaves in a different way.


For all the trees, I simply blended a different green or three. 


Tree One:

I filled the entire shape with a lighter green and then went back and added some dark green in spots to give the tree some dimension.


Tree Two:

I stenciled with the lighter green on the top and darker on the bottom.


Tree Three:

I used one color in the center and the other color on top and bottom.


After they dried, I cut them out of the vintage paper and grabbed some green card stock to give them a border. I chose a different green for each design and stuck them down with matte medium, front and back, and then also added another layer on top for extra protection.


When the matte medium was dry, I grabbed some brown paint and went over the leaf stems to make them into brown tree trunks.


I also I added some red berries to one design with the end of my paint brush. 


Then, once they dried, I had to cut them out again.


Look at all those trees! Now, let’s turn them into cards! I used a ruler to make sure the middle tree was centered and then used some dimensional adhesive to pop it up from the card. For the other two trees, I just used a tape runner to stick them down.


After all the trees were added to the fronts, I spattered watered-down gesso to the fronts for some snow. 


I also added it to both sides of the envelopes.


There are so many other fun things you could add to the front of these trees! A star on top, pinecones, different colored dots for lights, ornaments or even a little bird. I decided to keep mine simple. I might add a sentiment on the front closer to sending them out. Last year I typed “Merry Christmas” on my typewriter.


After all those cards, I have a few leftover trees including the first ones I stenciled. Here are a few more ideas to use up any extra trees or have an excuse to make more!


Make Gift Tags


Punch a hole in the tree and grab some bakers twine or ribbon to loop inside for a tie. You can tie it on a package or gift bag. All you have to do is write your to and from on the back, and you’re ready for gifting season.


Ornaments


Created just like the gift tags above, but hang them on a tree, evergreen garland or wreath.


Create a garland


Grab some bakers twine or thin jute and string them up! All you have to do is punch a couple of holes in each leaf and add them to the string of choice. Check out my October post to see the fall version of this idea.


Make a mobile or wall-hanger 


Similar to the garland, string some to dangle from a branch, old paint brush, vintage wooden spoon, or anything you can think of! You could add some beads or other winter/holiday-themed items. I made one back in October with the leaves that still hangs in my husband’s office! 


You can watch how I made the cards in the video below:


 Happy Holidays!

-Nicole


Connect with me on


Stencil

Autumn Leaves


Supplies for the trees:

  • Gesso
  • Vintage book and ledger papers
  • Matte medium
  • Green, White, Brown, Red acrylic paint (I used Golden's SoFlat)
  • Scissors
  • Card stock
  • Palette paper
  • Round applicator
Extra supplies for projects:
  • 5x7 cards & envelopes
  • Adhesive of choice (tape runner or glue stick)
  • Foam tape or adhesive squares 
  • Bakers twine or another string of choice
  • Hole punch


Tuesday, December 19, 2023

Gel Printed Holiday Tree Cards


Hello! Nicole here back for my last blog post of 2023! What? This year has flown by, hasn’t it? If you’re anything like me, it’s the middle of December and you either ran out of time or completely forgot about sending some holiday cards. I always like to have a few on hand for neighbor gifts and friend get-togethers plus some for mailing.

Ever since I began making my own cards, I just can’t purchase them. I think that also adds a bit of pressure to create a work of art on a card. 

Recently, when I was playing with some StencilGirl® stencils, I applied paint through the Butterfly Rouen Tile stencil and thought it looked like snow and/or the pattern on one of those ugly Christmas sweaters. I immediately wanted to spray paint white through it and brainstormed how I could make that work for a card design. Then, it hit me. Trees! 


I could add some trees and make a snowy winter sky background. So, for this year’s card I had the idea to gel print some papers and turn them into trees with the spray-painted background of course!


My first step was to gel print a variety of papers in all shades of green. I wanted to layer different patterns, colors and sizes of trees in the foreground.


I printed on white and kraft colored card stock to add to the variety and for a tiny bit of pop and thickness to the trees.


The gel print process was simple. First layer down some green(s) on the plate and brayer them to a thin coat. 


Place a stencil down and pull a first print on top the stencil. 


This print isn’t always a great one, depending on the stencil style, but it makes a great first layer!

Then, remove the stencil and pull a second print. 

I repeated this process several times with different shades of greens and stencils.  Once in a while I pulled a third print to layer on one that just didn’t look right or flipped the stencil over to use the paint again on that side. I let the paint, stencil, and results determine my next steps each time. There are no rules, and you can watch my simple process in the video tutorial.


Sometimes when I was unsure of how the pattern would look for a tree, I isolated it with a piece of paper that I had cut a triangle out of. It’s amazing how different just a slice of the print looks and makes the perfect little tree.

While I waited for the prints to dry, I cut my base cards and spray painted through the Butterfly Rouen Tile stencil.


And, while those dried, I added some white splatters to the envelopes. I just simply sprayed some of the paint in a small cup and added some water to it. I repeated this process on both sides of the envelopes and also the back of the cards.


Finally, it was time to cut out the trees! I cut out some small tree patterns to make this process easier. Using the patterns, I was able to ensure that the trees would layer ok on the card fronts.

Once I had millions (ok, maybe just a hundred) trees cut out, I placed a large one on each card and then picked out all the little ones to go with it. I originally planned to put three trees on a card, but I couldn’t resist changing that to five trees. 


When the trees were perfectly placed, I quick snapped a photo just in case. Then I carefully piled the cards up and began the process to stick them down.


Looking back, I wish I had printed a few more trees that were a little more solid in color with small pattern. I like how they anchored some of the card fronts. 
 

To finish the cards, I knew I wanted to add a “Merry Christmas” sentiment with my typewriter, but I also decided to add some red berry garland to one tree on each card. If you don’t have a typewriter, you can print words from your computer or find some stickers. 

I added the simple berry dots with the end of a paintbrush.

I really enjoyed how these came together, even if my husband calls them mountains instead of trees. Maybe that’s one reason I decided to add the berry garland! 

The best part? Besides the fact that I have a bunch of cards to send, I have a lot of leftovers. So, I think I’m going to also make some small tags for packages as well.

Check out the entire process in the video below!


I hope you have a wonderful holiday season, and maybe I just helped remove a little of the holiday stress by not only giving you a card idea, but some moments to just sit down and create.


-Nicole


Connect with me on


Stencils

Supplies

  • Card stock (white, dark blue, kraft)
  • Green acrylic paint of all shades
  • Red acrylic paint
  • Typed sentiments 
  • White spray paint (I prefer the Liquitex brand)
  • Gel plate
  • Adhesive tape
  • Scissors
  • Brayer
  • Envelopes


Friday, July 1, 2022

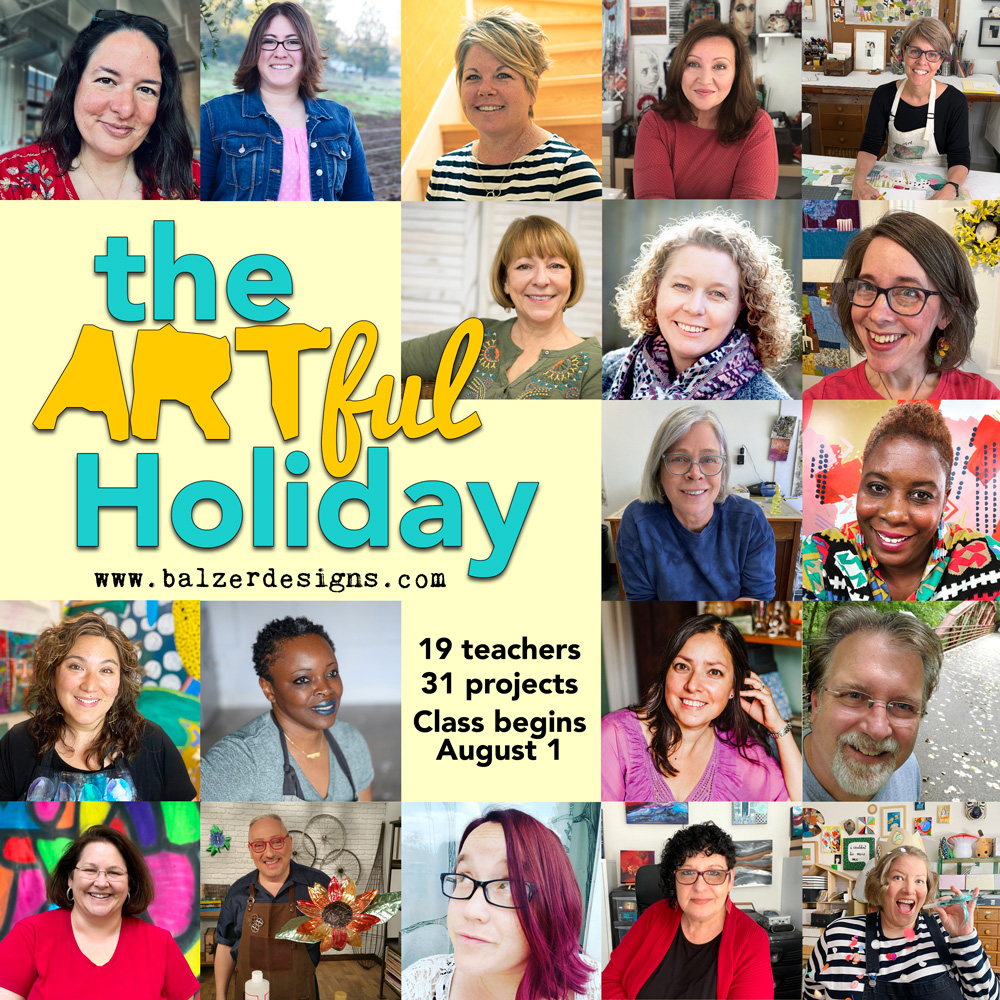
Be sure to snag these 31 projects from "The Artful Holiday"


Mary Beth has teamed up with Julie Fei-Fan Balzer of Balzer Designs and 17 other artists to help you get a jump on your holidays with a joy-filled workshop called The Artful Holiday. 

Act now and use the code EARLYARTFUL to get 15% off! 


This project-based online workshop could also have been called “The Art of Celebrating.”  All 19 talented artists involved were asked to think outside of the box — beyond the usual holidays and the usual projects — and share their best ideas with you.  


This self-paced online workshop offers a wide range of projects — printmaking, collage, assemblage, sewing, mixed media, painting, and more!  


And then each Wednesday, Julie will offer a “mash-up” project.  These are step-by-step video tutorials where she borrows techniques, materials, and ideas from the previous lessons and transforms them into something totally new.


Other details: 

  • You have lifetime access to all content.  Watch anytime.
  • A new project tutorial will be released every day in August 2022.  If you sign up after the start date of class, you will get immediate access to any lessons that have already been released.
  • Lessons are delivered via video, with several teachers also offering supporting PDF instructions and information.
  • This workshop is an easy way to learn from a wide range of teachers and try out some techniques or areas of art-making that may be new to you.
  • Although this class is project-based, we believe you will find yourself returning to all of the wonderful art-making techniques over and over again, no matter what you make.
  • You can watch and rewatch the videos, speed them up, and slow them down.
  • There are more than thirty step-by-step project tutorials.  Hours of art instruction that are sure to inspire you!
  • You get true mixed media content — printmaking, collage, jewelry-making, paper arts, book arts, sewing, assemblage, and more!
Don't forget! Use the code EARLYARTFUL to get 15% off!