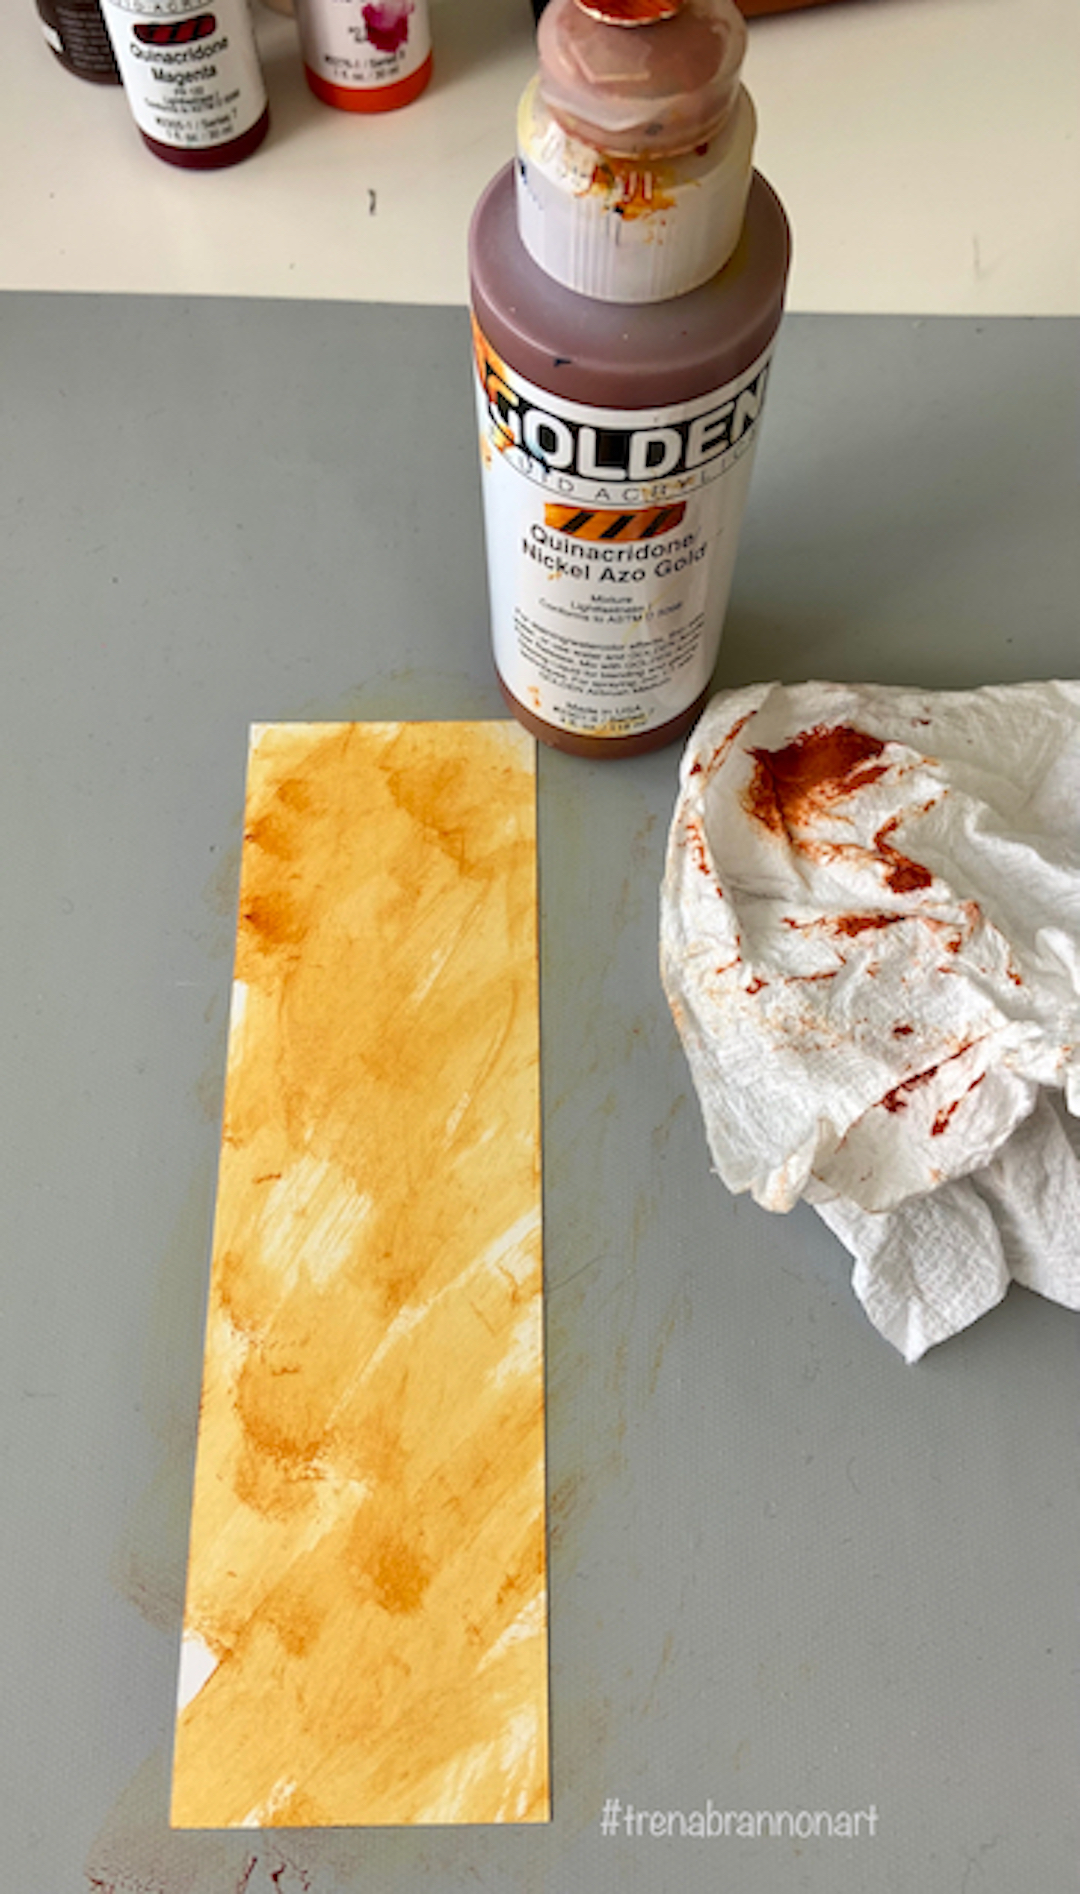
I'm decorating a book cover using stenciled address labels. The first step is to choose a book you would like to use and paint the cover. I happened to choose a book that has a cover similar in color to the painted background I wanted.

Next, it's time to add paint to those label sheets. I decided a mid-century modern theme would be cool for my book cover. Here are the paint colors and stencils that I chose to use. I've listed the supplies below.

I used standard white mailing labels as you can see. For my project I wanted an off white background on the labels so I used a brayer to cover two label sheets with Titan Buff paint.

The next step is to decide in which order to use the paint colors and stencil shapes. Something to keep in mind if you are trying this project is which shapes and colors you want to stand out and which ones you want to be more in the background. If you are unsure practice first on a piece of copy paper. That's what I did.
I decided to use the yellow color and this stencil as the first one in the background. This is the lightest paint color I used and it will look nice as a background color. I will use darker colors as I go along which will stand out more.

Next is the orange color. As you can see, I taped off the part of the stencils that I wanted to use. Another tip is to vary the shapes and sizes of the images.

This shape in green adds a nice contrast to the pattern and colors I have so far. Note that I am overlapping some of the shapes. I don't want to cover every single part of my labels but do want to spread out the shapes and colors so that when I pull off the individual labels they will have a nice variety of colors.

Continuing with this curly shape in dark blue. I want these next stenciled parts to stand out more.

A rectangular shape in magenta is next - another nice contrast to what I have so far.

Finally, I stenciled the shape that I wanted to stand out the most in turquoise. I love the way these colorful sheets look so far!

The last step before I start adhering the labels to my book cover is to outline and add marks to some (not all) of the shapes with a gold pen. This is optional of course, but I like this look for my project.

Here's a close up of one of the label sheets. As usual it's difficult to photograph the shiny gold, but hopefully you get a good idea of what they look like.

I used a thin layer of gel matte medium to adhere the labels. Starting on the right side of the cover I moved left in perpendicular rows toward the spine. Each row is staggered a bit and I left a small gap in between each label to create a tile like pattern.


This is what the front of my book cover looks like before I trimmed the top and bottom. I let that dry really well then followed the same process on the back cover, leaving the spine area open.

Here is what my final project looks like. I like to add a closure to most of my journals (also an optional step) so I attached a couple of charms to a black elastic. I wanted to keep it simple so as not to detract from the busy and colorful patterns on the cover. I really love the way this bright and happy cover turned out! I have not worked on the inside yet, but plan to use the pages on the inside of this book to do some art journaling. I hope you're inspired to give this a try. There are so many different options with colors and styles.

Suplies Used:
Hardcover book
Paint
Address labesls
Stencils
Make up sponges
Paint marker
Gel matte medium
Scissors
Stencils Used:
Mid Century Modern Vibe 2 https://www.stencilgirlproducts.com/stencil-Mid-Century-Modern-Vibe-2-Jennifer-Evans-p/s584.htm
Mid Century Rocks and Leaves https://www.stencilgirlproducts.com/stencil-MidCentury-Mod-Rocks-Leaves-Jennifer-Evans-p/s586.htm
I recorded my process if you'd like to watch the video:
Cat Hand inspiration video: https://www.youtube.com/watch?v=uvEYq7O2ImU&t=14s
Follow me at: