Showing posts sorted by date for query Debi Adams. Sort by relevance Show all posts

Tuesday, April 2, 2024

Rustic Mushroom Coaster Set

Greetings everyone!! Jane Bellante here back for another fun tutorial using StencilGirl stencils!

If you know me, you know I am totally obsessed with stencils- and I love mixed media in every way- from art journaling, to canvas, to up-cycling to home decor and everything else I didn't name.

I have had these little wood slices for some time, and I got the idea to make a little coaster set out of them.  You can find these on Amazon, at Michaels/Hobby Lobby, or even sometimes at your local dollar store.

Since I am using resin as my last step, I wanted to make sure I sealed these with a clear, water based sealer ahead of time.  If you don't do this crucial first step, your resin will sink right into the wood.  It's fixable - you just need to add another layer or two of resin- but you'll save time and resin if you do seal them first.  As an alternative, you can paint these wood slices first as well.  StencilGirl has soooo many amazing stencils, you really can create any theme you could ever think of with these!

I absolutely love the Tall Skinny Mushroom stencil by Debi Adams, so this was my first choice for a rustic, woodland theme with these wood slices.  After the clear water based sealer (any kind- your choice) dried, I grabbed the stencil to decide how I would use it on each wood slice so in the end I would have a varied set of four different mushroom designs. 


Then, I grabbed my Big Embossing Pad (you can use any embossing ink you have), and used a 1/2" stencil brush to apply it through the stencil on each wood slice.  Make sure you apply the embossing ink in a nice thick, but even coat so the embossing powder will really grip to it.  The pre-step sealer should ensure that the embossing ink doesn't sink right into the wood slice as well. 


Then, I grabbed two colors of Distress Embossing Powders (they have renamed them to glazes if you don't have the older jars like me), and I applied them one at a time to each wood slice.  It's important to apply one at a time so that you can recover the unused embossing powder back to the jar.  If you pour both colors at the same time, you end up mixing the excess and it becomes unusable. 


Then, emboss with a high heat heat tool.  Tip- Your hairdryer will likely not get hot enough to emboss these distress powders, I have found using the highest setting on my heat tool works the best.


I wanted to add a little empowering word to each slice, (mushrooms do symbolize abundance!), so I cut and glued each word on with Aileens Tacky Glue and let the glue dry completely.

They are starting to look really great- but- if you were to put anything wet on these (they are coasters after all), they get ruined pretty quick.  So grab your favorite resin (I used Art Resin) and prepare it according to the instructions on the bottles.  I used one ounce of the resin and one ounce of the hardener and stirred it for three minutes.  


I made sure to scrape the sides of my cup and the bottom of the cup multiple times as I was stirring so the resin would set correctly.  Then I poured a small amount onto each wood slice, and used a craft stick to spread it around.  I did not coat the sides of the wood slice at all, just the top, and I made sure to extend the resin all the way to to exact edge of each slice. 


Then you'll need to let your resin cure for the recommended amount of time.  But- you'll need to watch for air bubbles rising in as it sets.  After about 30 minutes, I started to see some bubbles.  You can use the same high heat gun (on the lowest speed) or a torch to pop these bubbles.  I checked and popped bubbles for the first few hours, and after that- I didn't see any more bubbles coming up.  Then I let them cure for 72 hours (out of the reach of my giant cat of course!).  You'll also want to make sure the area where they are curing is relatively dust and breeze free.


I just think they turned out so cute!! You can spot wash them with a wet towel or wet wipe if they get spilled on, or just dry dust them as they sit in your decor.  


Supplies used:

Tall Skinny Mushroom stencil by Debi Adams for StencilGirl Stencils

Wood Slices

Water Based Clear Sealer

Art Resin

Embossing Ink

Ranger Distress Embossing Powder (glaze) in Peeled Paint and Vintage Photo

High Heat Gun

Cut out words

Aileens Tacky Glue 

I sure hope you enjoyed this tutorial and if you make some, please shout out and let me know!! 

You can find me at janebellanteart.com and @janebellanteart on all social media platforms.

Happy stenciling!!

xoxo,
 
Jane

Monday, March 14, 2022

Stencils, Easter Eggs and Rolling Out a Whole Lot of Fun


Hi friends!  Hard to believe springtime is just around the corner. In Southern California, it already feels that way because today was actually 87 degrees!  Nearly summer, but not, lol.  Anyway, with Easter approaching I thought it might be fun to turn Easter eggs into artwork. Not hard to decorate by any means, you can still do the traditional egg dyeing but then consider adding some stenciled embellishments or stencil decor directly onto the eggs or you can try a few creative things with the gelli plate, deli paper, or simply do some watercoloring.


For all my eggs, I created the background first.  I enjoyed using the gelli plate with stencils because I could continue to roll the egg until it was entirely covered in paint. (I also managed to clean my plate. :).)   Sometimes the stencil images remained clear and sometimes they got a bit layered but isn't that what mixed media is about?  Lots of textures come from layering.( I loved using the smaller gelli plate for my egg "dyeing", as shown below.)


Applying Seth Apter's stamps (Planner Basics) and watercolors for the egg's background on the banded egg shown below,  I embellished a strip of watercolor paper with Ann Butler's 1 x 4 Rails stencil set using both paint and watercolors and wrapped it around the egg, adhering it in place. This is a great set with petite images.  The tulip from the Scattered Bunnies, Blooms & Birds Background Stencil by Margaret Peot was watercolored too. This is a wonderful stencil for springtime and works well for the eggs again, because of its small designs.  


Deli paper is an ideal surface and substrate to make prints for eggs.  The paper allows for a perfect design and it's thin enough that the underlying color or design, as in the egg, can be seen. (See egg below.) I actually used ink to create my images onto the paper shown here then tore them down to manageable sizes and adhered them to my eggs with a glue stick.  Basic collage-making.  If your image is too large, you might get wrinkles in your paper so smaller images are ideal. However, you can make small snips into some images, which can help them lie flat.  Sometimes there is a little overlap but it still looks nice.  (Notice the large daisy flower at the top of the egg.) 


Some stencils are perfect for working directly onto the egg like this Hexagon Set by Ann Butler.


And of course, making fussy-cut images always adds dimension to any project.  Here I attached a black string to my gelli-rolled egg, watercolored a few flowers from watercolor paper, cut them out, and adhered them to the egg.  I love using these for table decor for Easter. 


And for those of you who don't celebrate Easter, consider all the ways you can embellish and decorate painted paper mache shapes. They would look beautiful on top of a gift!  

Well, that's it from me today! Time to do some major clean up, but I say, if you can't get a little messy when creating, you might be missing all the fun.  Leave the overthinking behind, get your hands a bit painty and start playing. What's on your art agenda?   

Thanks for reading my friends, 
Debi 


Monday, December 13, 2021

Holiday Gift Giving Using StencilGirl® Stencils


Hi all!  Happiest of holidays to those who celebrate and for those who don't, I hope today's column will be perfect for gift-giving ideas all year round.  With the holiday season not too far away, I thought I would showcase a few things that can be made quickly and easily for gifting using scraps you have on hand but feel free to create some fun and festive papers to use specifically for these projects as well.

I made three different projects, a bracelet, candle and gift box, using some gel prints I created on copy paper a while back that incorporated a variety of StencilGirl® stencils.  The list of stencils and designers are listed at the end of this post.  Super fun to create art on a different substrate.  


For the bracelet, I used a pre-made bracelet blank, cut and adhered circles from the stenciled paper into the blanks, attached a clear dome, added beads and was done.  It took no more than half an hour.  You can find these bracelets online or at some of your local hobby stores.  I imagine you can add words, sentiments and mark-making too! How fun would it be to have friends come over with their papers and everyone takes a small piece of each design to create a "friendship" bracelet of sorts?  You could also extend this into a necklace by attaching links.  


Although I think I could have covered this glass candle with gel printed-paper and made a fun collage, (next on my list), I chose to show a different way to use up scraps.  


For the embellished trim around the middle, I attached various strips of stenciled papers (2 layers) and ran a sewing machine stitch down the middle.  I actually think this would have looked even better if I had torn the strips but, oh well!  Another project for another day. :)  Anyway, I snipped them with my 5 bladed scissors almost to the stitch line on either side and then ruffled the fringe with my fingers.  I attached it to the candle and added some buttons and baubles to give it a little bit of "fancy" and was done.  I actually made enough trim that I have some for future gift-wrapping.  :) 


Of course, a gift box is a necessity when giving a gift.  I used a variety of  papers again and wrapped up my box.  If you run short on any paper, feel free to attach different patterns and pieces and make it a collage-look. 


The top of the box was misted with white paint and a small snowflake placed where I planned the top of the Christmas tree to go. 


The "grungy" snow at the bottom was a strip of painted paper.  

 I created a three-tiered Christmas tree using 2/3 of a snipped circle to form the sections. See photo below. 


Each circle was slightly larger than the last one.  I rolled them around a bit, making the middle have a point and then hot glued them in place.  A stick was used for the trunk and a white uni-ball pen was perfect for stenciling words on the box. It was all tied together with twine. 


 And there you have it.  Quick, easy and no waste.  Especially nice if you have some pieces that might not be your favorite or are remnants from trimming a larger art substrate. 


Well that's it from me today.  Sure hope you get to do a little making this season and it brings you much joy.    

XO,


Stencils Used in Projects:


Looking for more projects to make for the holidays?   Check out my past posts for gift-giving...


You can find my work here:

Instagram: debi_adams
Facebook: Debi Adams-Friends
                  DebiAdams04-Arty Business
Side Gig: Instagram: quillandcloverflorals

Monday, September 13, 2021

Halloween Card Making Magic with StencilGirl® Stencils


Hi friends!  It's hard to believe that fall is almost here and honestly, I couldn't be more excited. It is my favorite time of the year. I love all the changes that occur and I LOVE decorating for the seasons.  When I thought about what I could share with you all today, I thought about creating some fun fall and Halloween cards with stencils.  Plenty of time to make them if you start now. Although StencilGirl® has some great autumn designs, I waited to the last minute to decide what I wanted to do of course, so I had to reach into my own stash rather than ordering.  But you know what I discovered?  With a little bit of imagination and the right colors, you could make it happen.  I took some unique stencils and made them into other items. I am certain you all could come up with a whole lot more than I did.  It took me a little while to get warmed up (not uncommon) but once I got going, I couldn't stop. Creating a ton of gel prints with my selected colors was a game changer for me.  I used only a few stencils and several colors of paints. (The list is at the bottom).  It didn't take long to get a nice stack going. 


By far the biggest challenge was deciding which pieces to cut up.  Some were so cool I just couldn't do it.  I managed to find several that I figured I could sort of recreate if I had to.  Negotiated with myself. Lol.  I then began the collage-making. All my cards are A-2 size, 4 1/4" x 5 1/2" and fit easily into an envelope.  


Ok, how lucky was I that I already had that Spider Web stencil by June Pfaff Daley?  It gave me the inspiration I need to dive on in.  I learned a long time ago that the best way for me to get going is to choose a color palette and then the designs.  I am usually able to begin creating after that.  What about you? What motivates you and gets your creative juices flowing? 

So here was my first card. Oh my, that Jack 'O Lantern, I am in love.  Did you guess the stencil used?  The entire print is actually on the same sheet of painted paper if you look closely.  It's not even a pumpkin but it sure made a cute one!  And that Repetition stencil, I never leave home without it. 


Ok, so I had to make two pumpkins and if I wasn't on a deadline with so many projects, I probably could have made an entire pumpkin patch from Jennifer Evans ATC Mixup stencil.  


Ah, but more cards were calling. I added the other pumpkin to this card.  


Not everyone is a fan of Halloween so I wanted to make sure that some fall was thrown in there. This flower was also on Jennifer's stencil and I couldn't resist using it.  Just by adding some fall colors (I used markers), I made it look like a sunflower of sorts.  


Next I created this super simple card.  This spider web was done on the gel plate. Want to know how I got those crazy looking bubbles?  Kind of embarrassing BUT I ended up loving the look.  I forgot to shake the bottle of paint well and I got the syrupy filler in there along with the pigment. Yeaaa, a good kind of lazy mistake. Lol.  I splattered some paint to add color to the background and attached a few pieces of collage pieces under Tim Holtz' Halloween Tape.  Easy peasy card.  


Onto more of the stenciled web, this card has some Hero Arts Reactive inks,  a Star stencil and Circle dots.  "Boo" was created from an Vintage Typewriter stencil and a piece of Mary Beth Shaw and Seth Apter's collaborative stencil for a special event a few years back but again, think of different ways to use some of your stencils or take the "o" off the alphabet stencil and use that.  


Of course, no Halloween or fall is complete without candy corn, at least not for me!  Can you guess the stencil used for this?  Another quick and easy card.  If you can't figure out the stencil, go to the end of this post.  :) 


 Last card is kind of an envelope modge podge of leftovers but there are definitely possibilities inside. That cool bat is one of Tim Holtz's embellishments and though I love it there, I could see this card working with just the scraps of paper, no bat.  Colors can tell a story too.  


So there you have it.  Seven fun cards, some layered, some quick and easy and some you can create from leftovers you have lying around.  Did you have a favorite?  Bet you all could totally make some fabulous fall cards!  (If you are new to card making or think this might be your niche, you might want to check out my class "The Art of Cardmaking" from the StencilGirl Studio courses found here.) Well, I'm heading back to my creative playground.  I have a lot more paper to use. Can't imagine letting any of it go to waste.  Would love to see and hear what you are up to. 


XO, 


Stencils Used:


Other Products:

Gelli Plate
Tim Holtz Idea-ology (Tape, Beware-ephemera card)
Creamsicle, Licorice and Sea Salt Reactive Inks, Hero Arts
Halloween Sentiment Stamps-Hero Arts
PaperArtsy Paints
Delta Paints
White Uni-ball Pen
Copic Markers
Sewing Machine/Thread

My info:

Instagram: debi_adams
Facebook: Debi Adams 
            &: DebiAdams04


Monday, June 14, 2021

Creating a Handpainted Denim Jacket with StencilGirl® Stencils


Well hello my friends! I’m Debi Adams and it’s so good to be back here on the StencilGirl® blog.  Hope you all have been well and squeezing in a little bit (or a lot) of art now and then. I’ve done lots lately but honestly it’s like housekeeping. Everything changes so often that I can’t remember if and when I did my last piece of anything. By the look of my art room, I do know I did something, lol!  What about you?  


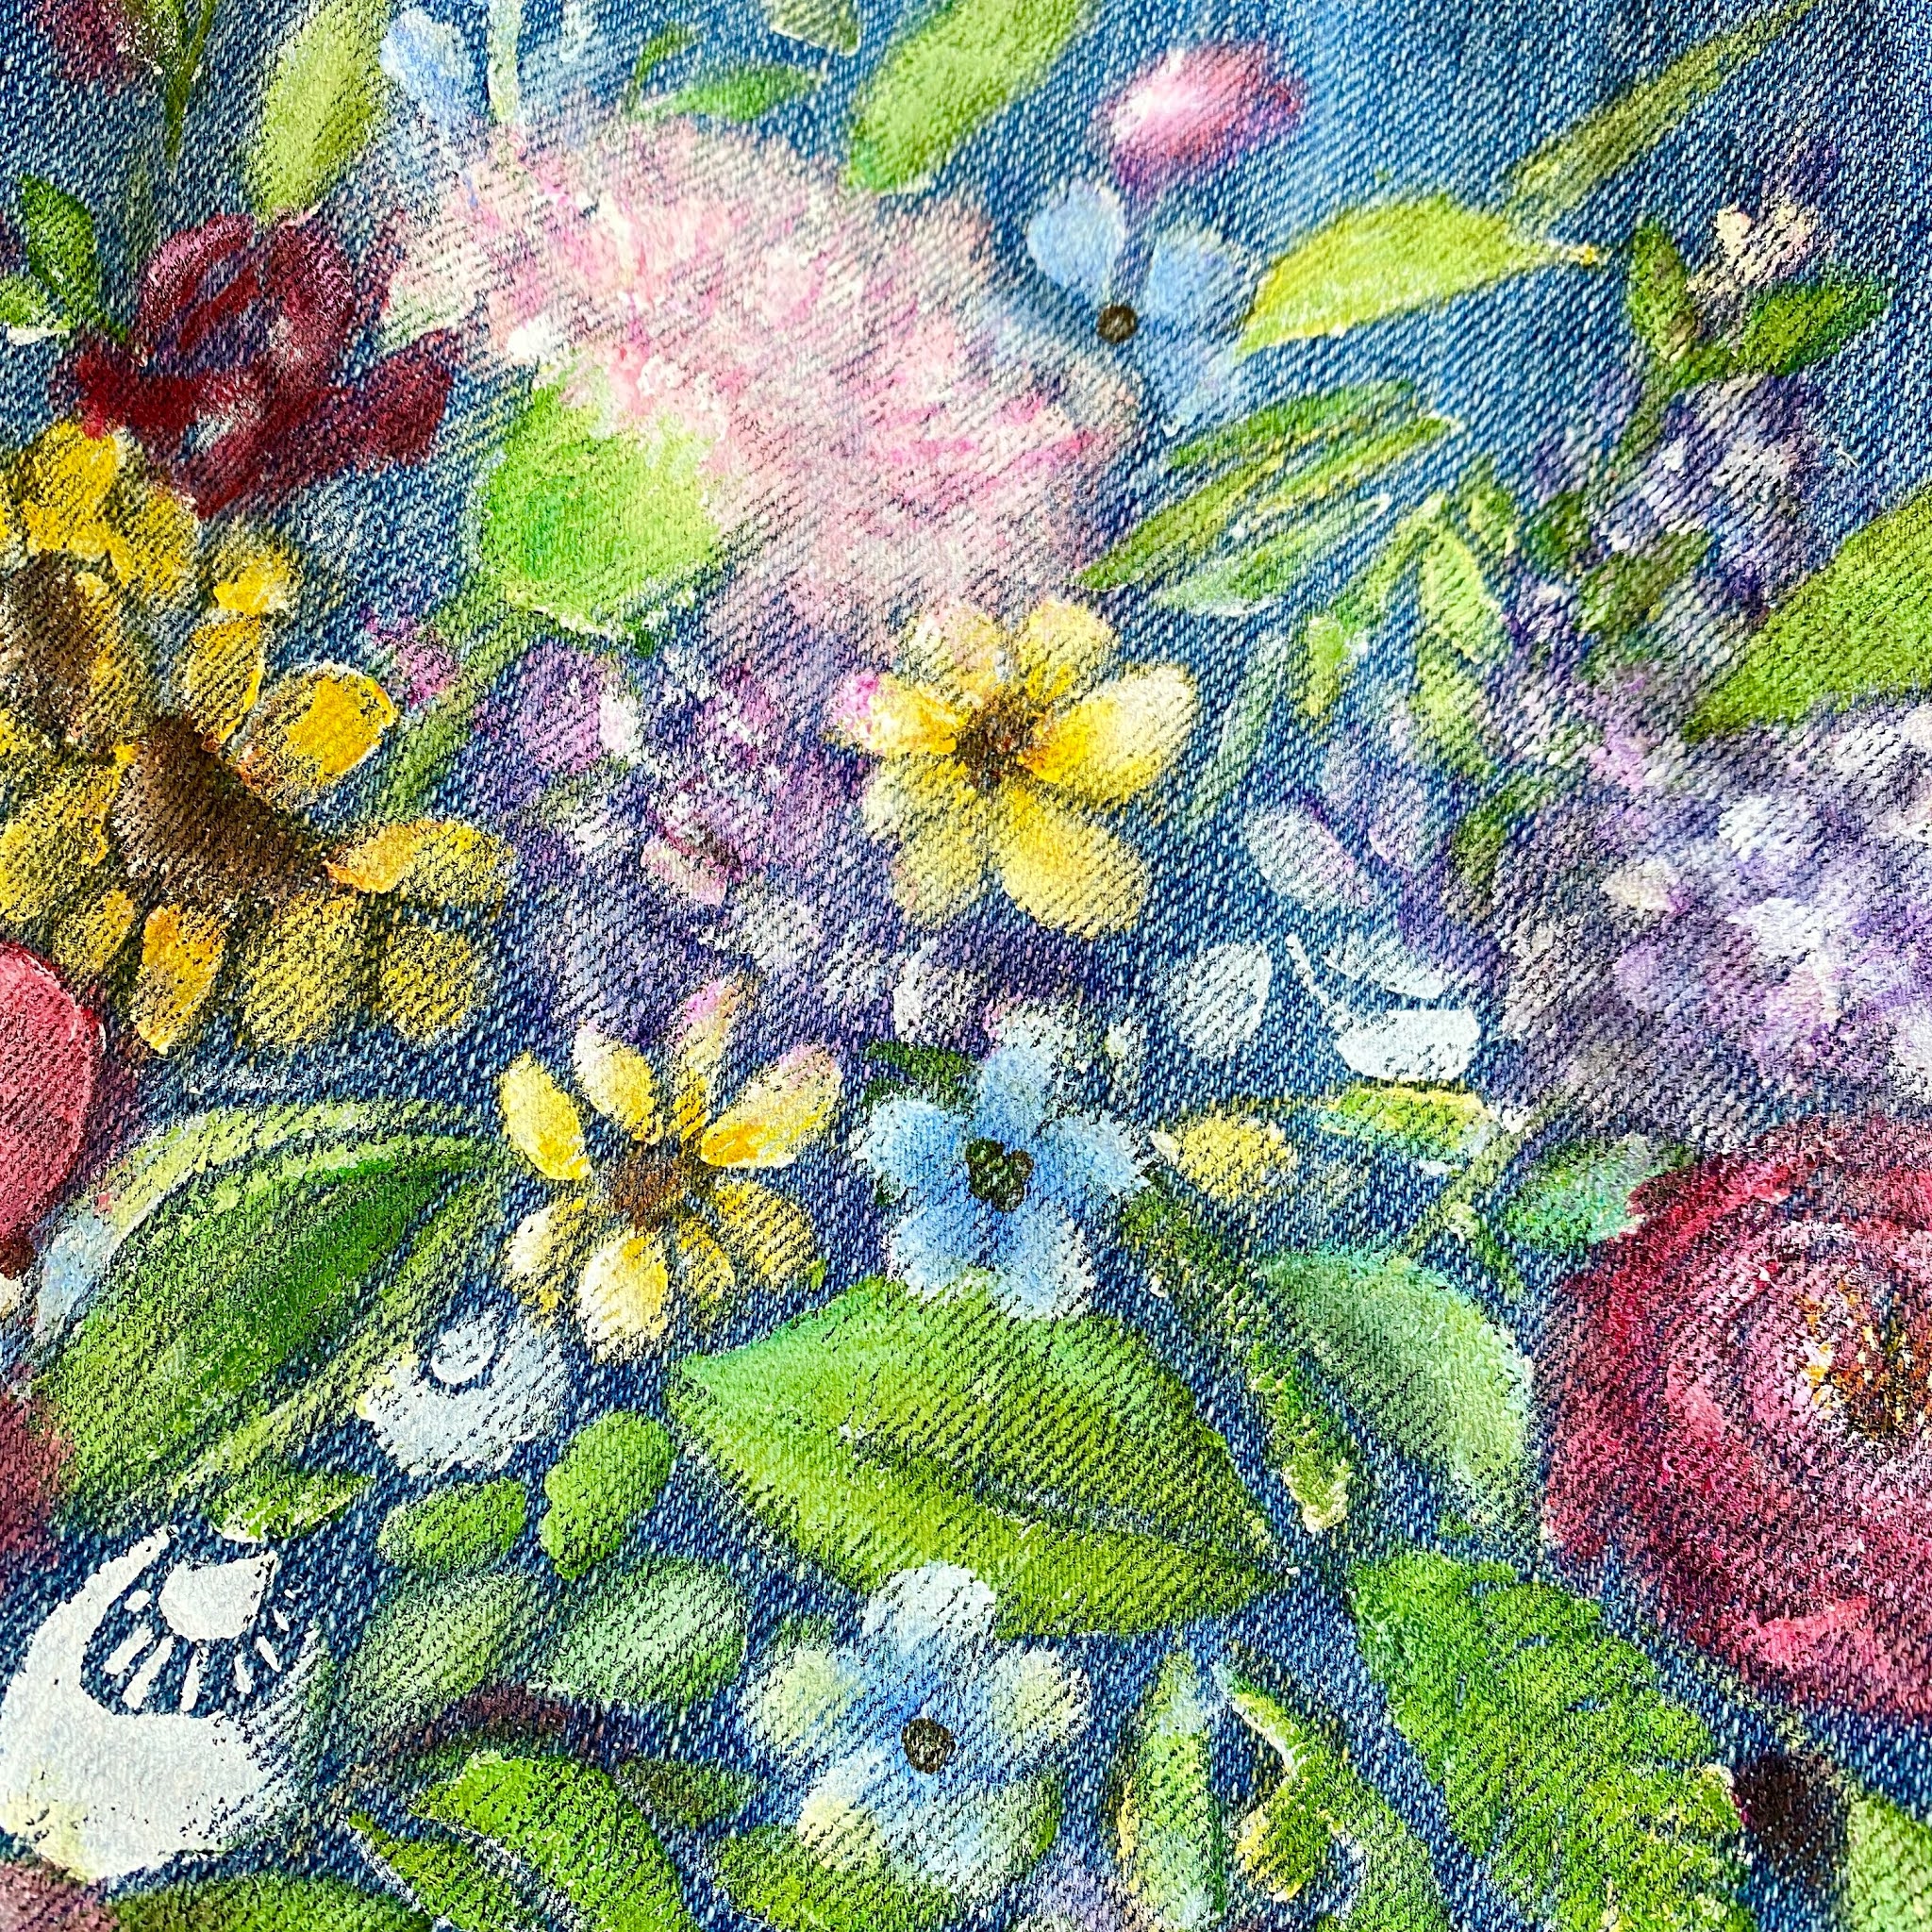
This year as a SG Columnist my focus has been on "Trendsetting". It sure is something I love to explore, trying to stay current and relevant on so many fronts. Can't imagine doing anything else. As I mentioned in my post a few months back, my daughter is getting married and I have been deep into the decorating stage so my project for today was an EASY choice! Super popular, these denim jackets are selling like hot cakes for brides. They also come in handy for business attire, baby gifts, etc. They can be made super simple with just a name and a date or very embellished, like I am showcasing today.  For my supplies, I used two kinds of paint, Neopaque by Jacquard (around $5.00 more or less) and Fabric Creations by Plaid (under $3.00 a bottle) for using on fabric.  I like the Neopaque a tad bit more because it is slightly thinner, making it easier to move around my material and it stays more supple than the latter.  That is just a personal choice.  I also grabbed some paint brushes I had laying around though I am certain that brushes for fabric would be the best.  When I finished and the paint was dry, I ran an iron onto a damp paper towel over the image to seal the paint in.  It's then wash as usual.   


Today’s jacket features Wendy Brightbill’s Wildflower Bouquet Stencil ...


and Rae Missigman’s Botanical Stencil.  They were the perfect stencils for what I wanted to create. 


The nicest part of painting one of these jackets is that there are really no rules.
  You can trace around your favorite StencilGirl® stencil image and leave it as is or you can paint it all in in white, add a name, or not, paint them in color, or not. An abstract background would look amazing too!  You get to decided. I’m going to give you my tips, techniques and tools and let you do your magic. If you are hesitant to get started, grab a Goodwill jacket or pair of old jeans so that you can practice. 


First let me say that I love using stencils on jackets. If you struggle drawing or creating balance, the designers have taken out all the work for you and do what they do best.   Here I traced around my image with a Uni-ball white pen so that I could color in my image later.  I love that white pen for a temporary pattern, but know it is water soluble so it’s not permanent. Perfect if you think you might need to erase anything or for deciding where to set up your image up.

If you want the outline-look permanent, consider purchasing a fabric marker. It will definitely do the trick. 


You can also paint in your images solid with white fabric paint,  especially important if you paint on dark material.  Painting with white first allows your colors to show up much better than trying to add layers and layers of paint onto a dark surface.  I will say there has been an occasion where I didn’t use white and discovered that the areas on the jacket that aren’t painted end up shading my images nicely. Red roses are a perfect example of this.  Surprisingly, the denim ends up creating those deeper details.  This is something that doesn’t happen often with most designs however and it’s more of a trial, error and surprise.   


Now you can stencil in your colors once your white paint has dried.


Or you can remove the stencil and use the white painted images as a guide.   


Don’t forget to add different shades of paint to add variation to your images. Notice my rose has pink and white in there and my lilacs have several shades of purple, lavender and white. Honestly, it's almost impossible to make a mistake.  You can wipe off the paint fairly easily before it dries OR you can let it dry and paint back over it.  Believe me, I have used both techniques. ;) 


I like to try and make the design image mine by adding my own parts and pieces.  Sometimes I even change the type of flower it is and that’s ok too!  The fact that the designer gave me a placement for everything is perfect! 


I loved adding Rae Missigman’s airy Botanical piece to Wendy’s stencil image.  It made my bouquet look a bit more wild and “bouquet-ish”rather than an arrangement. (See leaves on outer edges). 


Once my bouquet was the way I like it, I decided to add my floral business name to the jacket so I could wear it to the different venues I service.  I like to do calligraphy for my lettering but StencilGirl® has PLENTY of fabulous Alphabets and Sentiments that can work on your piece especially if lettering isn't your thing.  


Well that's it from me today.  Sure hope you will give this a try. I can't even imagine the possibilities that are out there! StencilGirl® has soooo many amazing designs to choose from that one is surely your style.  If you post your jacket or project, make sure to tag me and StencilGirl®.  We would love to see what you did!


XO,


You can follow or find me here:


Website: www.debi-adams.com

Facebook: Debi Adams or Debi Adams 04

Instagram: debi_adams

Pinterest: Debi Adams