Showing posts with label Leslie Tucker Jenison. Show all posts

Thursday, September 18, 2014

Stencil Girl THE BOOK Week Day 4


Welcome to Day FOUR
of the
Blog Hop!


Don't have a copy of the Stencil Girl book to follow along in??
You can get yours HERE and if you order it from our website Mary Beth will autograph it for you and send you the EXCLUSIVE bookmark stencil that only we at StencilGirl have to offer with the book! 
We will be back each and every day this week to show you new projects from new team members.
ENJOY!!


See Leslie's tutorial HERE.


Linda Kittmer


Technique used from Stencil Girl Book: Batik
Stencils Used: SO SO Many!!!!! Check out her blog to see which ones!

See Linda's Post HERE.


See you tomorrow!!!
***GIVEAWAY NOW CLOSED***
 One lucky winner will receive Stencil Girl The Book with exclusive bookmark stencil and (3) 6"x5" stencils designed by Mary Beth Shaw.
Giveaway will close: Sunday, September 21st @ 11:59PM Central Time
ALL comments left on the hop are entered in giveaway.


If you don't already, we would LOVE if you would sign-up for our newsletter HERE and follow us on the following Social Media sites to get the latest StencilGirl news!  FacebookGoogle+Pinterest and Bloglovin and YouTube.


Tuesday, July 29, 2014

PanPastel and StencilGirl Day TWO


Day TWO!
Welcome to PanPastel Week here on StencilGirl Talk! 
We have heard from so many of you that you want to learn how to use PanPastel's with stencils. Wish granted! The extremely generous people over at PanPastel have come to the rescue and supplied the StencilGirl Team with some of their gorgeous PanPastel's to work with to show you some of our favorite techniques with stencils. Not only that, StencilGirl has put together a prize package with some of this product and a stencil, of course, to share the color love with YOU!
See giveaway information at the end of this post.

Today Janet, Jennifer and Leslie are here to show you what they made!


Janet is using the Circles Circles, Damask and Layered Salad stencils from StencilGirl.


See her project tutorial HERE.


Jennifer is using the Precocious Peony, Scribble Scratch and Sister stencils from StencilGirl.


See her project tutorial HERE.


Leslie is using the Abigail, A Timeless Woman  and Medallions stencisl.


See her project tutorial HERE.


**GIVEAWAY NOW CLOSED**
We know after you see all the techniques we show you this week you are going to want to play too! Enter the GIVEAWAY to be eligible to win the prize below. Just leave a comment and tell us if you use PanPastels with stencils and your favorite technique. You can also leave comments on all of the individual posts this week on all the blogs from our team members for another chance to win! All comments within the 4 day period are eligible.

GIVEAWAY closes Sunday, August 3rd @ 11:59PM Central Time.
One comment per post please.

PRIZE

Saturday, June 14, 2014

Fun With Jamie Fingal's June Stencil Club selections

Greetings!  Leslie here. I had so much fun with Jamie Fingal's wonderful stencils for the June 2014 StencilClub from StencilGirl.

Each has a "stitch" theme, which is right down my alley.  That said, there is only a wee bit of cloth in my projects.  If you haven't decided to join Stencil Club I think you might be inspired to after you see these fun (and exclusive for Club members!) stencils.

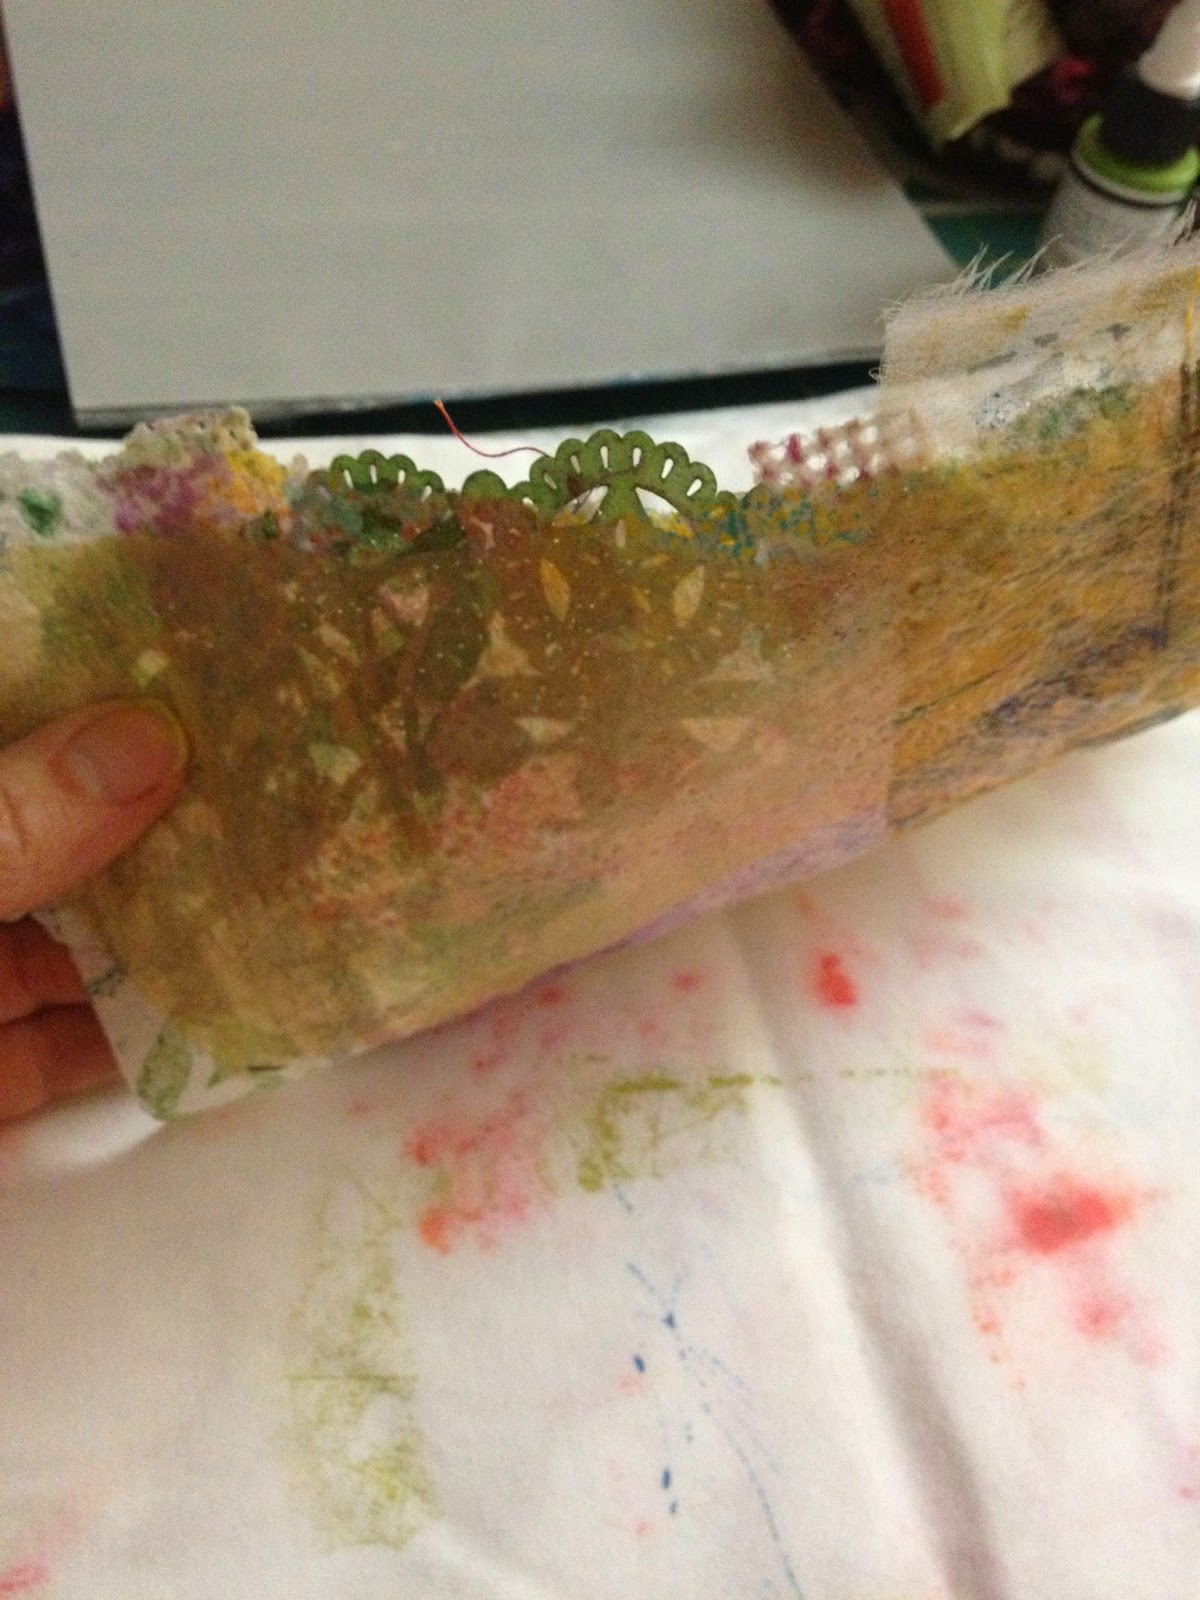
I played around with three different ideas using the stencils.  First, I had a paper/cloth collage that had been assembled for another project and never completed.  It is fairly delicate as the papers are thin.
This collage has a paint-covered paper towel (stained from wiping a paintbrush on it),
a doily, pattern paper, a disposable facial washcloth, and a piece of silk organza.


I'm in love with these Golden High Flow acrylic paints!

Since I plan to stitch over my stencil mark it is not necessary for the paint to have a strong presence.

You can see the faint arc of the vine..

And here is the stencil over my collage as I apply paint to the right side.


Using 3 strands of embroidery floss I stitched the leaves and vine.


Next, I used my own bird design in the center of the collage.  
This bird is larger than the one on the stencil because I needed it to be larger in the piece.

Stitch work on the bird.


Last, I used monofilament thread to stitch the delicate collage to a piece of hot press
watercolor paper.  The thread is invisible, allowing the collage to "float" on the surface.
I think this will look great as a framed piece.

Next, I wanted to use the vine stencil inside this previously mono printed paper.

I placed the original stencil (Face Map by Pam Carriker)
over the paper in the same position as when the mono print was pulled.
Next, I overlaid Jamie's stencil and lightly pounced through the vine portion.

This is exactly what I was after:  a faint ghosting of the mark!

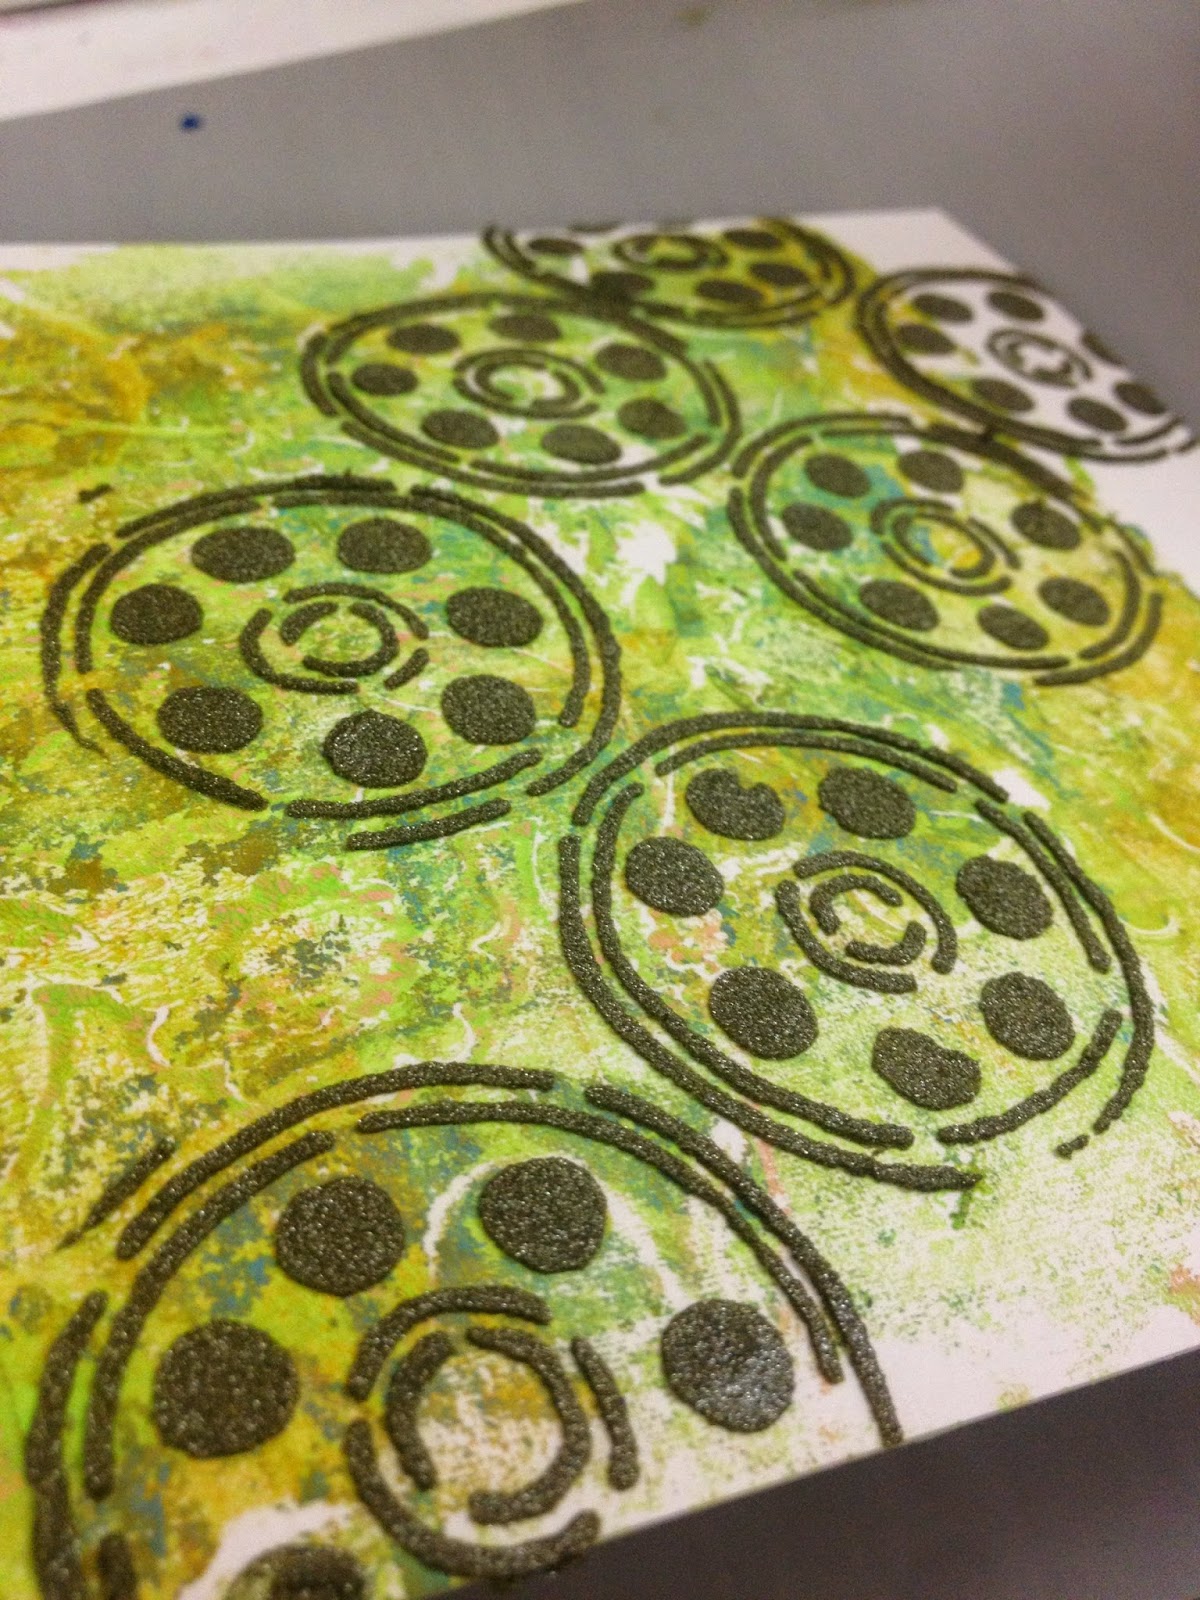
Oh, how I love this stencil!  It looks like the bobbins in my BERNINA!
Time for some tag fun!

Also, I used Ferro paste to stencil over a previously printed paper.

Using another element from the large stencil (the needle and thread) I added this element
with more Ferro Paste.

Then I wrote into the design...

and glued it into my sketchbook after I drew larger "bobbins" in 
the same style as Jamie's stencil.

Here are the two tags I printed using the bobbin and the "stitch" stencil.
I love these patterns and will use them frequently, I can tell!


I certainly had fun playing with the June StencilClub selections.  I hope you will, too! Not a member?? Better hurry, only a few hours left to become a member to start with these designs from Jamie! Get all the information and sign-up HERE.


Monday, September 9, 2013

Flying Tulips!

Hi!  Leslie here to show you how much I love this gorgeous stencil from SteniclGirl!  I love the cool graphic quality of this pattern as it is something I will use over an entire page, and as a linear feature or in small areas.  It makes a great "wallpaper" effect on the page as well as on fabric.
First I am adding some red paint to a previous project for an additional layer.
I'm working on both edges of the page.

Can you see Mary Beth Shaw's Circle Tiles stencil from StencilGirl in the mix?
By adding the Flying Tulips on the edges, I think it gives a sort of "brambly" look.

To further differentiate the background from the foreground I edged the red paint with a black pen.

I was thinking of a house set in a "secret garden".
The letters were filled in with white opaque marker to bring the house shape forward.


I wanted to cover the page in my sketchbook with the stencil, but really
disliked how the white marker looked on this paper!

So, I write over the surface of the page...

And then I used my fun dauber with some Modern Masters Iron paint.
I think this paint was past its prime as it was a bit separated.
I like the staining of the page, however.  I'll take it!

The dried paint is a very faint tint.  Perfect for the next layer.

I covered the page again with black paint.

Happy!

Now I use a palette knife to cover the back of my Secret Garden page.

I positioned the page in the sketchbook.

After placing a sheet of parchment over the page to prevent sticking I used whatever was at hand to weight the page.

It dried nice and flat!

I decided to use the stencil on a piece of solid gray fabric:

...and acrylic ink


I love this faded mark!


I added some Setacolor transparent black paint....


and added two rows of opaque white paint

and marked the edges with a gel roller texile pen

I like the depth of the faint ink stencil marks.
This piece of cloth will be fun to use in a future project!