Showing posts with label painted papers. Show all posts

Friday, March 20, 2026

Make Your Own Transparent Layers with Stencils!

Hello friends, Julie Peterson, @nuthouse73, mixed media artist and creative maker, here to share my love of stencils.  Stencils are such a versatile tool and can be used to enhance almost any surface.  I’ve been experimenting with transparent and translucent substates and I'm sharing with you today stenciling on transparency film. 


Supplies


Transparency film for inkjet

Acrylic Ink

Dishes or a palette

Make-up sponges

Stencils: 

    S405 Bullseye by Mary Beth Shaw

    L477 Versailles by Nathalie Kalbach

    L827 Emotions and feelings by Carolyn Dube


Grab a sheet of the transparency film and make sure it's on the right side, the side that you would print on if you were sending it through the printer.  Decide what colors of ink you want and put some in your dish or pallet, get your makeup sponge dab small amount of ink on the sponge, tap some off, you don't want too much ink on the sponge. Start of with light pounces, making light layers.  Sometimes you might have to go over it a couple of times depending on how dark you want the image.  


Now that you got the gist of the process you can explore layering two stencils together and using multiple colors on one stencil.  


Using the transparency film


You can do a mass make and have them on hand for when inspiration strikes.  They can sometimes be a little tricky to get stuck down.  My favorite ways are a stapler, sewing machine, and double sided tape.   They can make great stand alone pages for your journal or cut them up to enhance whatever art you're making, even the smallest pieces can be used.   


Friday, January 30, 2026

Create Expressive Collage Papers with Masks

Hi Stencil Lovers!  I'm Roben Marie Smith and am so happy to be a guest blogger for StencilGirl this month!  


In this video, I’m sharing how I create easy, expressive collage papers using stencil masks—no gelli plate needed. I’ll walk you through how I use stencil masks to build layered surfaces while keeping the process loose, playful, and approachable from start to finish. This quick + intuitive approach is perfect for art journaling, mixed media, and building a stash of colorful papers.


I’m using stencil masks from StencilGirl Products along with acrylic paint and a brayer, alcohol inks, pencils, and Infusions Powders to layer color, texture, and mark-making in a relaxed way that encourages exploration rather than perfection. You’ll see how staying flexible and working intuitively allows the layers to evolve naturally as the paper develops.

If you’ve been curious about stencil masks or you’re looking for a simple alternative to gelli plate printing, this technique is a fun way to experiment without pressure—no rules, no overthinking, just creative play.


Supplies:

Imagined Flower Mask Stencils by Susan Rossiter (LL1051)

Infusions Powders 

Alcohol Inks 

Acrylic Paint 

Brayer 

Paint Brush 

Sketchbook Paper


About Roben-Marie

Roben-Marie is a mixed media artist and dedicated art instructor, as well as the creator of The Roben’s Nest, a creative community rooted in connection, exploration, and making together.

She teaches both seasoned and beginner artists to embrace the creative process without fixating on perfection, encouraging curiosity, confidence, and enjoyment along the way.

Her art has been featured in numerous books, industry magazines, and publications, and she has shared her creative practice through in-person teaching both nationally and internationally.

Roben-Marie is passionate about helping others confidently share their creativity with the world—no matter where they are on their creative journey.

You can find Roben-Marie at: 

Website: https://www.robenmarie.com/

Instagram: https://www.instagram.com/robenmarie/
The Roben's Nest: https://www.therobensnest.com/

YouTube: https://www.youtube.com/c/RobenMarieSmithArt/videos 

Everything Page: https://www.robenmarie.com/everything


Sunday, January 4, 2026

Using January's StencilClub Set to Build a Library of Marks, Texture, and Future Possibilities

Happy New Year, 2026!

I am Kim Hamburg, a mixed media collage artist who happens to love all things stencils and all things numbers.

There is something quietly reassuring about numbers. They suggest order, sequence, logic—ideas that can feel grounding inside a creative practice built on intuition and experimentation. I’ve long been drawn to typography and numeric forms for this reason. Frequently you will find a number or a series of numbers in my work.


That balance between structure and freedom is what immediately drew me to By the Numbers, a pair of stencils designed by Sarah Short for the January 2026 StencilClub.  Based on the numbers three and four, these stencils feel less like numerals and more like visual rhythms—curves, dashes, and pauses that hint at typography without fully declaring it. Sarah’s love of letterforms is present, but softened and abstracted, inviting interpretation rather than instruction.  

As a mixed media collage artist—and a guest designer for this month—I approached these stencils not as finished images, but as tools for building a visual language.  The papers I made will remain in my stash and I plan on using them in future collage work.


Image caption:

The By the Numbers stencils by Sarah Short—abstracted interpretations of  the numbers three and four, ready to move from structure into mark-making.


Supplies

  • India ink

  • Acrylic paint (any colors you enjoy)

  • Vintage book or textbook pages

  • Pre-made Gelli printed papers, or other favorite papers

  • Sponge roller

  • Sponge brush

Optional:

  • Wood panel

  • Glue stick or gel medium

  • Utility blade or scissors

  • Ephemera

  • Hole punch (any size)


.


Building a Library of Painted Papers

Painted papers are an essential part of my practice. I think of them as future ingredients—materials made without pressure, ready when a collage needs something graphic, textural, or quietly directive. Having a small stack of prepared papers nearby removes the friction of starting and allows me to stay responsive once I’m composing.


I began with India ink and a sponge roller, rolling the ink directly through both stencils onto a variety of papers. Vintage book pages are a favorite because they introduce text, diagrams, and subtle grids, but this process works just as well on Gelli prints or plain paper. The sponge roller keeps the ink layer thin and even, catching the stencil edges without flooding the surface.


I repeated this step across multiple papers, switching between the two stencil designs, then let everything dry completely.


Image caption:
India ink rolled through the stencil with a sponge roller, allowing the dash marks to read as rhythm rather than number.


Isolating Sections for Intentional Design

Once the ink layers were dry, I returned with acrylic paint and a sponge brush, this time resisting the urge to use the entire stencil. Instead, I isolated smaller sections—the curve of the number three, or the dash marks embedded in the number four stencil.


This approach transforms the stencil from a single image into a system of marks. By focusing on fragments, the numbers dissolve into shape and pattern. I also paid close attention to alignment, allowing stencil lines to echo the lines already present on the paper—text columns, margins, and subtle grids—so these papers would feel compositionally resolved when used later in a collage.  I tend to use a grid system when collaging, so making sure things were lined up felt more intentional.


Image caption:

By isolating sections of the stencil, the number begins to dissolve into shape, texture, and pattern.  Think of stencils not as images, but as systems—sources of marks that can be repeated, rearranged, and reimagined.


From Painted Paper to Finished Piece

After everything had dried, I selected a small wood panel and adhered one of the stenciled papers using a glue stick or gel medium. The wood immediately adds weight and presence, shifting the paper from background to surface.


I added more acrylic paint at this stage, scraping it across the panel with a playing card. This tool creates uneven, expressive marks and helps integrate the paper into the surface rather than letting it sit on top.


From another painted and stencilled page, I punched out a few circles—simple shapes that subtly reference the numeric origins of the stencils. These were layered onto the panel, followed by a flower and a bingo piece. Found elements like these bring their own histories and associations, grounding the composition and adding quiet narrative weight.


Image caption:
Painted papers move from preparation to composition as layers, shapes, and found elements come together.


Letting the Stencils Do Their Quiet Work

What I love most about the By the Numbers stencils is their flexibility. They can be bold or subtle, central or supporting. You can use the full design, isolate a single mark, or cut the resulting papers into fragments that disappear into a larger composition.

Vintage textbook pages add visual interest through typography and diagrams, while painted layers soften and unify everything. In the end, these papers are less about numbers and more about readiness—about giving yourself a library of marks, textures, and shapes that already speak the same language.

When you sit down to make a collage, the conversation has already begun.

Sometimes the most expressive work starts with something as orderly as a number—and then lets it wander.


Image caption:  Finished Mixed Media Collage on Wood Panel

By the Numbers is only available to StencilClub Members who join by January 15th and will ship on that day.  You get lots of great benefits as a club member, including a coupon for 25% off all regular collection stencils, a project and pdf from the artist and an additional project by me that is for members only.  So don't delay!  Get more information about StencilClub here! 

I would love to see your work.  Please tag me on Instagram Check out my IG

Facebook Kim Hamburg Facebook 


Friday, December 19, 2025

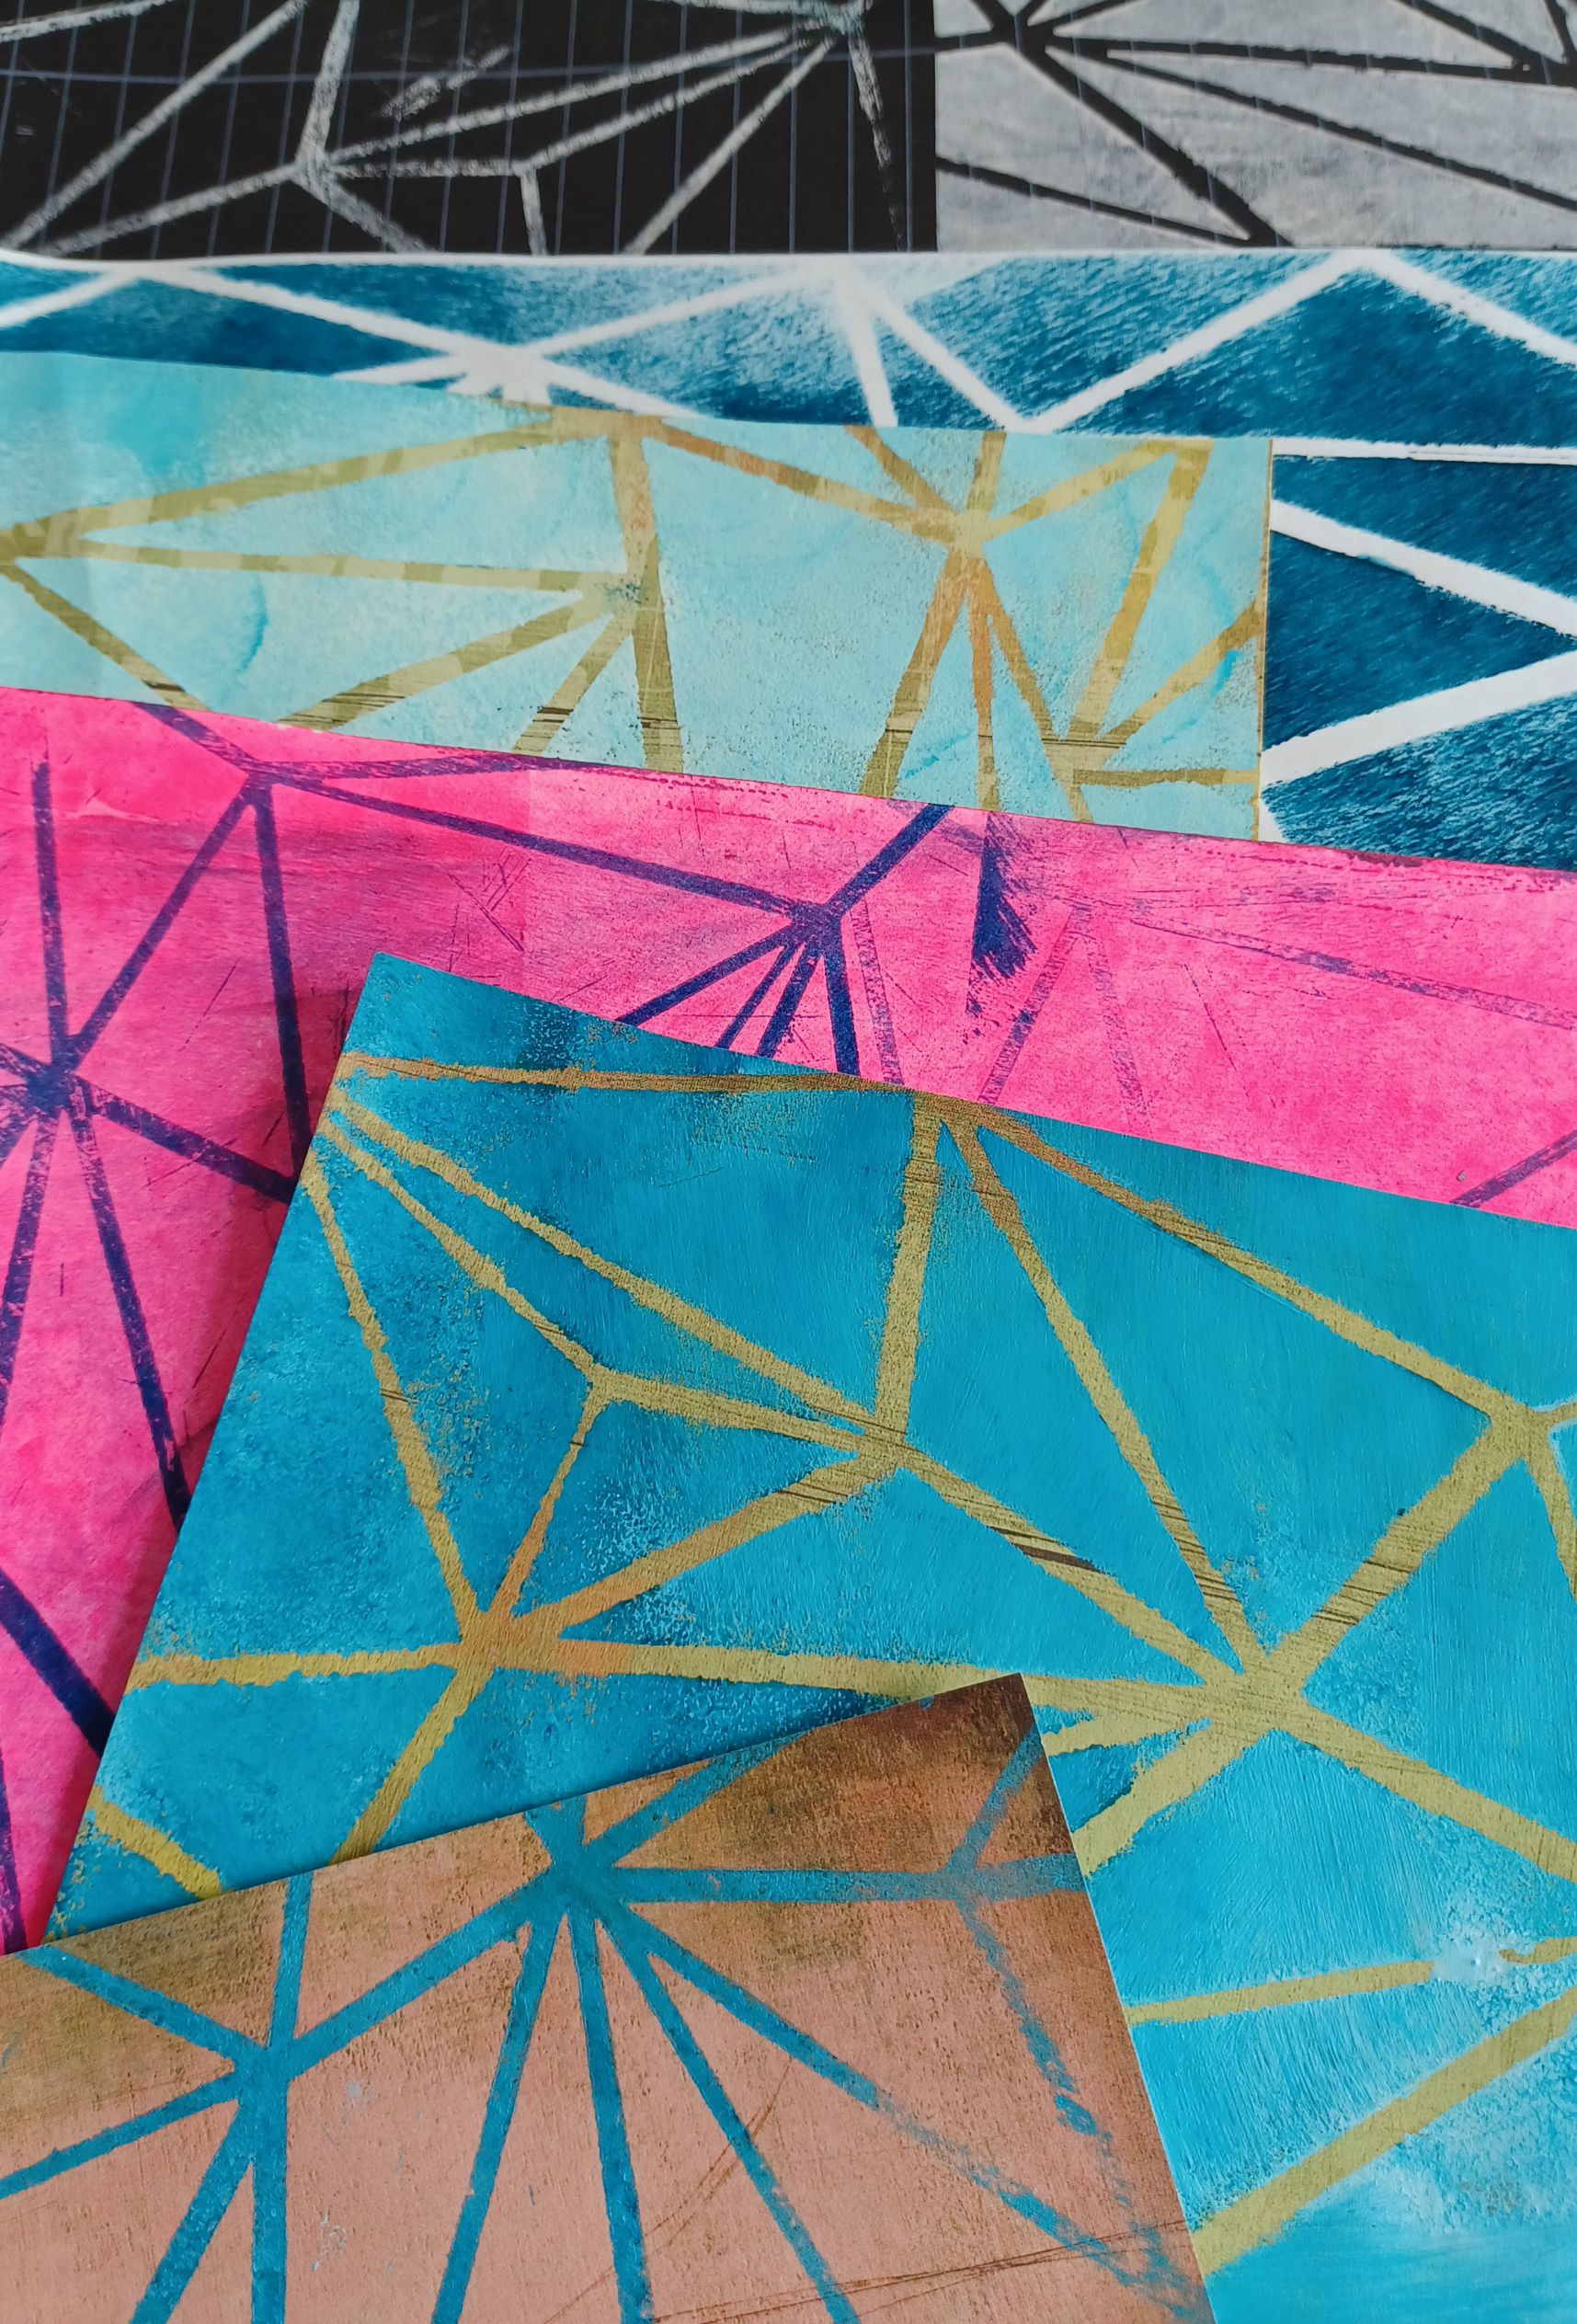
Abstract Painted Papers With Stencils

Hi!!  Kim Hamburg here, sharing a short video that shows a technique you might want to try with the SPHERES stencil shown in the photo.  If you follow me on IG you know I love circles!  So this particular stencil was begging to be used.


                                                  Stencil:  L238 SPHERES by Michelle Ward


There’s something very satisfying about building a page from the ground up—tracing a stencil design, adding tone, texture, and line, and letting it evolve into a surface that begs to be used. In today’s video, I’m sharing one of my go-to ways to create mixed media “starter pages,” perfect for collage, journals, scrapbooks, and any paper-based mixed media you enjoy.

This piece begins with a stencil designed by Michelle Ward, inspired by the luminous geometry of stained-glass windows. I love that the openings are generous; they invite color, invite pattern, and give you permission to personalize. It really becomes a framework where your creative instincts take over.


You’ll see me working with patterned and found papers—textbook pages, typewritten sheets, grid paper—layering acrylic paint as a base to unify the surface. From there I tape the stencil into place, trace the lines, and begin the color–work using an assortment of markers. Every addition of color becomes an interpretation of the stencil, making it truly your own.

My hope is that it gives you ideas, not just inspiration. I challenge you to create your own stenciled mixed-media papers. Make them bold or subtle, neat or wild. Use them in your journals, your collages, or tuck them aside for a future spark. Art starts with simply making marks on paper—but using a stencil as a base with which to add color and design is a lot of fun and gives you a great jump-start.


Materials/Tools:

Acrylic Paint or Ink
Various acrylic paint pens (I use Posca)
Other markers to use for color
Spatula for applying paint
Fine line black marker
Paper -- Plain, textbook, vintage pages, etc

Optional:  painters tape, spray bottle for paint, 
Optional:  Kabuki Brush (I accidently call it a Shabuki brush in the video)


I would love for you to share what you make!

Please give me feedback and comments  -- I love hearing from you.

Follow me on Instagram:  @gluepaperscissors_

Follow me on Facebook:  @KimHamburg


Friday, May 20, 2022

Roxanne Padgett: How many ways can you use one stencil?

Join Guest Designer Roxanne Padgett as she demonstrates how many ways you can use one stencil!
Roxanne is using Geometric Sky Stencil by Mary C. Nasser.

Roxanne Padgett is a mixed-media artist, with a passion for painted papers, mark-making, textiles, collage, book-making, journaling and how to explore methods to connect these separate media through the art-making process. Roxanne teaches a variety of art classes for adults throughout the Bay Area and at art retreats around the country. In addition, Roxanne is the Creative Director for the Museum of Children's Art in Oakland, California. Is the author of “Acrylic Techniques in Mixed Media” published by North Light books. She lives in Hayward, CA with her husband and one rowdy pup. Follow her on Instagram @roxpadgett.

Thursday, May 12, 2022

NEW RELEASE: Abstract Map Patterns & Masks Stencil Series

StencilGirl® Products is excited to release Mary C. Nasser's new 
Abstract Map Patterns & Masks stencil series!
Mary's new Abstract Map Patterns & Masks stencil series was inspired by
her love of maps and travel.​

The Abstract Map Patterns & Masks stencil series includes 4 new designs:
City Map MaskMap PatternMap Mask and Abstract Metro Map Mask.


The abstract designs of these stencils makes them great for adding
lines, shapes, patterns, ​movement and visual rhythm to your art journal pages,
paintings, mixed media art, printmaking, and more.
You can find all of Mary’s stencils inspired by maps and travel here.

Monday, August 16, 2021

I Made a Weird Stencil...


I made a weird stencil. 

I love it, but I’m thinking you may be looking at it and going, ‘hmmmm?” whereas I look at it and lovingly go, “mmmmmmm!” 

Two very different reactions. 

Earlier this year my “Happy Hour” Collection of Stencils was released which is all about libations, cocktails, wine, etc. It included a stencil based on a downward photo into the glass of one of my husband’s (John) Manhattans

Manhattan with Two Cherries StencilGirl S856

John is a financial guy and is quite artful at that but his true calling comes out in the kitchen. He may not know periwinkle from sky-blue, but he is a fantastic cook and has also practiced, studied, and turned into an incredible mixologist (Yay me!). He has researched spirits, created his own bitters, and crafts beautiful cocktails for family and friends. One year I had a workshop that fell during the Kentucky Derby and he brought real Mint Juleps for everyone to enjoy as we all watched the final race! 

My weird stencil, Manhattan with Two Cherries S856, was a way to honor him and his art with my art. I so appreciate what he does and love his passion for it. Ok, maybe not as romantic as “The Notebook,” but you get the picture? 

However, it is an odd image, and I thought it would be a good idea to show you how I use it in my art, as well as what I intended when I designed it. I doubt I will ever create a journal page and plop down the stencil with the caption “Manhattan Dreams.” But I really do love the blips, blops, curved lines, row of dots, and great bit straight line to use in creating collage paper and backgrounds with interesting patterns. 

You’ve heard SO many times and watched a gazillion demos by now that you’ve been empowered to use just parts of a stencil to create something completely your own. We all love it when our work is admired and those looking at it are bemused and ask, “how did you do that?”

Here are some examples of how to use those “weird” stencils in your stash and create some beautiful pages. Luckily, I had a fresh stash of Gel Prints from Carolyn Dube’s workshop at Ephemera Paducah in July to use as my background pages. (My other idea for a column was “I have 250 Gel Prints; now what do I do?”)

Using the garnish pick I made some patterns that kind of look like bugs! I also like the one using half of the glass. 

This print on old dictionary paper turned into a really fun Washi Tape.

You would never know this one stencil could be the inspiration for so many shapes and patterns. 

I love the pink one! I just used the scribbles outside of the glass in black and white.

Creating patterns with parts of the stencil might be a way for you to use some of those stencils in your stash that you purchased on impulse but are challenged by when you pull them out from time to time. Take one of those "weird" ones for a spin and see how many different ways you can use it. 

Cheers!

Kristin