A blog for the StencilGirl® Product line owned by Mary Beth Shaw for people who love stencils like we love stencils.
Tuesday, June 14, 2022
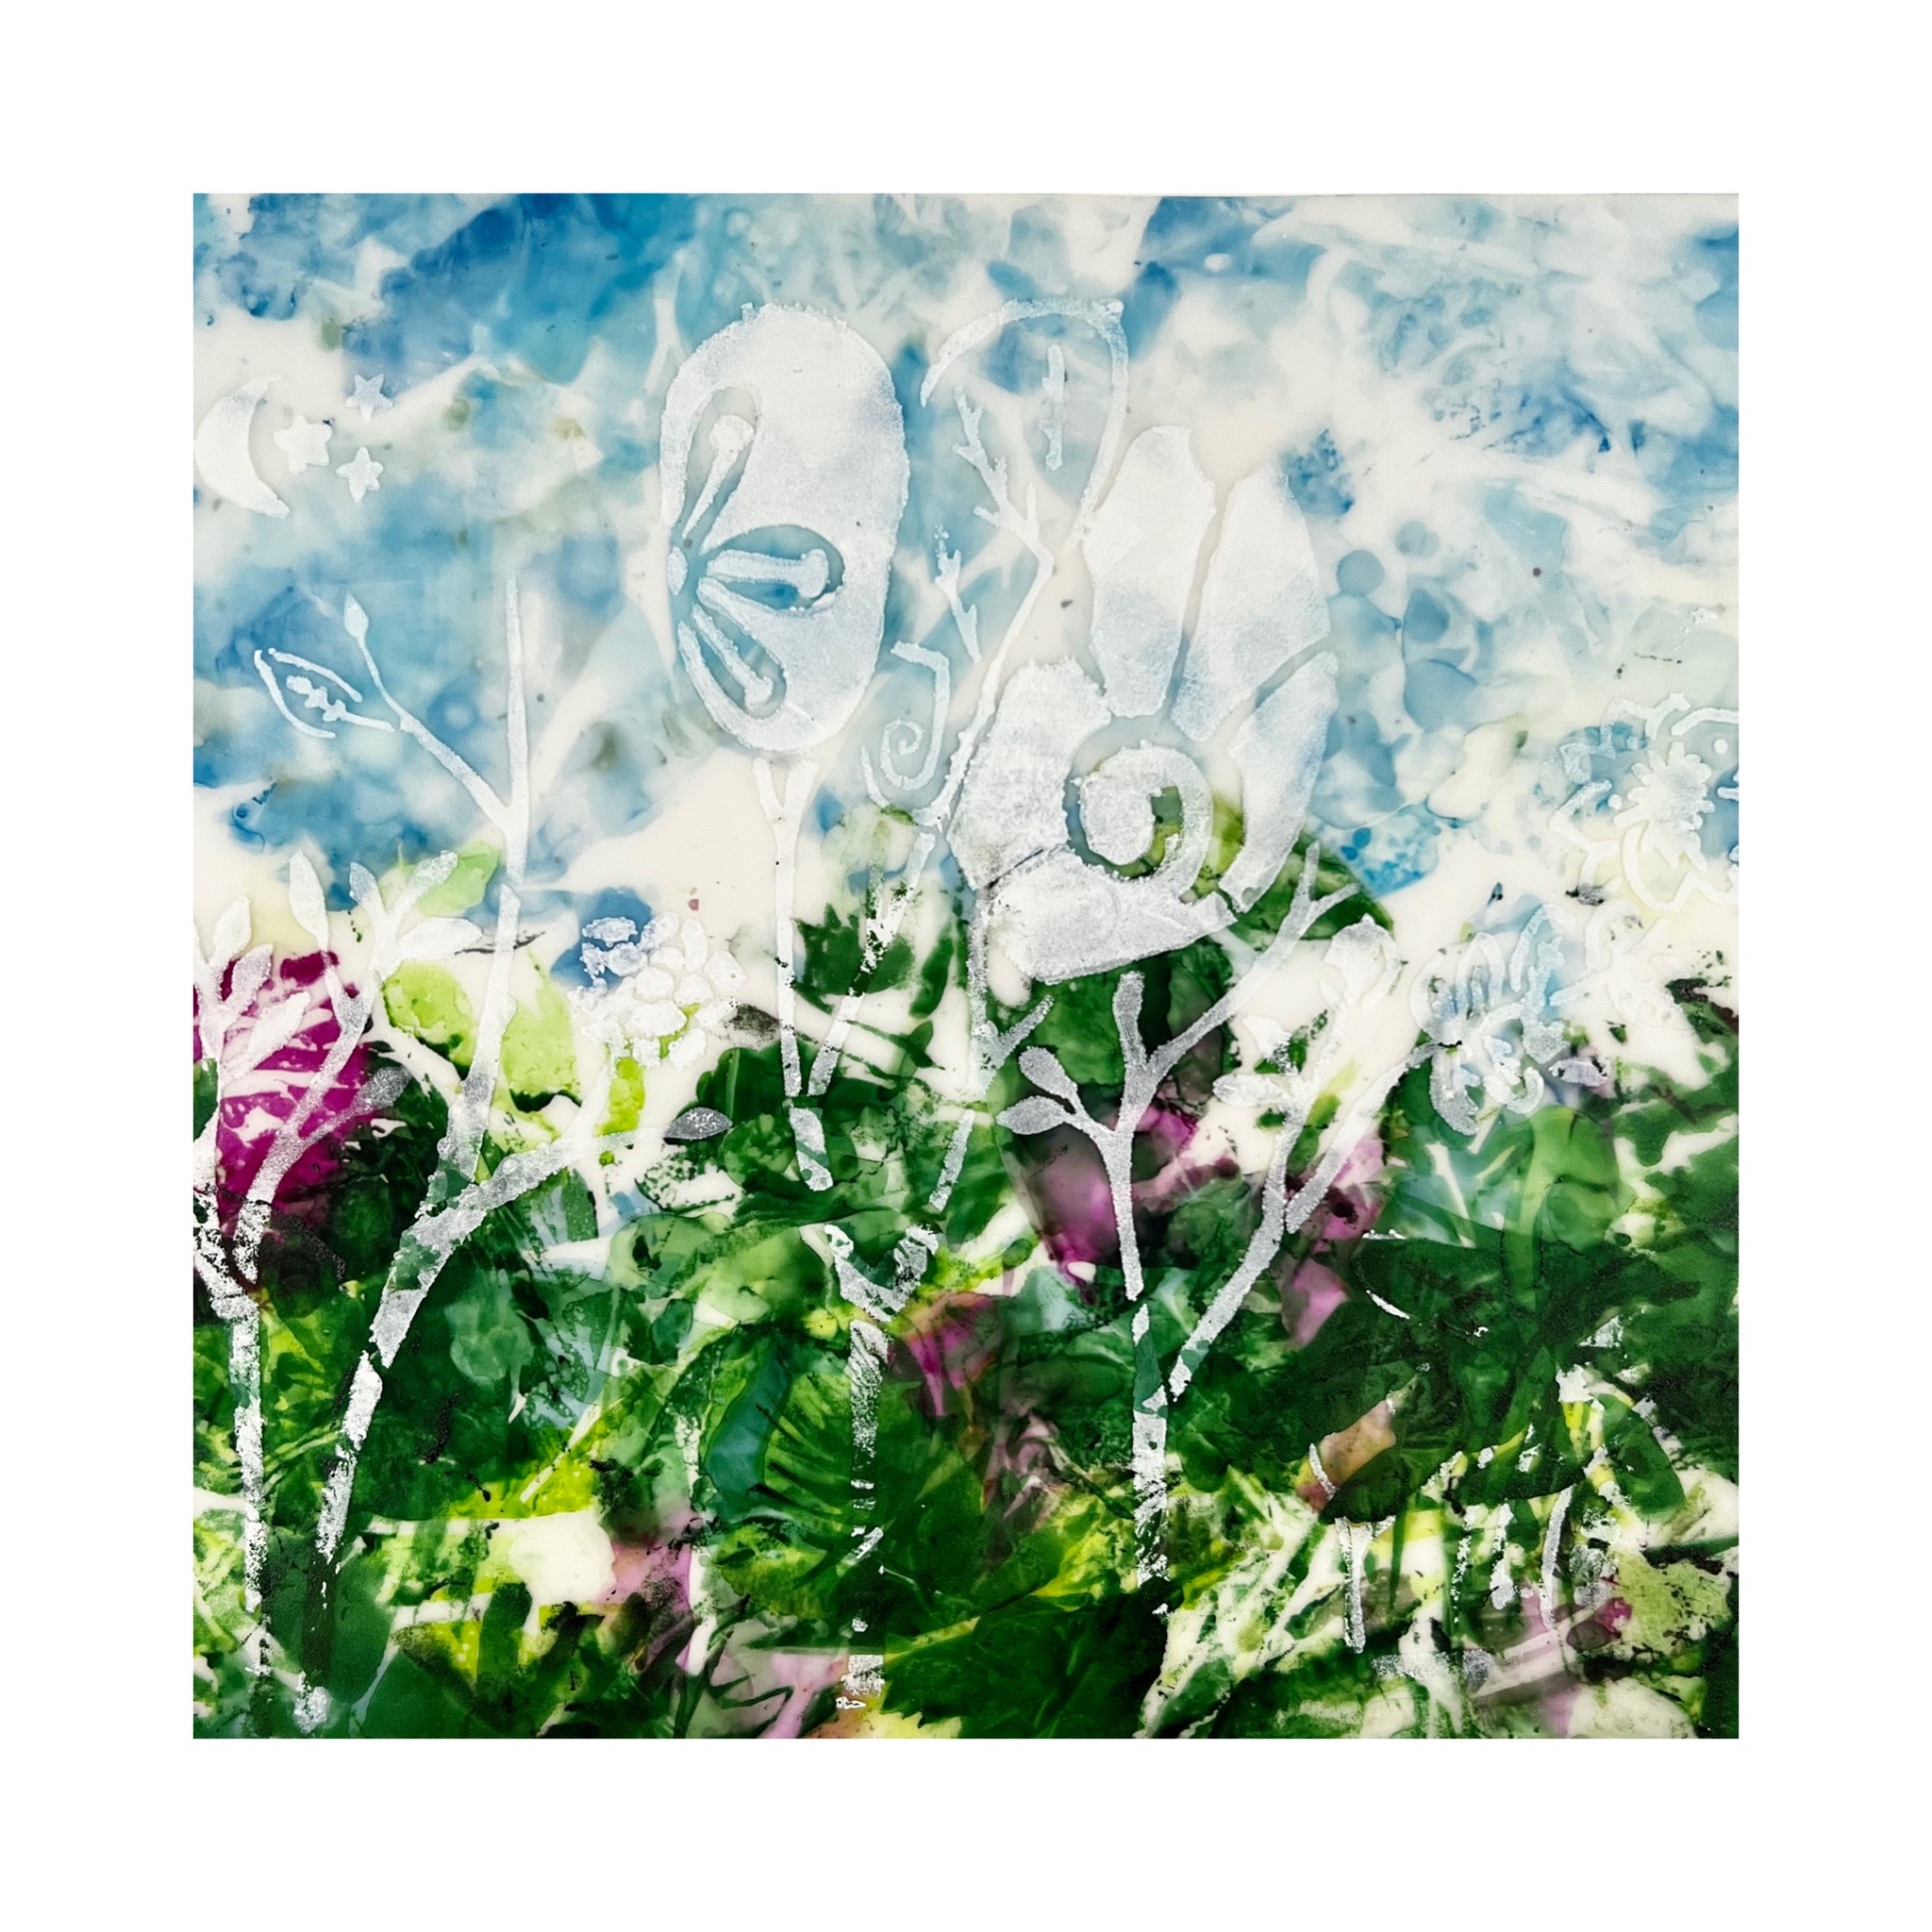
Wildflowers
Thursday, February 24, 2022
StencilGirl® Stencils and Spackle by Jane Dunnewold
I’ve used spackle for a number of years. But not just any spackle. Fast ’N Final is a lightweight spackling product that is actually a kissing cousin to gel medium because it is acrylic based. It’s the only product you should use for this stenciling technique, unless you are planning to work on a very stiff substrate. Fast ’N Final is perfect for papers and fabrics that have been stabilized with a backing like craft felt.
As you can see in the picture, spackle is thick, about the consistency of very stiff icing! It spreads easily with a credit card, but I use a small squeegee that we sell on my website.
For this demonstration I am using a large stencil from StencilGirl. This is a particularly good stencil to use because it has a lot of detail, but not a lot of large open areas with little bits that might not lay flat when I squeegee the spackle over the stencil. In general, small, overall patterns are easier to use than large open ones.
For example, in the picture of my StencilGirl expanded square “spider web” stencil, you can see how much the spackle smeared because the large areas were too open and had thin elements that didn’t stay flat when I pulled the squeegee. As much as I adore that stencil, it isn’t a good choice for this, although I could put down a flat layer of spackle and allow it to dry, and then add my stencil on top in paint later. Keep that tip in mind, if you have stencils you would like to use that aren’t a great choice for spackling applications.
Follow steps to make spackling through the stencil easier. The first pull of the squeegee across the stencil should be almost parallel to the surface, as you see in this picture. That helps spread the spackle out on the surface of the stencil.
Once the spackle is spread out on the stencil, hold the squeegee so it is at 90 degrees to the surface, as you see here. Pull the squeegee lightly across the surface to remove excess spackle that’s on top of the stencil. This ensures a complete and even image once the stencil is removed.
Peel the stencil back carefully to reveal the spackled pattern. I didn’t print the entire stencil on this project, because I was planning to work into the image and wanted it to be incomplete.
You can color the spackle with acrylic paint. The more paint you add the less depth you will get when you print the spackle. Add a little paint at a time, especially if you want a tint more than a deeper color.
Stir the spackle and the paint together to mix thoroughly. Print just as you did when using the white spackle. You can see how vivid the color is here, using just a little of the acrylic paint. Don’t worry, though. If the color is too strong or bright, you can always paint over the spackle when it dries, to knock the color back.
I’ve used spackled paper
and cardboard pieces in many of the mixed media collages I make. Here are two
examples of vase forms I’ve created, with raised patterns, thanks to the
stencils. Before they are painted they look like milk glass as you can see in
the picture.
Try putting spackle over
gelli-plate printed papers and card stock. And remember, you can always paint
over the spackle once it dries, because it is an acrylic product. So the
coloring options are endless.
In this still life example, made with some of my botanical prints, and collaged with vintage silk embroidery and gold leaf, I used a stencil I cut myself, to apply spackle to the wall behind the vase of flowers. It adds dimension and another level of interest.
Here are a few tips to
keep in mind if you would like to try Fast ’N Final with stencils of your own.
•
Remember to lean the squeegee toward the
substrate to get the first layer positioned and then straighten the squeegee up
to remove extra spackle that might prevent the print from being clean and
crisp.
•
Always let spackle dry before coloring or
altering.
•
Spackle can be sanded once it’s dry.
•
If you want to apply spackle to fabric, it
must be stabilized with some sort of backing. It will chip or flake off if the
fabric is too flexible. This is not a suitable process for clothing or fabric
that is functional.
•
You cannot sew through spackle with a
sewing machine as it will gum up the machine. However you CAN hand stitch it to
add details or interest!
•
Never iron over spackle without using a
pressing cloth or parchment paper as it could melt onto the iron and make a
mess.
• Clean up tools with water before the spackle dries, as it will ruin anything it dries on.
I was intrigued by the fabric piece that had the bright magenta spackle on it, but I really didn’t like the color. So I decided to try using Inktense blocks on top of the spackle. The trick is to spray the surface lightly with water first, so the color will blend easily.
I was pleased with how it looked so I decided to be daring and add some additional color.
Then I got a wild hair to add a portion of a doily I’d dyed previously. So I used Misty Fuse to fuse the doily to the background. The purple was pretty intense and the stencil pattern ended abruptly, so I got out the stencil and added more spackle.
Once the spackle dried, I added more color with the Inktense blocks to blend the elements together.
I had planned to add stitching to the doily's lace edge, and when I did, and flipped the piece around, it suddenly became a mountain or a cathedral! So I grabbed the lid from my vitamin bottle, and used it to add a circle. I colored in the “sun” with Inktense, and the piece was finally complete.
What I find most joyful in my own work is the spontaneity of discovery. I hope this essay grabs your imagination, and that you have some fun with this! Let us know how it turns out!
I hope you’ve enjoyed my blog post and found it inspiring. If you would like to see more of my work and be entered in a drawing for the artwork I created for the blog, sign up for my newsletter here! Shipping included. Looking forward to connecting with you!Friday, July 9, 2021
Frieda Oxenham: Art Journaling with StencilGirl® Stencils
We are slowly nearing the end of Ben Okri’s poem that I have been illustrating here, and have reached the words: “The dream is real, and the real is a dream”. Too true! This entire period of our lives has seemed extremely surreal and it is hard to imagine what our “normal” lives before the end of 2019 looked liked. I somehow think that that sort of normality will probably never fully return but hopefully our real world will slowly become a nicer dream. I also liked the words as they gave me the opportunity to use one of my most favourite stencils, one of those I keep aside on a separate pile, for special occasions. It is stencil Lyrical Leaves. It’s based on the principle of NÅtan: NÅtan is a Japanese design concept involving the play and placement of light and dark elements as they are placed next to the other in the composition of art and imagery. This stencil does this beautifully and also seemed to resonate with the difference between dreams and reality, so the scene was set to make this spread. Here is the tutorial:
1.
Use a large gelli plate,
a brayer and 5 or 6 different colours of acrylic paint and take a print. Do
this for two facing 8 x 11.5” pages.
2. Using some of the same paint colours on your gelli plate, add Mark Making on top of the plate and take random partial prints on both pages.
3. Add white paint to the gelli plate and put the large stencil from the April 2020 StencilClub on top, and take more random partial prints on the pages.
4.
Using stencil Lyrical Leaves, put it on the pages and lightly mark the corners of the
centre square on the pages with a pencil
5.
Add vintage collage
pieces within these marks using a glue stick.
6.
Spray both pages randomly
with bronze spray paint (I used Brusho Shimmer spray colour Bronze)
7. For the next step I was going to make a separate page but as sometimes serendipitously happens I found that I already had the perfect gelli plate print to use. It was a misprint as I wanted to add text and forgot to reverse the stencil (as you do, very frequently in my case!). The colours were like the ones I had used on my pages but with enough of a contrast to still stand out. The stencil I used to make this misprint was Now is the Time.
8.
Take Lyrical Leaves again and put it on the misprint from step 7, and mark out the pattern
with a permanent black marker, and then cut it out with either scissors, a
craft knife or a cutting machine if you have one. I won’t deny this is pretty
fiddly (unless you have a machine) but it will be worth it!
9. Put the result of one sheet of pieces cut out on one of your pages and the remainder of the sheet with the pieces cut out from it on the other. Use the stencil as a guide line for this last step. Glue down with Soft Matte Gel.
10. Outline the shapes on both pages with a permanent black marker.
11. Provide further contrast by stenciling on shapes, with blue paint, through the large stencil from the March 2021 StencilClub.
12. Add little and large golden circles randomly to the pages using the large stencil from the August 2013 Club for the large circles and the large stencil from the December 2017 Club for the small ones. I used a palette knife and gold embossing paste for this.
13.
Add the text as shown,
printed out from your computer and edged with a Distress Ink pad colour Walnut
Stain.
14. Edge the pages with the same ink pad.
Thursday, October 22, 2020
Jane Dunnewold: Stenciling with a Heat Press!
Supply List
Heat press (Don’t try
this with an iron as you might melt the stencil.)
Silk handkerchiefs
(package of twelve)
OR larger size
Origami paper (This brand
works but I can’t promise others will)
2 Teflon sheets
2 or more pieces of white
craft felt cut to fit the Teflon sheets
Scissors
Old washcloths for clean
up
Spray bottle
Dishpan
Large piece of shelf
liner (or other plastic to protect your work surface)
StencilGirl® Products
Hi, everyone! Jane Dunnewold here! Last year I purchased a heat press because I wanted to adapt it for my botanical printing. Heat presses are usually used to apply transfers to flat objects like T-shirts, and in some cases as an assist to printing on paper. Little did I realize when I bought the press that it would also be a cool tool for stenciling!
You may not have access to a press, but if you do, this might be fun to try. Presses also come in smaller sizes that are relatively affordable and are frequently on sale, or you can find a good used one.
The machine in the picture is a clamshell style press, with controls for both temperature and time. Several hours of experimenting led me to conclude that two minutes of pressure at 300 degrees is ideal for stenciling.
In the course of figuring out botanical printing with the press, I’ve experimented with all kinds of papers and fabrics. I use colored papers for transferring during that process, which is how I stumbled on the use of the stencils with my botanical prints. You can experiment, but in order to limit variables, I’m going to show you how to work specifically with origami paper and lightweight silk handkerchiefs. There is a learning curve with this process, as you will see.
A heat press isn’t equipped to provide moisture, but a damp surface is imperative when you print the way I am. In order to introduce moisture into the equation, I work with craft felt. I wet the craft felt in the sink and then put it in the spin cycle of the washing machine, so that most of the moisture is spun out. A wet piece of felt is not your friend during this process, as it makes the images bleed and you lose control of details as you can see in these examples!
I’ve had good luck with paper when I print botanicals but when I used the stencils alone, I had better luck with fabric. I’ve successfully printed cotton, silk noil (heavily textured) and light silk, known as China silk, or Habotai. I suggested lightweight silk Habotai handkerchiefs on the supply list because then you can play with layering colors. The silk glows when several colors and patterns are layered on top of each other.
In order to work for stenciling the colored paper needs to the kind where the color goes all the way through the paper, rather than being printed on one side. Construction paper hasn’t worked for me. Some art papers work and some don’t, but the origami paper listed on the supply list works like a charm. It’s inexpensive and can be recycled, which is a plus. The six inch squares are a great size that allows you to play with several colors at once.
I discovered that I prefer
stencils that are overall designs for this process, but that might be because
when I concentrated on the silk I started to think of the patterns as my gypsy
series! From a technical perspective it’s important to choose stencils that
have fairly open lines. I tried one very thin-lined circle pattern and the
lines were too narrow to print satisfactorily.
So we’ve assembled our supplies and now we’re ready for the fun to begin.
Follow These Step:
1. Turn the press on to
300 degrees and lay out the shelf liner or other plastic to protect the work
surface.
2. Wet the felt pieces
and spin them in the washer until they are damp-dry.
3. Lay one Teflon sheet on the work table and put a piece of felt on top of it.
4. Lay the fabric on top
of the felt. Spritz it lightly to dampen, but DON’T overdo it or the print will
bleed.
5. Lay the stencil on top
of the fabric.
6. Dip the colored paper you have selected into water in the dishpan and then lay the paper on top of the stencil. In the photo you can see the stencil sticking out from under the colored paper.
7. Lay the second piece
of felt on top of the colored paper/stencil/fabric sandwich and then cover the
felt with the second Teflon sheet.
8. Carefully carry the “sandwich” to the press and position it on the platen. Close the press. The timer begins as soon as you close the press. It’s only two minutes so don’t walk too far away!
9. When the timer goes
off, open the press and take out the “sandwich.” It will be hot so be careful.
You may want to wear heat mitts for this step.
10. Carry the “sandwich” to the work table and take off the top Teflon sheet and felt.
11. Carefully peel off the paper and discard it and remove the stencils to reveal the pattern.
12. The color is set by the heat. Allow the fabric to dry unless you want to continue to build layers! Additional layers can be added immediately but you can also decide to add another layer after the fabric dries. Repeat the process again by dampening the fabric and papers and layering between the dry-damp pieces of felt.
TIPS:
Always work with clean felt. The colored paper bleeds onto the flat and can transfer to the background and stain or even ruin it. The gray background in this print was NOT intentional. Cut six-eight pieces of felt and wet them all at once to save time and avoid the tedium of washing the felt after each print. Launder it at the end of the session so it’s fresh and ready for the next session.
Don’t get discouraged if the first few prints bleed. Sometimes the result is actually beautiful and will make a gorgeous background for more printing or embellishment!
How to Add Another Layer
Color background without adding pattern by putting colored paper on the fabric without using a stencil. Colors blend so this is a great color theory lesson!
Add pattern by repositioning the stencil you used the first time or choose a different stencil to make the patterning super complex.
Conclusion
I haven’t decided what to
do with the beautiful fabrics I’ve made on my press. I may embroider on some of
them, or assemble them into a quilt. I’d love to add gold leaf and maybe even
some additional stenciling. We’ll see! In the meantime, I look forward to
discovering what else I can do with fabrics, stencils and colored papers, and I
hope you’ll try it too. If you do, send me pictures. It’s always fun to see
what someone else does with my ideas. Inspiration is everywhere!


