Showing posts with label Kate Yetter. Show all posts

Monday, February 26, 2024

A Map of Us


February is the month that we celebrate love. Everything in the store is hearts, red and pink. When my husband and I were married, we decided that we weren't going to get pulled into the commercialism of Valentine's Day. What kind of a relationship does one have if they only show each other love on February 14th, once a year? Not to mention the overpriced candy and flowers. But when it comes down to it, I am a female and I want to be romanced. I love it when my husband comes home with flowers or a special gift. I love it when he does the unexpected to surprise me. Over the last few years, we have done a little something for the other not because we mutually agreed to start celebrating Valentine's Day, but because we have found it to be just one more opportunity to tell the other what we love about them.

This year, I decided to map out "Our Story," We have gone through some hard things in the past year and it seemed like the perfect time to commemorate all the battles fought and won in our marriage.


To start this project, I created a sketch.


Using stencils and other reference material, I came up with a final sketch.


One of my favorite reference materials was How To Make Hand-Drawn Maps by Helen Cann.


My sketch was transferred to watercolor paper using a pencil and graphite transfer paper.


I found a color palette that went with my theme and mixed up the colors before beginning.


I applied my first layer of color. 


I kept building up layers and here is the result. As you can see there are some wrinkles in the paper, so I pressed it for several days under heavy books.


Once flat, I used fine liner pens to add the text.


The last detail was adding the title in the bottom corner. I used this stencil to help me create a box.


Thank you for joining me. I hope that you have found inspiration for creating a unique and personal way to show your love to someone.
Kate




 

Monday, November 20, 2023

Faces, Quotes and a Colored Pencil Study


Hello, it's Kate Yetter here with you today. Do you play when you create? Most people would say yes, and I used to be one of them, but recently I have found that creating doesn't always equal play. There are certain processes that make me happy when I do them, and others that are so boring that I usually abandon them midway through and move onto the next project. I struggle with playing because I always feel the need to have a finished product that looks perfect. 

After so much frustration in my creative work, I am slowly learning to have fun, play around and to not expect everything to turn out like a masterpiece. This is easier said than done of course but I am finding when I do let myself play, I am more likely to experiment and at the end, I feel inspired to come back and try it again.
Today's project is one of those play sessions. I love working with wet media, but I am trying to expand my toolbox and skills to include more dry mediums. I have a lot of colored pencils that are rarely used so I thought I would challenge myself and give them a whirl. And add in a little play while I am at it!


Here is a quick sketch I did in the planning phase.


To begin, I traced my stencil onto a piece of smooth kraft paper.


 A base layer of yellow was added to the entire face and hair. I lightly built up the layers of colored pencils. I watched several tutorials online while preparing for this project and using a lot of colors seemed to be key.


I thought these dogwood blossoms would be a cute addition to her hair. I really love how her white collar "popped" on the kraft paper background.


When planning this project, I knew that I wanted to include a quote somewhere on the piece. I decided to put it in her collar. It reads, "Explore daily the will of God." I wanted to use stenciled letters but using this method required hand-lettering since they all turned out to be different sizes.


Blending the layers is something I would assume comes with practice. I wasn't sure what the professionals use but I read I could use rubbing alcohol, so I used a combination of a paper blending stump with the alcohol. You can still see strokes from the pencil that I was unable to smooth out.


This last piece I consider a failure, but I am sharing it anyway because I am trying to break the perfectionistic mode. The blending in the face is a bit streaky but I like the various colors in her hair. Next time, I probably just need to be more patient in building up my layers. 

i


Thank you for joining me today. Go play!

Until Next Time.
Kate


Monday, May 22, 2023

Sketchbook Play- by Kate Yetter


Hi Everyone, it's Kate here with you today.


Lately, I have been inspired by sketchbook tours to make my sketchbook more of a practice place. If you are like me, you want every page in your sketchbook to be as pretty as the flip-throughs on Youtube, but in order to make the pretty stuff, you need to practice and experiment. Gouache is one of those mediums I haven't yet tried and I thought this would be the perfect place to give it a go.


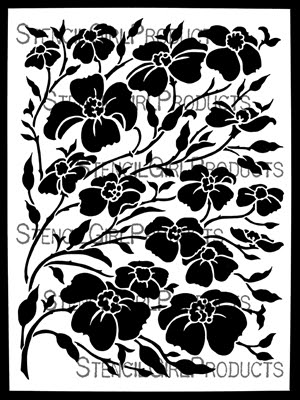
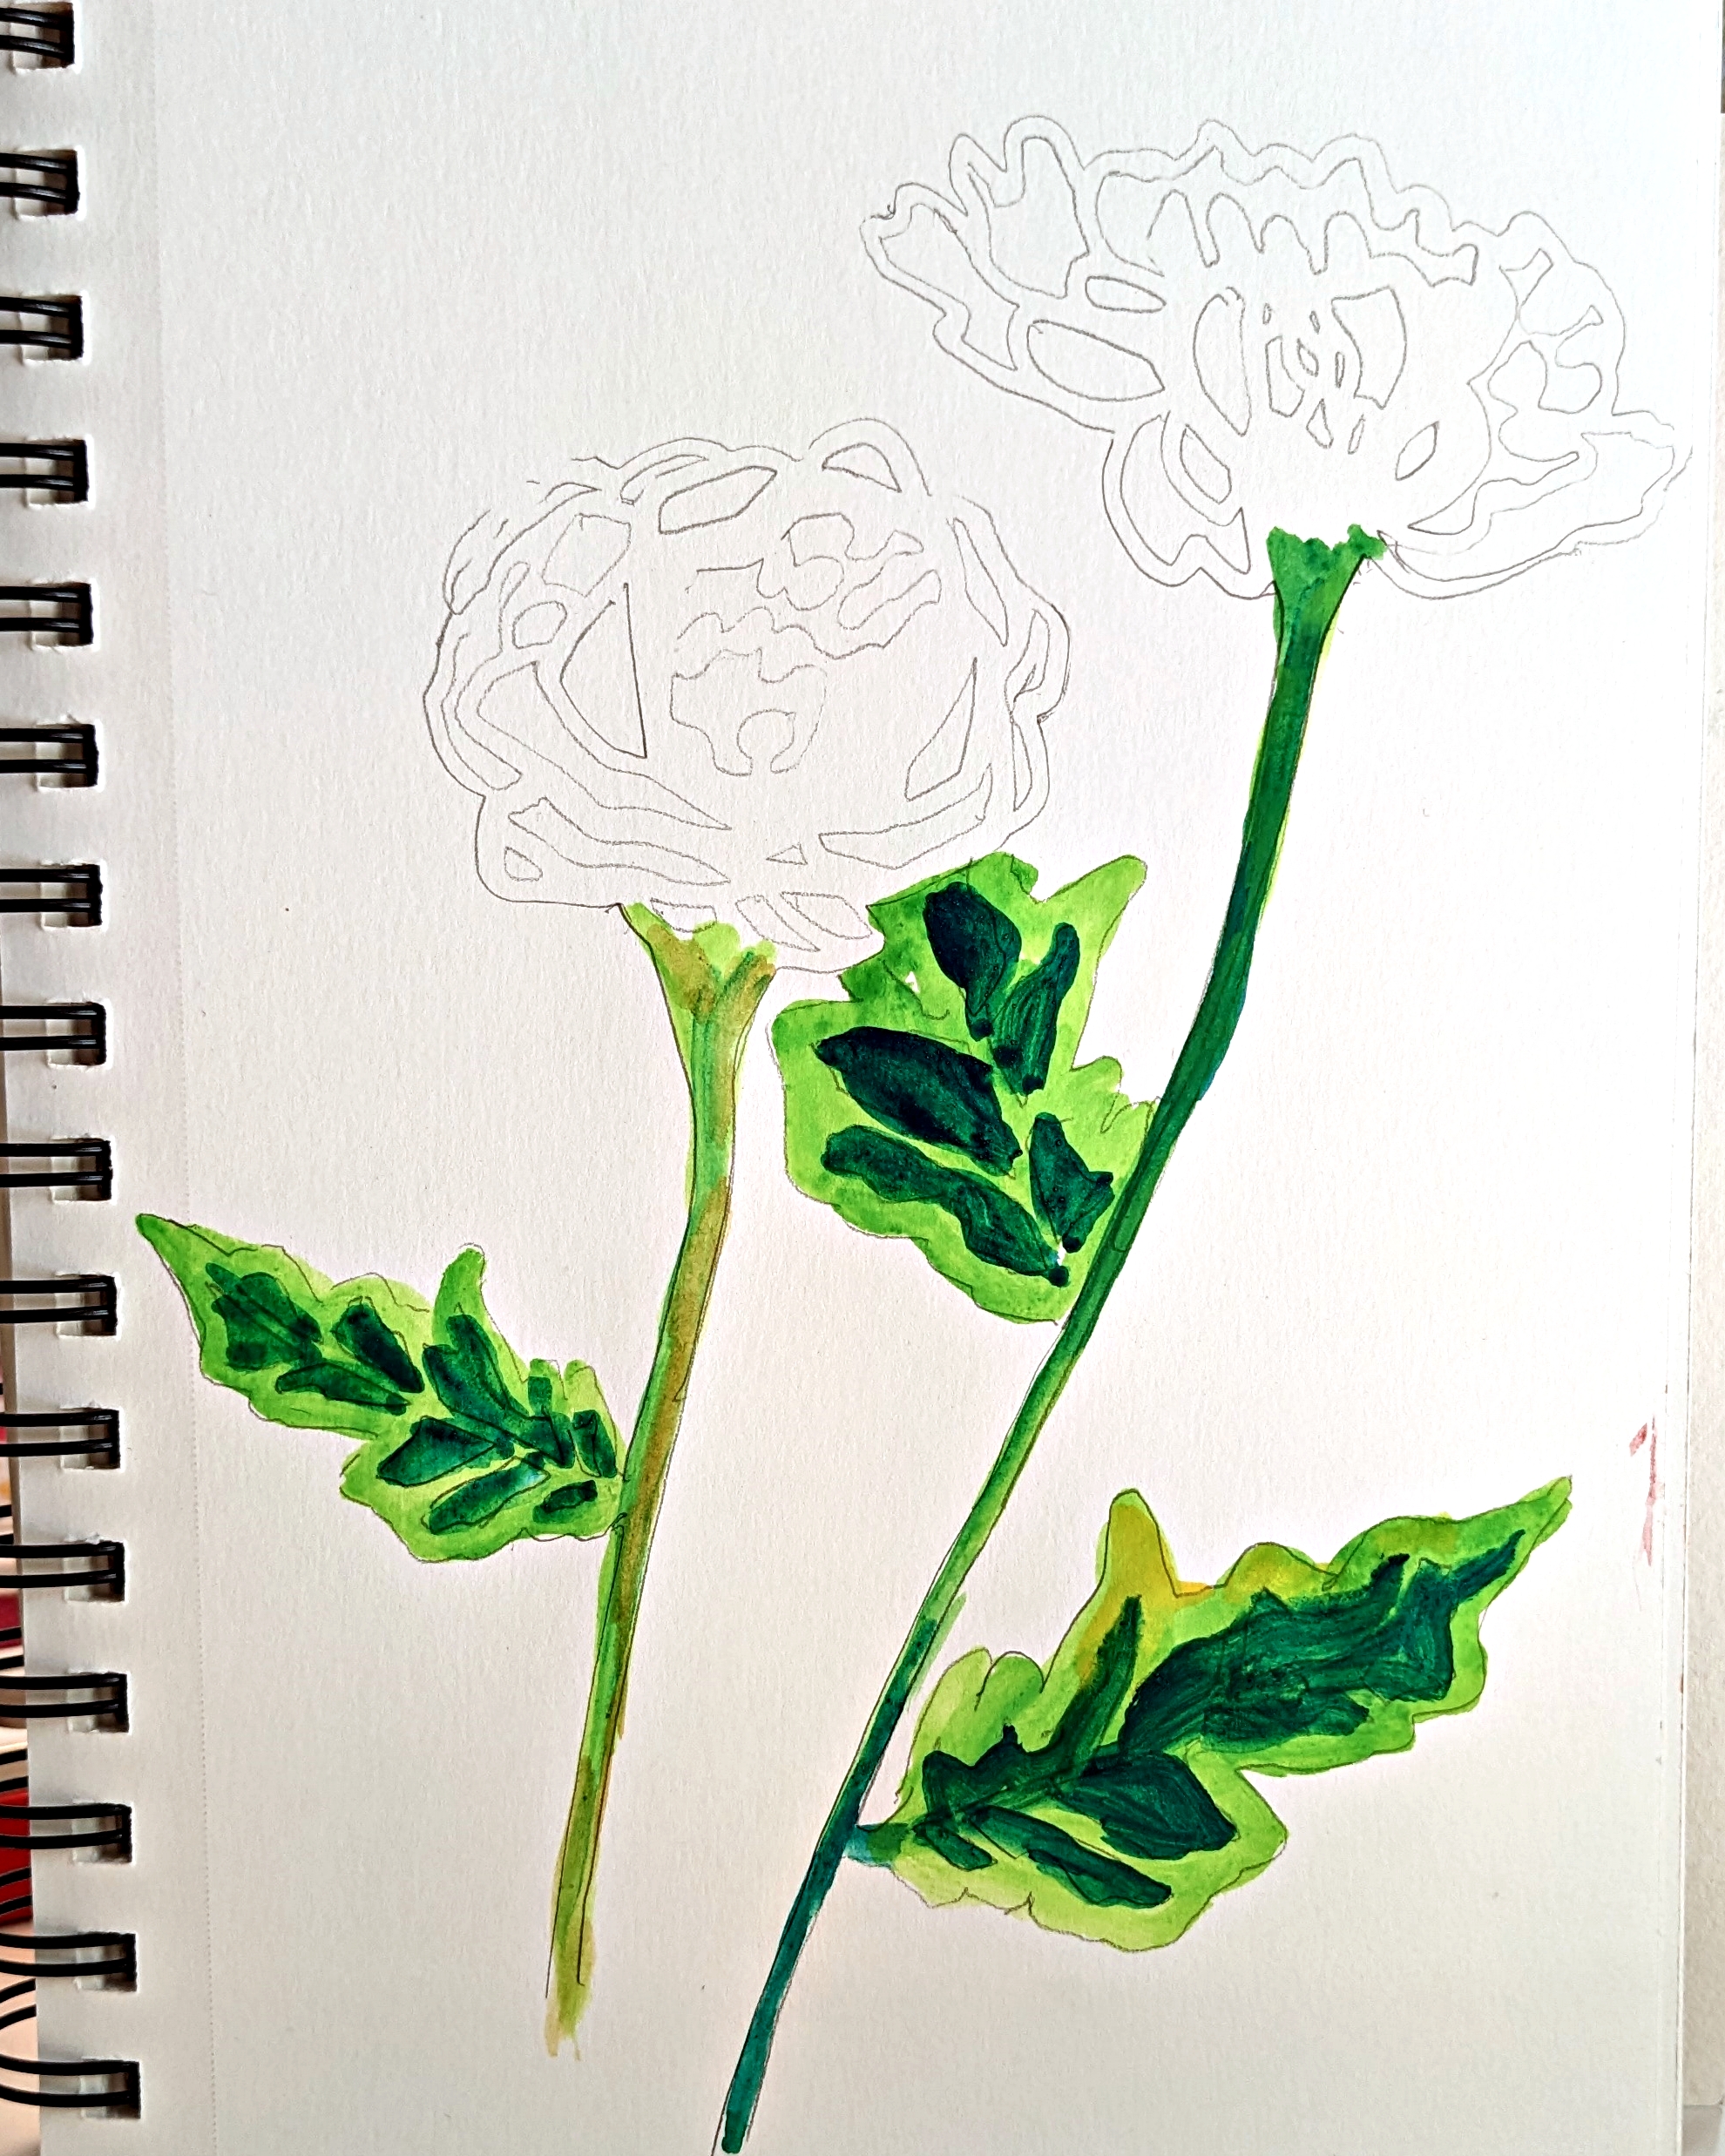
I started off by stenciling my image onto a page of my sketchbook.


Not knowing what I was doing, I started with gouache on the leaves in several different colors.


I chose a palette that I thought would go together and started painting.


At this point, I wanted to fill in all the white space, so I added some foliage and a background.


And I added some more. At this point, I was unhappy with the flowers. I worked them and re-worked them. Even though this is my first time working with gouache, I love that it allows you to paint layer upon layer until you are happy.


I love the look of ink so I added black outlines but not to everything.


I finally got the flowers the way I like them.


I love the way it turned out. I would have used more stencils but my page wouldn't allow due to size. Now I am thinking about all the possibilities with my other flower stencils.


If you haven't used stencils and Gouache, give it a try. You can cover up all your tracing lines with paint and work it until you are happy. So pull put those stencils and your sketchbook and have fun!

Until Next Time,
Kate


Monday, May 23, 2022

Mythical Illustration in Watercolor


Mythical creatures have always intrigued me, some of my favorite being mermaids, dragons and unicorns. The Little Mermaid was my favorite movie from childhood. Being able to talk and sing underwater while sporting an iridescent tail seemed like the ultimate fantasy. And then I grew up and had a daughter.
My daughter has an incredible imagination. She has a pet tiger that lives under her bed, along with a unicorn that we found in an egg on one of our bedtime adventures. One night she asked me to tell her a story. Unlike her, I am not very good at using the imagination area of my brain. I draw all my inspiration from others and what is around me. I desperately wanted to be one of those parents in story books that make up tales that come to life for their children. I made up a story about a little girl that had her own pirate ship (she was into pirates), and her brothers were her first mates. On her very first adventure, she found an egg that she brought back to her pirate ship. After several days, the egg hatched, and a tiny pink unicorn with emerald colored eyes emerged. She was named "Em', short for Emerald. And from that day on, they would go on many adventures, sailing their ship and meeting all sorts of people and mythical creatures.
My painting today is one interpretation of "Em, the Unicorn." 

I started off using Unicorn Magic to stencil my unicorn.


I made a few color swatches of paints that I wanted to use. I used Kuretake Watercolors.


I added text using Celtic Alphabet Stencil and then tried adding a girl.


On this version, I made some proportional changes to the girl but decided to try embellishing the unicorn using the Botanical Wildflowers Stencil.


At this point, I still wasn't sure about free-handing a girl so I traced a plate and started filling in foliage around the unicorn. Here is my basic sketch.


I transferred my sketch to 300gm watercolor paper, using graphite paper and a pencil. I like to paint in my recliner so this is my set-up, otherwise known as my lap.


I recently purchased some masking fluid and here I am trying it out on the stars and dots on the unicorn body.


Painting in progress.


At the end, I added a few touches of gold paint to make it sparkle.


I had a lot of fun stretching my imagination to put together this illustration of "Em." I can't wait to try it again with different modifications and adding my daughter. Thanks for following along with my process and if you have any tips about illustration, I would love to hear them.

Until Next Time,
Kate