Showing posts with label Rae Missignman stencils. Show all posts

Thursday, November 30, 2023

Introducing Vintage Gardens from Rae Missigman


As she so often does, Rae was greatly inspired after days of study and sketching in a botanical garden that boasts a rich history of the local flora. Learning that many of the plants and flowers she studied had ancient roots in neighborhood gardens, and drawn to the delicious assortment of shapes and sizes of both the floral and non-flowering beauties, Rae was prompted to create a peek inside the gardens of the past.


The Leafy Garden Mask was inspired by the abundance of rich green ferns, vines and ornamentals studied at a local botanical garden that Rae Missigman frequently visits near her home in Florida. The gardens enormous collection of non-flowering plants was the seed behind this leafy beauty.

This mask, paired with watercolor, creates lovely and fluid garden backgrounds. It would also be perfect for creating the peek-a-boo layers of a vintage garden. A gel plate and assorted mixed mediums make layering quick and easy. These stencils and masks would also be wonderful for use with inks, which when mixed with masks can create beautiful fluid lines and brilliantly unpredictable results.


The Vintage Camellia stencil and mask was inspired by the layers of ruffled petals, delicate stalk-like stamens and large glossy leaves of this antebellum age flower. Upon closer study, Rae found that each heavy bloom was a festival of intricate shapes that changed into something new with each rotation of the stem. 

This stencil would be wonderful to use with watercolor paint to create soft ethereal florals, while the mask would be perfect for creating the peek-a-boo layers of a vintage garden. A gel plate and assorted mixed mediums make layering quick and easy. These stencils and masks would also be wonderful for use with inks, which when mixed with masks can create beautiful fluid lines and brilliantly unpredictable results.


The Vintage Tickseed stencil and mask was inspired by this delicate blooms jagged edged petals and seed like center. First drawn it’s variegated colors Rae soon learned that up close, this bloom curved it’s florets this way and that begging to be seen. Long sturdy stems supported more curved ball like buds that made the entire cluster of flowers a riot of color and lines.

This stencil would be wonderful to use with watercolor paint to create soft ethereal florals, while the mask would be perfect for creating the peek-a-boo layers of a vintage garden. A gel plate and assorted mixed mediums make layering quick and easy. These stencils and masks would also be wonderful for use with inks, which when mixed with masks can create beautiful fluid lines and brilliantly unpredictable results.


The Vintage Coneflower stencil and mask was inspired by the vibrant drooping petals of this endangered native wildflower. While it’s cascading petals are what attracts most flower lovers, Rae, fascinated by the disk florets at the center of this bloom, gave these bud like centers a special place on this stencil and mask, making it perfect for adding buds to all of your floral stenciling.

This stencil would be wonderful to use with watercolor paint to create soft ethereal florals, while the mask would be perfect for creating the peek-a-boo layers of a vintage garden. A gel plate and assorted mixed mediums make layering quick and easy. These stencils and masks would also be wonderful for use with inks, which when mixed with masks can create beautiful fluid lines and brilliantly unpredictable results.


Rae's stencils are available now at stencilgirlproducts.com


Monday, May 22, 2023

Sketchbook Play- by Kate Yetter


Hi Everyone, it's Kate here with you today.


Lately, I have been inspired by sketchbook tours to make my sketchbook more of a practice place. If you are like me, you want every page in your sketchbook to be as pretty as the flip-throughs on Youtube, but in order to make the pretty stuff, you need to practice and experiment. Gouache is one of those mediums I haven't yet tried and I thought this would be the perfect place to give it a go.


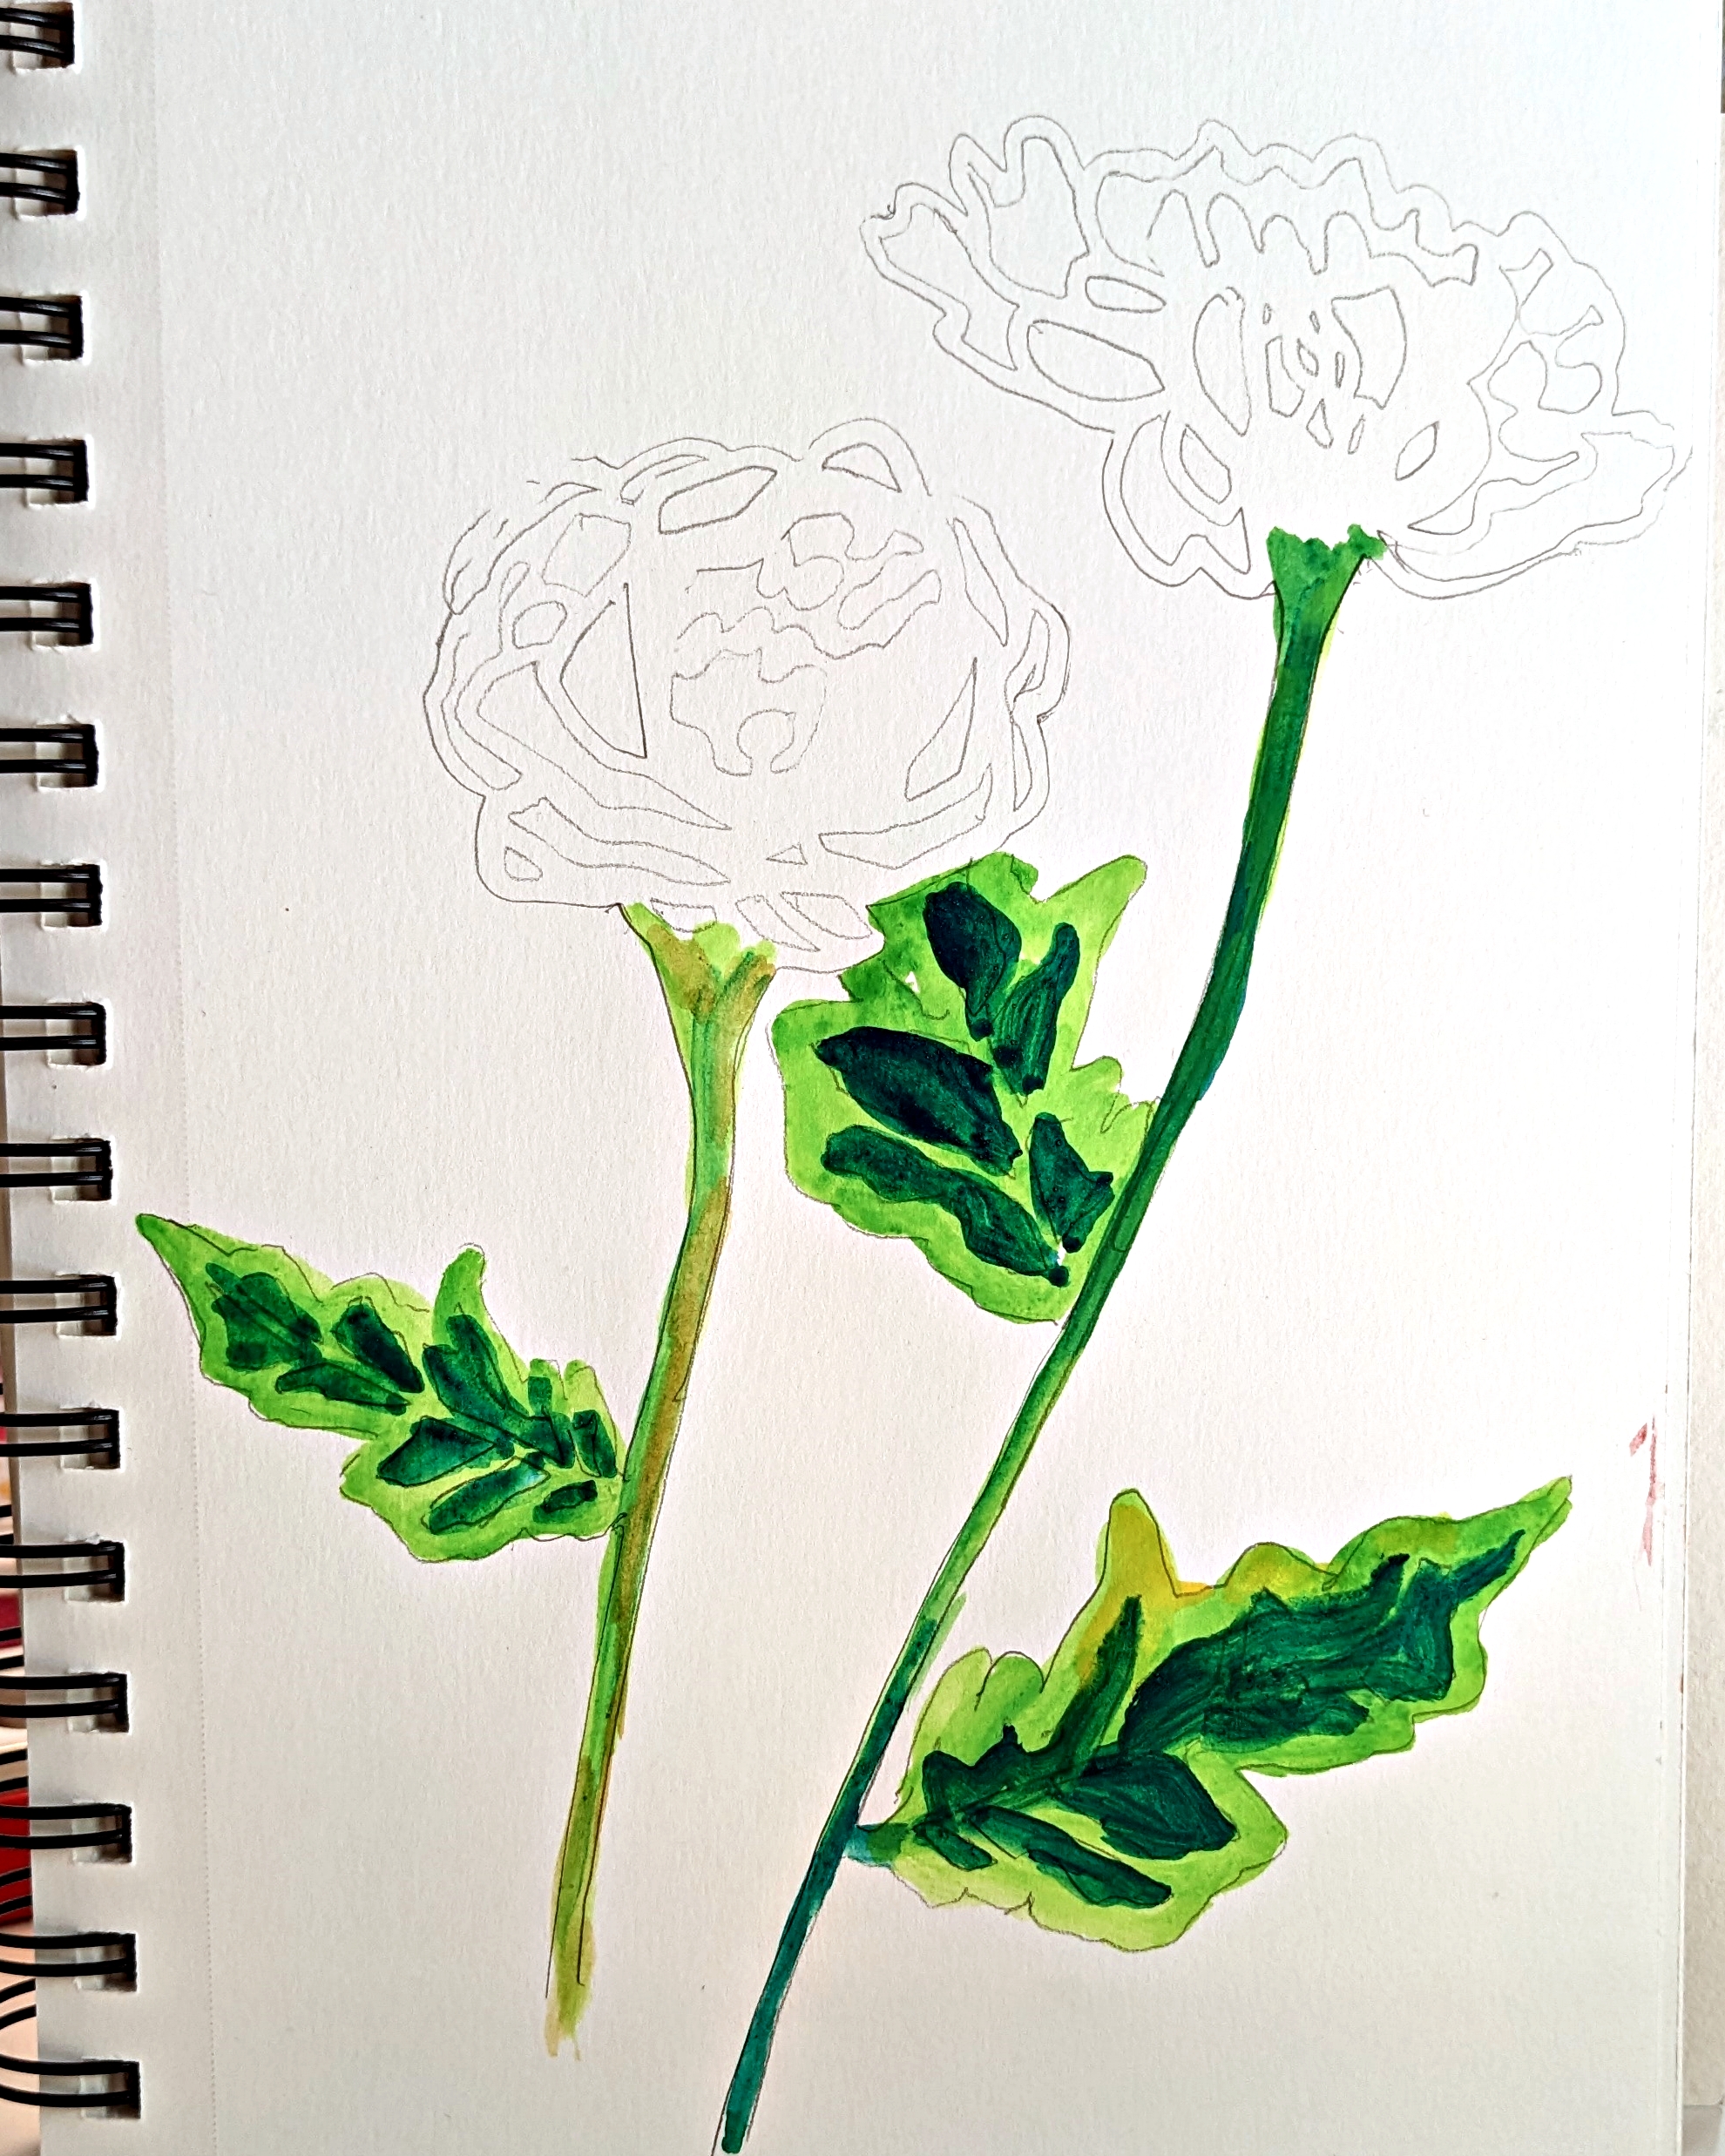
I started off by stenciling my image onto a page of my sketchbook.


Not knowing what I was doing, I started with gouache on the leaves in several different colors.


I chose a palette that I thought would go together and started painting.


At this point, I wanted to fill in all the white space, so I added some foliage and a background.


And I added some more. At this point, I was unhappy with the flowers. I worked them and re-worked them. Even though this is my first time working with gouache, I love that it allows you to paint layer upon layer until you are happy.


I love the look of ink so I added black outlines but not to everything.


I finally got the flowers the way I like them.


I love the way it turned out. I would have used more stencils but my page wouldn't allow due to size. Now I am thinking about all the possibilities with my other flower stencils.


If you haven't used stencils and Gouache, give it a try. You can cover up all your tracing lines with paint and work it until you are happy. So pull put those stencils and your sketchbook and have fun!

Until Next Time,
Kate


Thursday, February 23, 2023

New Stencils and Tag Book Project from Rae Missigman


The Greenery Bouquets set was prompted by Rae's long-time love affair with foliage. She is known at her local florist for ordering beautiful bouquets of leafage, stem upon stem, and verdigris in the color of green. The many shapes, sizes, and shades of green that each of these stems offers are what attracted her to their leafy stalks. The many variations of the Eucalyptus, perhaps her favorite of all the green stems, inspired her to re-create unique branches, leaves, and buds, adding her own artistic twist to each one as it was designed.


Rae loves to work with both acrylic paint and watercolors as well as texture mediums with these stencils and always reaches for the masks when creating on her gel plate. She loves the pop of color that peeks through after painting over a mask in her Pocket Journal. 


Eucalyptus Bouquets - L951


These tall bouquets were inspired by the clusters of Silver Dollar Gum Eucalyptus found in Rae's Greenery Bouquets. They are also known as the Argyle Apple Eucalyptus.


Eucalyptus Stems - L952 


Robust stems of the larger variety of Eucalyptus Camphora inspired Rae to create something that spoke to their famous heart-shaped leaves. 


Eucalyptus Bouquets Mask Small - S940


Rae couldn’t help but create a mini bouquet that intertwined her love of the Blue Ice Cider Gum Eucalyptus leaves with the imaginary buds that find a way into most of her work.


Eucalyptus Stems Mask Small - S941


A mini version of Rae's beloved favorite, the Silver Dollar Gum Eucalyptus.


Eucalyptus Bouquets Stencil Small - S944


A stencil partner for the 6x6 bouquet mask that intertwined Rae's love of the Blue Ice Cider Gum Eucalyptus leaves with the imaginary buds that find a way into most of her work.


Eucalyptus Stems Stencil Small - S945


A stencil partner for the 6x6 stem mask which allows for a bit of layering play of one of Rae's favorite smaller Eucalyptus varieties.


Rae's stencils are available now at stencilgirlproducts.com


Thursday, December 1, 2022

New StencilClub Exclusive for December 2022 from Rae Missigman


Each month, you get the following:

  • Two 9" x 12" EXCLUSIVE Stencils. 

Always Artist Designed

Sometimes there will be 2 designs, other times there will be multiple designs on two stencils.

    • An EXCLUSIVE video for MEMBERS ONLY provided by the designing artist. It's a class in itself!
    • A downloadable PDF with basic instructions to go along with the video for that month.
    • Entrance into a SECRET Facebook group for MEMBERS ONLY! A place to share, inspire and talk all about stencils!
    • Plus, as a MEMBER, you are eligible to purchase ANY past month for the membership price. Email Us with a list of which previous StencilClub sets of stencils you would like to purchase and he will provide you with a bill through PayPal.
    • StencilClub members receive a loyalty coupon code each month good for 20% off stencils in the public collection. It can be used more than once.

    StencilClub is only:
    $25 USD - United States, monthly 
    $35 USD - International, monthly


    Tuesday, September 27, 2022

    Simple Fall Inspired Cards


    Hello and happy fall! 


    Nicole here to share a fun, quick and easy card that’s perfect for the fall season. It’s almost starting to feel a little more fall-like here in Central Texas, and I am waiting in anticipation for our leaves to start changing. Until then, I am going to have to be satisfied with making my own fall leaves.


    I always like to have a variety of cards on hand for sending happy mail or tucking into giveaways and attaching to art that someone purchases from me. With my stash dwindling a bit, I needed to get creative to make some more. 


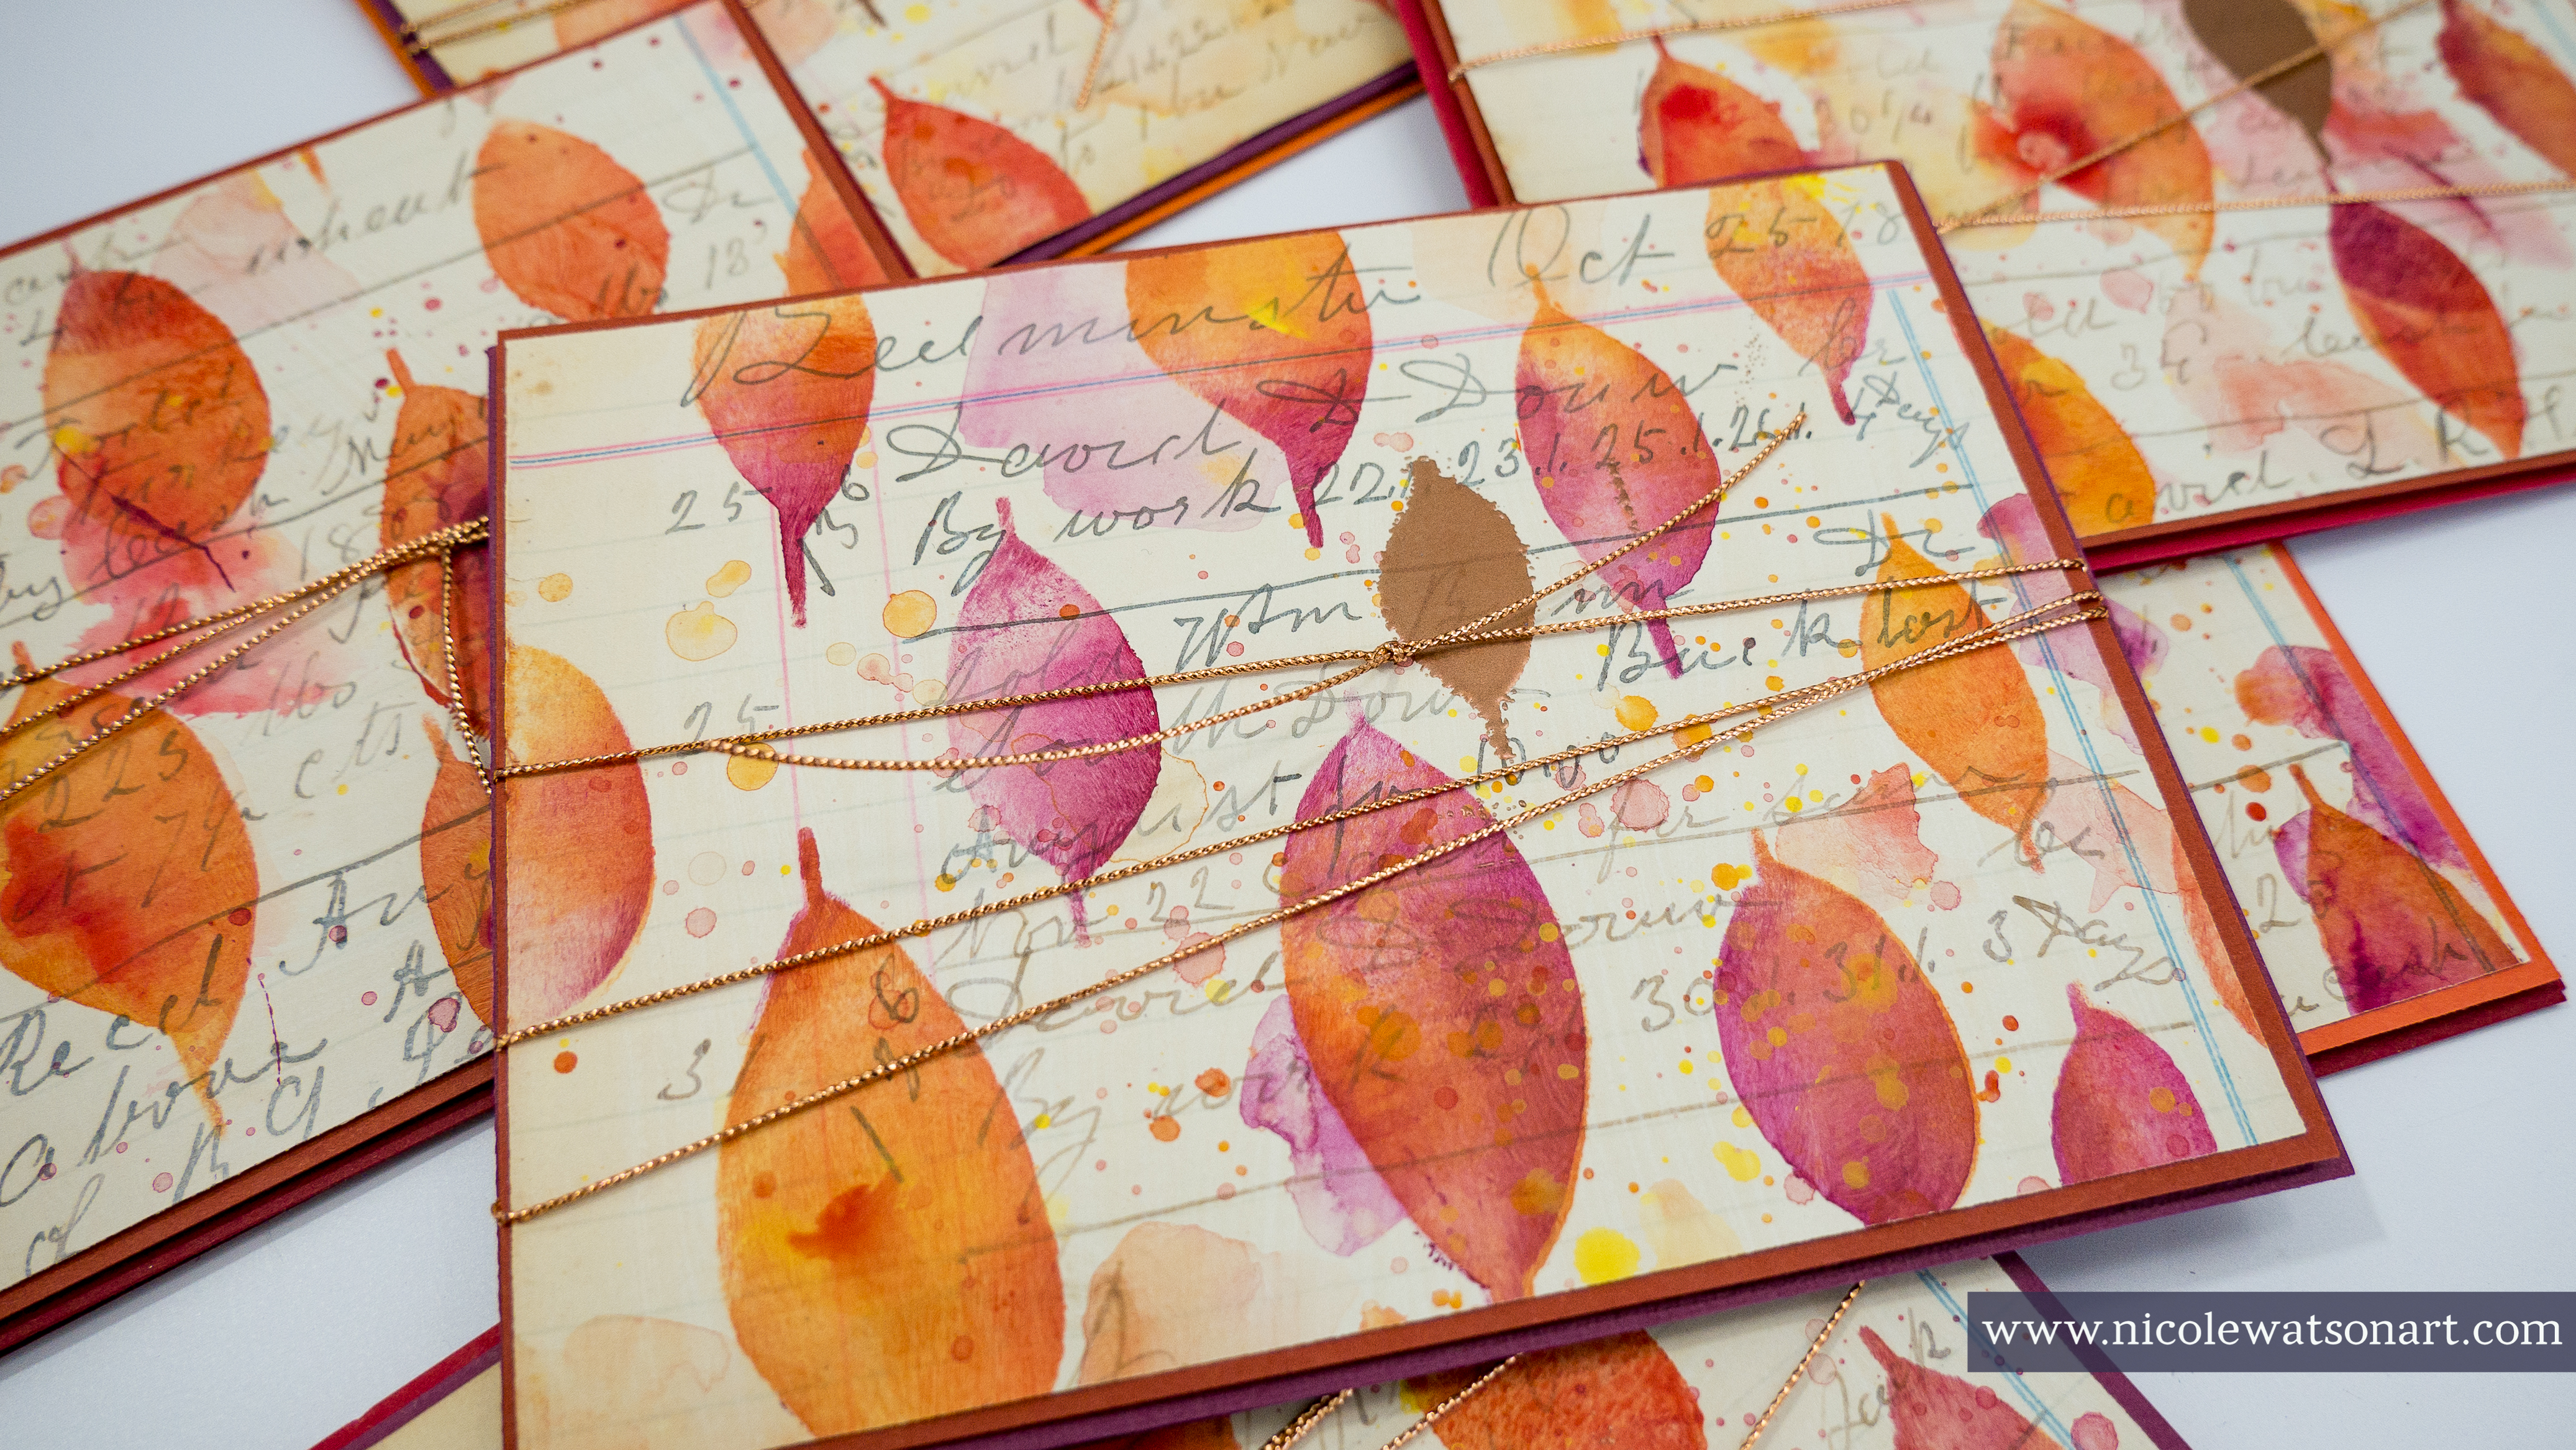
    Often when I sit down to make cards, I find making multiples takes just about as much time as making one. (Plus the supplies are all out!) In just under a couple hours, with four large ledger sheets, one stencil, a bunch of paint, cardstock, and a few other supplies, I was able to create 10 cards and 10 different postcards.


    I began by adding a small amount of watered-down gesso to some vintage ledger sheets. If you don’t have a ledger that’s falling apart or that you want to take pages out of, you could also use book text or even use your own handwriting on some pages. This card would be awesome with a fall poem as the background, too!


    The way white gesso mingles on the old book text is one of my favorite layers, however you can also use clear gesso. The white doesn’t cover up the pages much at all, it just adds a sort of chalky-like coloring. The gesso protects the pages just a bit from the paint we’ll be adding next.


    Once that gesso was dry, I grabbed my closed leaves stencil, all the fall (warm) colors from my Dina Wakley Media paint, sponge applicators and some patty paper for my palettes.  


    Begin with one of the fall colors. I like to start lighter and then progress to darker colors. (By the fourth ledger sheet, I just had fun and didn’t use that rule!) Use the sponge applicator to stencil loosely inside the leaf shapes. Don’t stencil prefect; keep some of the leaves half stenciled. Lift the stencil and repeat the process to fill maybe about half of the page or so. My favorite part about this particular stenciling process is that it does not have to be perfect.

    Then, pick up another color and place the stencil in the same spots to add color to the leaves and complete the shape. Repeat this process with several colors on the page. All these colors mix beautifully together, so you do not have to worry about making mud. A quick note, if this isn’t making sense, I have a video of the process linked below!


    Once the page is full of leaves, grab a paintbrush and add splatters, watered-down pools of color, and even paint a bit on top of the leaves. Use this process to add interest, grunge the page up a bit, and disguise any problem areas.


    Repeat this process with several different color combinations on all of the ledger sheets.


    When the sheets are dry, cut the pages into card fronts (mine are 4 by 5 ¼"), and also cut colored card stock into base cards and a layering card as well (the layer is 4 1/8 by 4 3/8").


    At this point, you can assemble the cards as they are, or add some embellishments like I did. 


    I decided it would be fun to add one embossed leaf to the front, so I squished versamark ink through one of the leaves on the ledger page. I chose a spot that needed a leaf and whatever size leaf fit best. Be careful to not get the versamark anywhere else, by using a mask to prevent this. 


    Then, I sprinkled copper embossing powder on top and use a heat gun to melt it.


    After repeating this process nine more times, I added the ledger sheets to the layering card. I felt they needed something else, so I wrapped them with some copper string. 


    I stuck the card front to the base with some dimensional foam adhesive.


    When the cards were finished, I still had some leftover stenciled papers that were odd sizes, so I made some postcards with those.


    This process was so much fun to make cards with. I anticipate myself making similar cards each season with a different stencil. Winter snowflakes, spring flowers, summer sunshine… or even shapes in seasonal colors. I’m getting excited just thinking about it!


    Check out the process video below (or click here!):


    I hope this inspires you to create some cards and send some happy mail! If you do, be sure to tag me on social media so I can see your beautiful art


    Happy Fall!
    -Nicole


    Connect with me on


    Stencil

    Other Supplies
    • Ledger Paper
    • Colored Cardstock
    • Acrylic Paint (warm/fall colors)
    • Gesso (white)
    • Palette Paper
    • Paper Trimmer
    • Versamark Ink Pad
    • Embossing Powder (copper)
    • String (copper)
    • Tape Gun
    • Adhesive Foam
    • Heat Gun
    • Sponge/Foam Applicators