Hi, everyone! Andrea Garvey here! I'm so excited to be on the StencilGirl® Talk blog today!
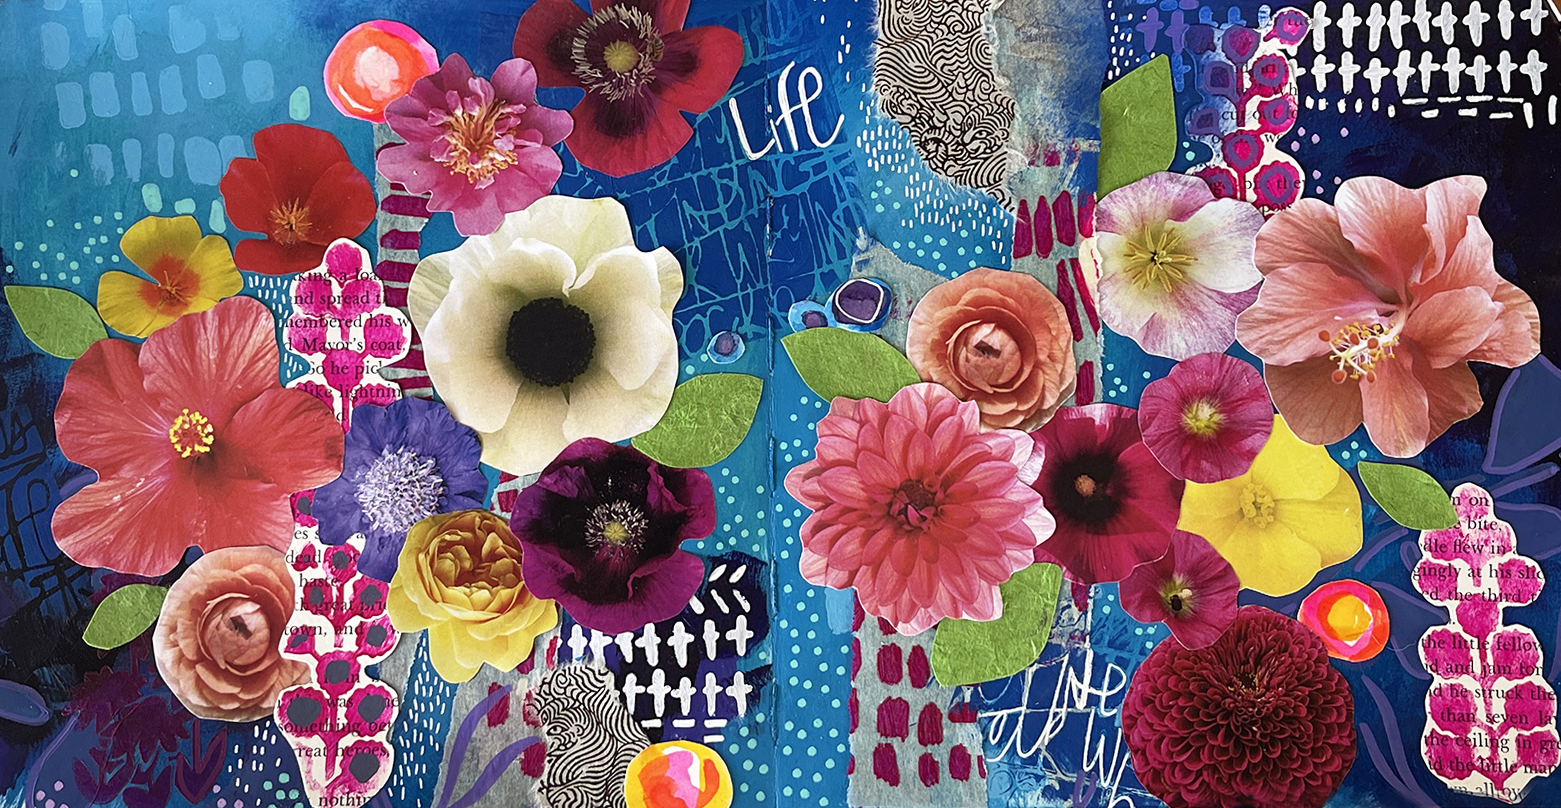
Here's a look into one of my art journal spreads that I created with
some of my favorite StencilGirl® products! I love StencilGirl® so much for its
quality and variety of designs.
When I get ready to create in my art journal, I make sure all my
supplies are nearby. Paints, papers, and stencils. I usually don't know how it
will look initially, but I have an idea of the theme before I start.
Flowers and bright colors are usually my "go-to," which makes
me happiest when I look in my journals. I like to work in layers on canvases
when I paint and work that way in my art journals. A lot of magic happens in
the layers!
I have many different journals that I use, handmade and store-bought, but I especially love Ranger Dylusions journals because of the thickness of the paper – it handles all the wet media like paints and inks!

Materials + Stencils
I listed all the paints I used but feel free to use anything you have handy – any brand or color of acrylic paints will do!
Ranger Dylusions Creative Art Journal - Square
Acrylic Paints
Nova Blue Green
Nova Carbazole Dioxazine Violet
Nova Titanium White
Nova Cerulean Blue
Nova Fluorescent Magenta
Liquitex Professional Brilliant Blue
High Flow + Inks:
Golden Titanium White
Golden Phthalo Blue (Green Shade)
Golden Teal High Flow
Amsterdam Ink Turquoise Blue
(replace any of the high flow with inks)
Flower collage materials – magazines, catalogs and laser printouts from my garden photos.
Vellum paper
Art Paper scraps
Scissors
Tombow Mono adhesive tape
Uniball white pen
Posca Paint pens in a variety of sizes and colors
(I love pastel colors in 3m and 5m)
Stencil Brush - Royal Stencil 5/8 brush
Sponge Brushes
King Art Original Gold Brushes
5/8" Angle Shader
3/8" Angle Shader
½" Flat
Stencils by StencilGirl®:
Creating the background:
I love the color blue and thought adding some bright flowers and
different StencilGirl® stencils among the layers would be fun!
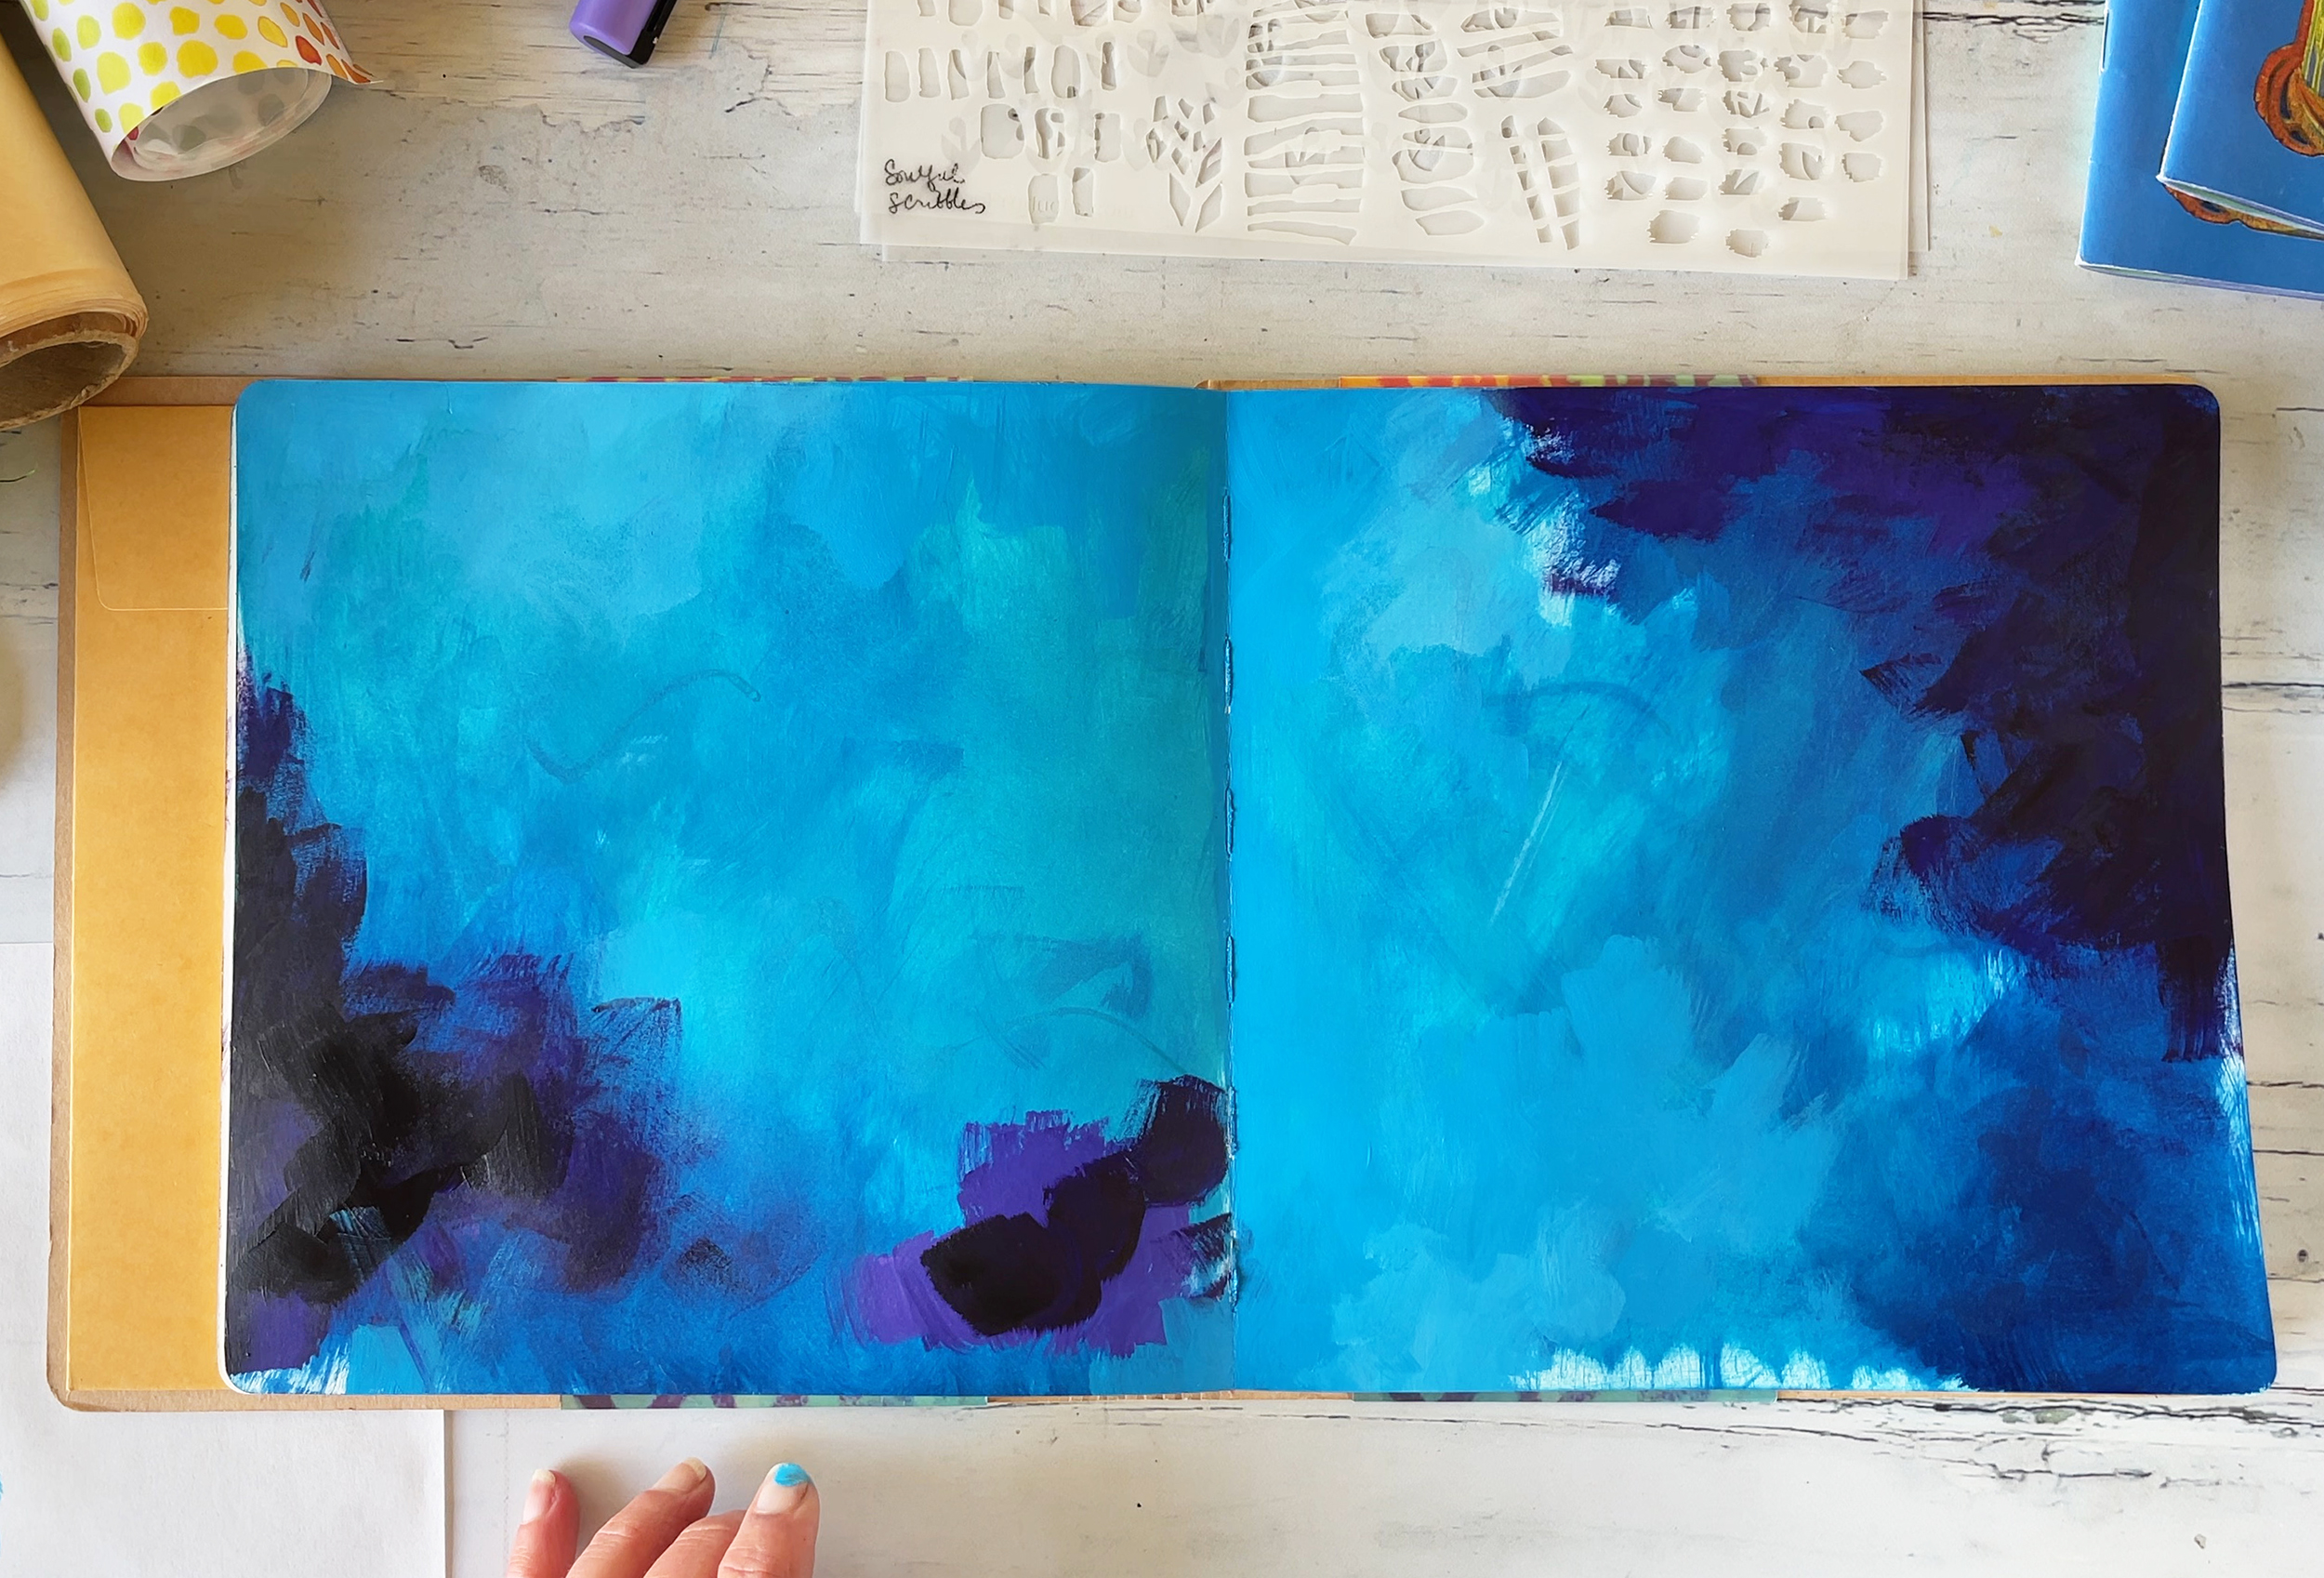
I started this double-page spread with a couple of different blue inks
(high flow fluid paints), mixing as I went with a sponge brush. Moving the
brush haphazardly to create some interesting marks (this may get covered up,
but I like the look of the brush strokes in different directions).
I usually work with multiple sponge brushes on the same page so that
everything is not blended perfectly. When things start looking too blended in,
I grab a new brush. I am using Amsterdam Turquoise Blue Ink, Golden Phthalo
Green Shade High Flow, and Golden Teal High on this layer.
Tip: Sometimes, when I don't know what to art journal, I pre-make my backgrounds, and then they are ready to go for another time. Pick some colors you like, grab a few journals, and paint the first layer on a few pages.


Next, I added in some Nova Dioxazine Violet to make some the blues even darker plus a touch of Golden High Flow White Titanium to create a gorgeous purple to paint over some areas as well.

I usually create rich backgrounds by working tone-on-tone for subtle effects. I used Liquitex Professional Brilliant Blue (a great substitution for Nova paints, especially for those who do not live in the States). Make sure you let the paint dry before moving to your next layer, which won't take long with acrylics.
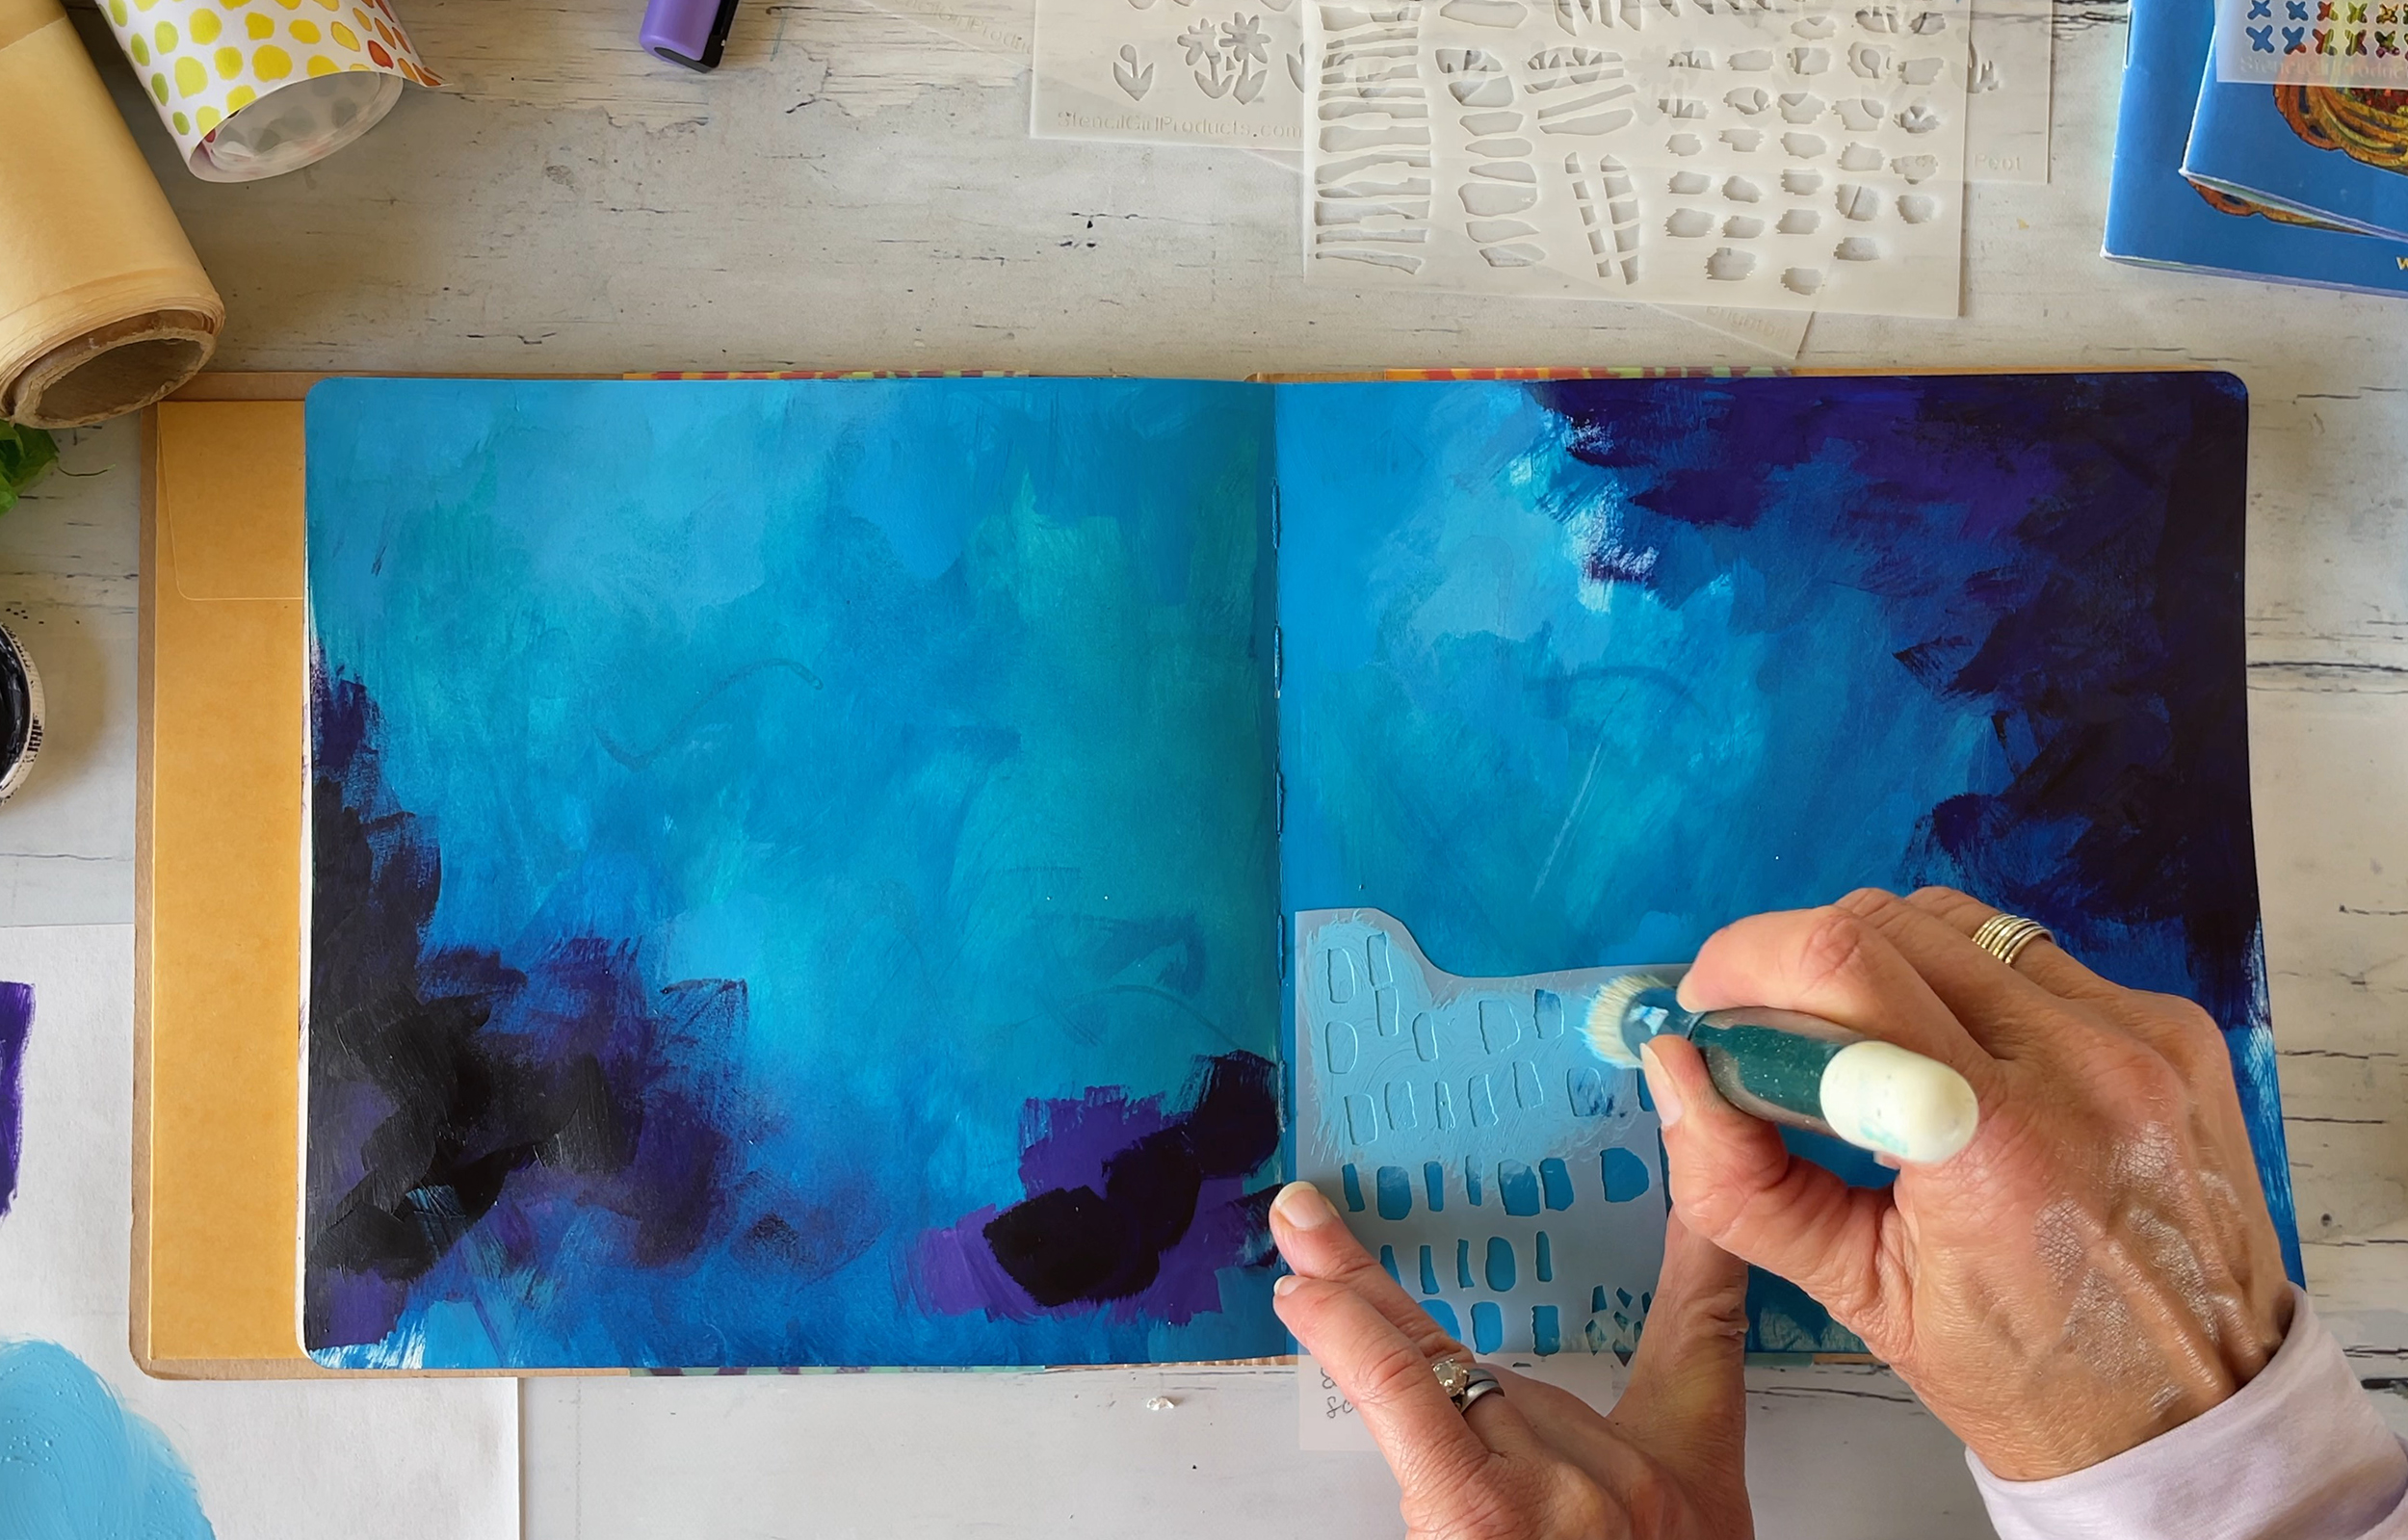
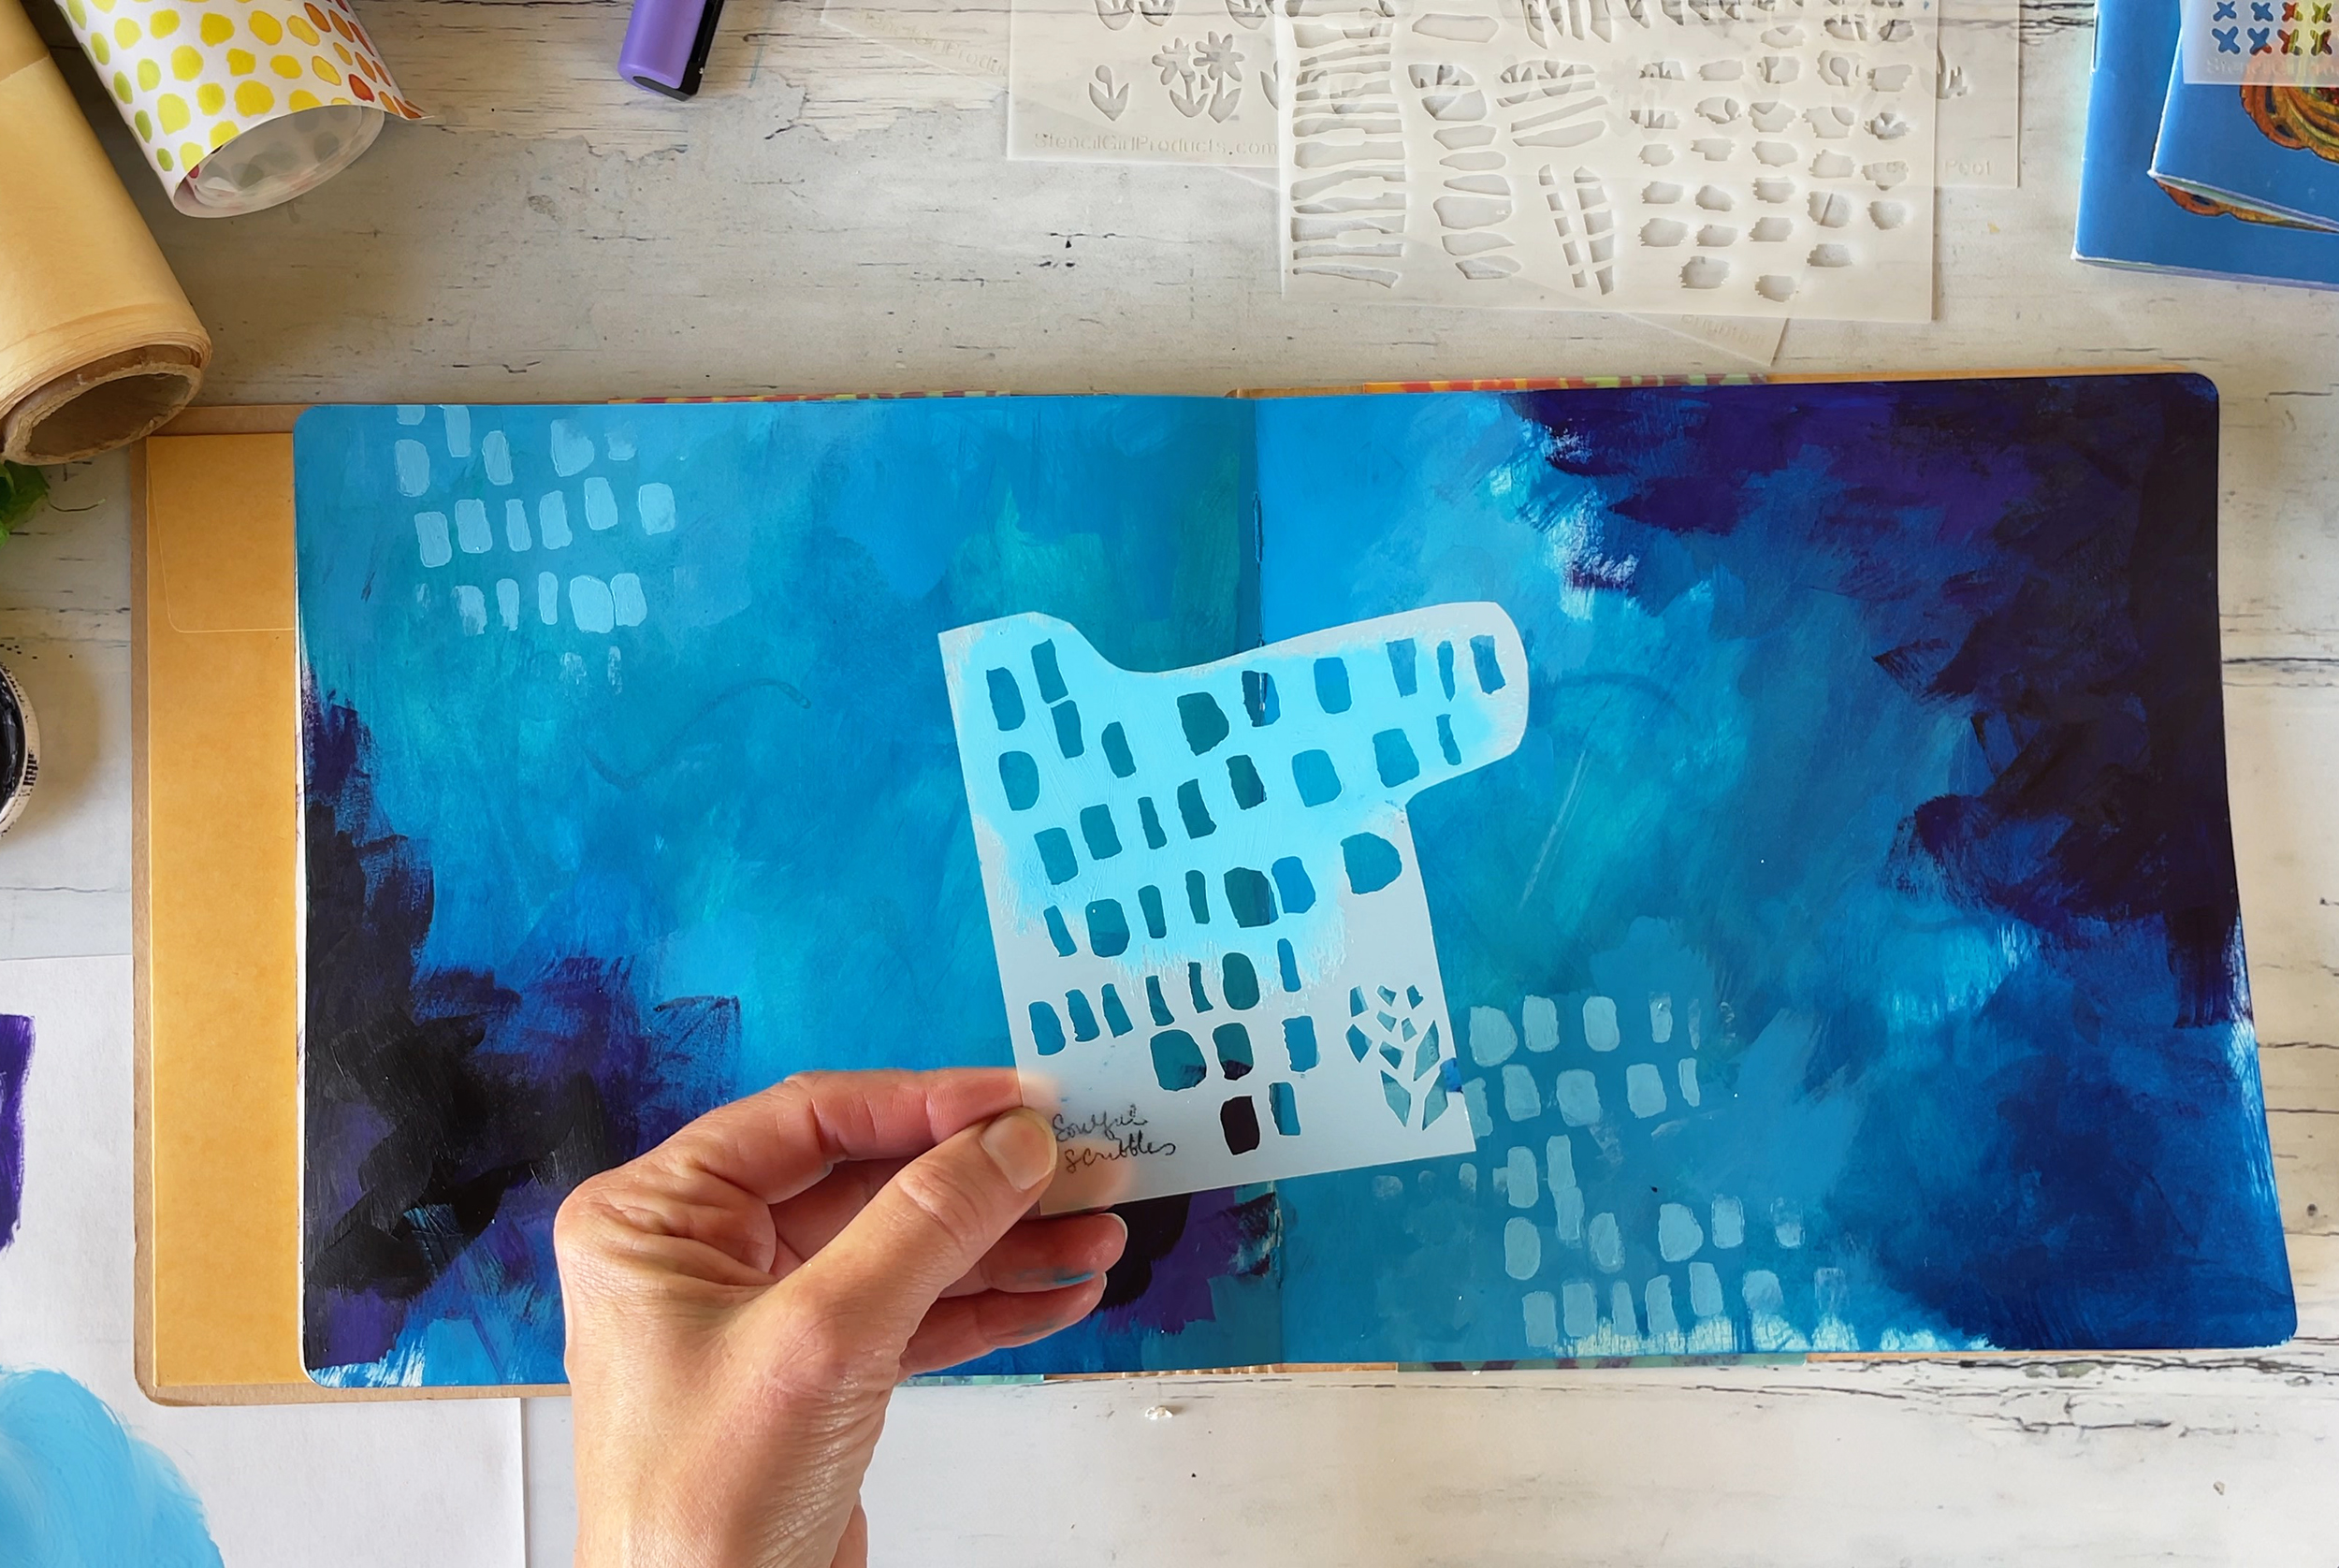
I'm using Soulful Scribbles Dots Dash for
my first stencil, and I am crazy about this stencil as you can cut it up
(easier to handle) and have multiple stencils from a large one. I love
mark-making, so this stencil is perfect for adding interesting shapes and
lines.
I mixed up some light blue by adding Nova White Titanium, Brilliant
Blue, and White Titanium high flow. More tone on tone! You don't want it to be
too thin as it will get under the stencil.
I just used parts of the stencil and then repeated it in a few areas.
The second stencil I am using is Boro. I move my brush in a circular pattern with White Titanium Paint (not high flow). Another great stencil for mark-making!

And then I bring in some floral elements - I am using Bouquet Greenery. I love all of Wendy Brightbill's stencils – I am a huge fan of her art. Continuing to work tone-on-tone, I mixed up Nova Blue Green Paint with Nova Violet and High Flow White. I am using a regular brush for this stencil, and I love how dramatic this turned out!


Next, I made collage material from the stencils on different papers. I
found an old children's book and a vellum roll in my basket, so I thought I'd
try them to see how they look. Changing up colors to pink, I went with a Nova
Florescent Magenta straight from the tub!
I am using Tall Flowers and Soulful Scribbles Dots Dash. The Tall Flowers remind me of English cottage garden flowers that I love.


I love to experiment on different art papers like vellum or parchment paper; it's so fun to rip and incorporate into my design. I cut close around the tall flowers on the children's book paper and then pulled the vellum into strips. All the collage work is adhered with a Tombow MONO Permanent Adhesive Applicator that I love. I find it not as messy as matte medium, and then I can also tuck in collage pieces underneath.


Magazine and Photo Flower Collage:
I always save gardening catalogs or magazines. My favorite is from Annie
Annuals, a great nursery that I order from, and they ship all over the US!
I love to go through magazines and catalogs and find a bunch of flowers
I like; even if I don't use them all, I will save them for a different project.
I look for bright flowers in all different sizes with a similar angle. Or I
take photos of the flowers I want and then get them printed at a local copy
place on good stock laser prints (asks for bright premium paper, usually 32 lb.
weight). I cut out a bunch at first before picking the final ones I will use.
I think about what I want for my next layer and the composition. I love to play around and not tape anything down yet; this helps me know if I need to add anything more to the background. After doing this exercise, I realized I had a big hole in the middle, and I thought one of my favorite stencils would be perfect here!

Probably one of my most used stencils is Travel Note Mini. I love it so much! I mixed in some Brilliant Blue, Cerulean Blue and Dioxazine Violet and repeated the stencil in a few areas.
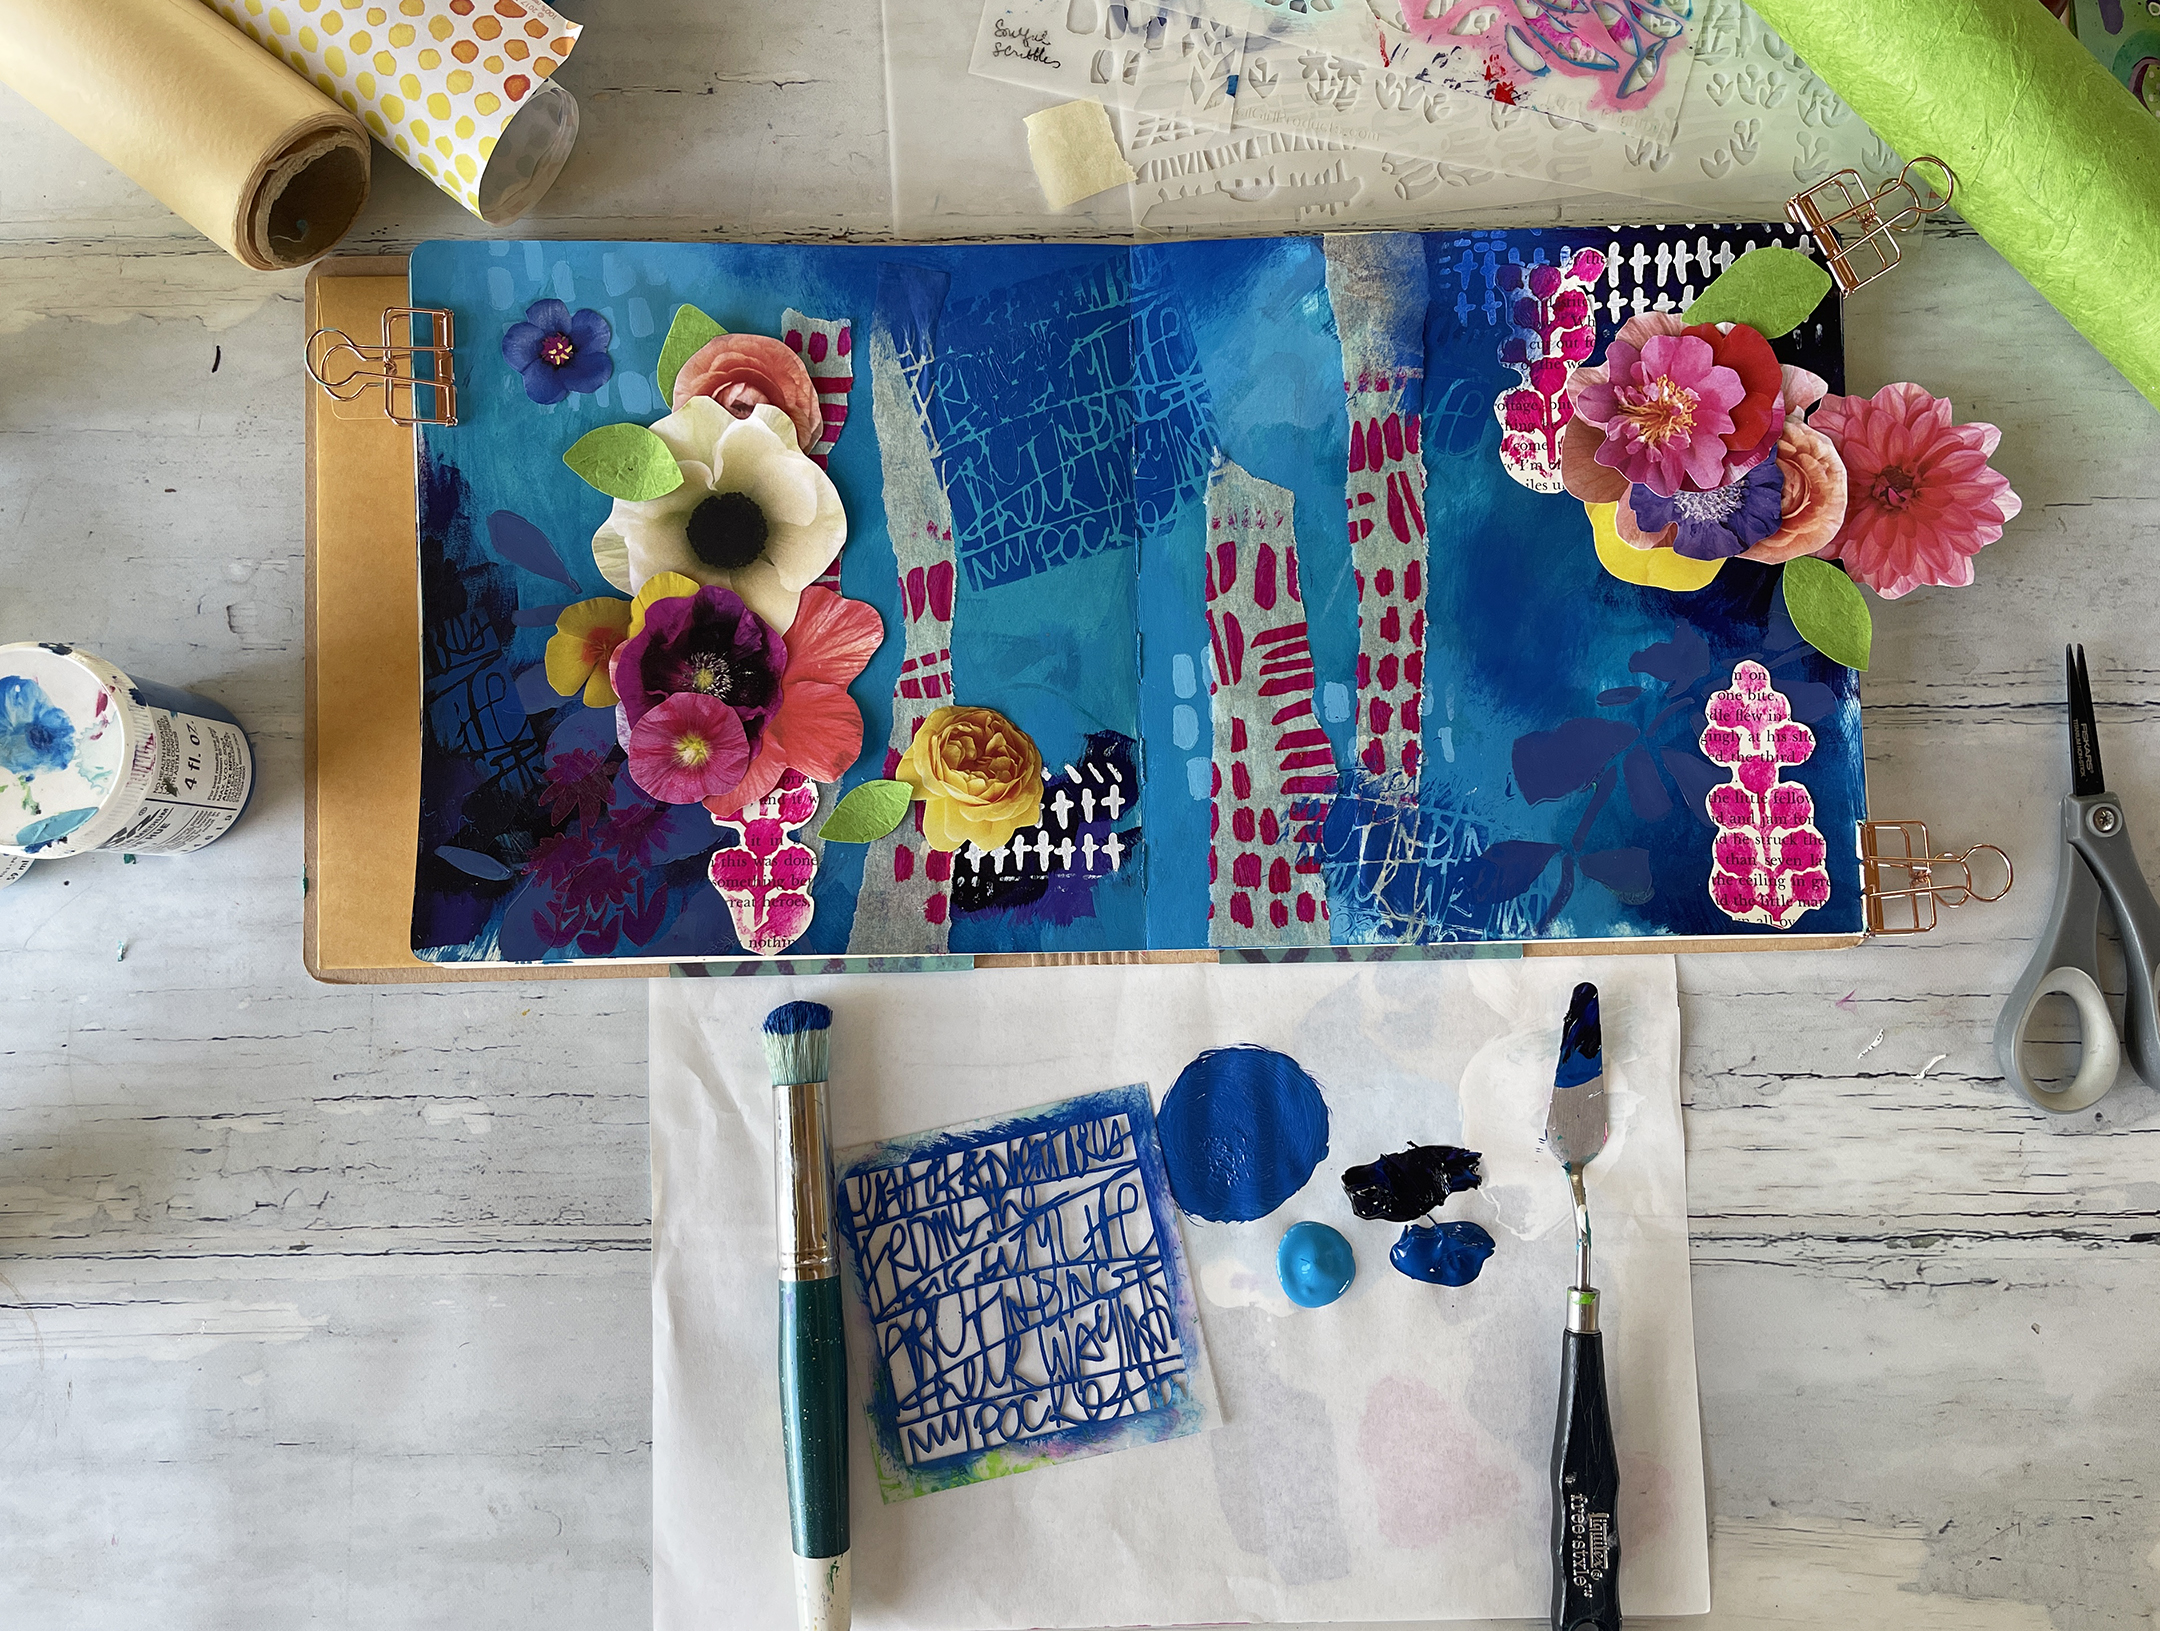

And then start adding to tape down all my different flower cutouts. I
start with a few of the bigger ones. I love the Tombow tape - you can tuck in
the smaller flowers along the edges. I work on both pages simultaneously to get
a good balance and then go to the next size down flowers and continue.
I felt I needed a bit of green on my pages, so I added some leaves by cutting up some art paper. When I add on my flowers, I tape down about 4-5 and then really look before I start adding more to make sure my composition is looking good.


As I near the finish I realized I need to add in a few more flowers,
plus I want to create some brighter areas. I found some old art paper scraps (I
never throw these away). I added in some more flowers by cropping a couple over
the edges.
It's all about balancing – so keep looking at your spread and see what's missing.

Last but not least, one of my favorite layers is adding details with paint pens and markers! I love white Signo Uniball pens, which are great for making small marks, and perfect for tiny details that could bring this page to life! I use this pen to pull out some of the stencils – it's very meditative and hard to stop.


I have so many different sizes of Posca Pens, but I always seem to choose the same ones. I am crazy about the Pastel Posca Set in 3m or 5m. I always have a scrap piece of paper handy to press down and get the paint flowing. I love adding dots or outlining stencils in different paint pen colors!
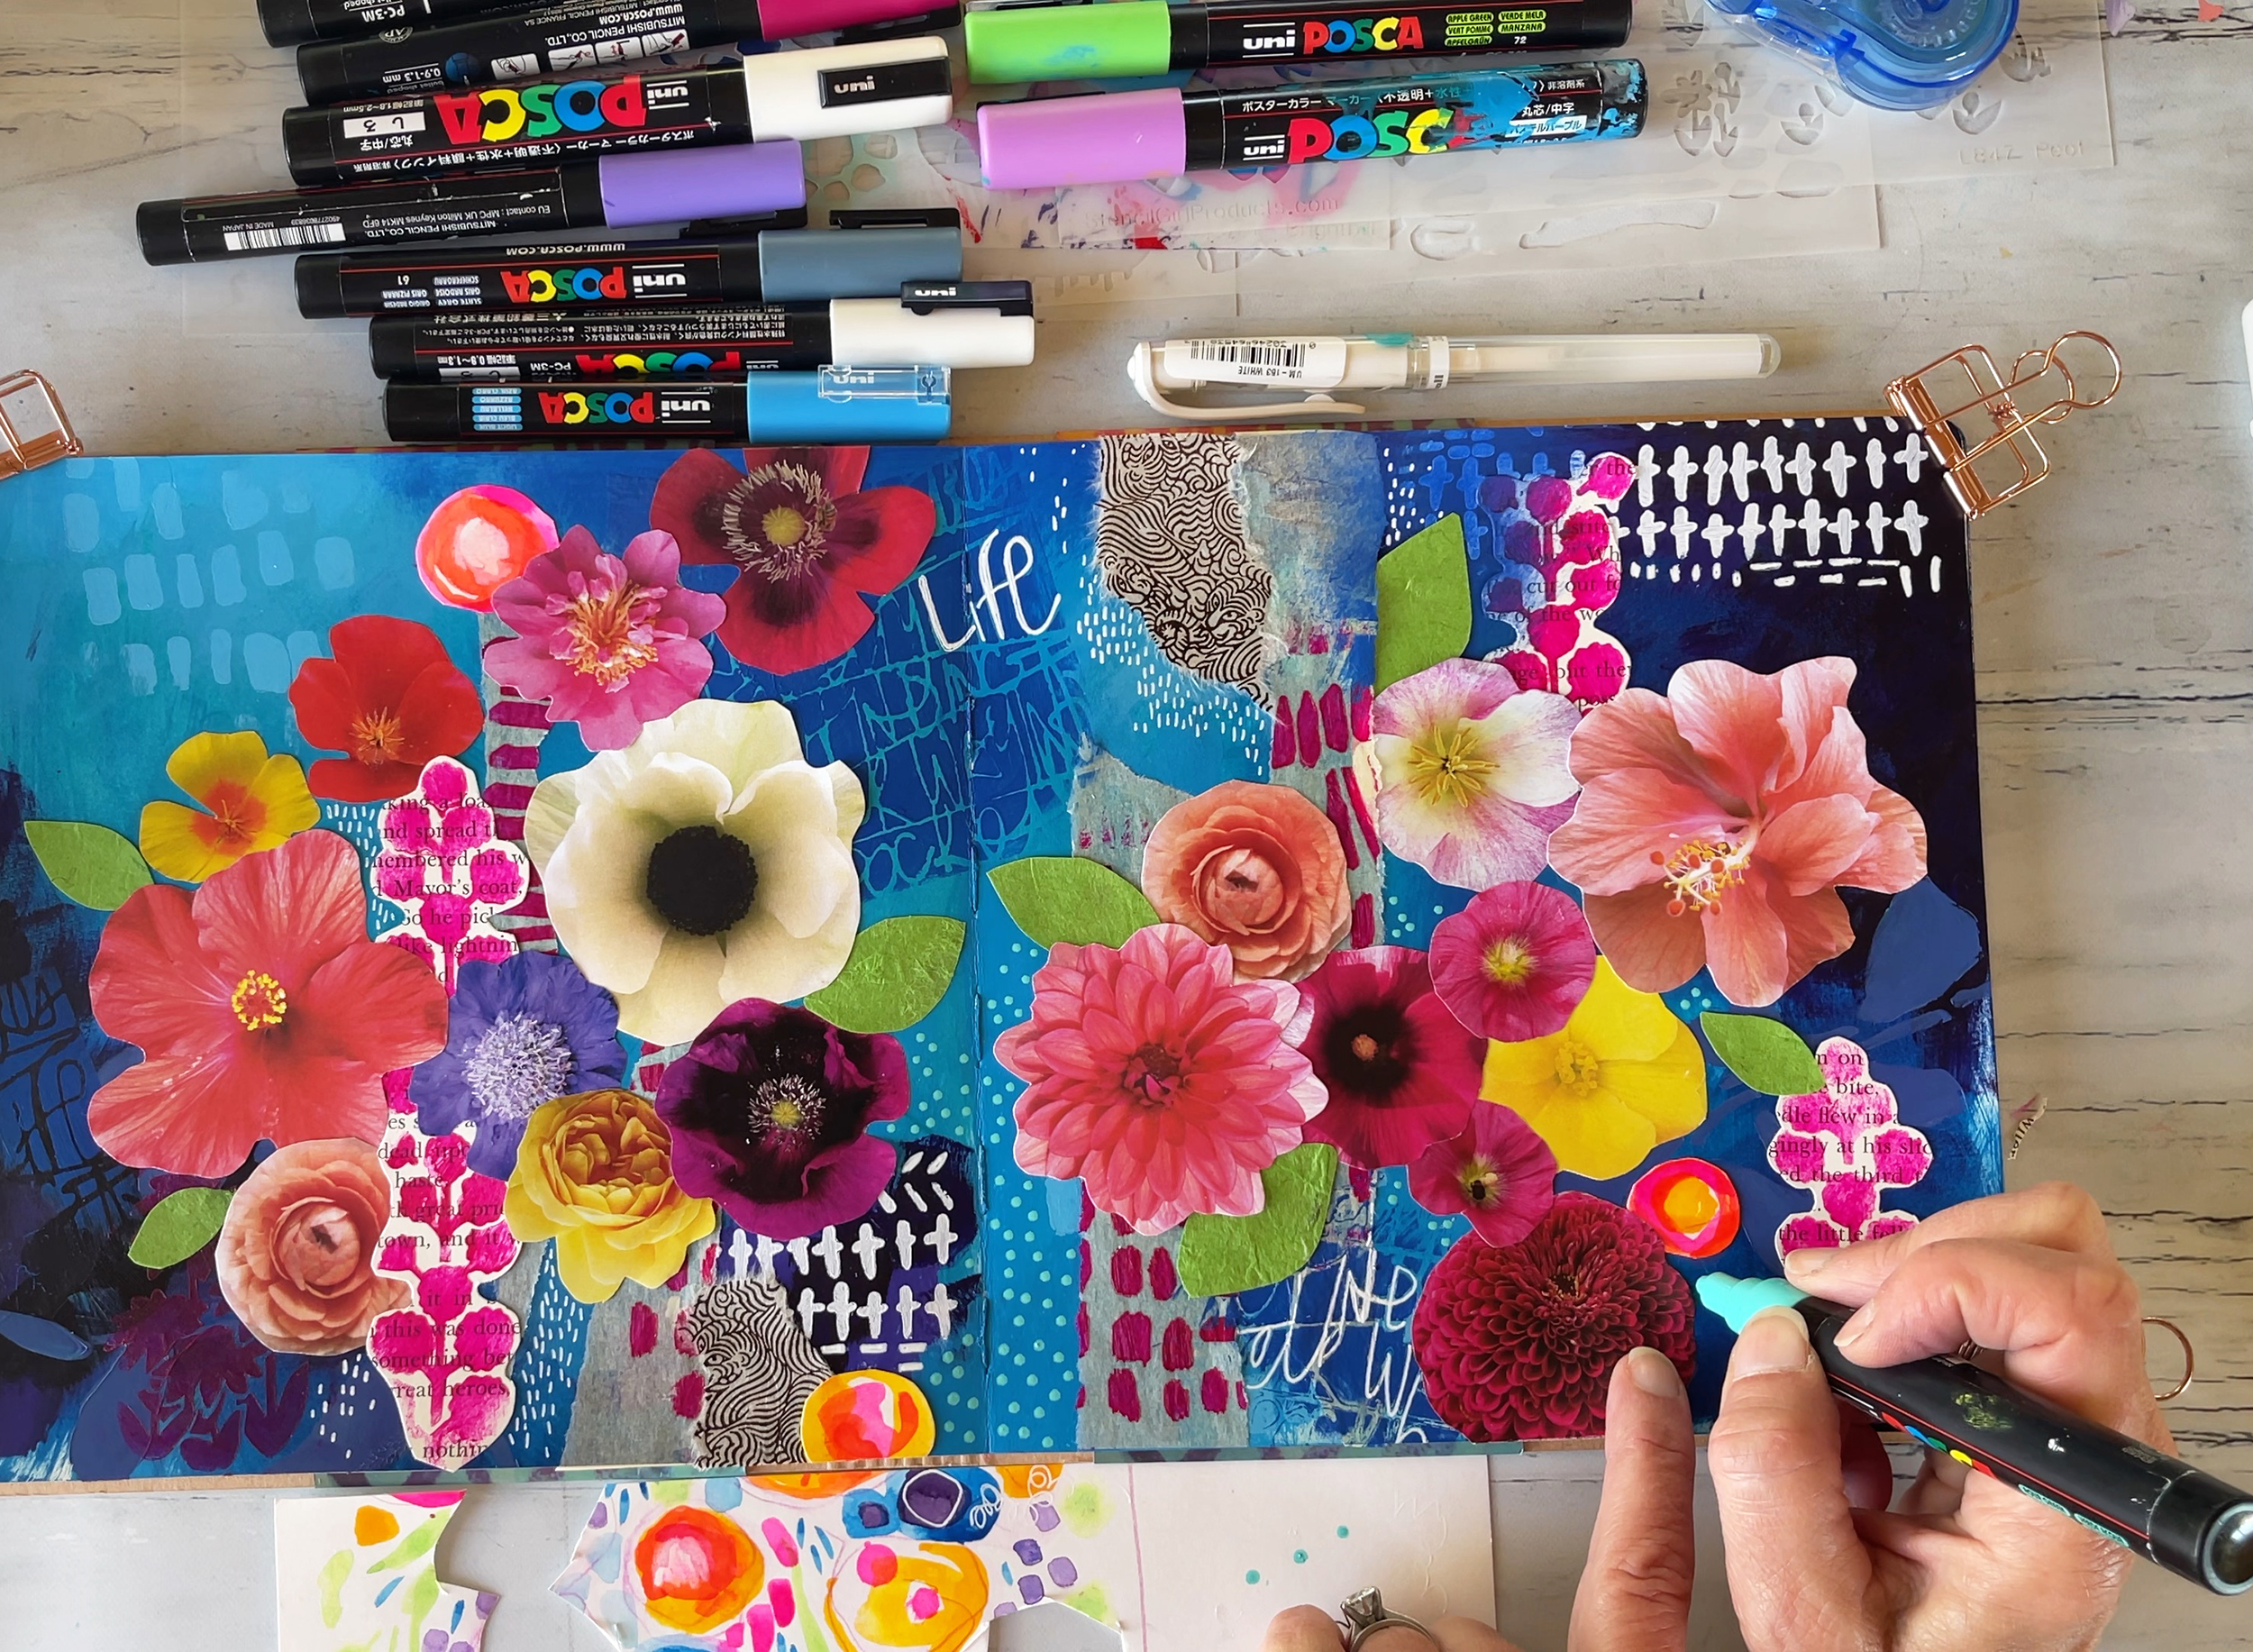

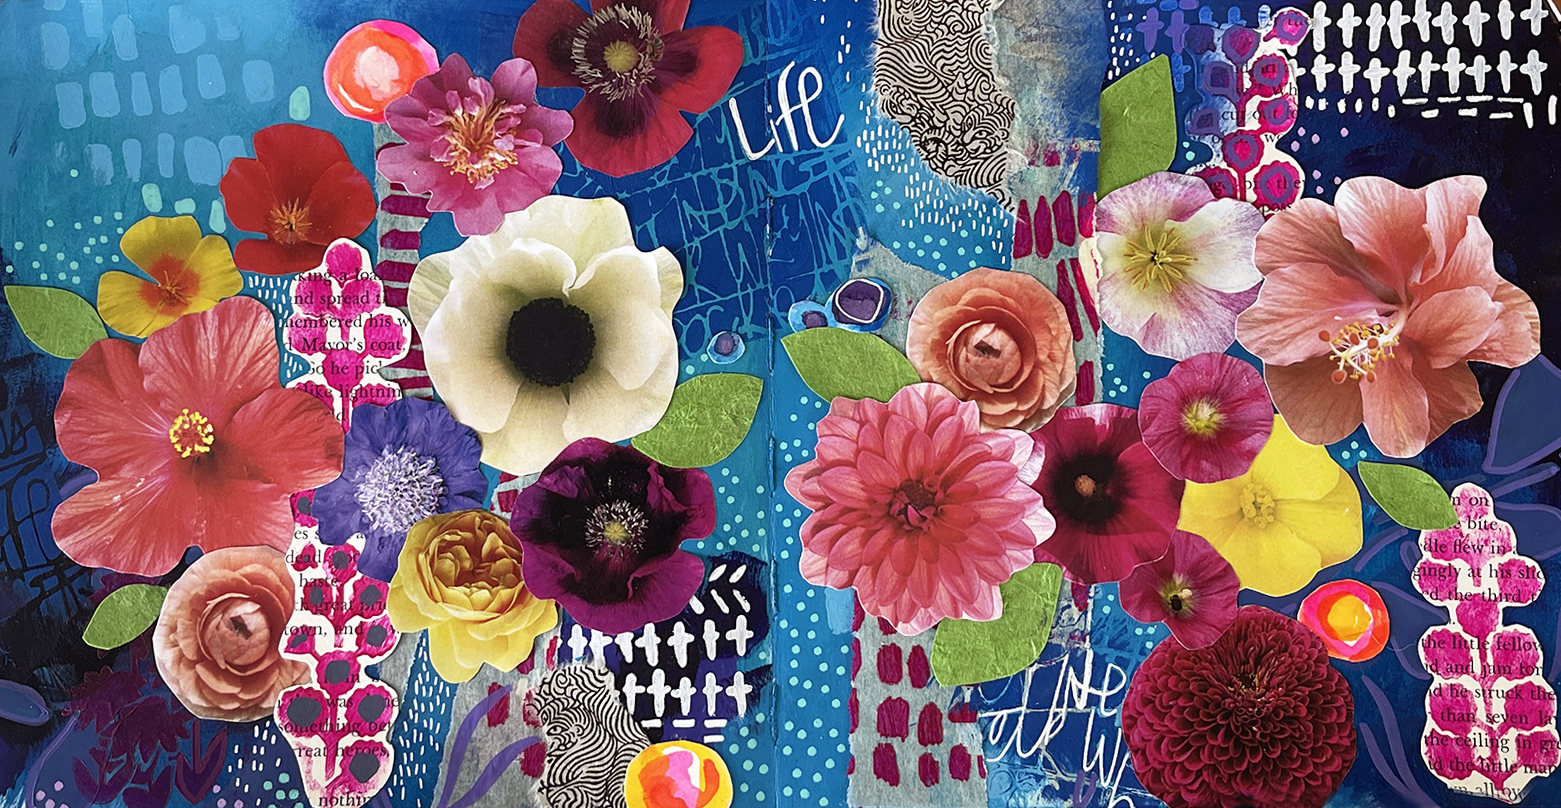
This journal spread was so much fun to make – and that's the most important thing. Art journaling is all about having time to create a story or idea with all sorts of art supplies. For me, it's a meditative practice and one I like to do often!
Andrea Garvey


