Showing posts with label stenciled backgrounds. Show all posts

Tuesday, March 16, 2021

Mixed Media Pastiche is Bloomin' Fun!


Greetings & Salutations!

Carol Baxter sharing a few artsy-crafty stenciled projects today.

Vintage photos + stenciled papers + ephemera = my mixed media pastiche projects.

The stenciled backgrounds bring the work together. Imaginative words are optional.

You may know, Mary Beth used to sell her paintings at art fairs. She also sold picture collages of kids and adults with amusing sayings. Wry bits of art such as these never fail to make me smile and were my inspiration.

Mostly, I used papers from my stash for these projects.  

My Ink Sister Patty came up with this particular photo caption. I felt I needed a garden for the flying pig buzzing the little boys. Garden Flowers and Leaves & Garden Flowers and Leaves Outlined by Jessica Sporn made the background special. I actually spent a few hours making papers with these stencils. 


Bloomin’ Awesome is my next piece. I decided to let the photo speak for itself rather than add words.

I had a bit of photo mat paper I had purchased a bag of at the thrift store. I must have painted it at some point with the Spirit Wind Mask by Valerie Sjodin. That's Drops and Swirls Repeat, also by Valerie, stenciled on the cloth.

Dang! I remember when I could do this on a swing.

I had to break out my hot glue gun to affix the lace.

While I was playing with the bits and pieces I planned to use, I realized it needed more embellishment because the orange paper did not give it enough oomph. I added another layer of lace, a bit of map paper, as well as tracing and doodles – that upper left side was rather empty. A little burnish on the paper edges backing the photo gave the piece a little more depth. 

Sometimes subtle is what you need. Especially if you are stenciling words. 

This piece of paper from my stash was created with a pull from my gel plate using the small stencil from the Circle Up Set by Suzi Dennis for StencilClub March 2016.

Is it cheating? I was too lazy to stencil all the words I added so I dropped this into Photoshop. Apologies if there is a Katheryn Collingsworth. I made the name up.


I am one of those people that when I look at a map I want it to be facing the way I am traveling. The L-thumb-trick? I like it. Fortunately, I am happily married so I needn't worry about which way to swipe on a dating app but when I saw these two dudes and the expression on the face of the woman in the straw hat, this card was the result.

I used the It's a Small World Longitude Mask by Mary C. Nasser.


Another notecard using the Pollen for Bees Stencil by Daniella Woolf and Scribble Roses Stencil by Mary Beth Shaw.


Composition books cost a buck and are not very interesting. I covered these with some of Mary Beth's printed collage paper and then added a little embellishment.

If you're freaky then own it!

What's in your photo and stenciled paper collage stashes? Fair warning, mixed media pastiche is addictive!

Thanks for stopping by!

Carol B.


Thursday, October 17, 2019

Watercolors & StencilGirl® Products

Hi my dear crafty friends!

I am very happy to be a guest designer on the StencilGirl® Products blog today! I enjoy so much playing with all the beautiful 
StencilGirl® Products designs. For today's project I decided to do something different than I usually do. Most of the time I am using stencils together with any kind of paste or acrylic paints. I also love to use them together with my gel plate. This time I thought: What about watercolors. A long time ago I used a stencil and put it onto wet watercolor and let it dry. This created a nice and interesting texture. I decided to go with lots of different colors this time. With this technique you can create various textured watercolor backgrounds to use on different projects. You can use them for greeting cards, which is what I did. But you can also do this in your art journal!

I have recorded the process and hope you will enjoy the video: 


StencilGirl® Products used:


Here are photos of the cards I made with two of my backgrounds:
In addition to them I used the Crazy Flower stamps from my rubber stamps store.
For almost one year now I am enjoying being the owner of Rubber Dance.

Thank you so much for stopping by today!
xx Susanne


You can find me here:
Facebook: https://www.facebook.com/SusanneRoseArt/
Blog: http://clayscrapkreativ.blogspot.de/
Instagram: https://www.instagram.com/susanne_rose_art/
YouTube: https://www.youtube.com/SusanneRose
Pinterest: https://www.pinterest.de/SusanneRoseArt/

Tuesday, August 20, 2019

Making Marks with Magic Stamps, a Knitting Needle, and my Stencils


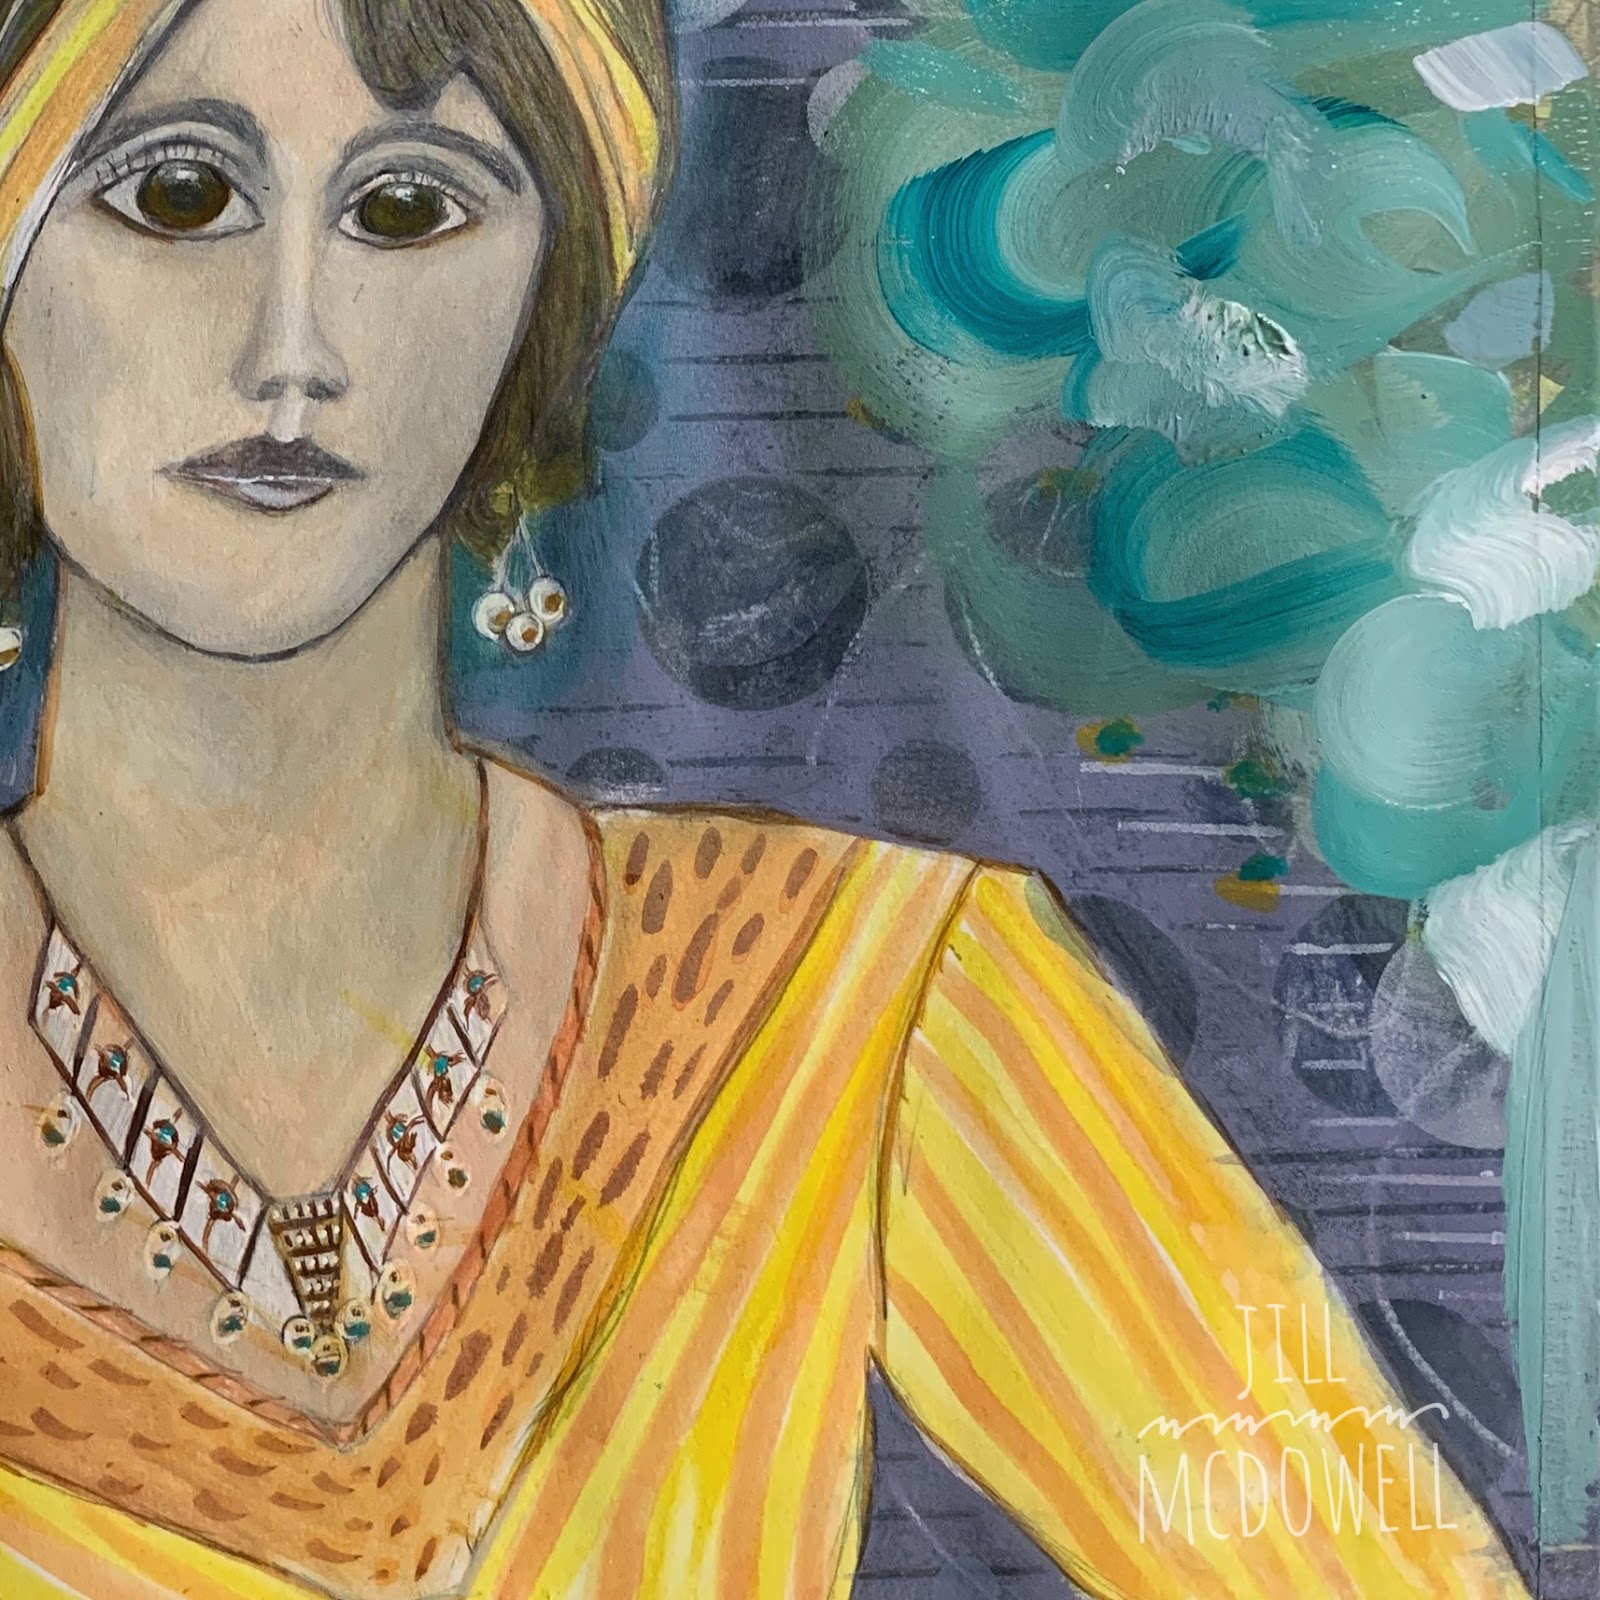
Hello all! It's Jill McDowell from the StencilGirl® Creative Team here to take you on my mark making journey. It was inspired by a book that I'd picked up in the thrift shop about costume jewelry through the ages.  And I used my StencilGirl® Stencils, Magic Stamps, knitting needles, and a cool Wipe On, Wipe Off technique to develop four entirely different backgrounds before I was through.

At several points during this process I could have called her finished but I kept on going; listening to the demands she made of me, and making my own marks through each of the stages until she finally became who she was supposed to be. 

I started by making a pencil sketch on an 11"x 14" piece of Canson XL 98 pound mixed media paper.  (Had I known at the time where she would lead me, I would likely have chosen a heavier paper, but surprisingly it held up really well considering all of the abuse I gave it.)

Honestly, sketching is not a strong point for me, but I've been enjoying wonky art lately which pairs nicely with my greenhorn style.  So I stretched outside of my comfort zone and gave it a try.  And my sketch did turn out pretty wonky.  Yet something about her called out for me to bring her to life; square jaw and all.  

I made some initial marks in the background with a black Stabilo pencil and then painted over them with watered down gesso. 


Then I began playing with thin layers of FW Artist Inks as she led me onward.   I began to build up the background with random paint strokes and washes of inks, Golden® High Flow and Fluid Acrylics, all thinned down with water.  Interspersing the layers with more marks made with a white Sharpie® China Marker.


Lately, I've become just slightly obsessed with stripes. I added wonky ones on her blouse and then some random marks on her lapel.


I really could have stopped at this stage but She, (I'm pretty sure it was about now that I began to think about her as She) gave me some lip about it. 

Obviously, She wasn't ready to be finished. 


The Wipe On, Wipe Off Technique 
(Note: It's important that use this technique on a gesso'ed page.)

And so I continued on with one of my favorite background techniques, that I call "Wipe On, Wipe Off".  It uses both the positive and the negative of the stencil design to add interest to a background.  (But in this case, She opted for me to to do it out of order; Wipe Off before Wipe On.) 

(Warning!  Saying the name of this technique out loud could put you at risk of having a sudden urge to watch this Karate Kid Training Montage or hearing the Clapper commercial play endlessly in your head for the rest of the day.  So sorry about that...)

I thinned heavy body paint down with matte medium and then used it to brush over the bottom 2/3 of the background. (If your cringing right now don't worry.  It's going to be fine... really... It's really going to be fine.... I swear.  Really....)


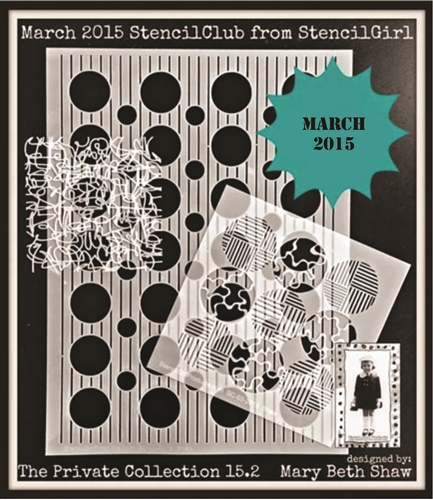
While the paint was still wet, I positioned the large stencil from MaryBeth Shaw's exclusive March 2015 Stencil Club collection horizontally over it.  (I've recently fallen in love with this stencil.  There is just something about those lines and circles when they run horizontally on the page.) Then I wiped off the paint with a slightly damp baby wipe, leaving the reverse of the stencil design on the page.
Wipe Off complete.


And now for the Wipe On (think of it as dry brushing with a baby wipe).  I lightened up the heavy body paint/matte medium mixture with a little titanium white.  Then I positioned the same stencil on the top 1/3 of the background slightly overlapping the Wipe Off marks.  I  swiped the baby wipe through the paint mixture and then patted it off on another sheet of paper to remove the wetness and most of the paint.  And then I used it to wipe color through the stencil openings onto the page revealing the positive side of the stencil.


The transition from the positive to the negative stencil design added a really interesting component to the background.

I put her away for a few days to contemplate whether I should stop or make another move.  I decided to keep playing and added a freehand tree that I later regretted. 

A few days later I added a flower to her headpiece and made more random marks in the background.  

But She still wanted to be more.


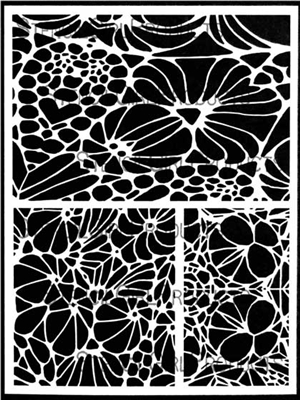
I used a  corner section of Cecelia Swatton's Blooming Where Planted Stencil to create lace on her lapel.


found myself at another cross road. Should I stop here or keep going?  While I really loved the background, She told me that She wanted to live in softer, more modern times with a little abstract thrown in for good measure. She just wasn't sure that the astrophysical background suited her.

We argued about it until She reminded me that if I didn't like the next layer, I could always paint over it or if need be I could even cut her off of the page and move her to another. And so I gave in to her demands, still unsure of the direction She was taking me.


Despite all of my efforts, She still yearned for pattern.

So I searched my studio looking for a more mark making tools.  Finally I stumbled upon a package of Magic Stamps hiding on a shelf in the back of a cabinet.  Although I'd never used them before I wanted to give them a try and so I decided to experiment.


Getting a stencil impression into the stamp was quick and easy to do.
  1. I heated up the Magic Stamp with my heat gun.
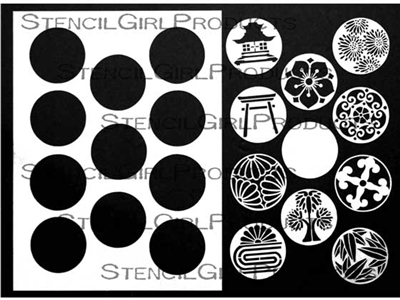
  2. Then I laid the foam on top of my Bamboo Stalk Crest and used an acrylic block to press down on it firmly for approximately 15 seconds, (any flat surface would have worked to press with).  
  3. I flipped the Magic Stamp over and removed the Crest to reveal the impression.
  4. Then I tested out the stamp with my RubberMoon® Moonlight Duo Ink Pad and loved the results.  
  5. I kept a small bowl of water next to me to toss the foam into after I was finished stamping.  Later I  just wiped the stamp off and patted it dry.
  6. You can reheat them as many times as you want to "erase" them and return them back to their original form.  This means that can make as many impressions as you want. 
  7. Using Magic Stamps turned out to be a fun way to quickly add marks to my piece.      


I used painter's tape to protect her as I randomly filled in the background with my new Bamboo Crest Magic Stamp.


The next thing on my to do list was to fix her hairpiece with a little paint and my knitting needles.


A little known fact about knitting needles is that they are excellent mark making tools.  I always keep a handful on my desk for just such an occasion.  You can use either end to scratch through layers of paint, the side to roll paint onto the surface, or the tip to drag through globs of paint to create delicately textured lines, (or in my case all of the above.)  And as an added bonus they really come in handy for unclogging the dried paint that forms on the top of your paint bottles.


I added some heavy lines in the background for structure and then stenciled over them with my Jill's Nana's Lamp Crest.  I just had to laugh when I realized that She'd transitioned along the way from a dark brunette into a ginger girl with moxie without me really noticing. Such a clever girl!


Yet again, I thought that She was done, but She had other ideas... It just took me a few more days to figure out what they were.   At first I thought it was just a matter of adding more color.

I got my knitting needles back out and used the rounded circular end to squish and drag little globs of yellow paint; creating more colorful flowers in her hair piece. 

But She still kept nagging at me.


Until finally I knew for sure what She wanted.

Wallpaper!
  
And with that knowledge, I was happy to give her more wonky hand drawn stripes in the background with lots of marks on them!


And then She was happy.... And I finally had some peace.

But I have a funny feeling that She might become lonely and need a friend. Who knows, maybe she'll goad me into creating one for her....  (She's gotten pretty good at that goading thing you know.😉)


The only thing left for me to do now is to name her.  But I need some help.  Do you have any ideas?  Let me know in the comments.  I 'd also love to hear if you would have kept going.... Or where you would have stopped.

Thanks for hanging out with me today. I hope I've inspired you to stretch outside the confines of your box, to sort through your StencilGirl® stencils and use them to help you make your own marks come to life.

Hugs, Jill

StencilGirl® stencils used in this project:

Large stencil from the March 2015 Stencil Club Collection
Blooming Where Planted L449 designed by Cecilia Swatton
Crests Stencil L718 designed by me, Jill McDowell