Showing posts with label Jane LaFazio. Show all posts

Friday, March 5, 2021

Leaca Young: Exploration in Textures with StencilGirl® Products

Hi, everyone! Leaca Young here!
In an effort to explore more, this is a practice that you focus on visual textures.
This exercise is meant to relax you and spark your creativity.
Keeping it abstract and without a focal point. Enjoy!

Stencils used:
Pine Cone Woodcut Mask
ATC Mixup Missigman #1 Art Marks
Classic Feather Retake Stencil and Mask

Rooted in Nature Palm


Other supplies:

3-5 pictures from nature

Watercolor Palette

Brushes

Daniel Smith Transparent Watercolor Ground

Catalyst scraper or Key Card

Espresso Instant Coffee

Liquitex Paynes Gray and Unbleached Titanium


Leaca Young

Website

Instagram

YouTube

Friday, May 15, 2020

Adena Helm: Steve, Mixed Media on Canvas with StencilGirl® Stencils

Steve by Adena Helm, Mixed Media on Canvas with StencilGirl® Stencils 

Hi, everyone! Adena Helm here!
Have you ever wanted to add some visual texture to your paintings or projects?
StencilGirl® stencils are a great way to do that! 

In this video I will show you how I paint a mixed media portrait of my cat, Steve, using collage, acrylic paint, acrylic spray paint and stencils! I will show you how I make layers of visual texture and more visual interest. You can use these techniques in canvas painting, art journaling or whatever your imagination comes up with!


I have used Golden Gloss Medium as the adhesive, Golden Paints, Golden Glazing Medium, Gold Acrylic Spray Paint, and StencilGirl® stencils of course! 

StencilGirl® stencils used:
Tri-Textured Sheet Metal by Kristie Taylor
Pods Stencil by Jane LaFazio
New Orleans by Nathalie Kalbach
Beacon by Nathalie Kalbach
Damask Medium Stencil by Michelle Ward
Fallen Leaves by Jessica Sporn

StencilGirl® Products has great stencils with so many to choose from to fit any project you are working on! Check out www.stencilgirlproducts.com. If you want to see more of my artwork visit my website www.AdenaHelmArt.com, on Instagram or Facebook at Adena Helm Art! Thanks for watching!

Thursday, October 17, 2019

Watercolors & StencilGirl® Products

Hi my dear crafty friends!

I am very happy to be a guest designer on the StencilGirl® Products blog today! I enjoy so much playing with all the beautiful 
StencilGirl® Products designs. For today's project I decided to do something different than I usually do. Most of the time I am using stencils together with any kind of paste or acrylic paints. I also love to use them together with my gel plate. This time I thought: What about watercolors. A long time ago I used a stencil and put it onto wet watercolor and let it dry. This created a nice and interesting texture. I decided to go with lots of different colors this time. With this technique you can create various textured watercolor backgrounds to use on different projects. You can use them for greeting cards, which is what I did. But you can also do this in your art journal!

I have recorded the process and hope you will enjoy the video: 


StencilGirl® Products used:


Here are photos of the cards I made with two of my backgrounds:
In addition to them I used the Crazy Flower stamps from my rubber stamps store.
For almost one year now I am enjoying being the owner of Rubber Dance.

Thank you so much for stopping by today!
xx Susanne


You can find me here:
Facebook: https://www.facebook.com/SusanneRoseArt/
Blog: http://clayscrapkreativ.blogspot.de/
Instagram: https://www.instagram.com/susanne_rose_art/
YouTube: https://www.youtube.com/SusanneRose
Pinterest: https://www.pinterest.de/SusanneRoseArt/

Friday, February 8, 2019

Adena Helm: Bee Mine, Mixed Media on Canvas with StencilGirl® Stencils

Bee Mine by Adena Helm, Mixed Media on Canvas with StencilGirl® Stencils
Hi, everyone! Adena Helm here!
Have you ever wanted to add some visual texture to your paintings or projects?

StencilGirl® stencils are a great way to do that! In this video I will show you my process/techniques: 

I have used Golden Gloss Medium as the adhesive, Golden Paints, Golden Glazing Medium, Gold Acrylic Spray Paint, and StencilGirl® stencils of course! 

StencilGirl® stencils used:
Ornamental Iron Curls stencil by Cecilia Swatton
Tri-Textured Sheet Metal stencil by Kristie Taylor
Damask Medium stencil by Michelle Ward
What's the Point? stencil by Nathalie Kalbach
All Fleur stencil by Michelle Ward
Eucalyptus stencil by Jane LaFazio

StencilGirl® Products has great stencils with so many to choose from to fit any project you are working on! Check out www.stencilgirlproducts.com. If you want to see more of my artwork visit my website www.AdenaHelmArt.com, on Instagram or Facebook at Adena Helm Art! Thanks for watching!

Wednesday, July 12, 2017

NEW Stencil Designer Cat Kerr, plus stencils from Jane LaFazio and June Pfaff Daley


Our newest stencil designer is artist Cat Kerr. She loves "messy, textured backgrounds" and her stencil designs evoke hand-carved shapes in wood. All 6 stencils are 6" x 6".


Because words are often a part of Cat's personal artwork, her Hand Carved Designs includes stencils with the words Seek and Listen. 


Cat intends that repetitive pattern in these stencils offers the user the option to include the entire stencil or just a portion, but either way get the impact of the design. 


Organized Chaos, Carved Moon Phases, and Starlight, Starbright are the 3 pattern-only stencil in this collection.

Inspired by Vincent Van Gogh's "The Starry Night" Cat Kerr's pattern stencils "Organized Chaos" and "Starlight, Starbright" are designed to evoke the same topsy-turvy feeling and they round out her Hand Carved Collection.


Explore, Dream, Discover ATC Cards:


Cat created these ATC cards by applying this technique on to a full sheet of mixed media paper. She cut it up later and mounted it on to a ATC chipboard blank.

1. Use a palette knife to pick up crackle paste and slide it across the stencil. Cover about half of the paper. Let the crackle medium dry. Wash your knife and stencil.
2. Spray the crackle with assorted colors of Prima Color Bloom shimmer spray and let it run down your page. Allow each layer to dry before adding another color.
3. Cut the paper into assorted sizes.
4. Using a glue stick, add some paper to a Retro Cafe Art ATC base. Add some interest by gluing on some of the stencil design and some of the drips made in the process. 
5. Add splatters of watered down black paint.
6. Add ink to the edges of the ATC.
7. Finish off with a word sticker or flower design.


Materials Used:
Hand Carved Stencils
Deco Art Media Crackle paste
Deco Arts Media Fluid Black
Pallete Knife
Mixed Media Paper
Prima Color Bloom Sprays
Retro Cafe Art ATC Base
Scissors
Glue Stick
Black Ink pad
Word or Design Stickers


You can catch up with Cat on her blog ~ she has made a special video, so be sure to check it out, especially if you love to adorn yourself! You can also learn more about her on her StencilGirl Artist Page.


Jane La Fazio's Lace and Patina Stencil


Jane LaFazio had the lace and tiles of a bygone era in mind when she designed her Lace and Patina stencil. It was inspired by her visit to Ernest Hemingway's villa.

She used dye-based watercolors on watercolor paper on both pages.


This collage sheet has foil on it as well.


Tropical and Flamingo Stencils by June Pfaff Daley


The sights, scents and sounds of a tropical summer inspired June to design her Tropical and Flamingo stencils. 


Here she has made sunny additions to the doors in her home. 


What a welcoming way to greet a guest!


Door hanger creation for your abode:

1. Using plywood cut to 4-1/2” x 10-1/2”, collage a variety of papers including dictionary text, handmade paper and maps with matte medium. 

2. After the first layer is dry, paint over boards with white acrylic paint allowing for some transparency. Let dry. 

3. Spray various colors of Dylusions ink. Let dry. 

4. Seal with matte medium.  Let dry. 

5. Using the Tropical and Flamingo stencils, stencil design with various colors of acrylic paint. Add letter stamps as desired. Use Gelly Roll pens for details. Spray with sealer. 


6. Once dry, drill holes in top corners of each piece. Attach colored wire for hanging. Add fibers. For fabric tags, stencil on fabric. Use fabric scissors to cut out each design. Add an eyelet. Attach to fibers on side of each piece.

You are surely ready for a dreamy summer day or a starry night with these stencils from Jane LaFazio and June Pfaff Daley, as well as out new designer, Cat Kerr.

Which stencils will you seek?

Thursday, May 26, 2016

Throw Back Thursday Blog Hop!

Welcome to
Throw Back Thursday
Blog Hop!
StencilGirl Creative Team members are playing with some oldies but goodies!

Get ready! Maria McGuire is hopping along with us!

Sit back and enjoy a fabulous range of projects today!
We hope to inspire you!

Maria McGuire
Maria's creating a range of projects with TWO of her stencils!
See all the details on her blog HERE.

Carol Baxter
Carol couldn't get colorful gumballs out of her head while creating her work!
See all the details on her blog HERE.

Gwen Lafleur
Gwen's making another AMAZING portrait!
See all the details on her blog HERE.

Janet Joehlin
Janet's made GORGEOUS embroidery!
See all the details on her blog HERE.

Mary C. Nasser
And Mary's doing mixed media art journaling!
See all the details on her blog HERE.

And what would a Blog Hop be without a GIVEAWAY??!!!
One lucky winner will receive
EVERY StencilGirl Stencil showcased on today’s Blog Hop!
Stitch a Greek Border
Stitch a Circle

Retail Value $84!

What do you have to do to enter?
Just leave a comment below by Sunday, May 29th at 11:59PM Central Time.
The more blogs you comment on in the blog hop, the more chances you have of winning!
Winner will be announced on StencilGirl Product’s Facebook Page 
on May 30th.

If you don't already, we would LOVE if you would signup
for our newsletter HERE
and join us on  Facebook, Instagram, Twitter, Google+, Pinterest and Bloglovin for more inspiration!

Thank you for visiting StencilGirl Talk!
Good luck winning!

Thursday, June 12, 2014

Fun with Stencils and Molding Paste

A GREAT BIG WELCOME
to new Creative Team Member
Gwen Lafleur!!!!
Hi everyone! I'm Gwen Lafleur and I'm so excited to be sharing my first post here on the blog.

One of my favorite techniques is to use molding paste together with stencils. Usually I put the molding paste through the stencil, but today's project uses the stencils to create a layered foundation and then the molding paste goes on top.

Here's the final project - it's an 18"x18" mixed media canvas.

I love it because it's full of color, texture, and pattern, and it's also pretty easy to make!

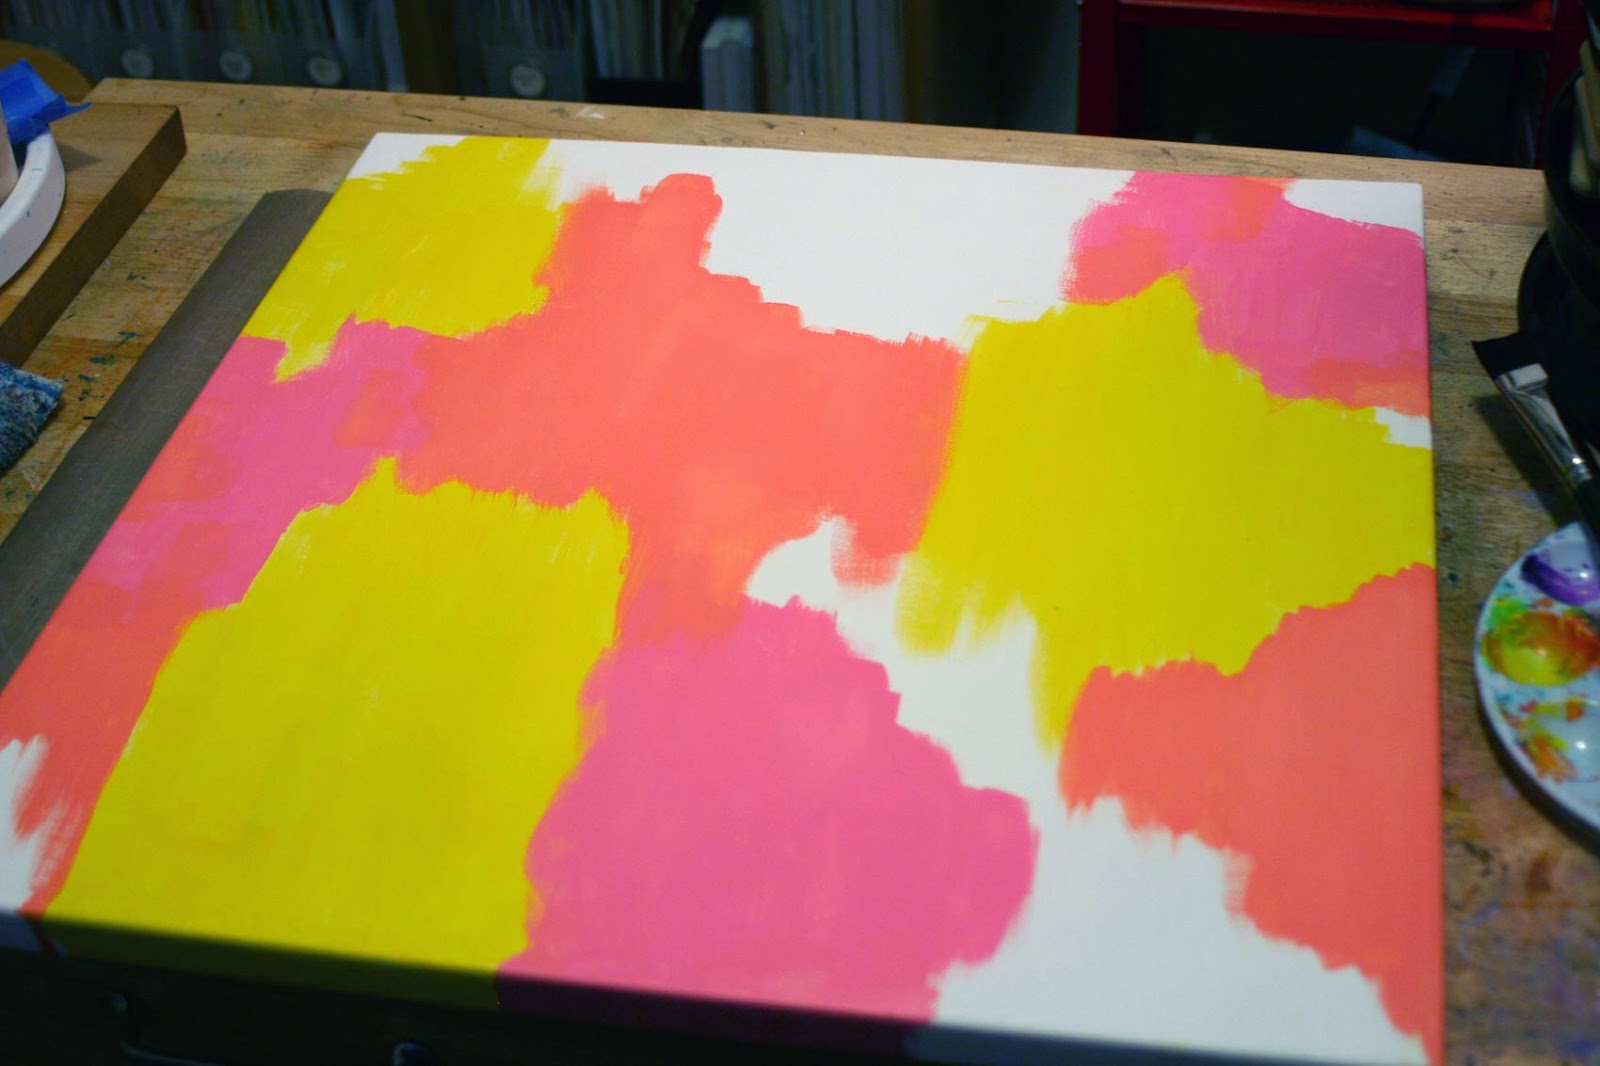
So getting started, I gesso'd the canvas and then laid down several patches of paint using three colors. I made sure to leave a bit of white space so that it wouldn't be solid color on the finished product.


Next, I started pulling out my stencils. I used a stiff, dry paint brush to kind of stipple or pounce the paint through the openings. Just keep the paint light so that you don't get a lot spreading underneath.


I used the Tribal Leaves stencil by Kae Pea, the Pods stencil by Jane LaFazio, the Sea Urchin stencil by June Pfaff Daley, and the Optical Large stencil by Michelle Ward.

Next I picked a few more designs to give just a bit more contrast and to fill in a bit more of the open space. I wanted plenty of stuff going on for the second part of the project!

For this layer, I added the 6x6 stencil from the April 2013 Stencil Club set designed by Mary Beth Shaw, and then finished it with some black lettering using the Vintage Script stencil by Cecilia Swatton.

So with that, the stenciling was done and I wanted to add just a bit more to the background. I used my fine line applicators to draw circles with paint and to do some teal splatters - I wanted to introduce a bit of contrasting color and tie in with the color I knew I wanted to use on the top layer. I also added some random green circles using a Molotow paint pen.


And now you can see what the foundation looked like... there's a lot going on, but it's exactly what I was looking for.


With part one done, you'll want to prep for part 2 - getting ready to add the molding paste.


I used regular molding paste because I knew I was going to use a very thin coat and because I was working on canvas. I did a similar project in my art journal and used light molding paste for that. I also used some fluid acrylics to tint the paste, palette knives, and a cup with a lid to mix and store. What I have mixed above was exactly enough for my entire canvas (a few tbsp worth of molding paste and 10 drops of paint.)

Next, decide what design you want to do. Because my stenciling was all circle and oval-ish, I went with leaves to tie in with the foundation design shapes. I used a Stabilo All Marks pencil to trace out the first section of the design, and then I used my palette knife to start adding the tinted molding paste to the canvas, working my way around the design.

I found it was easier to work around the design than to try and put down a coat and scrape off later. It works fine for adjustments as you go, though... and using your palette knife to scrape off the molding paste is how you add in the stems - just drag the knife through it.

You can kind of see from the photos that I worked in sections - that's why I kept the molding paste in a container with a lid - it kept it fresh in between sections. I also used a pretty thin coat as I was working on the canvas - I wanted hints of the design to show through, but you could also do it a lot thicker depending on the look you want.

At this point you could call it done. I kind of tend toward the "more is more" philosophy, and I may have a slight addiction to Liquid Pearls, so I pulled some out to finish off my canvas.


You can see that I just outlined the leaves and stems and added a few dots - I used Platinum Pearl so that it would be subtle, but still add a bit of definition and dimension, as well as just a hint of shine.

And that's it! I painted the edges of my canvas and hung it on the wall!


I hope you enjoyed today's project! I had a lot of fun making it :)

Gwen Lafleur