Showing posts with label Mixed Media Canvas. Show all posts

Thursday, September 2, 2021

Mixed Media Canvas with StencilGirl® Products

Hello stencil lover,
Sue Plumb here today with a fun new project to inspire you. It’s been a little while since I shared my last project here as part of the StencilGirl® Creative Team, so I was only too happy to jump in and get my hands dirty when I was asked to be a guest designer this month. 

As I will be moving house soon, I have been busy sorting through my art supplies and assessing what I have on hand. This task also highlighted which supplies have been neglected lately, particularly some of my paints. With that in mind, I decided to create a mixed media canvas for this project and put some of those paints to good use. Unfortunately, paint is one of those supplies that does have a shelf life, and I did have to throw some of them away that had dried up. (If you have paints in your stash that you haven’t pulled out for a while, I encourage you to check them and use them whilst you can!)

My project began with a 10x12” canvas panel which came pre-primed, so it saved me applying a coat of gesso. I started with some collage on my background, adding a Jane Davenport printed napkin and some spotted tissue paper using matte medium. I then dried it off and started on my painted layers using a mix of acrylic paints applied with a silicone spatula and my fingers.

If you are unfamiliar with mixed media, there are couple of important points I want to share with you here. First of all – layers! Mixed media is all about layers and each one contributes to the overall depth and impact a piece will have. Yes, along the way, you will inevitably cover up some of the layers you create, but it is the way in which those layers combine that will deliver the final result.  The second point is what many of us like to refer to as the “ugly stage”. At some point during the process you are likely to look at the piece you are working on and think it looks terrible, but my best advice here is to push past that stage, continue on, and know that it will all come together in the end.

Once I had my background colour down, it was time to start adding some stencilled detail. The first one I reached for was a branches mask that came from Into the Woods by Suzi Dennis. I used a green Distress Oxide and a sponge to add some detail along the bottom edge of the canvas. However, once I looked at it I realised that the detail didn’t stand out enough, so I went back to my painted layers and lightly added some white paint using a brayer to strip some of the colour back and allow my detail to show more clearly. I repeated the process with the mask and the Distress Oxide and was much happier with the result. (See – it really is a process of layers!) I then used the same Distress Oxide and sponge with the Looping Leafy Vines Background stencil to add detail along the remaining edges of the canvas.

Next, I added some floral detail using the Deconstructed Floral Bouquet stencil, teal Archival ink and a sponge. I only used one section of the stencil and moved it around the canvas to repeat the same flower design in different areas. At this point I decided it was time to add some texture, so I went back to the Looping Leafy Vines stencil but this time I used a teal-coloured texture paste instead. (I often like to use the same stencil more than once on a project but with different mediums to achieve a different look.) I then added more texture paste, only this time a pink, using the Peony Blooms stencil; and again I focused my attention around the edge of the canvas.

Now it was time to turn my attention to the focal point for my canvas. I had a printed napkin that featured a bright design with Toucans and tropical foliage, so I decided to use one of the Toucans as my centrepiece. I removed the backing layers from the napkin, leaving me with the topmost thin sheet, then traced around the part of the design I wanted using a water brush. Moistening the paper like this allows you to then separate the piece away gently and gives a softer edge that is easier to blend into the background than if it were cut with scissors. (Watch my process video to see exactly how it is done.) I used matte medium to apply it to the canvas, along with some extra foliage printed pieces.

Now it was time to start adding all the final details to bring the piece to completion. To add some light to the foreground and the surrounds, I used the small Maidenhair Fern Stencil with Masks and stippled some light green paint through it with a brush and then dried it off.

To tie in the black colour of the Toucan, I used a rubber stamp featuring small stars and spots and black StazOn ink to lightly stamp tiny black details randomly around the canvas. I also used a black Stabilo All pencil to create subtle shadowing around the Toucan’s silhouette.

I added further detail to the piece using one of my all-time favourite stencils, Organized Chaos by Cat Kerr, white paint and stippled the design randomly around the page. (This is one of my go-to techniques for finishing mixed media pieces like this.) After that, it was simply a matter of sticking down the large quote, small phrase stickers, and a few printed vellum flowers to add dimension. (I love the way the vellum curls up from the canvas when applied with a small dab of wet glue.)

If you would like to see the evolution of exactly how this piece came together, or see any of the techniques I have mentioned, please watch my process video. 

Thanks so much for joining me today, I hope you are feeling inspired. Happy stenciling!

Friday, May 15, 2020

Adena Helm: Steve, Mixed Media on Canvas with StencilGirl® Stencils

Steve by Adena Helm, Mixed Media on Canvas with StencilGirl® Stencils 

Hi, everyone! Adena Helm here!
Have you ever wanted to add some visual texture to your paintings or projects?
StencilGirl® stencils are a great way to do that! 

In this video I will show you how I paint a mixed media portrait of my cat, Steve, using collage, acrylic paint, acrylic spray paint and stencils! I will show you how I make layers of visual texture and more visual interest. You can use these techniques in canvas painting, art journaling or whatever your imagination comes up with!


I have used Golden Gloss Medium as the adhesive, Golden Paints, Golden Glazing Medium, Gold Acrylic Spray Paint, and StencilGirl® stencils of course! 

StencilGirl® stencils used:
Tri-Textured Sheet Metal by Kristie Taylor
Pods Stencil by Jane LaFazio
New Orleans by Nathalie Kalbach
Beacon by Nathalie Kalbach
Damask Medium Stencil by Michelle Ward
Fallen Leaves by Jessica Sporn

StencilGirl® Products has great stencils with so many to choose from to fit any project you are working on! Check out www.stencilgirlproducts.com. If you want to see more of my artwork visit my website www.AdenaHelmArt.com, on Instagram or Facebook at Adena Helm Art! Thanks for watching!

Friday, May 10, 2019

Wildflowers Mixed Media Canvas with StencilGirl® Stencils

Hi, everyone! Jennifer Evans here!
Excited to share my tutorial for creating a Wildflowers Mixed Media Canvas with StencilGirl® Stencils!
Supplies:
• Acrylic paint
• 11”x14” Canvas
• Gesso
• Coffee filters
• Variety of paper: vintage book pages, sheet music, tissue
• Gelli plate
• Rubber brayer
• Paint brushes
• Mod Podge or matte medium
• Baby wipes or paper towel for cleanup

1: Gesso the canvas. Paint whole canvas background color of your choice.

2: Coat the Gelli plate with a thin layer of paint, using the brayer to smooth. Pull a few prints using the coffee filters -- since these are absorbent, it helps to have a base layer of very thin paint before you begin printing or stenciling. Flatten the coffee filters and create several backgrounds using the Gelli plate.
3: Next, choose a contrasting color and smooth over the Gelli plate. Center the stencil over the plate, then pull a print. To achieve a second print, remove the stencil and switch papers. You will get a variety of looks if you experiment with vintage book pages, tissue paper, mixed media paper, and the coffee filters.

4: Continue making prints. Make more than you think you’ll need, in a variety of colors.
5: Stencil layers over some of the prints.
6: Tear the prints and arrange a loose layout on the canvas. Use Mod Podge or Matte Medium to tack everything down in place.
7: Unify the elements on the canvas by using the stencils to make additional layers of wildflowers. Paint in stems and grasses. Trace through the stencil, if desired, using a graphite pencil to create line work.

Tuesday, January 29, 2019

Love & Friendship: Monochrome Gifts by Sunila & Aditi of Dots2Lines


Hello!

We're happy to be back with a new post! The theme is Love & Friendship and we decided to create some gifts. Something easy to make and gift.

We also decided to work with one color but tints and shades. We don't work too much with pink, and decided to challenge ourselves with that. 

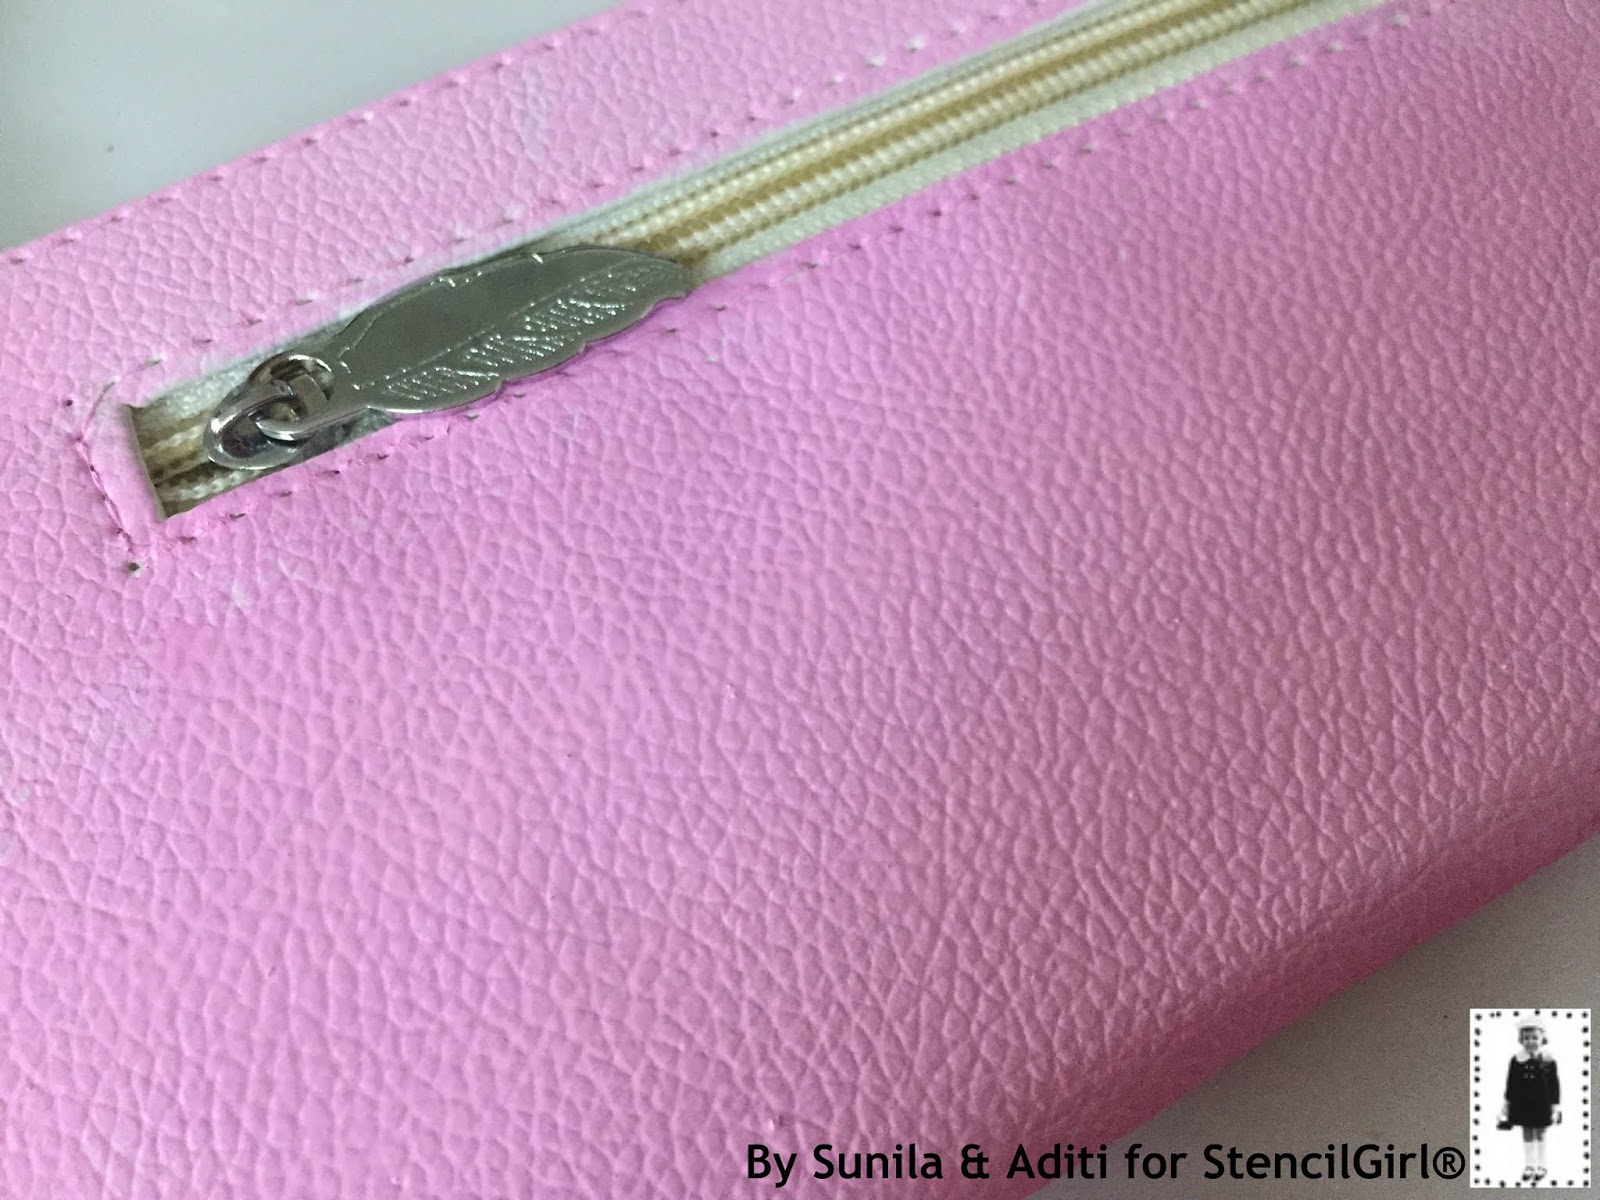
Here's a look at a wallet and card:


For the wallet, we began with a plain white surface and painted it with light pink acrylic color. We then began layering colors with stencils. We used light pink metallic tones at the beginning and darker tones for the focal stenciling. We used the same technique on the card as well. We highlighted some areas with a pearl liner.


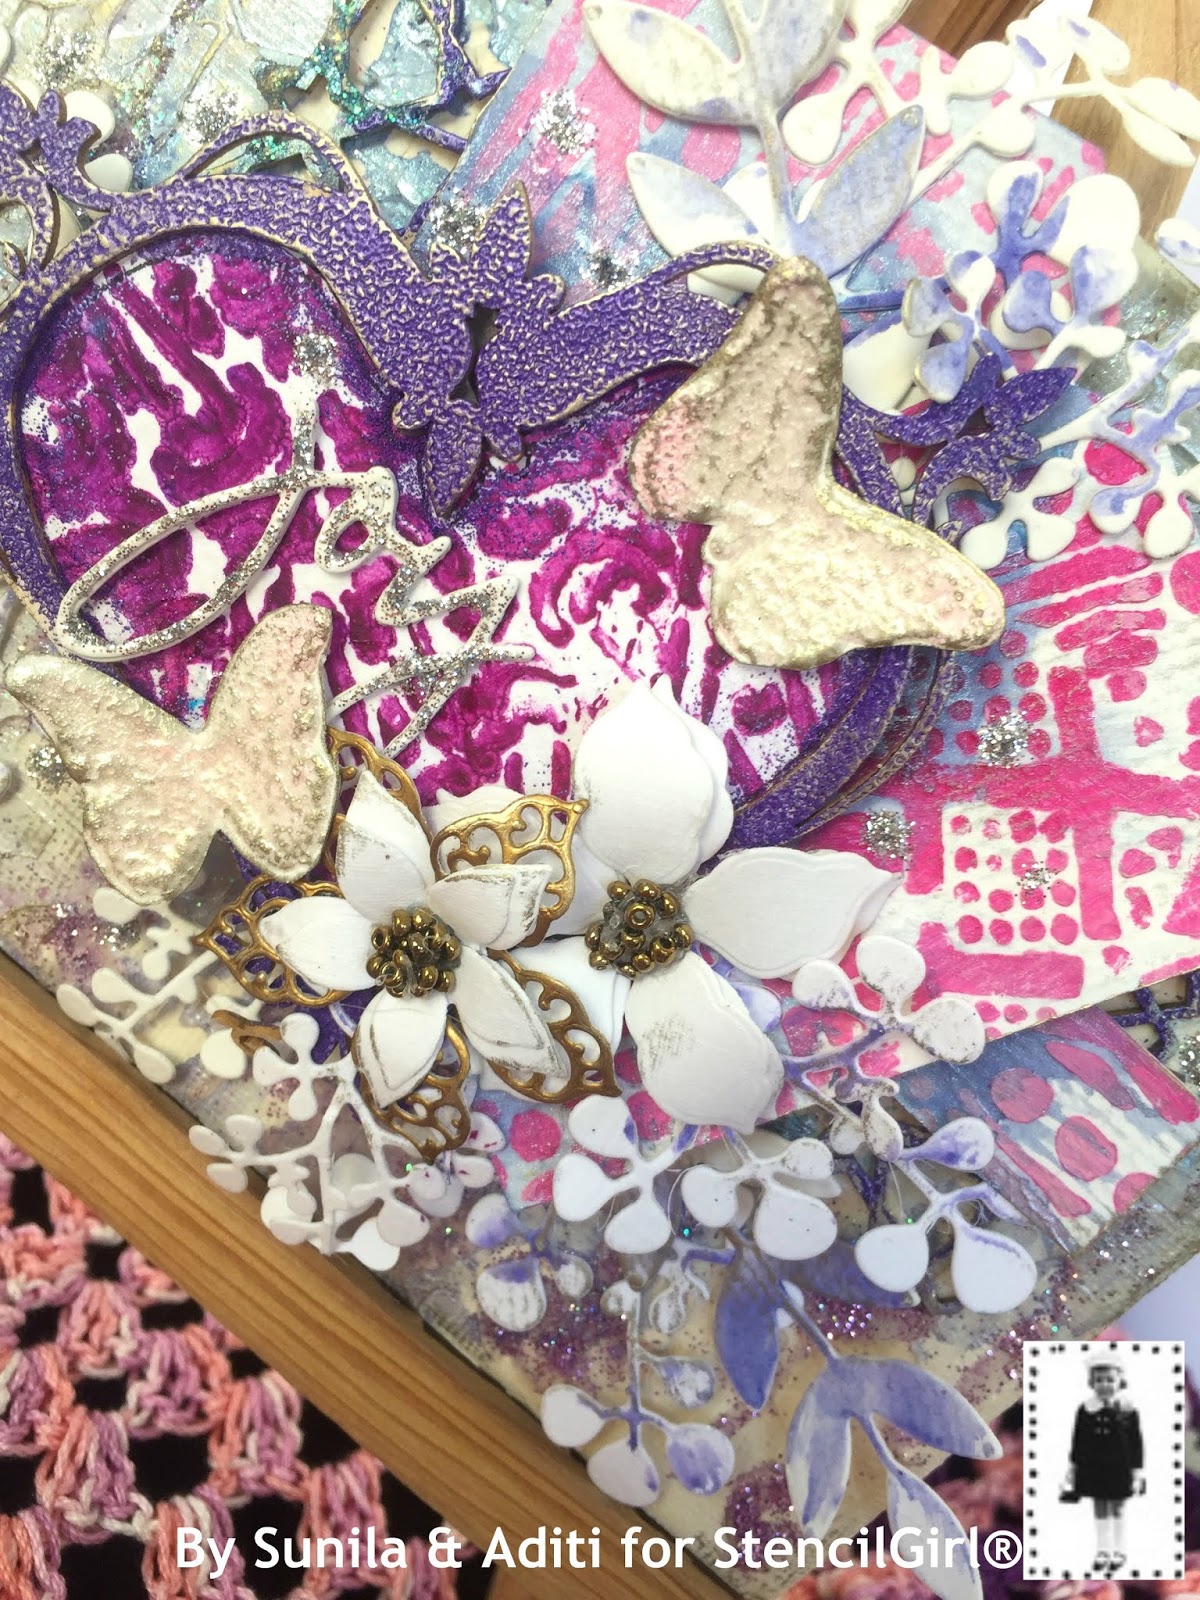
We also created a mini canvas. The background has textures with stencils, and our focal layers are papers created with stencil layering and heat embossing elements from stencils. 


Sunila & Aditi


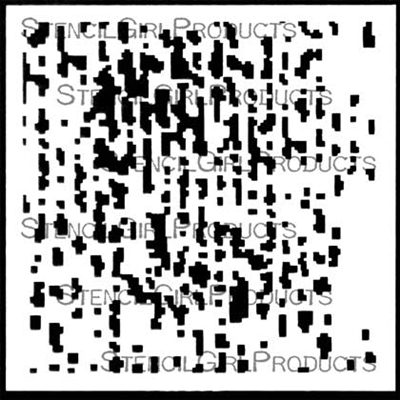
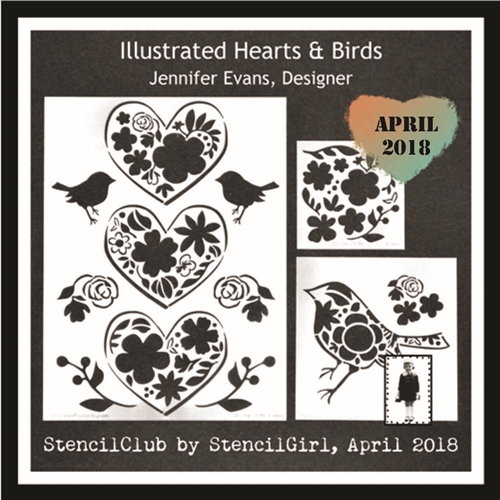
p.s. Here's a list of the stencils used:


Tuesday, October 23, 2018

The art of being grateful - a mixed media canvas by Sandee Setliff


The art of being grateful is an easily practiced skill and, I believe, can have nothing but positive effects. Practicing gratefulness can help put you in a positive mindset, a mindset that will give you a stronger foundation to face daily challenges and be more present with the things and people you love. So keeping that in mind, I made a small canvas to hang up to remind me daily to cultivate the art of being grateful every day.


I knew what I had in mind for my canvas to become so I began by cutting a piece of deli paper to the size of my canvas to create a mask by using a craft knife to cut circles for where I wanted flowers. I am doing this because the stencil I am going to use to create the flowers has nothing to do with ... well, flowers!


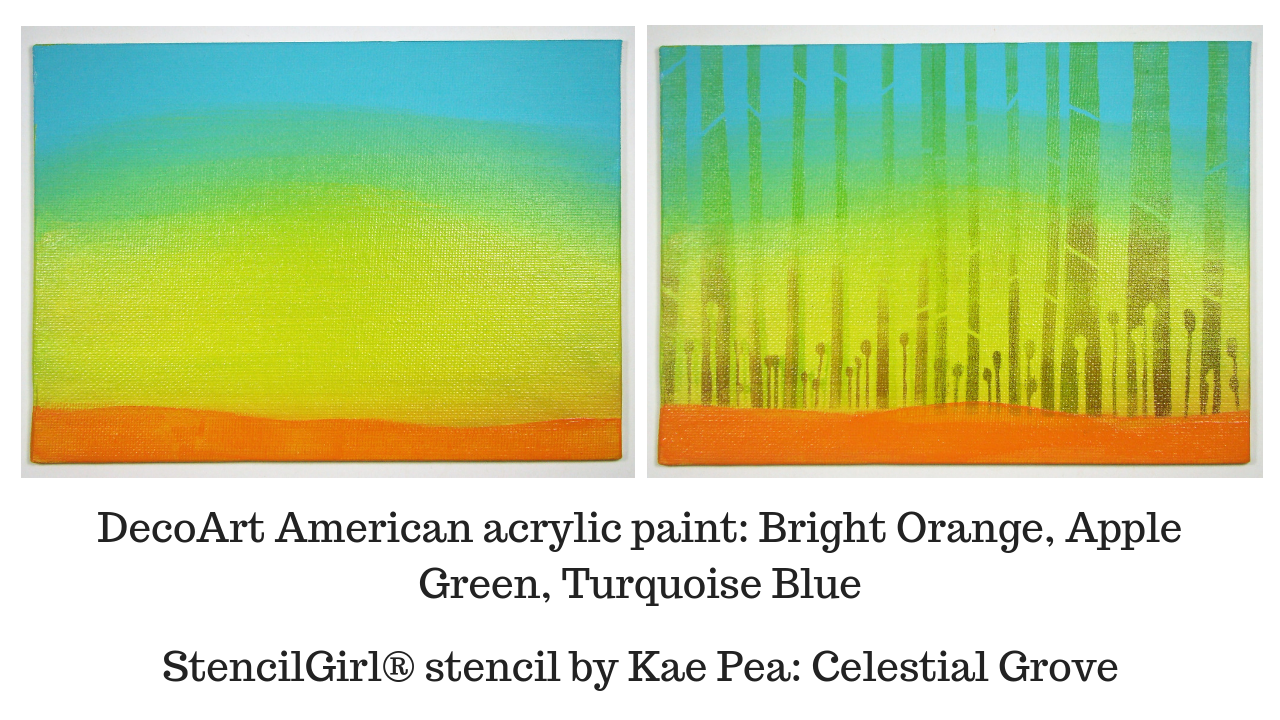
And as usual, for me....one idea is always ahead of another idea so I have to backtrack and prep my canvas. I began to build layers by adding some background paint and using a dry brush to blend the colors together and then let that dry before adding my next layer which was the bottom half of the Celestial Grove stencil. I used a sponge to apply the Moonlight Duo Tint & Hue ink pad in Asteroid Umber ink through the stencil giving it a light but distinctive marking.


I don't know about you but I love to try and look at stencils differently like this Stylized Fireworks stencil by  June Pfaff Daley. Once you look past the firework motif you will see all sorts of wonderful designs that can be used to enhance your projects.
Now comes the part that I really enjoy which is making doodles on top of the 
stenciled patterns with my pens and adding in some rubber stamping like I did with the stems for the flowers with the Stampstacts 2 stamps by Kae Pea.


I wanted one more layer so I used Andrew Borloz's Wheel Spokes Set #2 stencil to create a bokea effect. (  Bokeh has been defined as "the way the lens renders out-of-focus points of light". ) And I used white and blue ink to create this soft effect.


My last step is adding a sentiment or quote to my piece. This is an important step for me as words always seem to tie a piece together. I know there are a lot of people out there who dislike using their handwriting and if you are one of them ( I know I am ) then embrace any flaws and make it whimsical!


Gratitude strengthens relationships, improves health, reduces stress, and, in general, makes us happier. So it doesn't hurt to make a project that you can hang up somewhere to help you to remember...

there is always something to be grateful for.