

But like all of us, my plans changed in March when the long tendrils of the Corona Virus came knocking at our door. Since my foraging days were put on hold, I decided to shop my own garage to find a project to upcycle for you.
Picking through my treasures, I stumbled upon an old type tray that I had picked up a few years ago at the famous Brimfield Antiques Show in Brimfield, MA.

Brimfield is actually one of those places that I’d planned on taking you to. It’s the largest show of its kind in the country, with twelve jammed packed fields of tented dealers selling their eclectic wares. Brimfield is a wondrous place, full of oddities and inspiration. I try to make time each year to take a pilgrimage there with my friend, Theresa. Since I can’t take you along with me this year, I created a photo album from some of our past excursions to give you a feel for what its like.
Theresa and I both purchased type trays one year. At $5 apiece they were a steal. Her’s ended up being reclaimed by her husband who fixed it atop his toolbox. Mine waited patiently for two years in the back of my garage before being upcycled into this cork board.

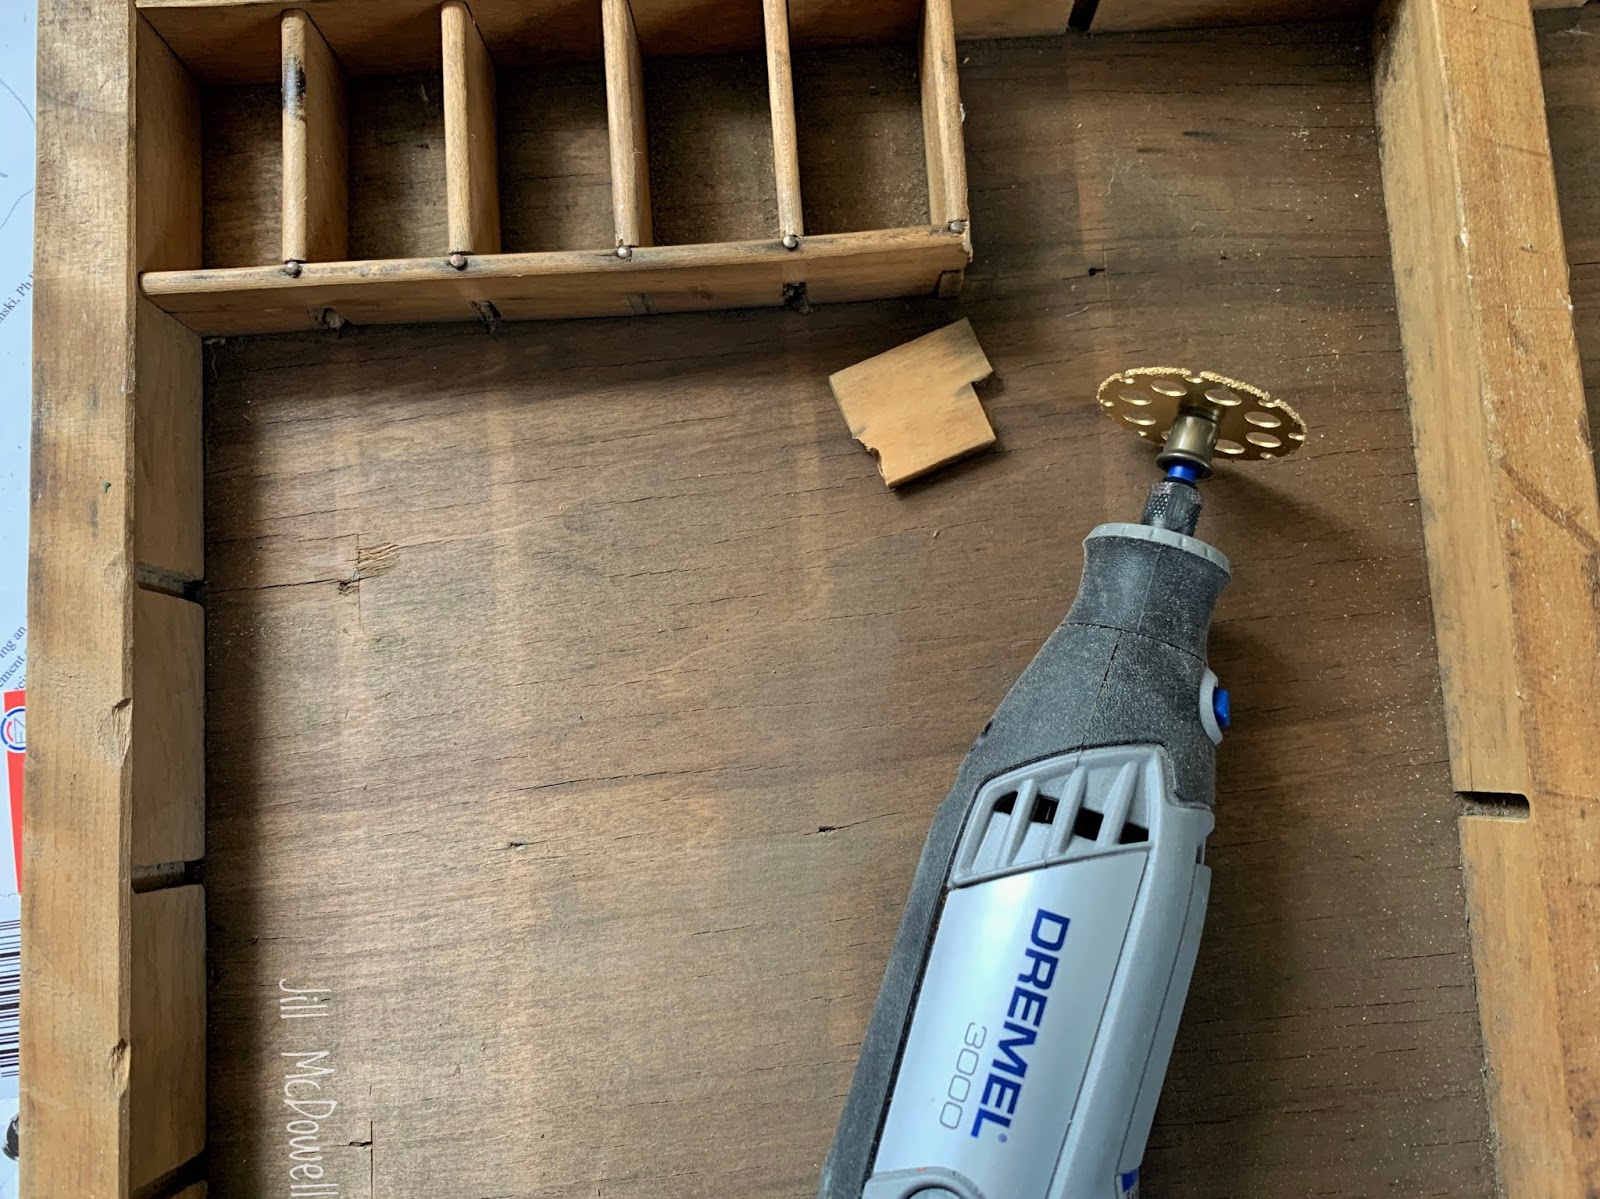
I specifically choose this particular type tray because most of the interior was missing. I didn’t want a lot of tiny spaces to fill but loved the character that just a few cubby holes would add to my cork board. I only had to wrangle with one jagged edge to clean it up and that was an easy fix.

I used my trusty Dremel Drill to cut the rogue piece off and then lightly sanded the entire tray.
Then I painted the tray with two coats of Valspar latex paint in Olive Marinade. I decided later that it was a little too yellow for my liking and repainted it with Valspar’s Cypress Point green latex paint. After all, isn’t that what color samples are for?

To prepare a base for the cork top, I cut and glued together two pieces of mat board for each section of the tray. Thick corrugated cardboard would have also worked as a base for the cork. (Note, I waited to glue the bases into the tray until after they were stenciled.)

Then I cut and covered each of the three sections with Self Adhesive Cork Contact Paper.
Easy Peasy!

I laid down a base coat of gesso on each of the three the panels. When they were dry I used masking tape to create a border around the edges. I used my Four Buds Stencil from StencilGirl to create an allover pattern spanning the three panels. (For video tips on how I line up my stencils head on over to my blog.) I used Skye Blue archival ink for the center of the stencil and Memento Luxe Nautical Blue ink for the outside edges.


Then I added some detailing with a gold POSCA Pen


I applied a thin layer of cold wax with a paper towel, let it sit for about an hour and then buffed it out.
This was my first time working with cold wax and I'm really glad I used it.

Then I mixed up a bit of the R&F Paint Stick with the cold wax and wiped along the edges with my gloved finger.


Here's one panel that been aged next to one that hasn’t. The aged panel looks like it could have been found on the bottom of an ancient sitting pool.


I finished my Cork Board with three thin layers of cold wax, buffed between applications. Then I glued the panels into my Type Tray. I stenciled some of the scrap pieces left over from the Cork Contact Paper with the numbers in the ATC Stencil, cut them out, and adhered them into the cubby holes. Then I added hardware on the back of the type tray to hang it. And now I have a beautiful, three sectioned, Cork Board to hang keepsakes and inspiration on and to display some of my tiniest treasures.


I hope I've inspired you to shop your own house to find a project to reimagine and Upcycle. All it takes is a little paint and a little imagination to transform an old forgotten piece into a one-of-a-kind personalized piece to treasure. Stay Well, Jill
I love seeing the closeups...the colors and stencil use is just gorgeous...bravo!
ReplyDelete