
Hi, everyone! Ann Butler here! I love when I can use my supplies to create several different looks. Today I am sharing how to use ONE Stencil to create several different backgrounds. I am using these for cards and tags but they could be used in Mixed Media, Home Décor and more. Just look at your stencils to see what you can create with them. StencilGirl® has so many to choose from!
Step by step to create backgrounds for cards and tags
with ONE stencil.
Supplies:
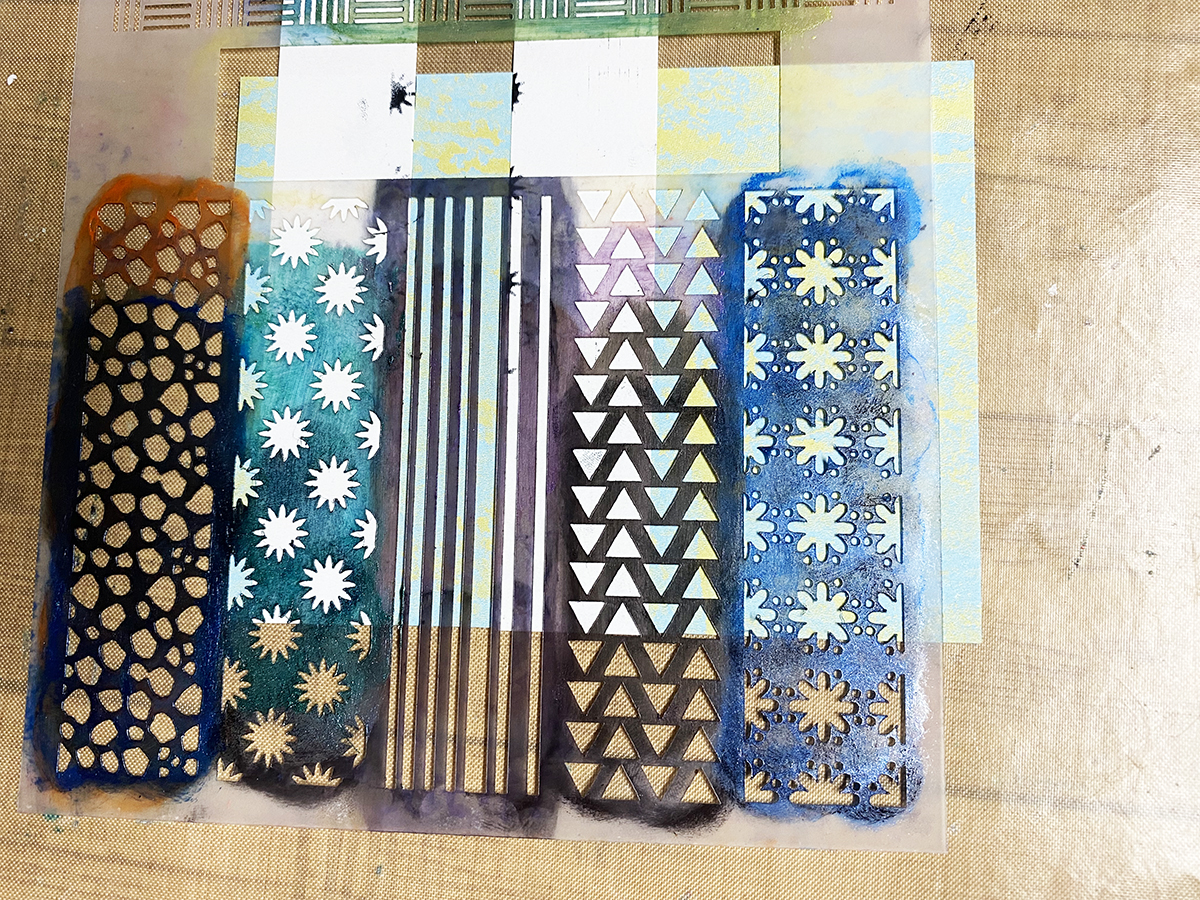
StencilGirl® Stencil:1 by 4 Rails by Ann Butler
Other Supplies:
- GinaK Dye Ink, Black Onxy
- Cardstock, assorted
- Dauber, Make-up Sponge or Blending Brush
- Pixie Spray (optional)
- Baby Wipes
- GinaK Masking Magic
- Adhesive
- Sentiment Stamps by Ann Butler, A Dash of Encouragement and Brody’s Love
- Die Cut Words
- Ribbon
- Card Bases, White
- Tags

Step 1: Cut white cardstock into a 3 ¾” x 3 ¾” square.

Step 2: Cut a piece of Masking Magic into a 2 ½” x 2 ½” square. Place in the center of the white card stock.

Step 3: Place stencil onto cardstock, lining up striped area next to the Masking Magic, so that the open area of the stripes is on the cardstock.

Step 4: Ink up dauber and apply ink to stripe area of stencil.

Step 5: Remove Stencil.

Step 6: Repeat steps 3 -5 for the other three sides.
Step 7: Add a sentiment stamp set to a 2”
x 2” piece of white card stock. Layer on top of a 2 ½” x 2 ½” piece of black
cardstock. Attach to the stenciled base. Adhere to a 4 ½” x 4 ½” white card
base. Add a ribbon as shown in photo.

Step 1: Cut a piece of decorative cardstock 5” x 3 ¾”.

Step 2: Place desired rails pattern from stencil onto the left short edge of the cardstock. Apply ink and remove the stencil.

Step 3: Place a strip of the Masking Magic over the stenciled area. Then, place another pattern from the stencil next to it. Up about a ½” from the bottom. Apply ink and remove the stencil.

Step 4: Repeat step 3 four more times, until the card is stenciled as shown in photo.
Step
5: Add a die cut work to the front as shown. Layer on top a piece of black
cardstock. Attach to a 5 ½” x 4 ¼” white card base.

Step 1: Cut a piece of decorative cardstock 5” x 3 ¾”.

Step 2: Place a strip of Masking Magic along the left short edge of the card stock. Add another piece about ½” away as shown in photo above.

Step 3: Place one of the patterns from the rails stencil in the open area about 2” from the bottom. Apply ink.

Step 4: Remove stencil.
Step 5: Move one piece of the Masking Magic to cover the stenciled area. Move the other one about a ½” away. Place another pattern in the open area. This time about 1” from the top edge. Ink and remove the stencil.
Step 6: Move one piece of the Masking Magic to cover the stenciled area. Move the other one about a ½” away. Place another pattern in the open area. This time about 1” from the bottom edge. Ink and remove the stencil.

Step 7: Cover the bottom edge of the cardstock with Masking Magic. Place another piece about ½” up from the first piece. Place a third piece about 1 ½” from the right edge. Place stencil in the open area.

Step 8: Ink and remove the stencil.
Step 5: Add a die cut work to the front as shown. Layer on top a piece of black cardstock. Attach to a 5 ½” x 4 ¼” white card base.


Step 1: Place stencil along the bottom edge of tag with the narrowest pattern on the stencil. Ink that area and remove the stencil.
Step 2: Wipe the stencil and carefully place along the top edge of the area you just stenciled, move the pattern a bit so it flows naturally. Ink and remove the stencil.
Step 3: Place the stencil along the right side. Ink up and remove the stencil.
Step 4: Place the stencil along the top edge. Ink up and remove the stencil.

Step 5: Apply sentiment. Add ribbon.


Step 1: Place stencil along the bottom right corner edge of tag with the striped pattern on the stencil. Ink that area and remove the stencil.
Step 2: Move stencil to about the middle of the tag with the striped pattern. Ink that area and remove the stencil.
Step 3: Repeat step 2 at the top left corner.

Step 4: Ink the edges of the tag using a dauber.
Step
5: Apply die cut sentiment. Add ribbon.
No comments:
Post a Comment
If you are entering a GIVEAWAY, please add your email address in the event we need to contact you.
To avoid SPAM, please write it like this:
marybeth (at) stencilgirltalk (dot com)
Thank You!