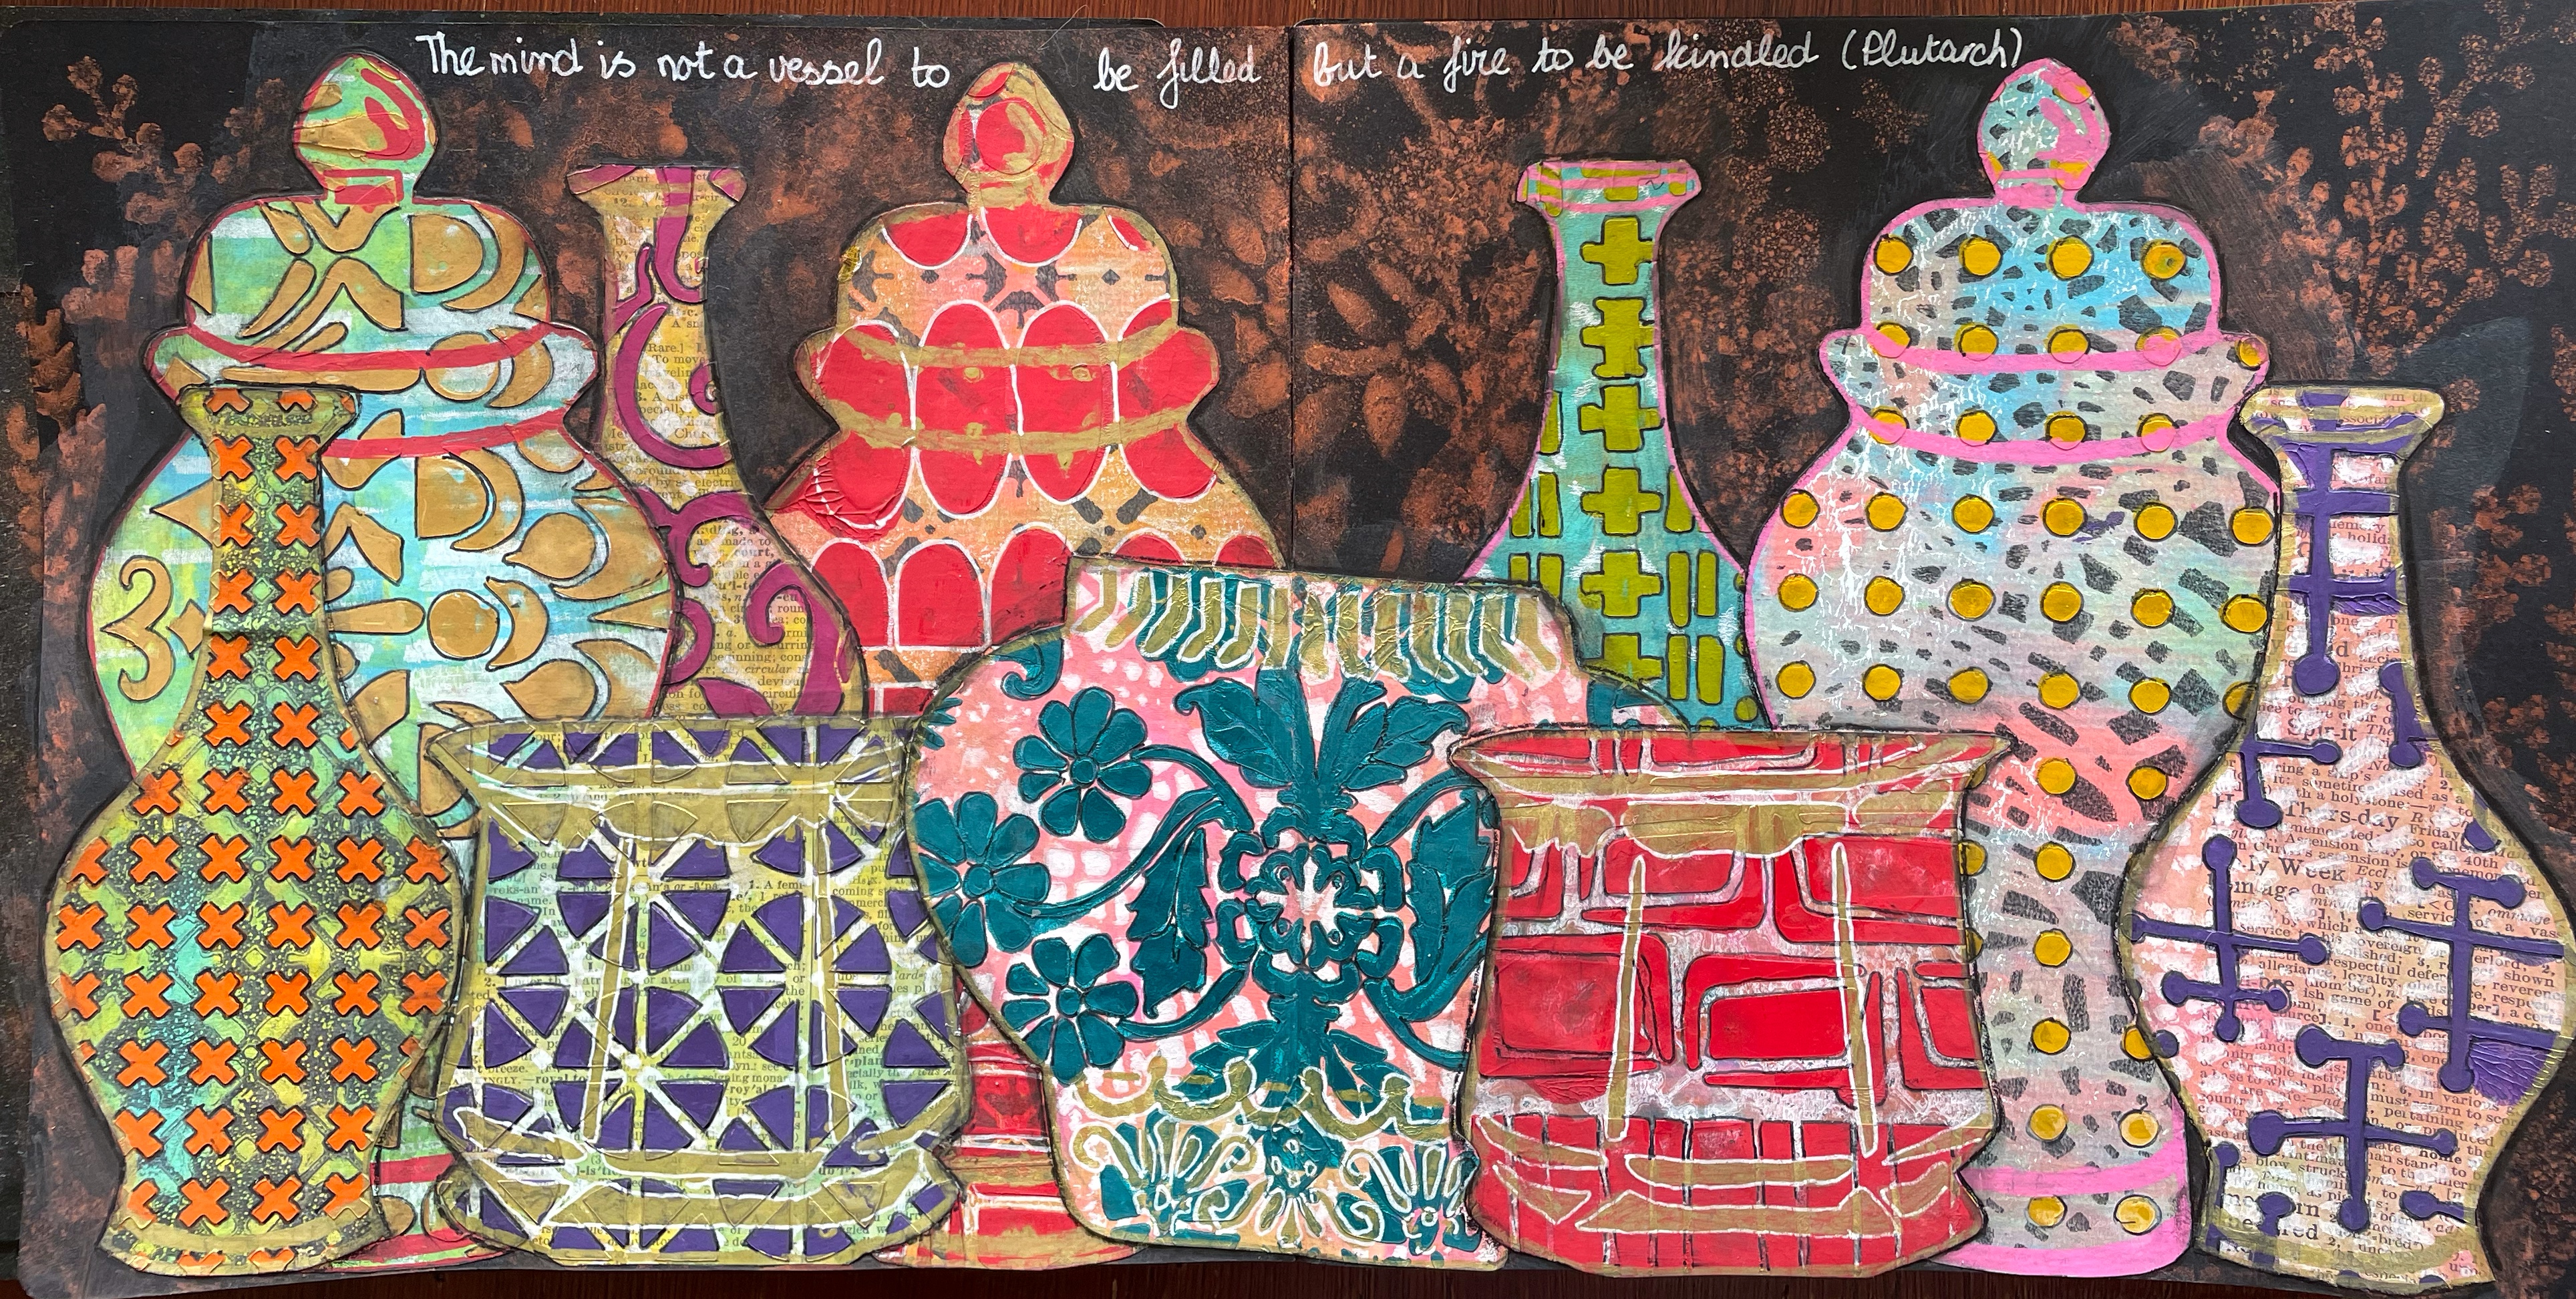
This spread was inspired by an image in an interior design magazine that showed a collection of textured vases together in bright colours. I don’t have that many vases so decided to recreate it in an art journal spread instead. Afterwards I found a quotation that really resonated with me, also about vases.
Here is the
tutorial:
1. Start by making a collection of painted pages on your gelli plate by simply brayering one colour and taking prints. You could also simply paint them with a brush. I used papers from an A4 Artist’s Block (Crelando) that are just a bit sturdier than copy paper. I also added some vintage papers to be painted.


2. Again using the gelli plate with either black or white paint, add background patterns to the sheets from step 1, using Crackle, the large stencil from the February 2018 StencilClub, and Corrugated Lines Large.

3. Using Jardiniere outline and cut out a collection of vases and make a potential lay-out. Use the stencil again to outline vases on your painted papers with a black marker.

4. Apply
different colours of Stencil Butter through a variety of stencils to the marked
out vases. There are many stencils available to do this with but here is my
selection: Waterfall, the
large stencil from the July 2019 StencilClub, Daisy-May Tile, Grunge Marks Collection – Grunge Strips and Borders, the
large stencil from the August 2018 Club, Loopy Leafy Vines, Circles Layer Me, Wheel Spokes Set #2 and X Rows.
5. Cut the vases out on your marked lines.

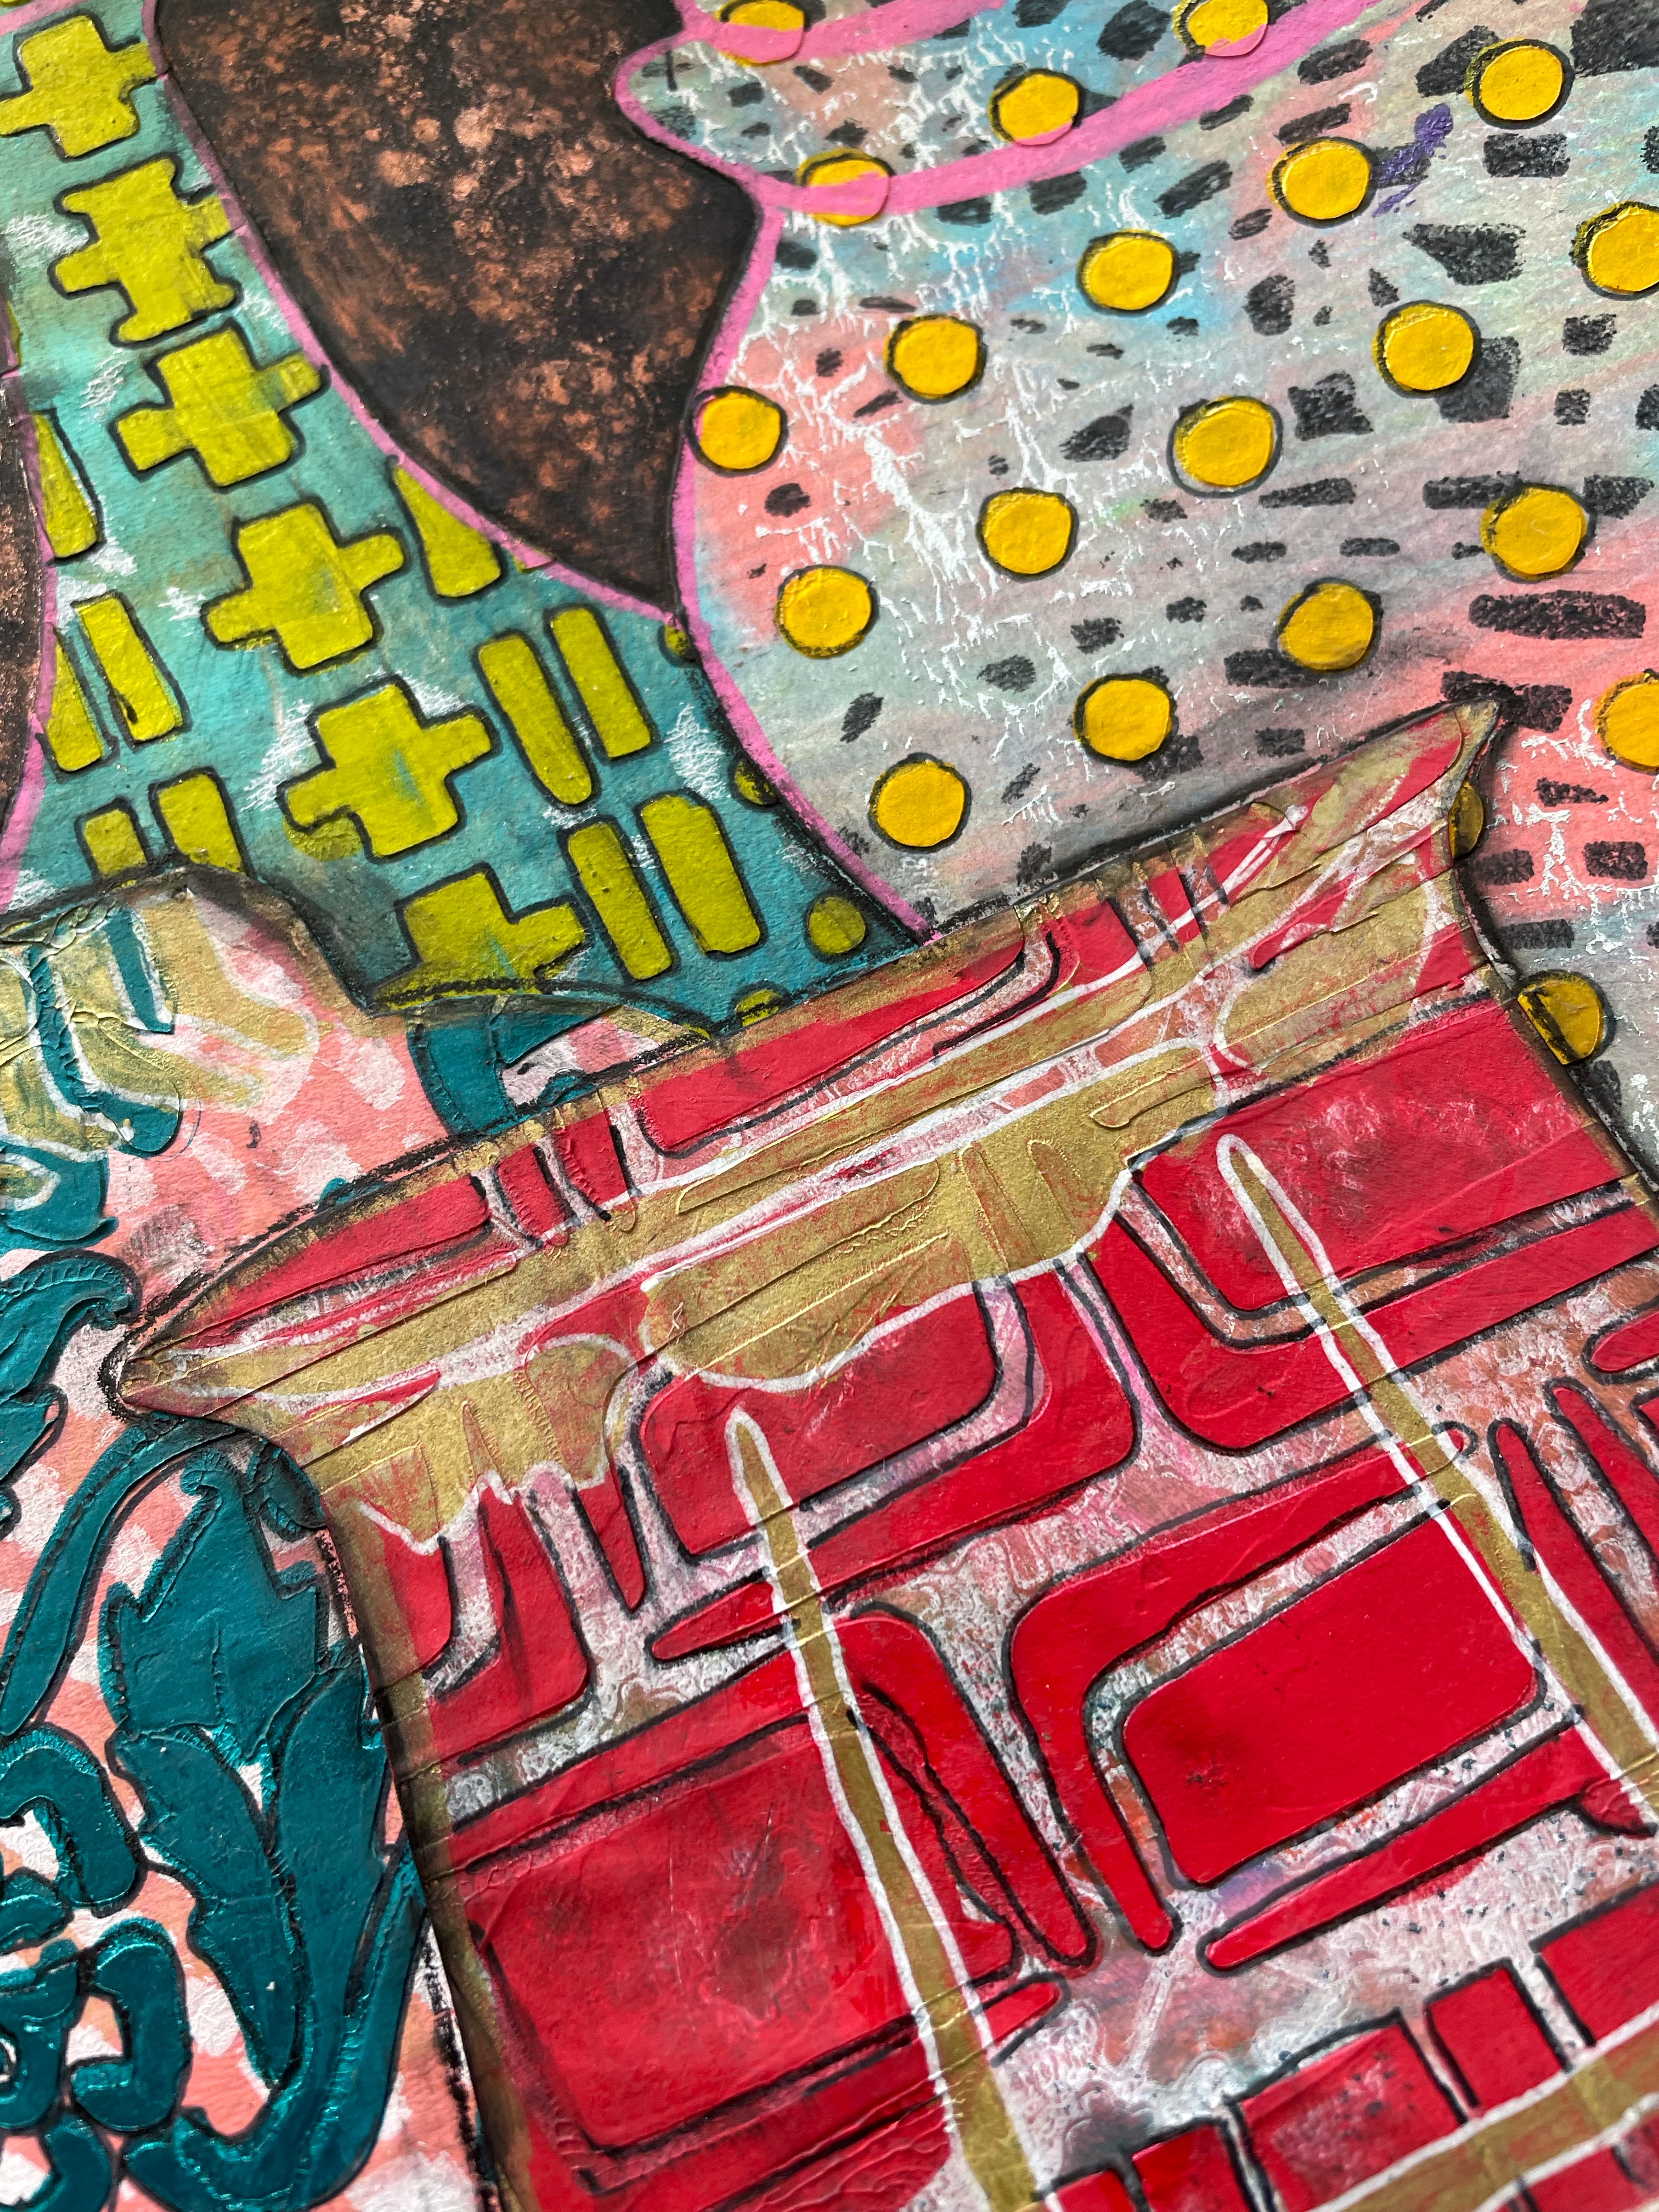
6. Using
the vase masks from Jardiniere add stencilling with a contrasting colour using Posca pens
or any other paint pens. Also edge the vases with the same colour. Outline the
shapes on the vases with black and white markers.
7. Spray paint the background using Tall Flowers, and Perfect Pearl Mist in copper. I used an 8 x 8” Dylusions art journal with black pages.

8. Play around with the vases and the lay-out made in step 3 and see if you are happy with it.

9. Glue on the vases to the background using matte medium and write on the quotation using a permanent white marker.

© Frieda Oxenham 2022. To see more of Frieda's work, please visit her BLOG.
Hi Frieda, Luci here wondering on step #4 “apply stencil butter” - exactly what is stencil butter? I’m excited to try this! Beautiful! Thanks for sharing.
ReplyDeleteHi Luci, google ‘stencil butter’ and options will come up. I use the ones from Crafters Workshop. They are coloured pastes which you put through a stencil to create dimensional, textured patterns. Enjoy!
ReplyDeleteWhat a delightful spread - thanks, Freida!
ReplyDelete