Hi everyone, Carol Ponsford here sharing an idea inspired by StencilGirl® September StencilClub set designed by Gwen Lafleur and MaryBeth. As soon as I saw this set it brought me back to earlier days when my family would make our Christmas decorations rather than purchase them. (I have to admit I have a fondness for the Old World glass ornaments.) However, looking back to those days when we sat around a craft table to see what creations we could come up with brings back such wonderful memories that I still treasure.
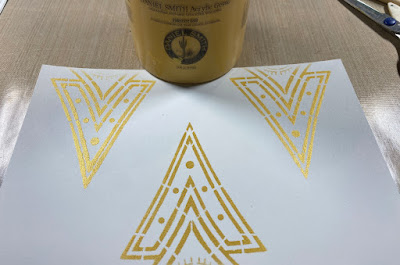
There were a couple of the designs that I immediately knew that I wanted to use. The narrower pendant shape would make a great ornament and the triangular base of the larger pendant would make either a tree ornament or a freestanding tree decoration. To begin I laid the stencil on white medium weight cardstock paper and sponged red acrylic paint to apply the design onto the paper.
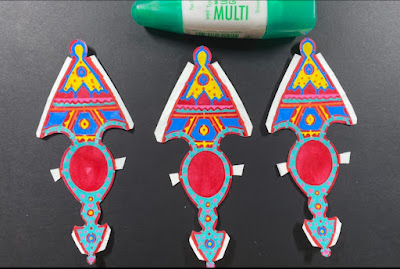
After the paint dried I drew my cut lines allowing areas where I would attach the shapes together. I chose to make it a three sided shape. Once I was sure about my connection spots, I cut all three shapes out and proceeded to paint the white area using my Posca markers.
Happy with the coloration I applied I decided I needed a fast drying glue to adhere the pieces together. I chose the Mono Liquid Glue shown in the picture below. It dries fast but not so fast that you don't have time to adjust where the pieces are to be placed.
I folded down all of my flaps that would be glued to each other and used a bone folder to make the fold very flat then proceeded to attach one side at a time, working from the top section down each side. The curvature of the designs made this a little tricky because it was not an exact straight fit but I worked my way through it making sure the section was dry before moving on to the next section.
After all three sides are attached you can add glitter if you choose or personalize the large oval in the center section with a Monogram or family picture. Add an ornament hanger and enjoy sharing with your family on your holiday tree.
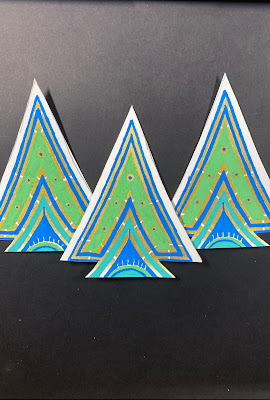
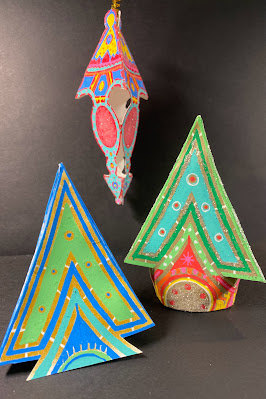
I also chose to do two different trees. One as a table decoration and one as an ornament. Both use the same process as above the only additional thing you need to take into consideration is how you want the table one to stand. It will stand on it's own or you can leave additional design at the bottom to make an attached tree skirt.
To make the one with the tree skirt I just stenciled further down on the stencil design allowing the circular pattern of the stencil design to become the tree skirt. I wanted to have a metallic look for the trees so for one I used Silver Gesso and the other one Gold Gesso. Again after I stenciled the pattern on, I drew my cut lines around the shape that would be used to glue the pieces together, cut them out, colored them with my Posca markers to add bright colors, and started assembling them with the Mono Liquid Glue.
TREE w/tree skirt
TREE ORNAMENT
I hope you enjoyed going down memory lane with me as I created some Christmas treasures. As always, keep an eye out when you are looking at your stencils for ways to use bits of them in unexpected ways, the possibilities are only limited by our imagination!
Join StencilClub by September 15 to receive these exclusive stencils and accompanying video tutorial with PDF (both downloadable!), and 20% OFF STENCILS EVERY DAY!!
Happy Creating!
To see more of my work please visit my
Instagram page.





What a delightful and innovative way to use these stencils! Thank you for your inspiration, Carol!
ReplyDelete