There are very inspirational stencils to be found on the StencilGirl® Products website and it was the set of Mid-Century Modern ones that caught my attention this month. I combined them with my favourite tools: the gelli plate and collage. I worked on 3 sheets of cold press watercolour paper, sized 9 x 12 inches.
Here is the
tutorial:
1. Gather
together a large selection of different papers including handmade, deli, copy,
tissue and rice paper as well as an 8 x 10” gelli plate and a selection of
stencils. I used Art Deco Bookplates, Mid Century Madness One, Mid Century Madness Two, Mid Century Madness Three and the large
stencil from the April 2022 StencilClub
2. Add a variety of colours of acrylic paint to the gelli plate. I used a lot of metallic colours as well as black and teal. Add one of the stencils on top of the plate and take a print. Then remove the stencil and take the negative print Repeat for a good selection of papers.
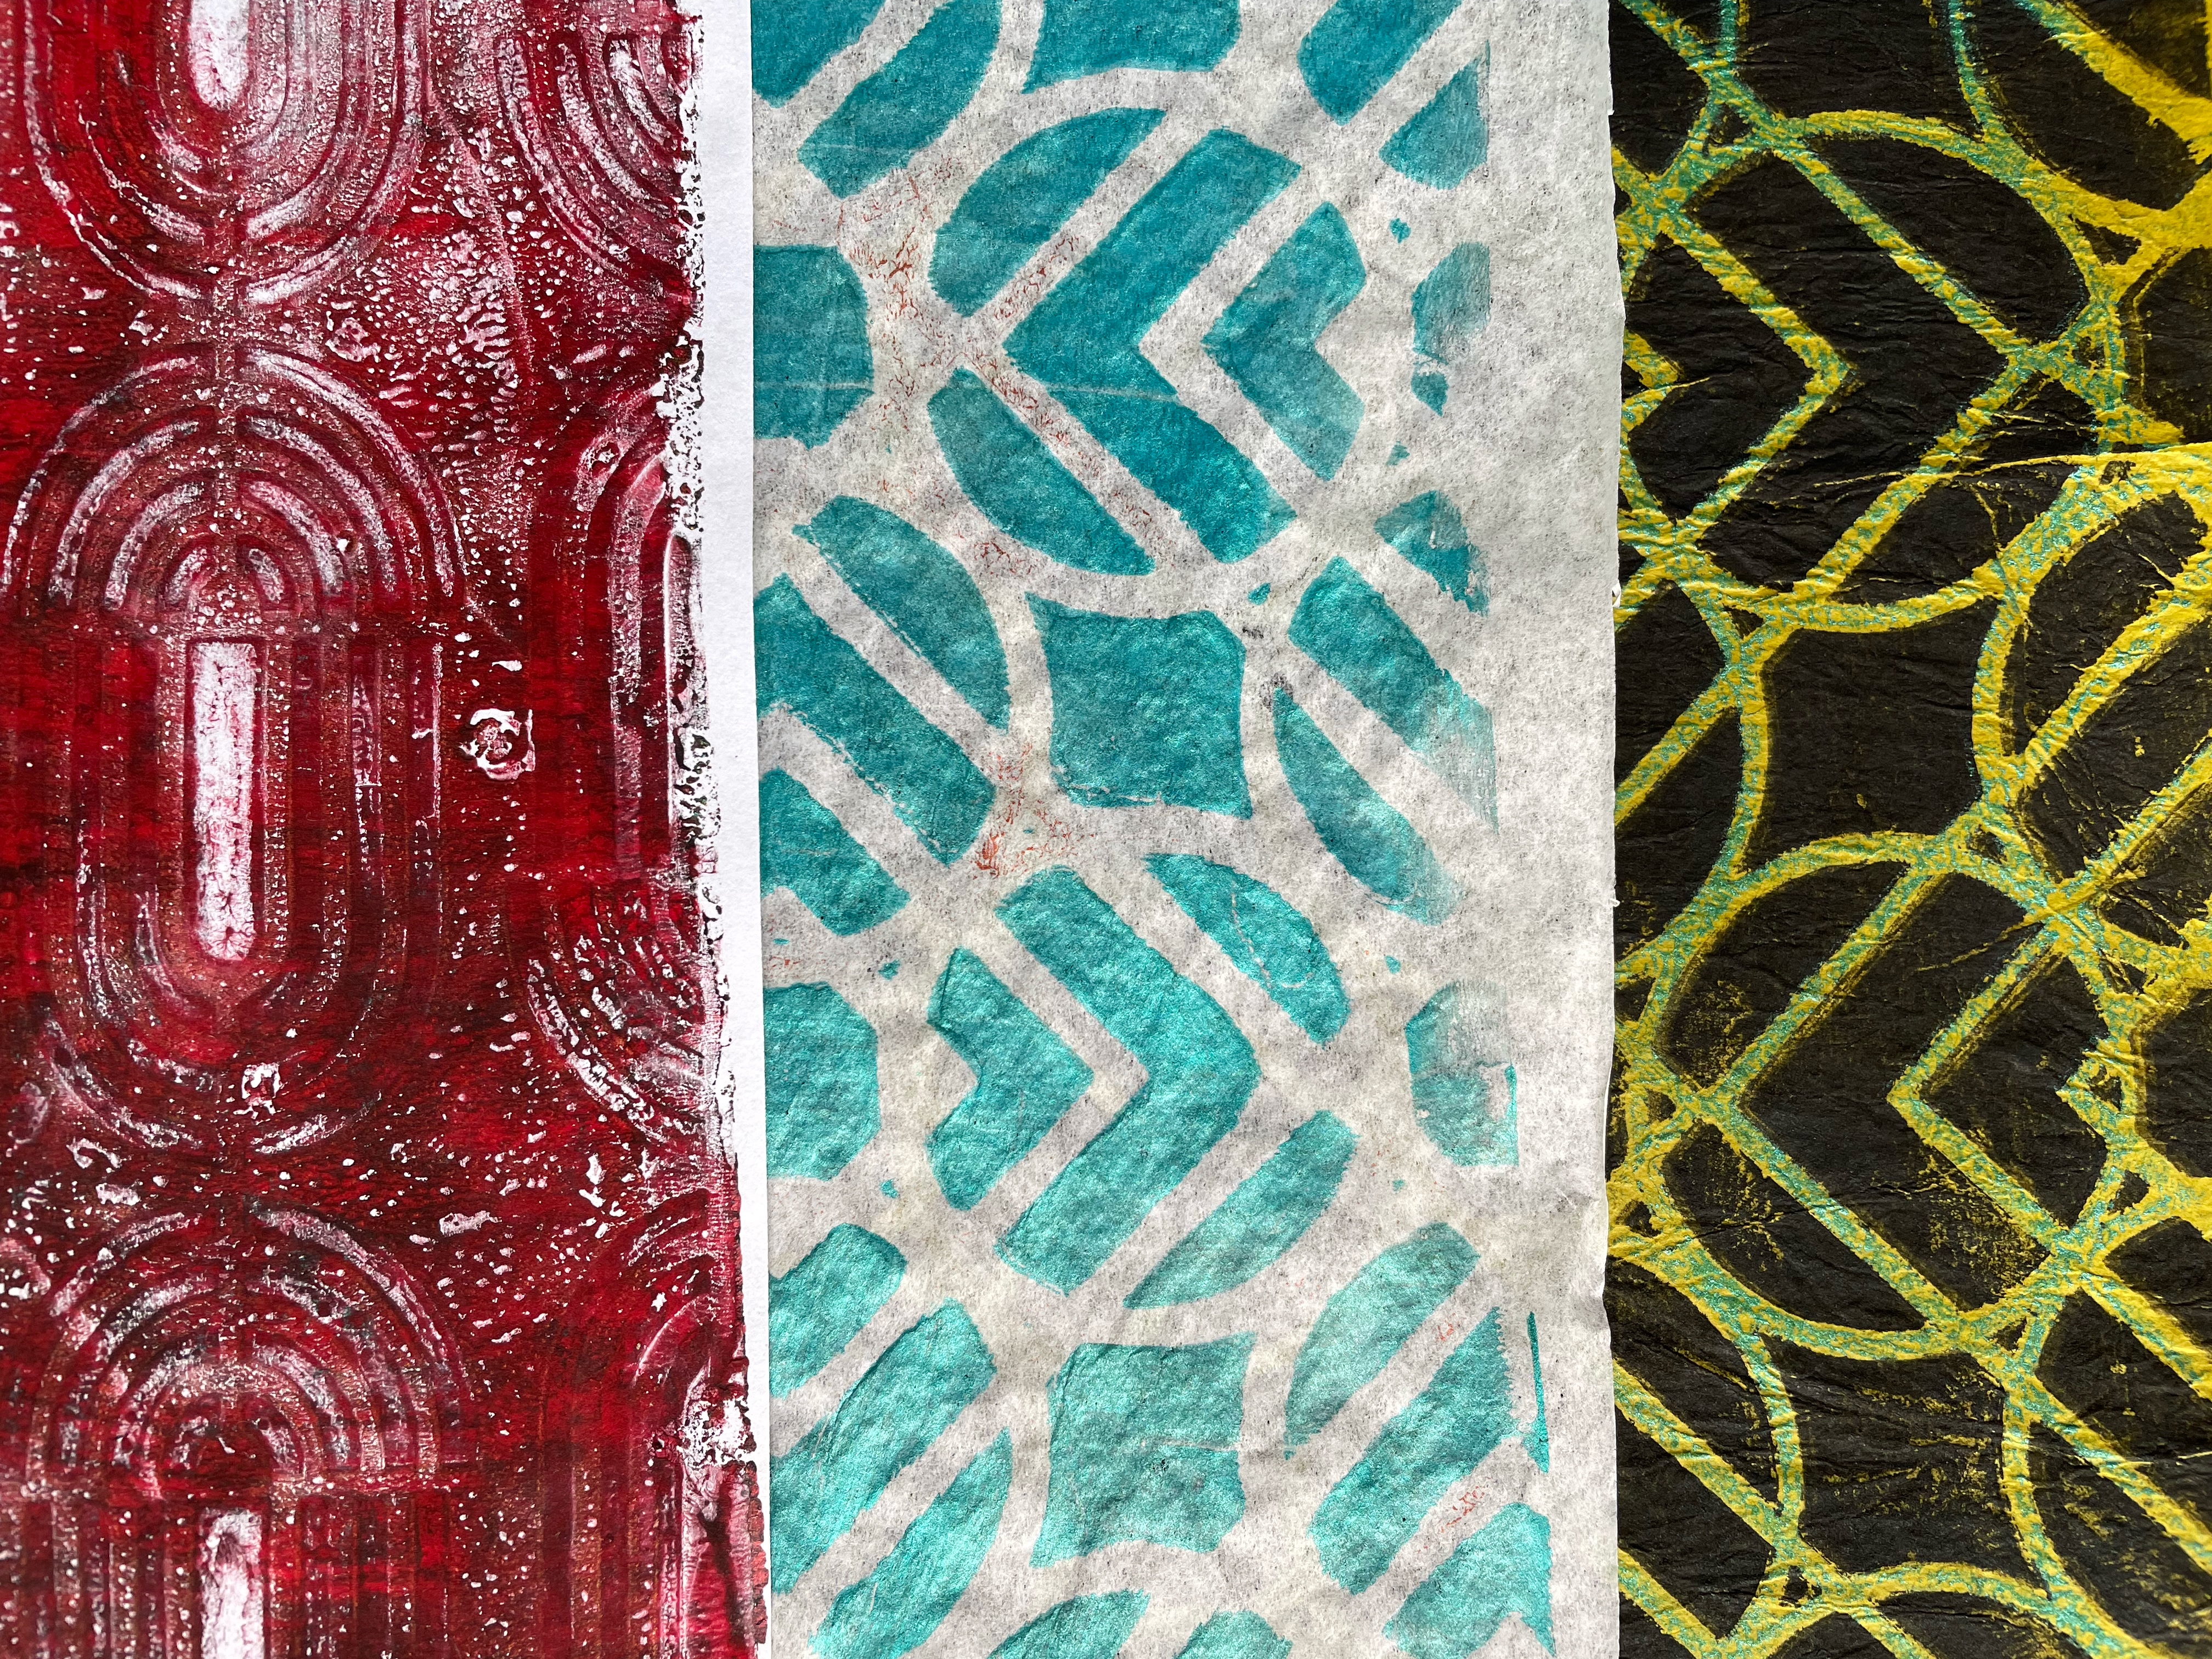
3. Leave some of the papers from step 2 as they are but add another layer to the rest of the papers as in step 2 but using different colours on the plate.

4. Again, leave some of the papers from step 3 as they are but add yet another layer to the rest of the papers as in step 2. You won’t use all these papers, but it is good to have a selection.


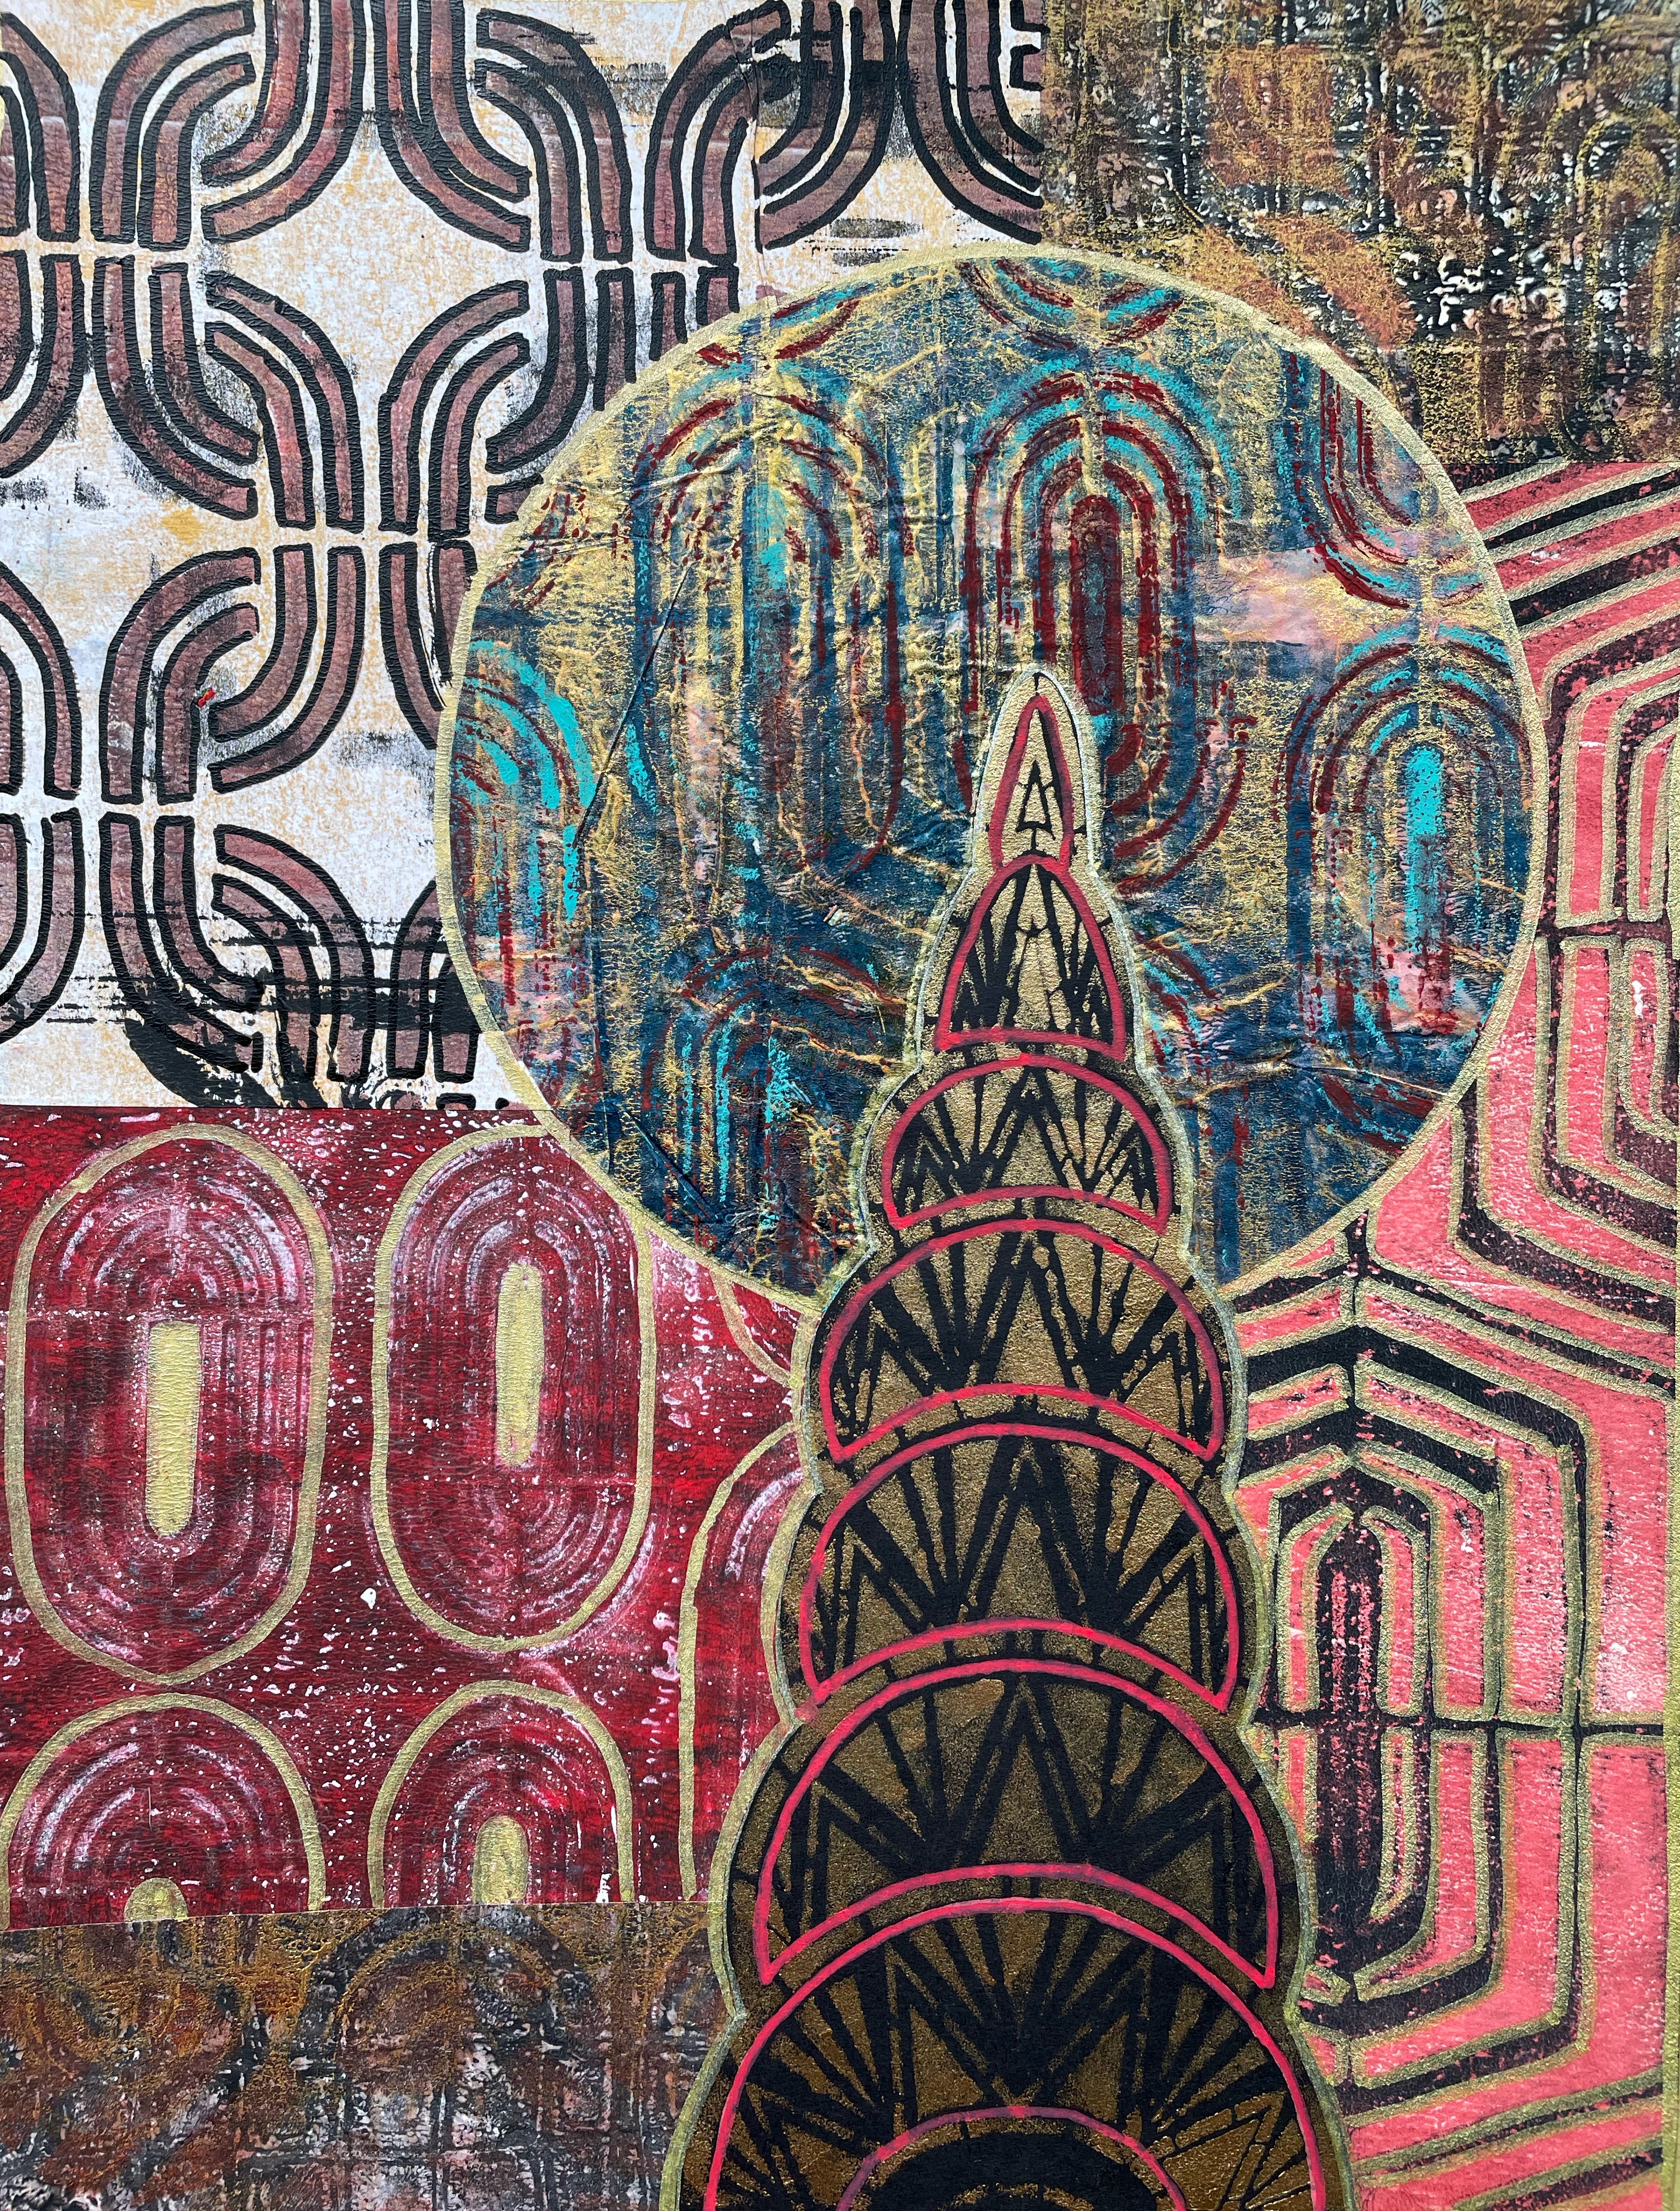
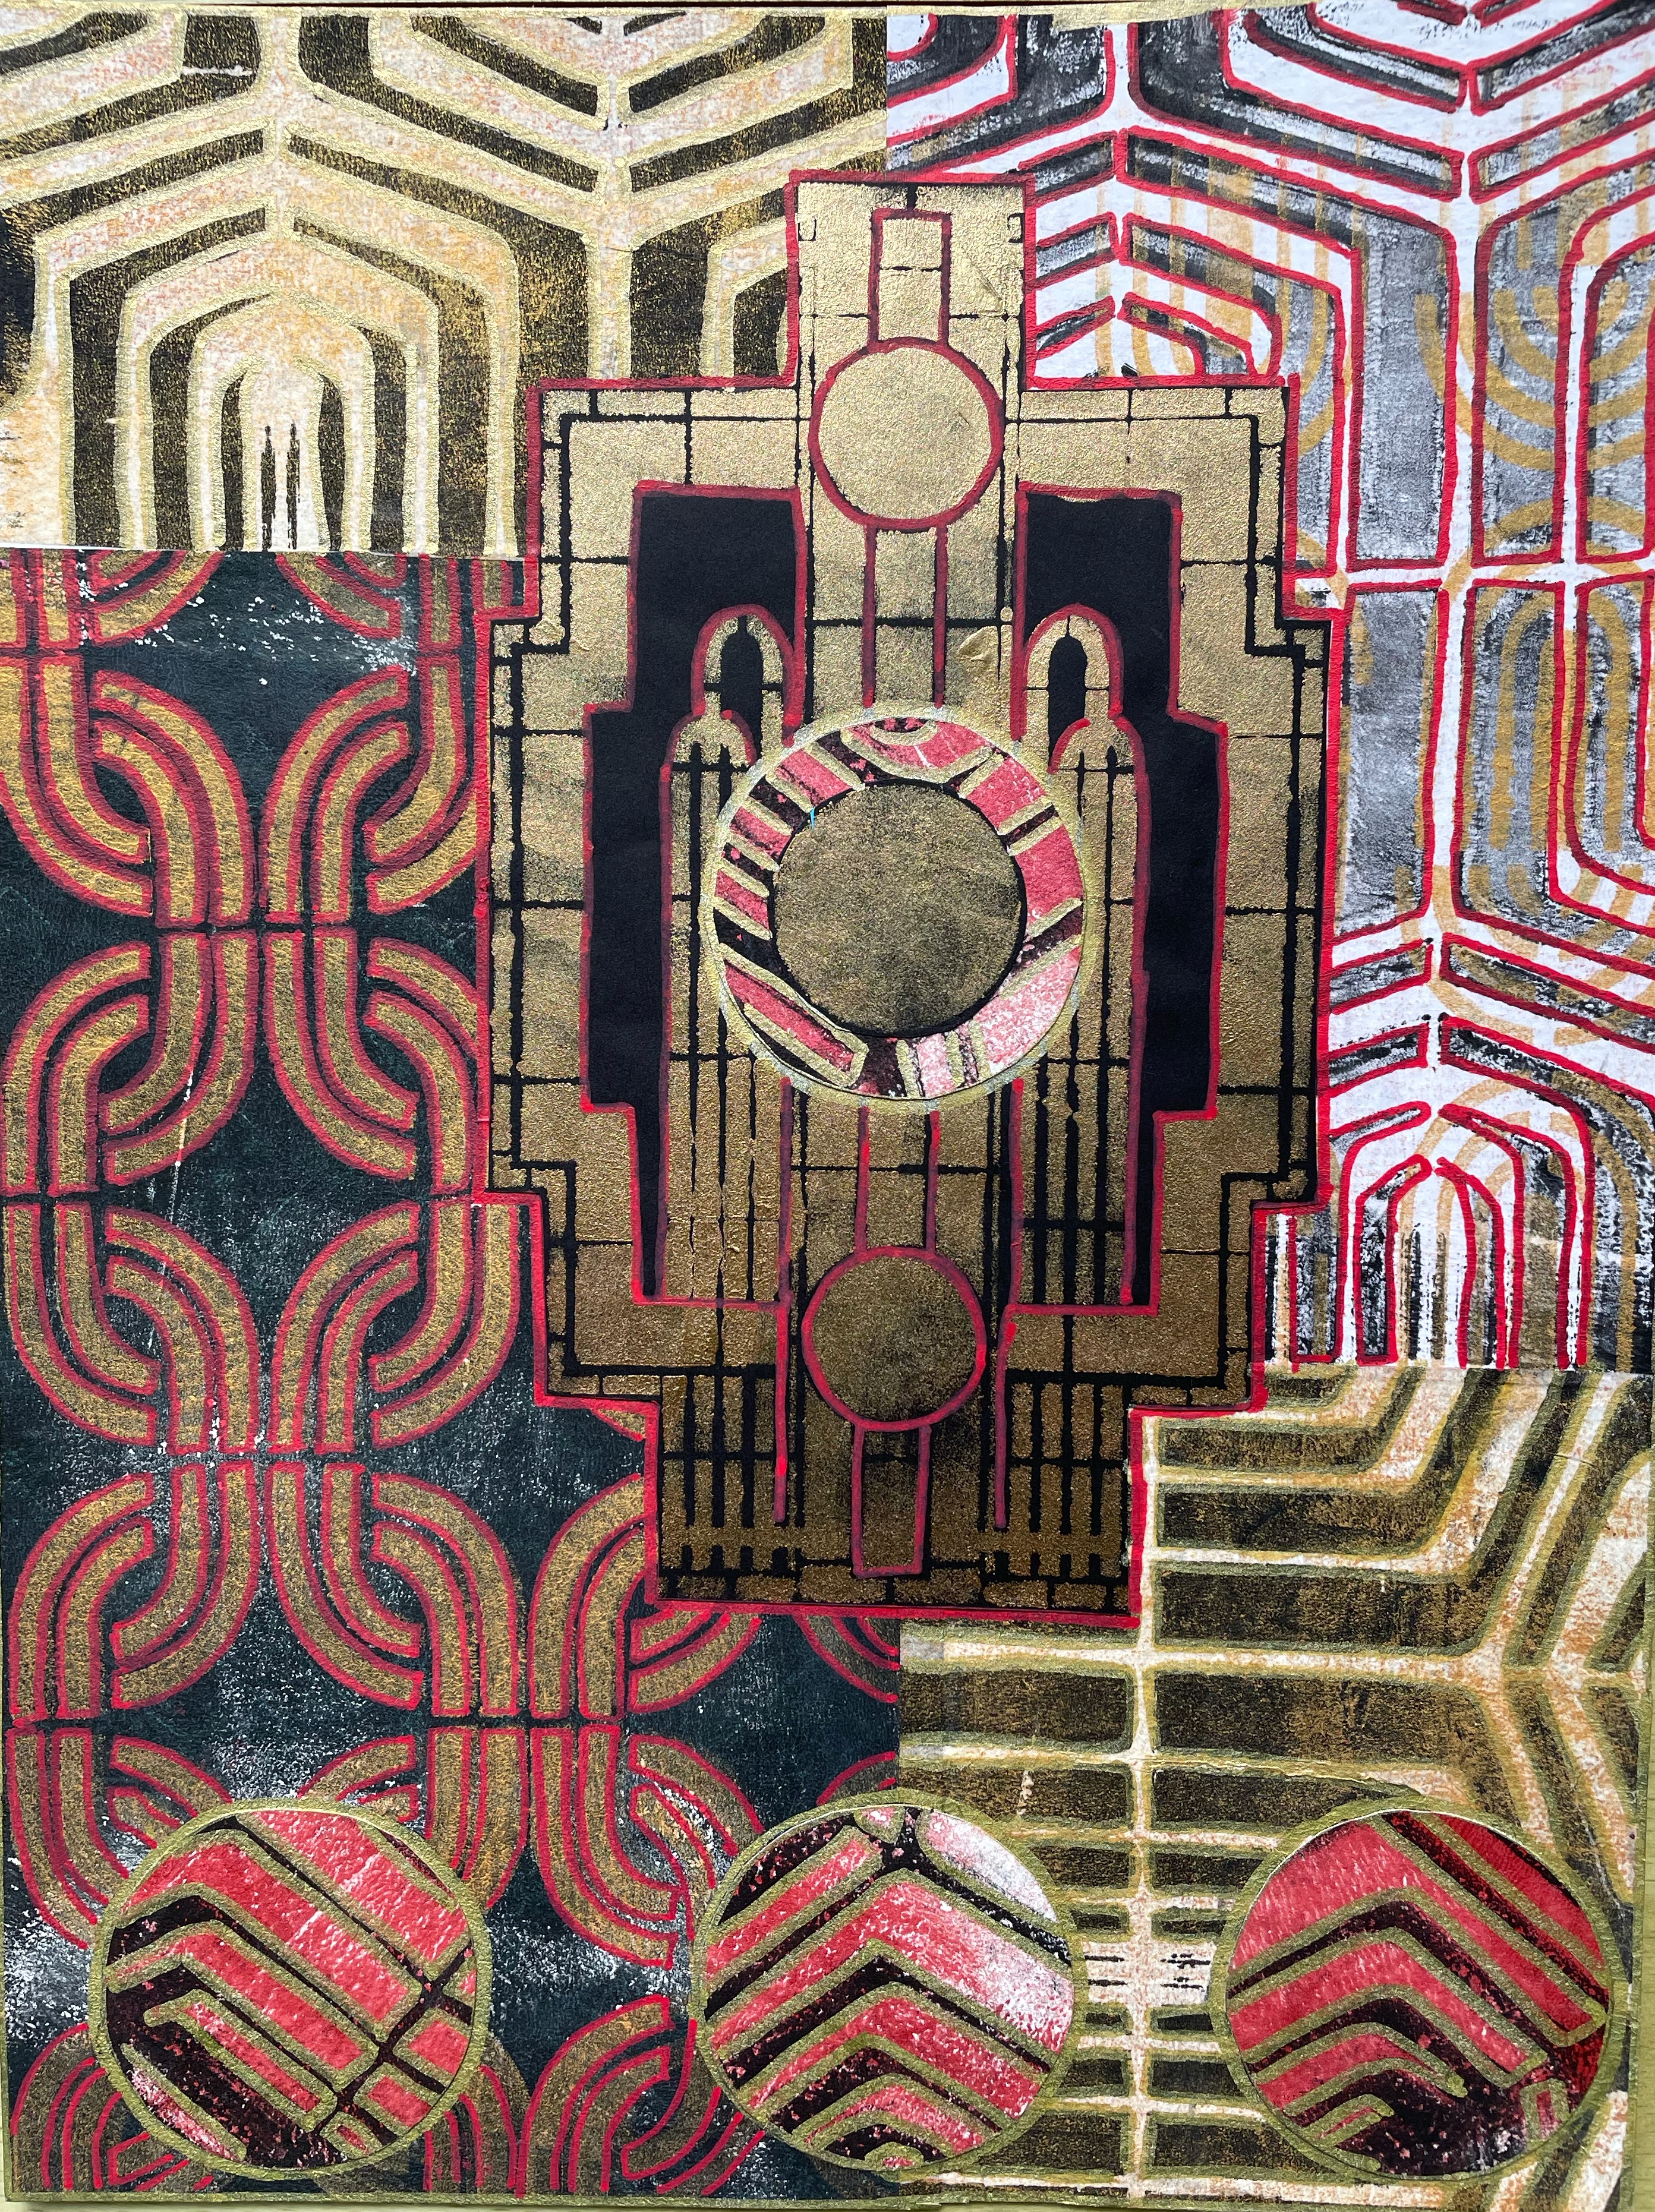
5. Make a choice from your, now quite large, selection of papers and add a first layer of collage to each of your 3 sheets. Sticking with the spirit of Mid-Century Modern design principles I used straight geometric forms for my collage pieces.


6. Using
stencils Art Deco Bookplates and Art Deco Borders stencil with bronze paint on black papers and with black
paint on gold papers to give you a good selection of images to play with. I
found the Art Deco designs worked wonderfully well with the Mid Century Modern.
7. Collage a second layer onto the papers from step 5, by cutting out shapes from the papers made in step 6 as well as adding circles in a variety of sizes cut from the papers you made in step 1, 2 and 3.


8. Using
gold, black and red paint markers (I used Posca ones) outline the shapes as
shown in the final pages.
9. Edge the pages with a gold marker.

© Frieda Oxenham 2022. To see more of Frieda's work, please visit her BLOG.
This comment has been removed by a blog administrator.
ReplyDeleteThis is an awesome post, Frieda! I have most of those stencils and I love what you did with them. Thanks!
ReplyDelete