
Hello everyone, Cynthia Silveri here with a quick stenciled Christmas themed artwork to use anyway you choose. Lately I’ve been smitten by spray paint and glitter, so I’ve incorporated both into this simple little project. I’m thankful to be back on the blog today to share this project with you and to wish you a happy Thanksgiving and soon, Buon Natale!
Materials:
Madonna and Child Stencil
Watercolor paper (or cardstock) if you want it to be able to stand up like a
card. I used a scrap piece of watercolor paper and painted over it.
IronLak spray paint in Arizona (sky blue), Liquorice (black) and Brain Freeze
(bright purple)
Krylon Looking Glass spray paint (you can use silver or white)
Pixie Spray removable adhesive
Black acrylic paint and sponge
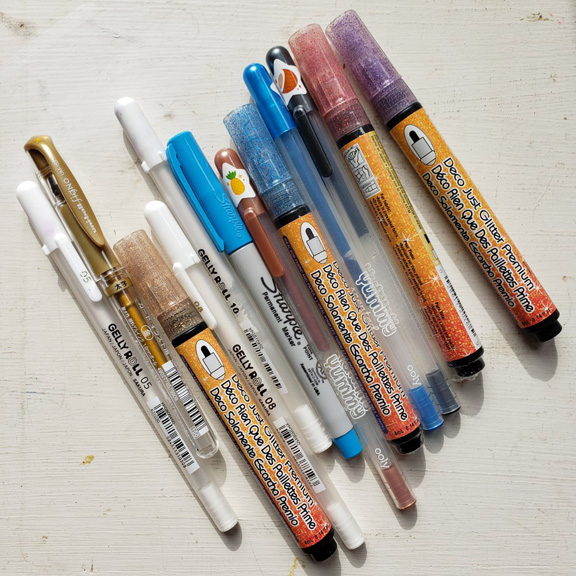
Gel pens by Sakura and Yummy
Just Glitter Markers by Marvy Uchida
Versa Clair Ink pads in Twilight, Monarch, Morning Mist
Water brush
Computer, printer
Matte medium or Mod Podge
1. I spray painted the scrap piece of watercolor paper with blue IronLak. On the back side (inside of the tent card) I used IronLak in Black (and some Purple because I ran out of black). Make sure to shake that paint can well and work outside or in a well-ventilated area. I tore the paper to size which gave it nice, organic edges.

2. I sprayed the stencil with Pixie Spray and placed the stencil on the card with room for the sentiment across the top. I masked out areas that were outside the stencil frame. Then I applied the Looking Glass spray paint over the stencil (you could use any white or silver spray paint; this was all I had!) and let it dry.

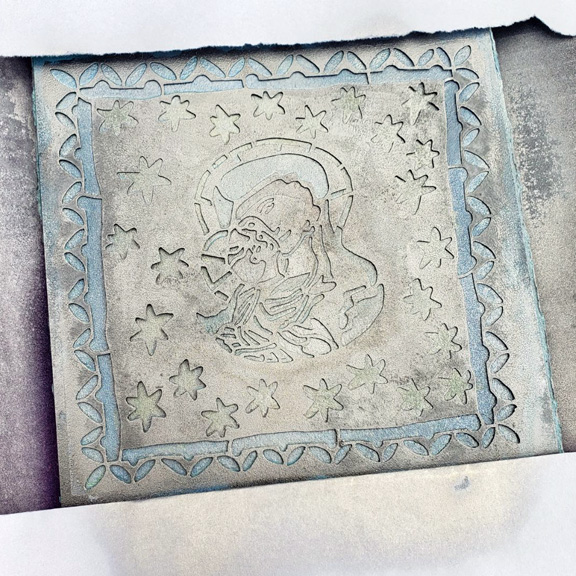
3. Then I removed, and replaced, the stencil in the same or nearly the same spot and using black acrylic paint and a sponge I applied it over the spray-painted image. You should have a little bit of a “ghost” effect where you can see some of the lighter paint peeking out from the edges of the black stenciled image.

4.
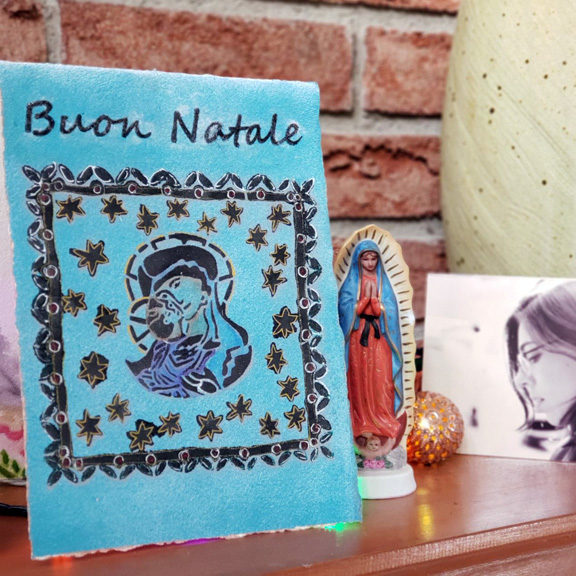
To do the image transfer of “Buon Natale”,
I typed out the words and modified them to print backwards (in Photoshop
use “edit,” then “transform,” then “flip horizontal”) in a size and font to fit
the 7” width of the paper. I printed it off on regular printer paper using a
laser printer. I trimmed the extra paper off around the words, then using matte
medium I brushed it over the printed side of the words and adhered it right
side down onto the project paper and burnished it with a spoon and left it to
dry completely. (You could stencil or stamp the sentiment if you don’t want to
try the image transfer.)
5. While the words were drying, I went back in with gel pens and glitter markers to embellish. I used gold for outlining the stars, white and green glitter pens to outline the leaves, a little bit of red in some circles I drew around the frame, dots and stars in white and gold, etc. (photo 5)
6. On the Madonna and child, I used some of the glitter pens to draw in between the stenciled image and then used a water brush to soften the lines thus adding a touch of color to the figures and helping them stand out from each other. I used blue on the Madonna, purple on the Christ child and reddish brown on the faces. I used gold on the halos.
7.
Once the words for the image transfer were
dry, I used a sponge to slightly dampen the paper and my fingers to gently rub
it off to reveal the words. It requires some patience and a light touch to get
a good image transfer using this method. In some places around the letters
where the paper was hard to get off, it dried leaving a slight white ghosting,
so I went back in with a blue marker that matched the background to minimize
that effect.
8. Finally, I used Versa Clair Fine ink pads to distress the edges of the paper. I also used a gold Just Glitter marker along the edges.

No comments:
Post a Comment
If you are entering a GIVEAWAY, please add your email address in the event we need to contact you.
To avoid SPAM, please write it like this:
marybeth (at) stencilgirltalk (dot com)
Thank You!