
Hi everyone, Carol Ponsford here again in this lovely month of December. I hope you and your
family have a wonderful holiday season however you celebrate. Today's project uses the December StencilClub set designed by the talented Rae Missigman. I love the versatility this set offers.
The shapes can be used to create so many different designs depending on how you arrange them
on your artwork. I have been in the market for a bag to hold my different black and white Posca
markers as I have several different sizes that I love using to make marks on journal pages and to
use on the gel plate. I have a bag I had created using the May 2020 StencilClub set
for my colored ones but needed a separate one for the black and white pens.
Well enough about that...on to the project.
The first thing I needed was a bag which I found at my local big box craft store. Since
they came in a grouping of 3, I still had 2 left from the first bag I did. I had painted the colored
Posca bag with gold gesso so I decided for my black and white ones I would use silver gesso.
I painted the entire bag with the silver gesso and let it dry completely.

This is the section I worked on first.

After the silver gesso was dry I started by using washi tape (you could use masking tape also)
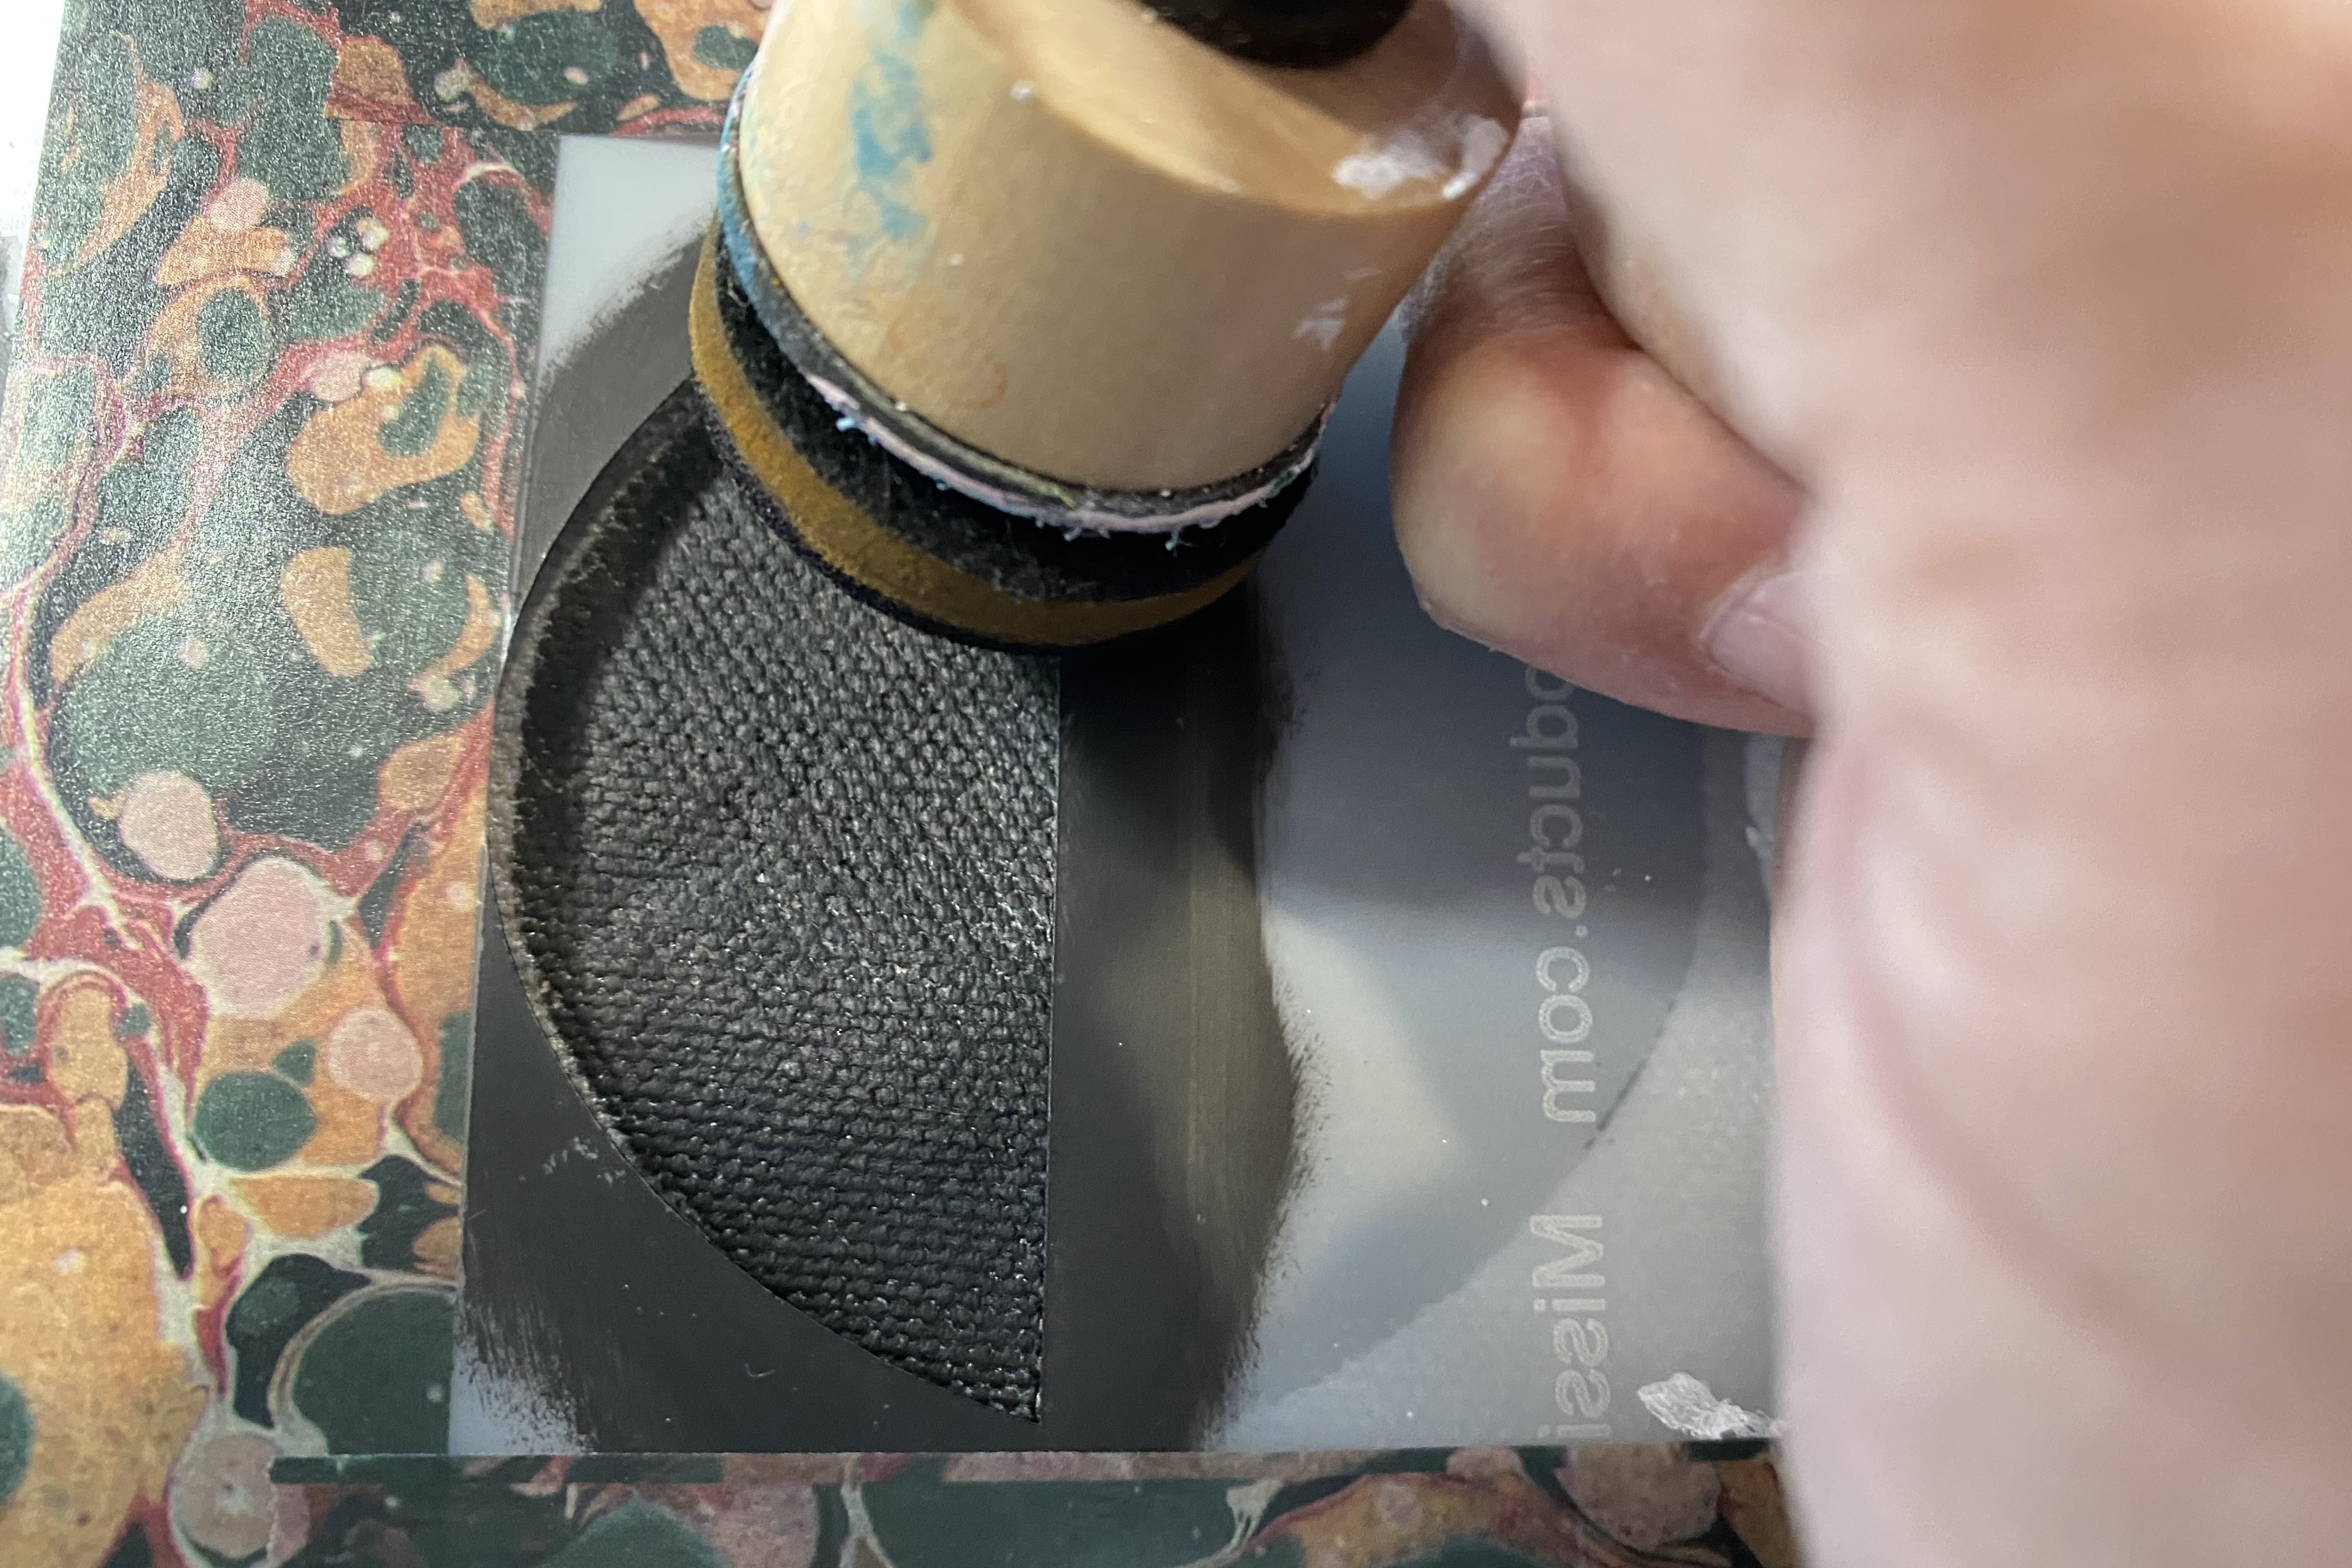
to block out the shape I wanted to paint. I began with the middle black shapes so that I could
align everything from the center out and with a sponge dabbed black gesso through the large shape
shown below, I then turned the stencil 180° and sponged the same pattern facing the other direction.
Then I did the same with the next area of masking off the shape I wanted, placing the stencil on the bag and using white gesso sponged in the area and rotated it to do the other side. Repeat this process until you have all the areas completed.
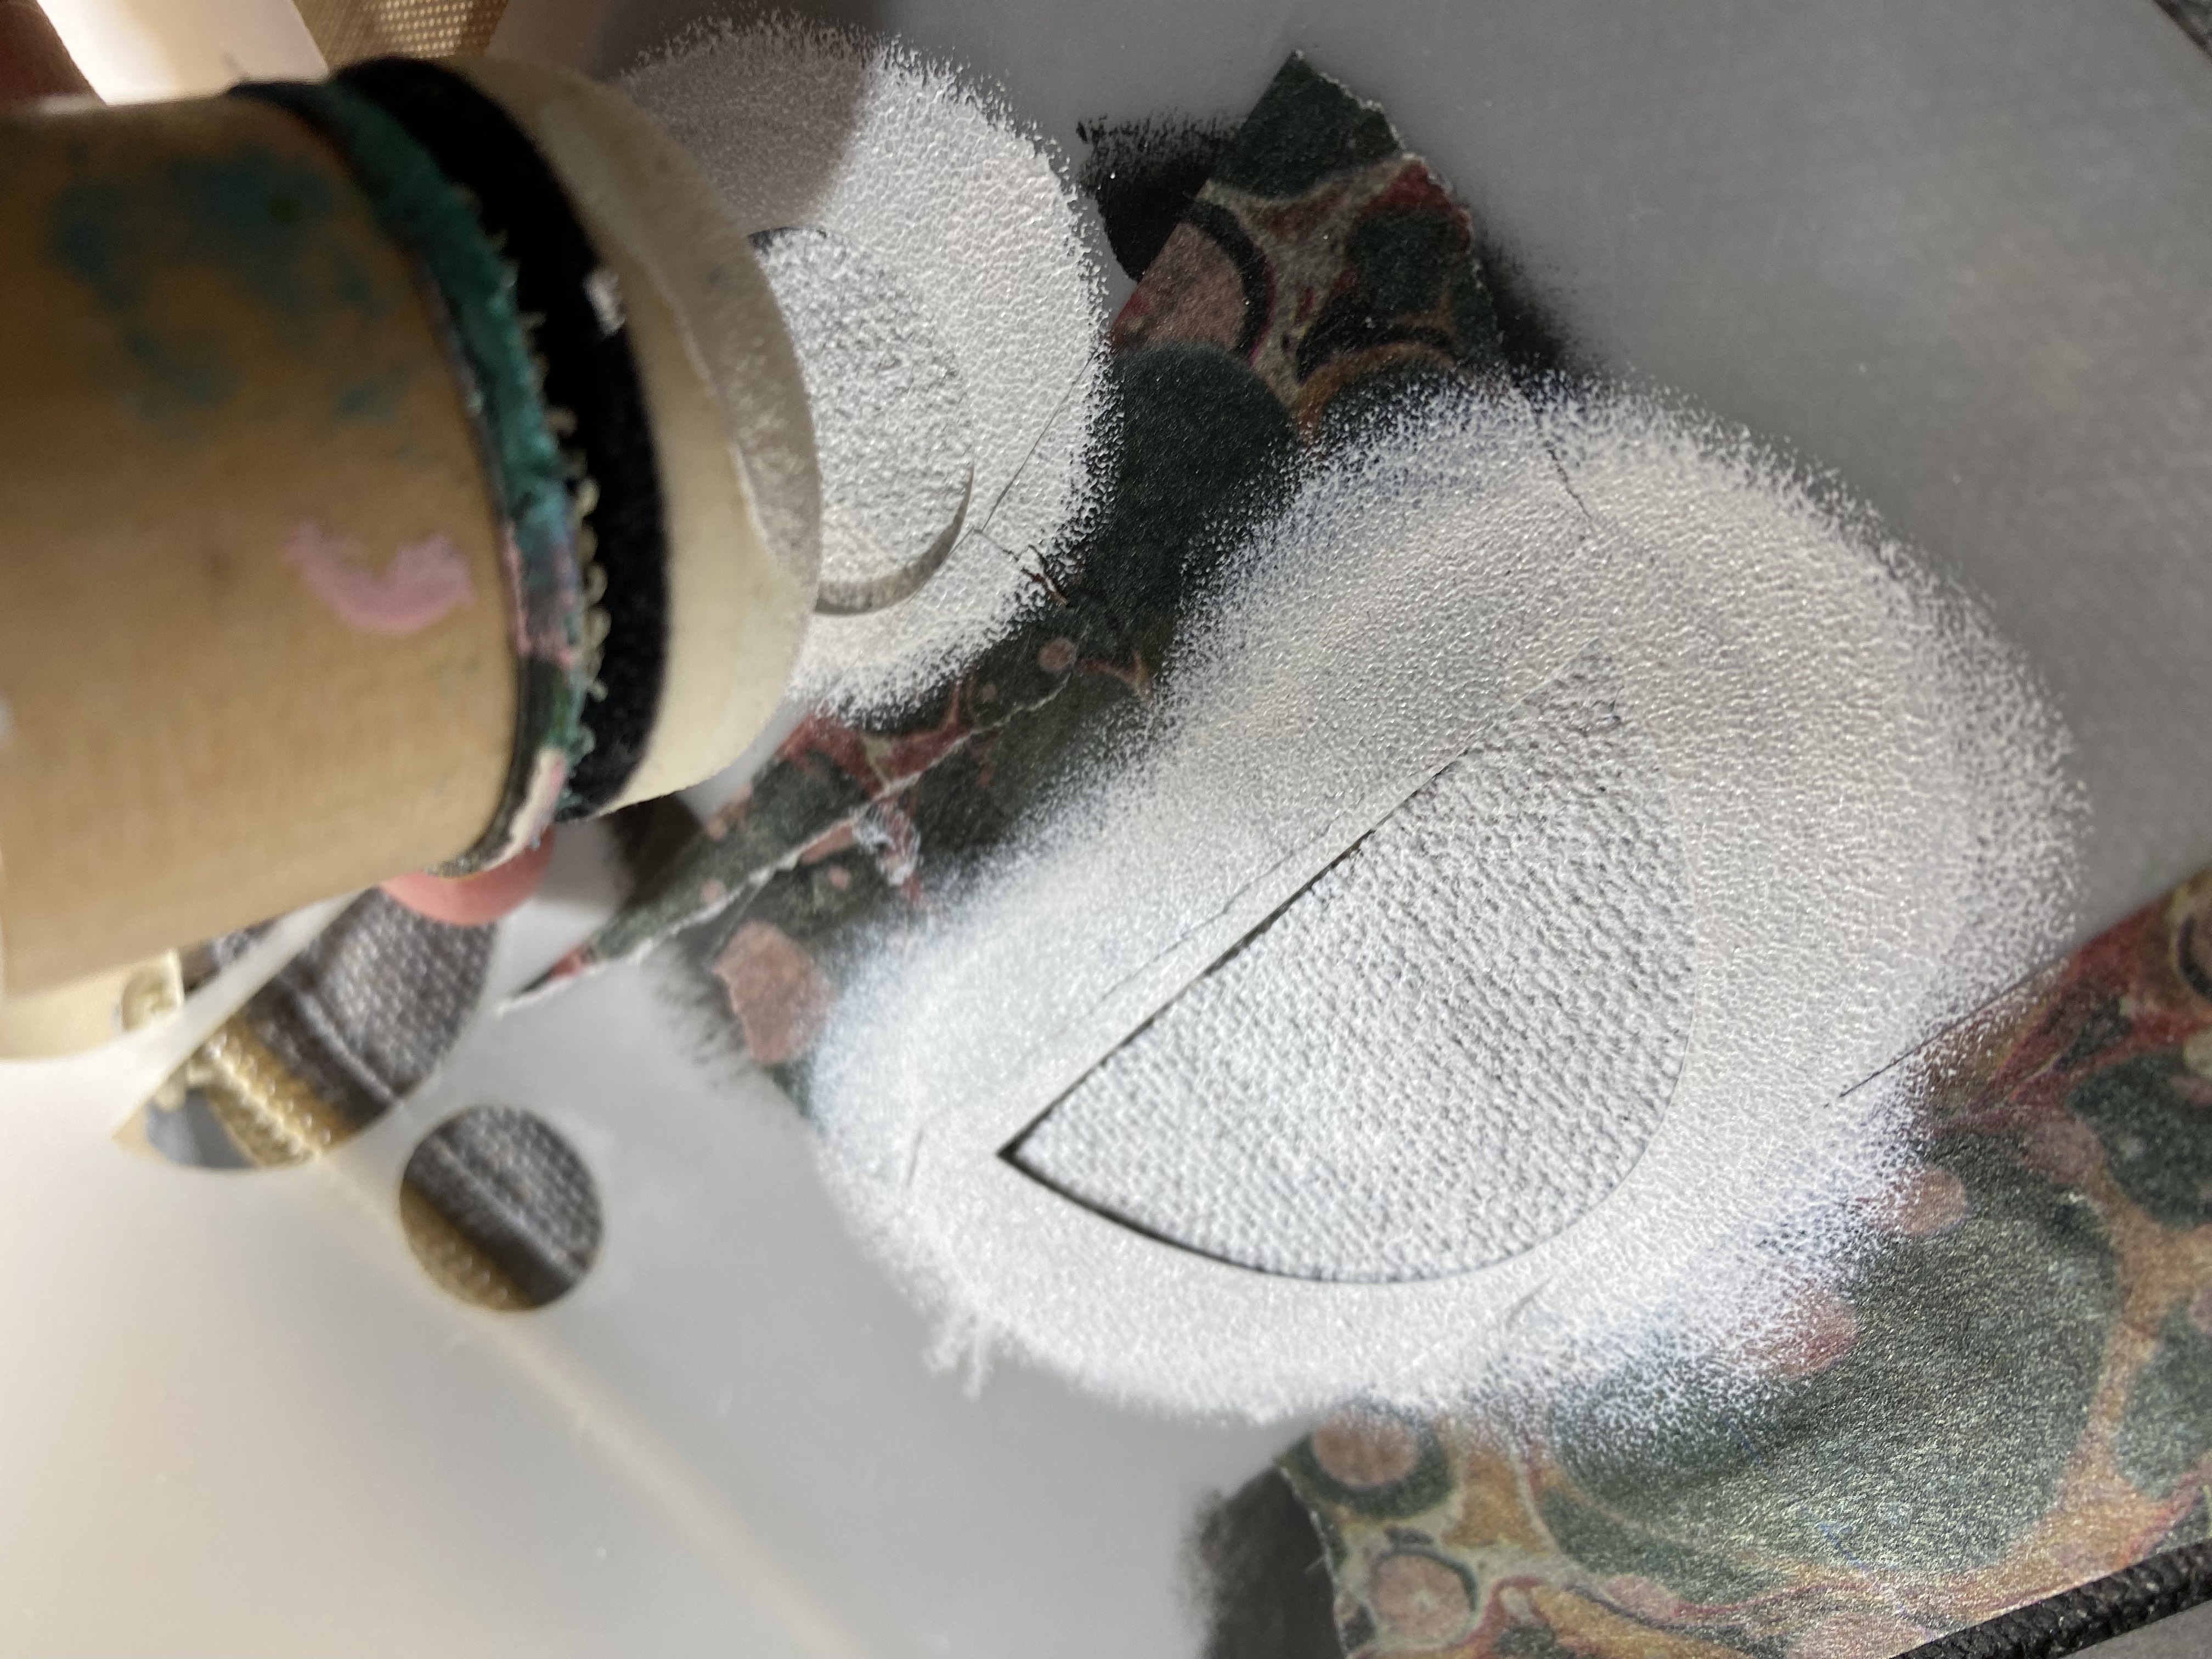
I used different parts of the stencils to fill in the open areas until I had the look
I wanted for the front side of the bag.

I wanted a different look for the back so I decided to use the hourglass shape. I don't show this
on the picture below but I did once again start in the center and work my way out to make
it easier to align the shapes. The placement shown is the last one I painted of this shape.

After I finished putting on the black hourglass shapes I wanted to add some white on this
side also so I used two different size circle shape to fill in some of the areas.

Below is a picture of the front and back at this stage.


The only thing left to do is to label the bag with the POSCA, B and W.
For this step I used..., you've got it, I used my black and white Posca markers.

Below I have a photo of the 2 stencils so that it might help you decipher
which areas I used of these stencils. Thanks to Rae for such a
wonderful StencilClub set that offers so much flexibility of design.


I hope you enjoyed this project and that you find many ways to incorporate stencils as a
whole or just using fragments of them in your artwork, the ways to do so are endless!
Join StencilClub by December 15 to receive these exclusive stencils and accompanying video
tutorial with PDF (both downloadable!), and 20% OFF STENCILS EVERY DAY!!
Happy Creating!

To see more of my work please visit my Instagram page.
Carol, you never cease to amaze me! This is lovely!
ReplyDeleteThank you Rae! This stencil is so fun to work with!
DeleteThis is so clever! Thank you for sharing how you used these awesome stencils!
ReplyDelete