
Hello! Nicole here, back having fun with lots of wonderful StencilGirl® stencils! It’s always hard for me to jump into creating after a busy season, especially after the holidays. My house is a mess, my studio is worse, and my head is full of things I should be doing other than making art in my studio.
The conundrum is that I want to create, but that energy is just zapped. One way I like to combat this is by spending time making collage sheets or background material for future creations. My hands get messy, my creative energies start waking up, and this leads to so much inspiration.
Since I’m trying to find my creativity, I stick with colors I know work for me, ones I use often in my work that aren’t going to squish my joy. There’s nothing worse than struggling with being creative, just to feel defeated in the end.
To get started, I grabbed a bunch of book and ledger pages. I like to choose ones that are a bit thicker and won’t rip as easily as I layer paint on them.

Next, I gessoed them very lightly with super watered-down gesso. I don’t want to cover up the text on the pages, but need the gesso to protect them. Besides looking cool and adding interest, the gesso adds some integrity to these older pages and seals them a bit so they aren’t as porous. This way all the paint, water, and ink I add will move freely on the pages.
Once the gesso was completely dry, I grabbed my stencils, paint and applicator to start playing. I like using a small gel plate as my palette. It keeps the paint wet longer and is a great surface for the applicator.

You can catch how I played on each page in the video below (or click here!):
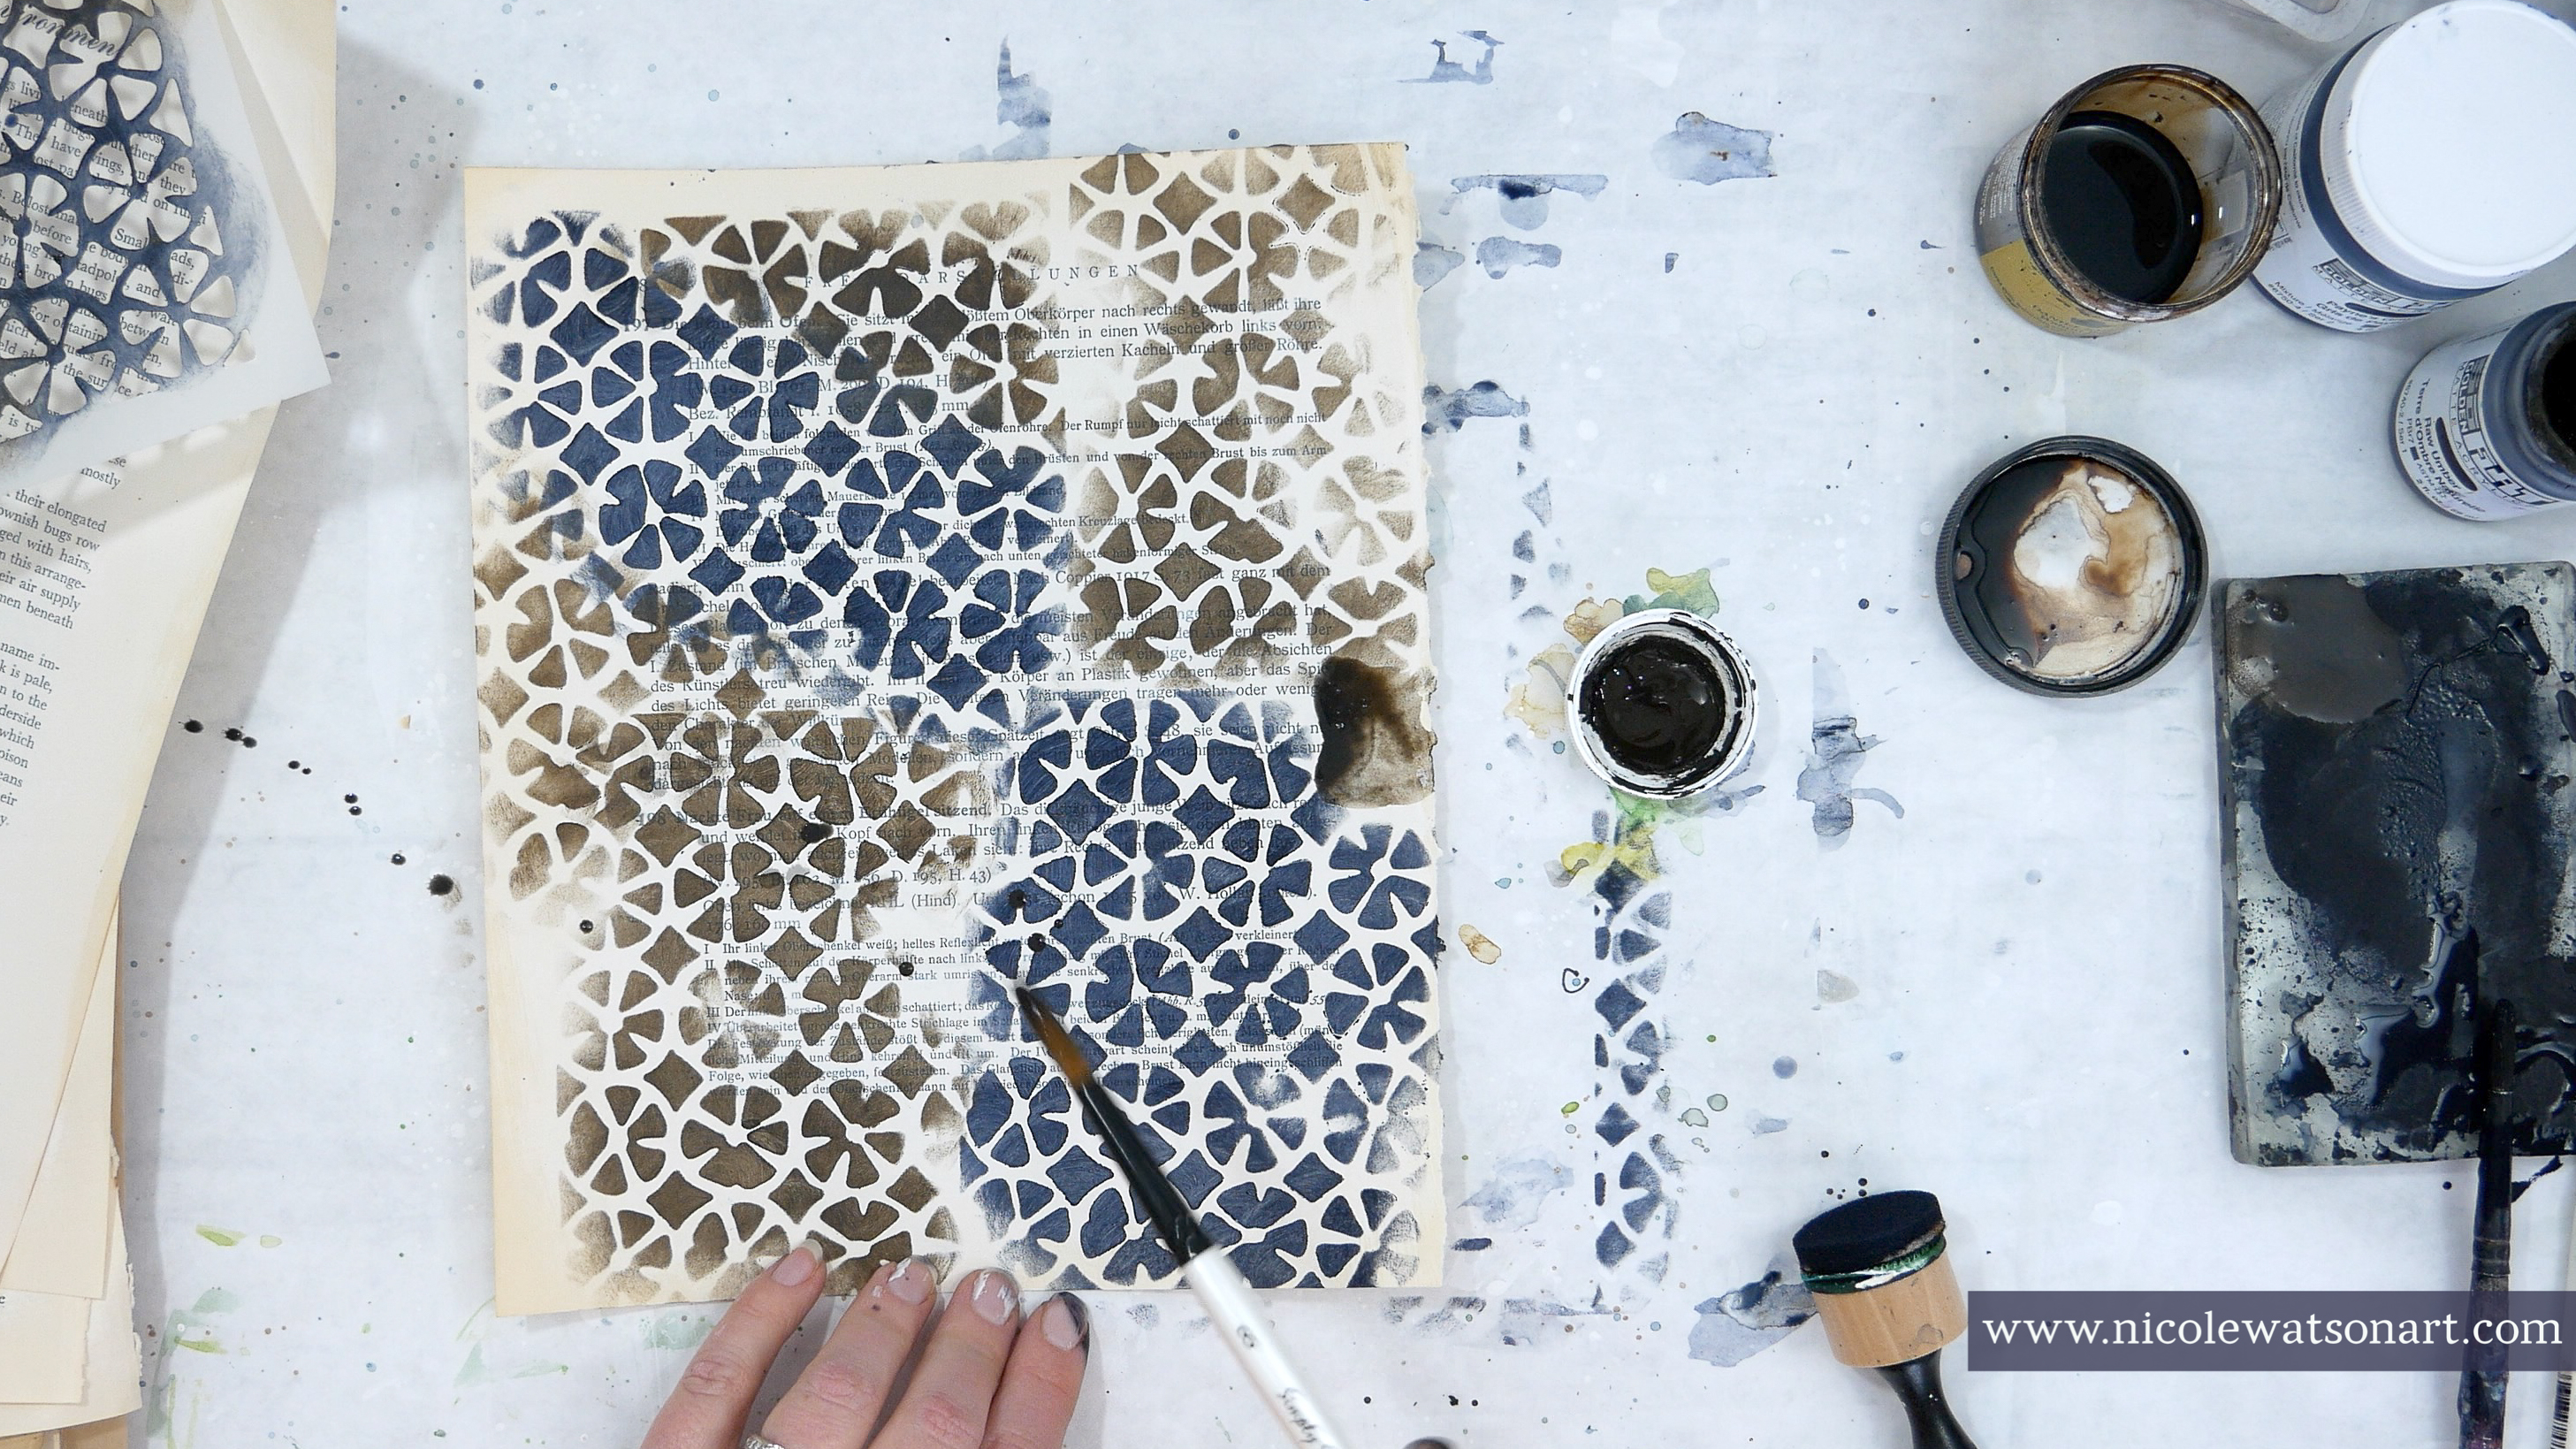
And, here are a few short and simple instructions. For each one the general rule is to use an applicator with paint through the stencil, add water + watered down paint, scruff up the stenciled image to distress it, sometimes add walnut ink, and use a hair dryer on the cool setting to move the paint around + help dry. Most important, however, is to have fun and be creative.

Page One: Payne’s gray through stencil, sprayed with water, added watered-down Payne’s gray, topped off with walnut ink spatters and watered-down walnut ink. Scruff up stenciled images a bit with a brush to remove paint/distress them. Use a hair dryer to move all the watery paint around, tip the page as well as it’s drying.


Page Two: Payne’s gray & raw umber through stencil (separately!), watery Payne’s and raw umber spread around then use a hair dryer to move all the watery paint around, tip the page while drying,


Page One: Same process as Blades Page One above. Also, when I sprayed the stenciled image with water, it left watermarks as I scruff up the image right away. For this one, I grabbed the pipette for some large walnut ink spatters.


Page Two: Similar to Blades Page Two above, however the larger stencil allows for blending of the Payne’s Gray and raw umber, which is a cool effect. Use the Payne’s Gray on about half the stencil and then use raw umber. Repeat with more Payne’s if needed.


Page One: Burnt umber through the stencil with watered-down Payne’s gray and burnt umber.


Page Two: The opposite of page one. On this one you can really see the effect of the water sprays.


Grunge Marks Collection – Symbol Grid Stencil

Page One: Payne’s gray through the stencil onto the ledger sheet. I chose this stencil so you could see more of the ledger writing and not cover it up. Lots of watery Payne’s gray and walnut ink. The Payne’s gray and walnut ink (or raw umber/burnt umber coming up) combine to form a really nice charcoal/black color.


Page Two: Instead of lining up the stencil perfect, I randomly placed it all over the page and stenciled lighter and darker with Payne’s gray.


Page One: Black through the stencil, but not stenciled perfectly, leaving some darker or lighter and some missing. Watery black paint and scruffing up. If you get too much paint, use another sheet to lift it up (and then use that sheet for page two!)


Page One: Very loosely trace the circles all over the page with a stabilo all (graphite), and then trace some with the black stabilo all. Activate the circles with walnut ink and dirty paint water.

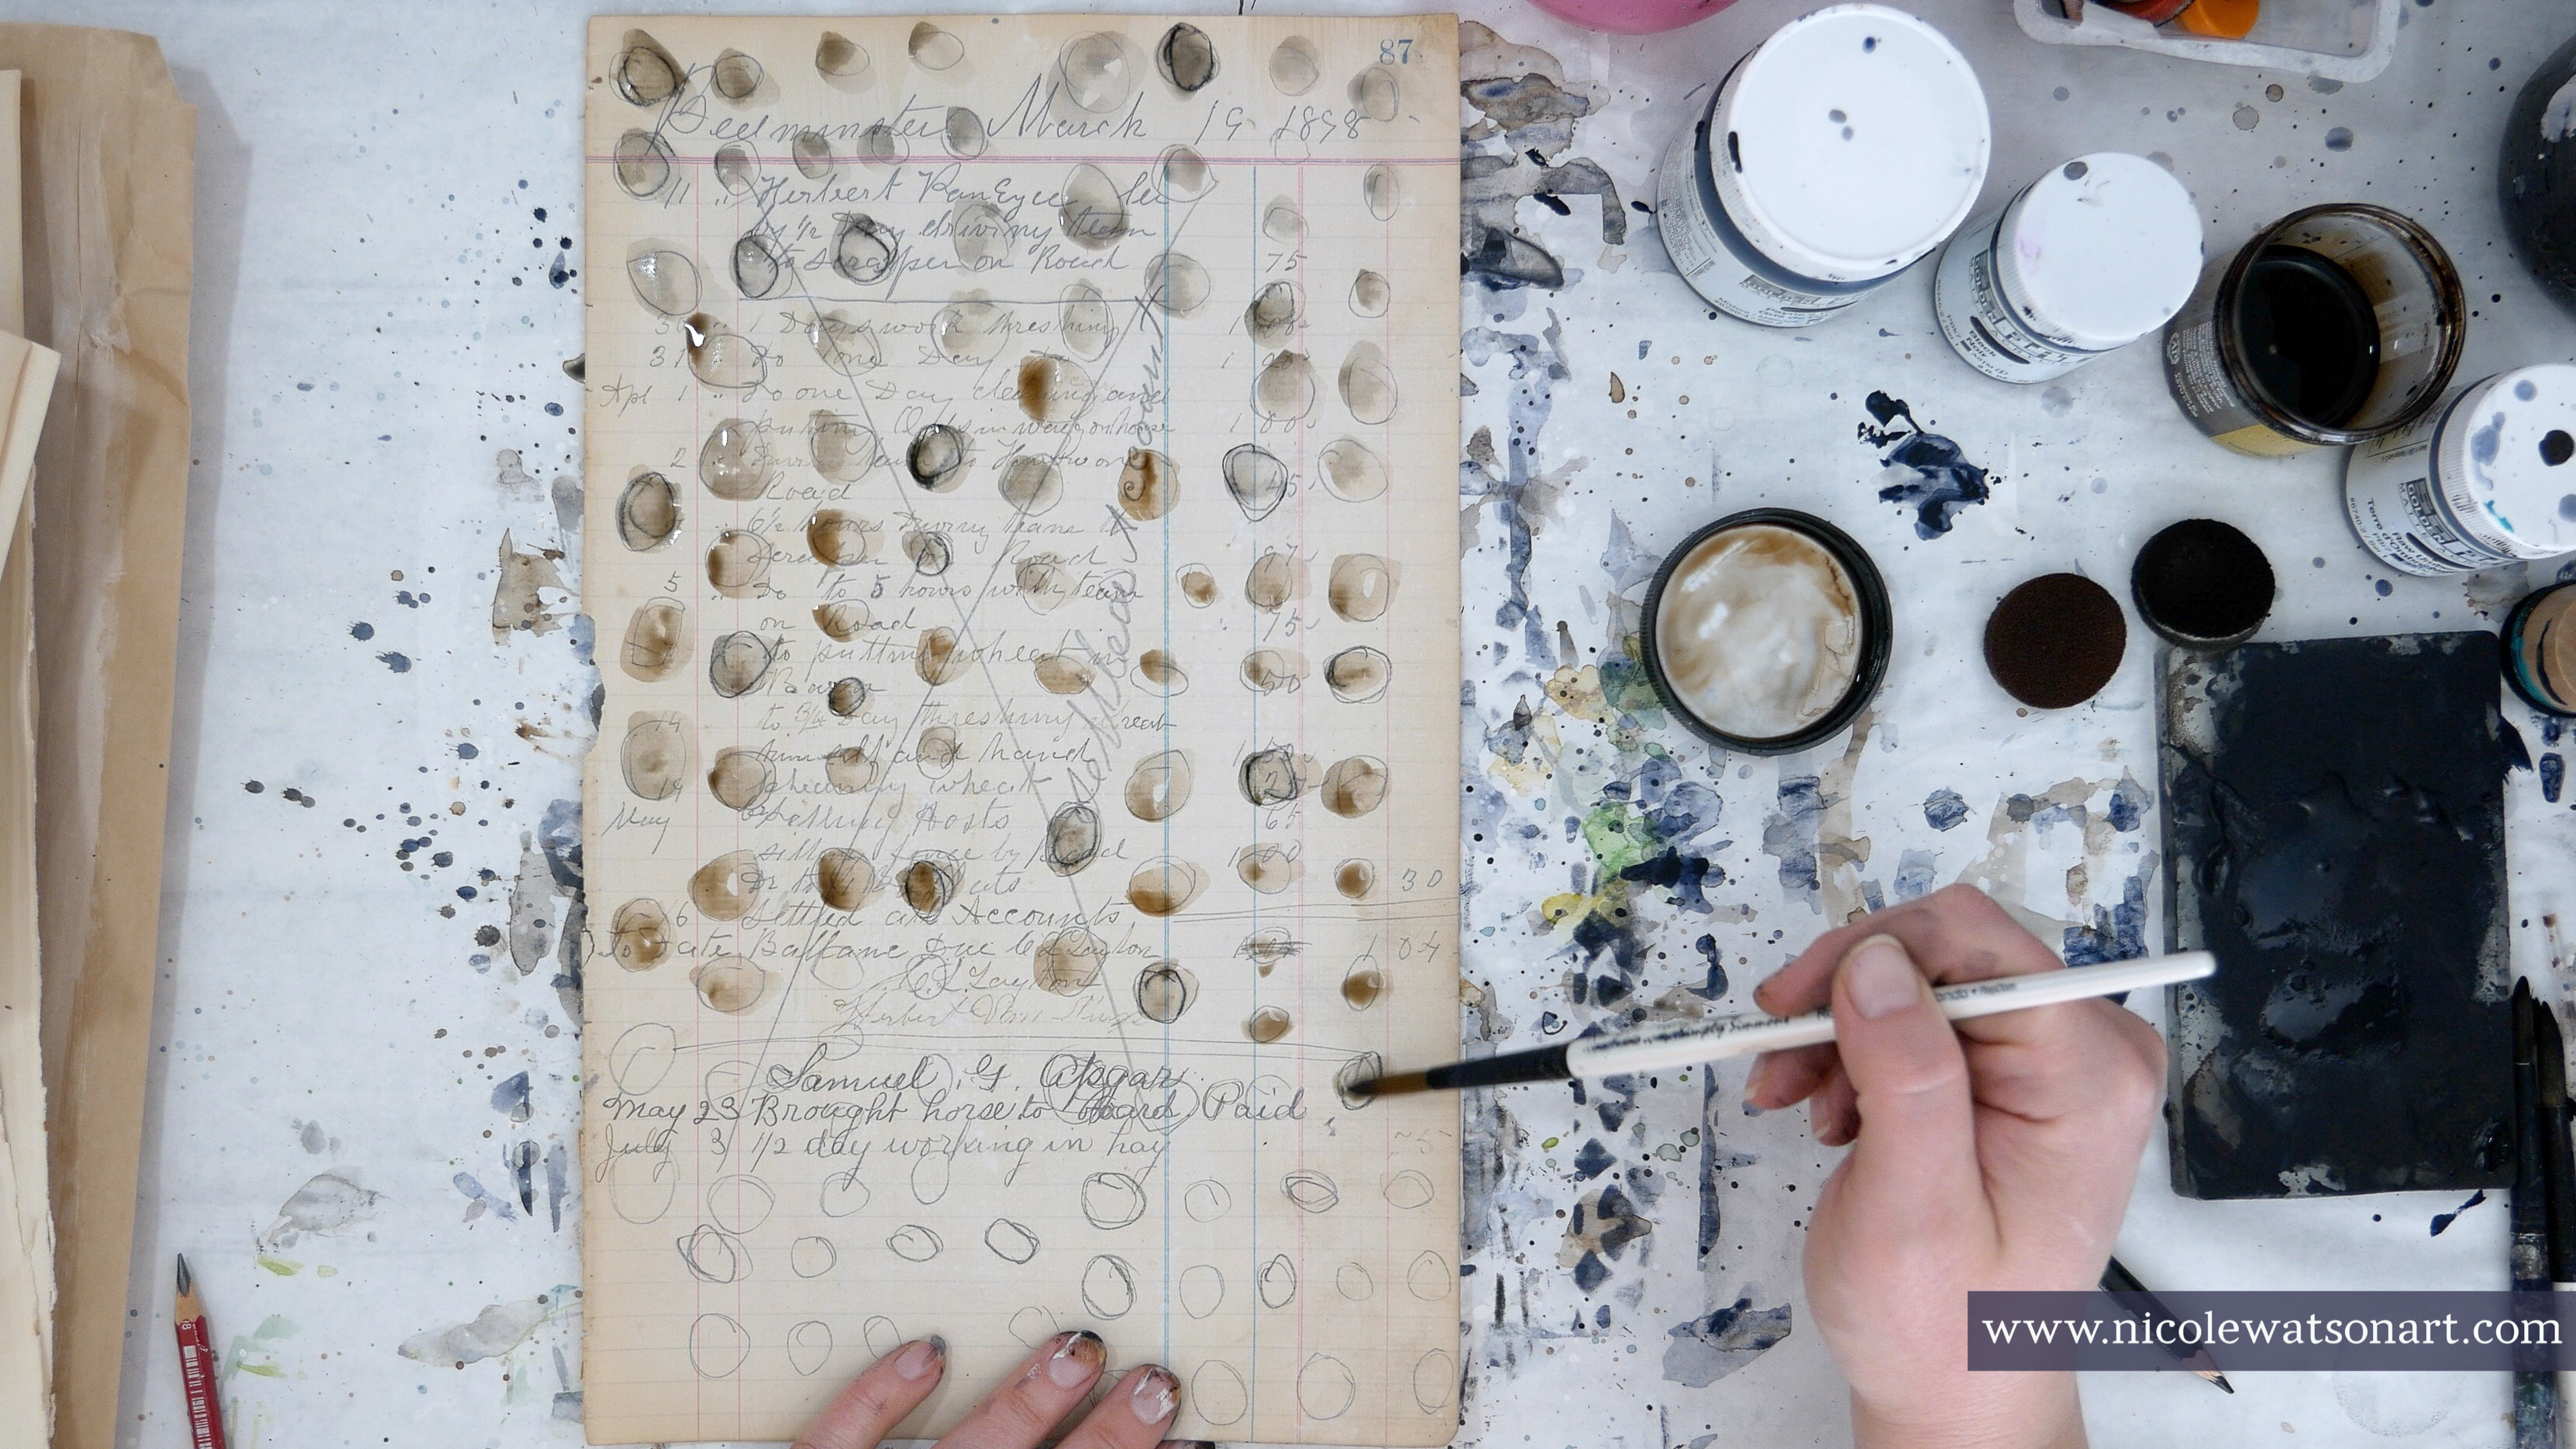
Page Two: Payne’s gray through the stencil and then loosely circle around the dots with the stabilo all graphite and a few with black. Activate with dirty paint water.


Page one and page two are the exact processes as our first pages using the blades stencil, but I used burnt umber instead.


I tried to have a variety of papers including shapes, sizes, types of images, lighter and darker, etc, so that if needed, I could use these all for the same project. I think they will make some fun pages for a junk journal or to use in upcoming challenges (such as ICAD).
See? I'm already thinking of what to create next and how to use these papers! Choosing some of my favorite colors and mediums and watching them mingle together while exploring new stencils reminded me of the magic of art.
Are you struggling to find your creativity, too? Grab a few colors, a bunch of stencils, and have fun playing!
-Nicole

Connect with me on

Stencils:
- Blades
- Batik
- Circle Tile 6
- Bittersweet Mini
- Broken Line Columns
- Grunge Marks Collection – Symbol Grid
- Ginko 6
Supplies:
- Gesso (white)
- Golden So Flat Acrylic Paint (Payne’s gray, burnt sienna, raw umber, black )
- Stabilo All (black and graphite)
- Walnut Ink & Pipette
- Foam applicators
- Old book & ledger pages
- Small gel plate
Thank you so much for the really great explanations, Nicole! You totally answered my question . . . "How did she do that?!!" Fabulous! And adding a few more stencils to My Wish List!
ReplyDeletethanks so much, Mary! I am glad the tutorial answered your question and added a few stencils to your wish list! (I did my job on both parts! haha!) - Nicole :)
DeleteGrunge DELUXE! Thanks for the inspiration.
ReplyDeletethanks!! you are so welcome! -Nicole
DeleteI am loving every one of these. Your color palette really resonates with me and I feel so inspired by every single page you created!!
ReplyDeletetruly an honor to inspire you, Seth! thank you!! I love your grunge marks stencil and adding the matching ones to my next order - Nicole :)
Delete