Just like last
year and years before I am once again participating in #the100dayproject. I
enjoyed the project so much last year that I am continuing with it this year
with slightly different guidelines. I am still making collages but on slightly
larger cards; A5 (5.82 x 8.26” instead of 5 x 7”) and this year all my cards
will have a circular theme. My cards last year were already going in that direction,
and I decided to go with it completely this year, and the paper I’m using is
painted/printed entirely by me (although some vintage paper managed to sneak in
here and there).
Most papers are left
over from previous projects and you may recognize them from my previous monthly
projects for StencilGirl® Products, but as I wanted to share here I also made
some new stock.
Remember as you’re
making these that you’re not aiming at a finished print here, merely at making
as many pages as possible to tear or cut up and use in collages, so don’t fret
about them but simply enjoy the making process. You will need a gelli plate (I
used an 8 x 10” one), cheap copy paper as well as sheets of deli paper
Here is the
tutorial:
1. Using 2 different colours of acrylic paint (I use a mix of different brands but like Amsterdam Standard a lot for its wide range of colours), brayer them onto your plate and take a print. Without cleaning your plate add more colours and keep taking prints.

I clean my brayer between colours by brayering it over a spare sheet and those sheets are added to my stack of prints once they are completely covered.

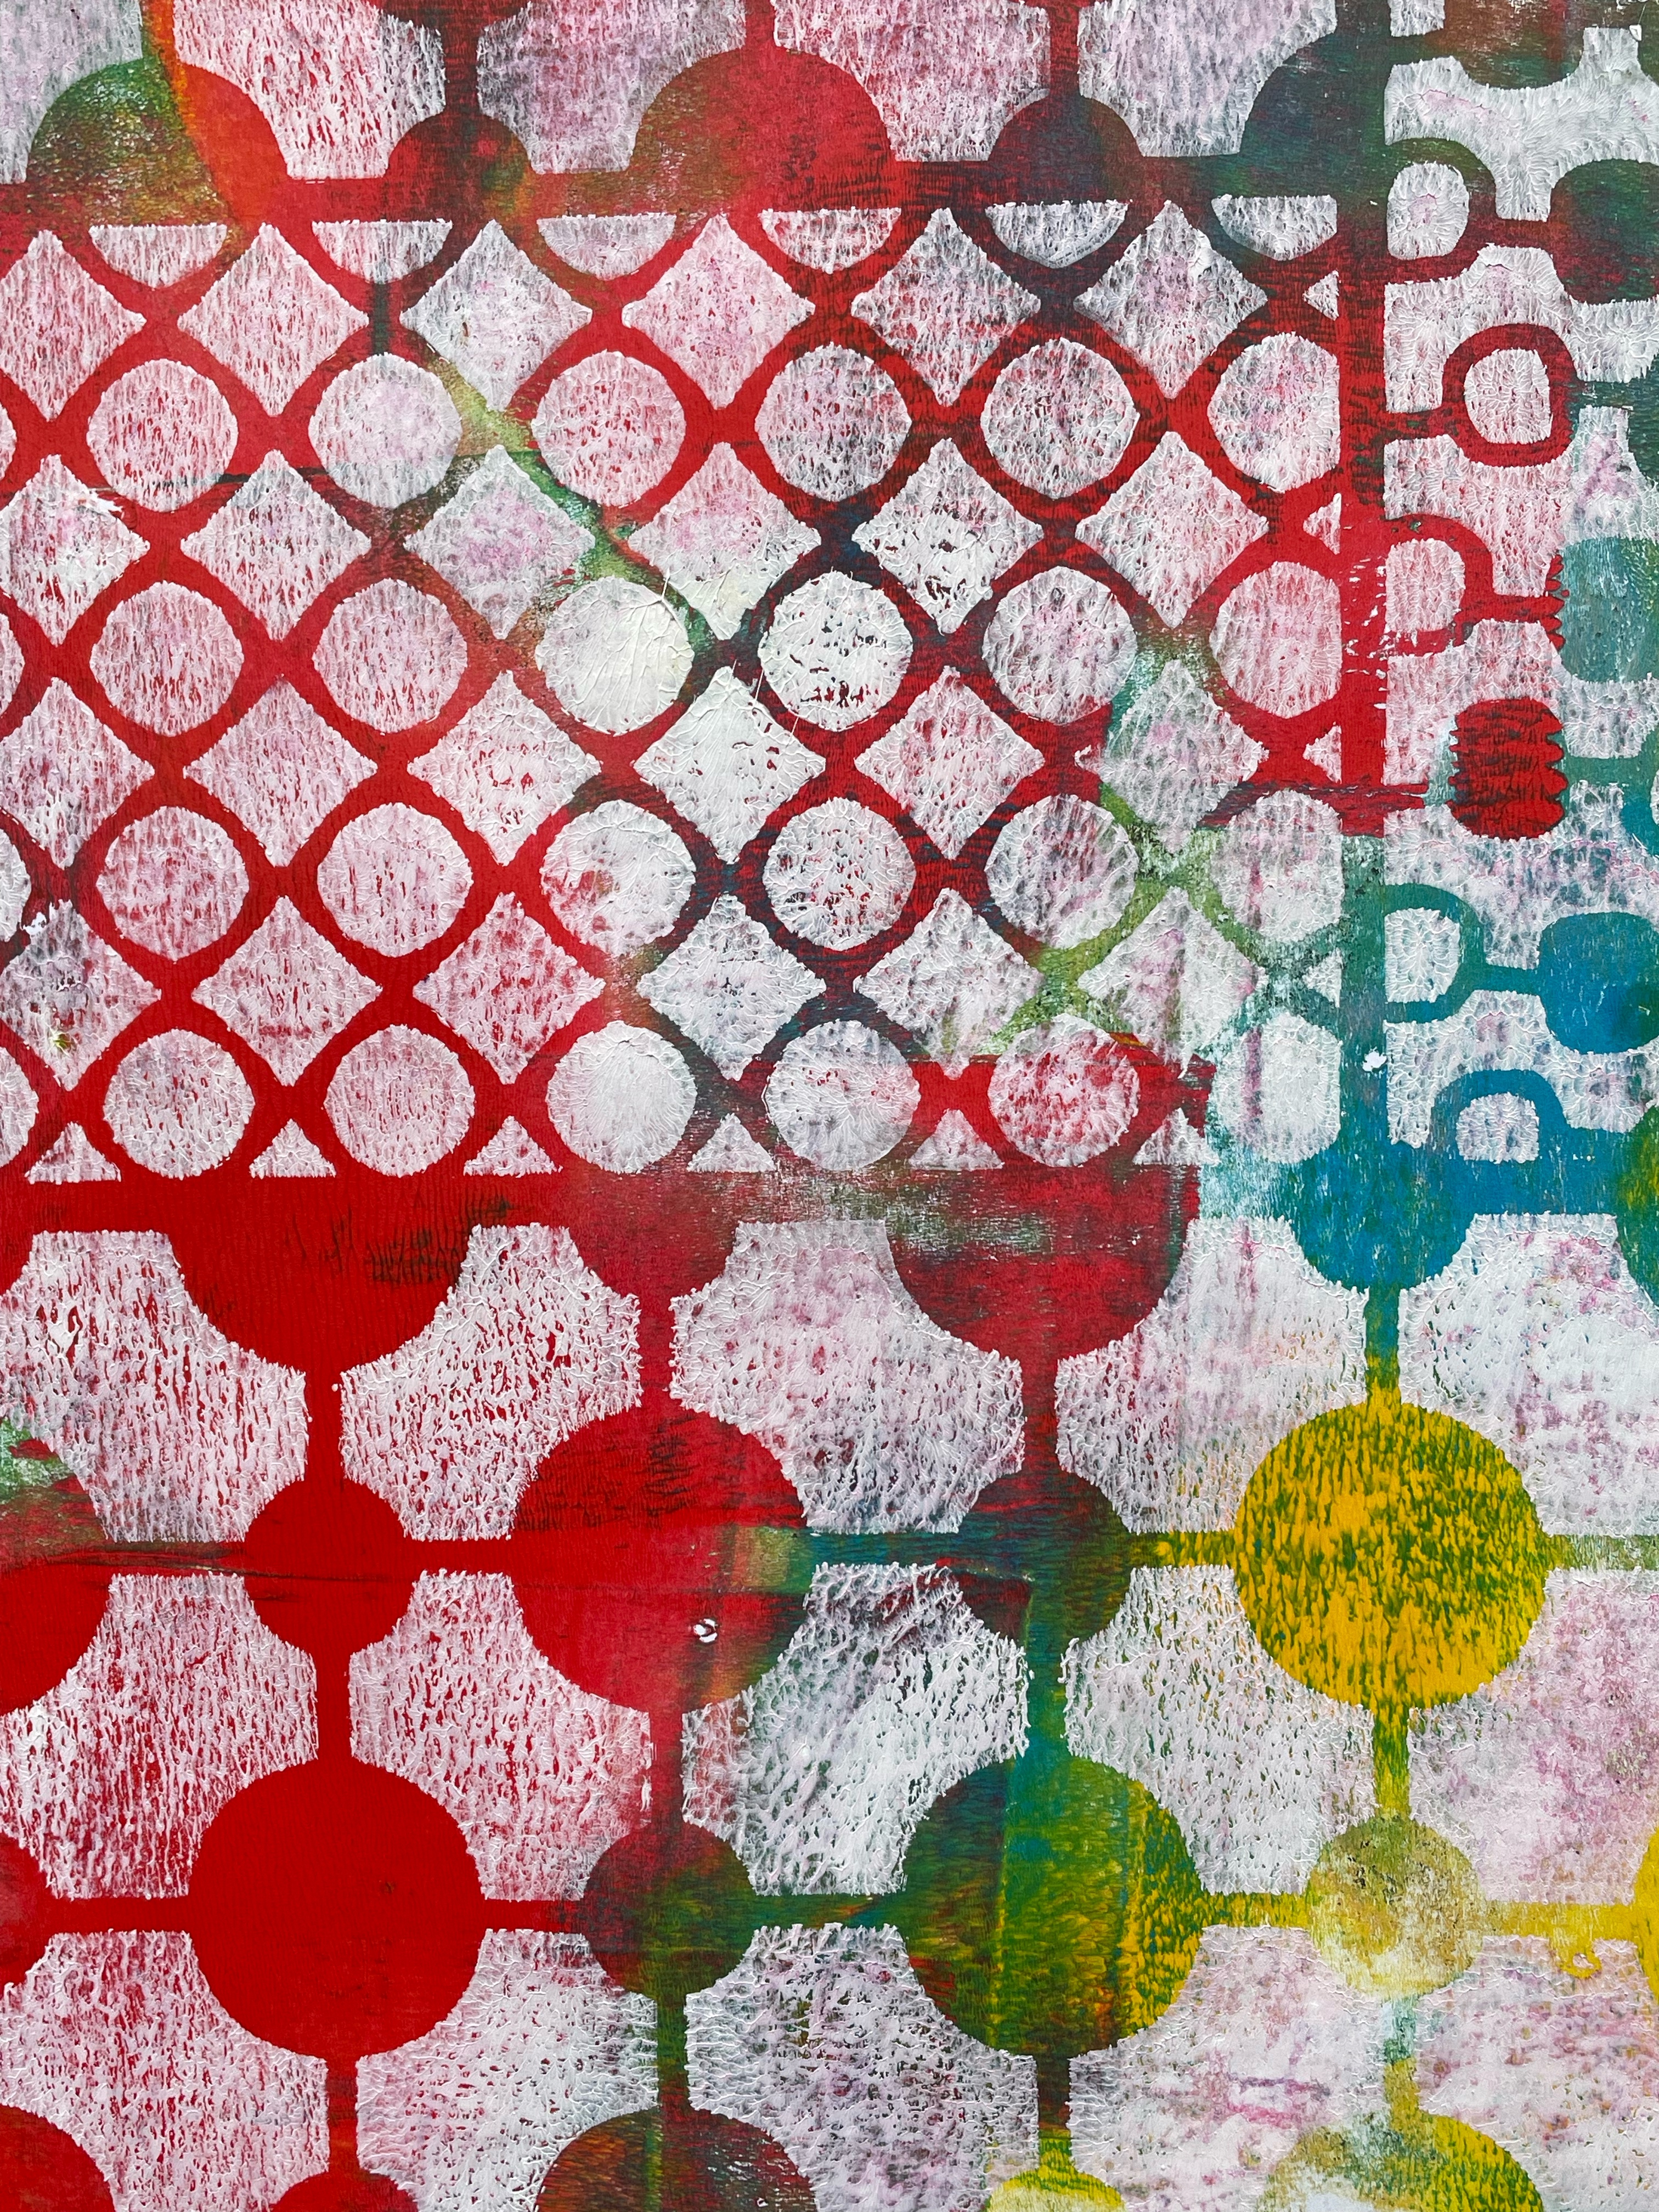
2. Once you have quite a lot of papers, start adding only one colour to our plate, put a stencil on top and take prints. Then take the stencil away (add to a spare sheet and brayer) and take a print of the paint remaining on the plate. I used the following stencils for this: L301 Circles, Circles, not part of the plan but it was still on my work desk from last month’s project and I could not resist as it’s one of my most favourite stencils and it features circles.


I also used stencil L411 Circular Patterns for Play, L914 Magic Garden Mask , L919 Grate Ful, and L818 MB & CM Patterns.


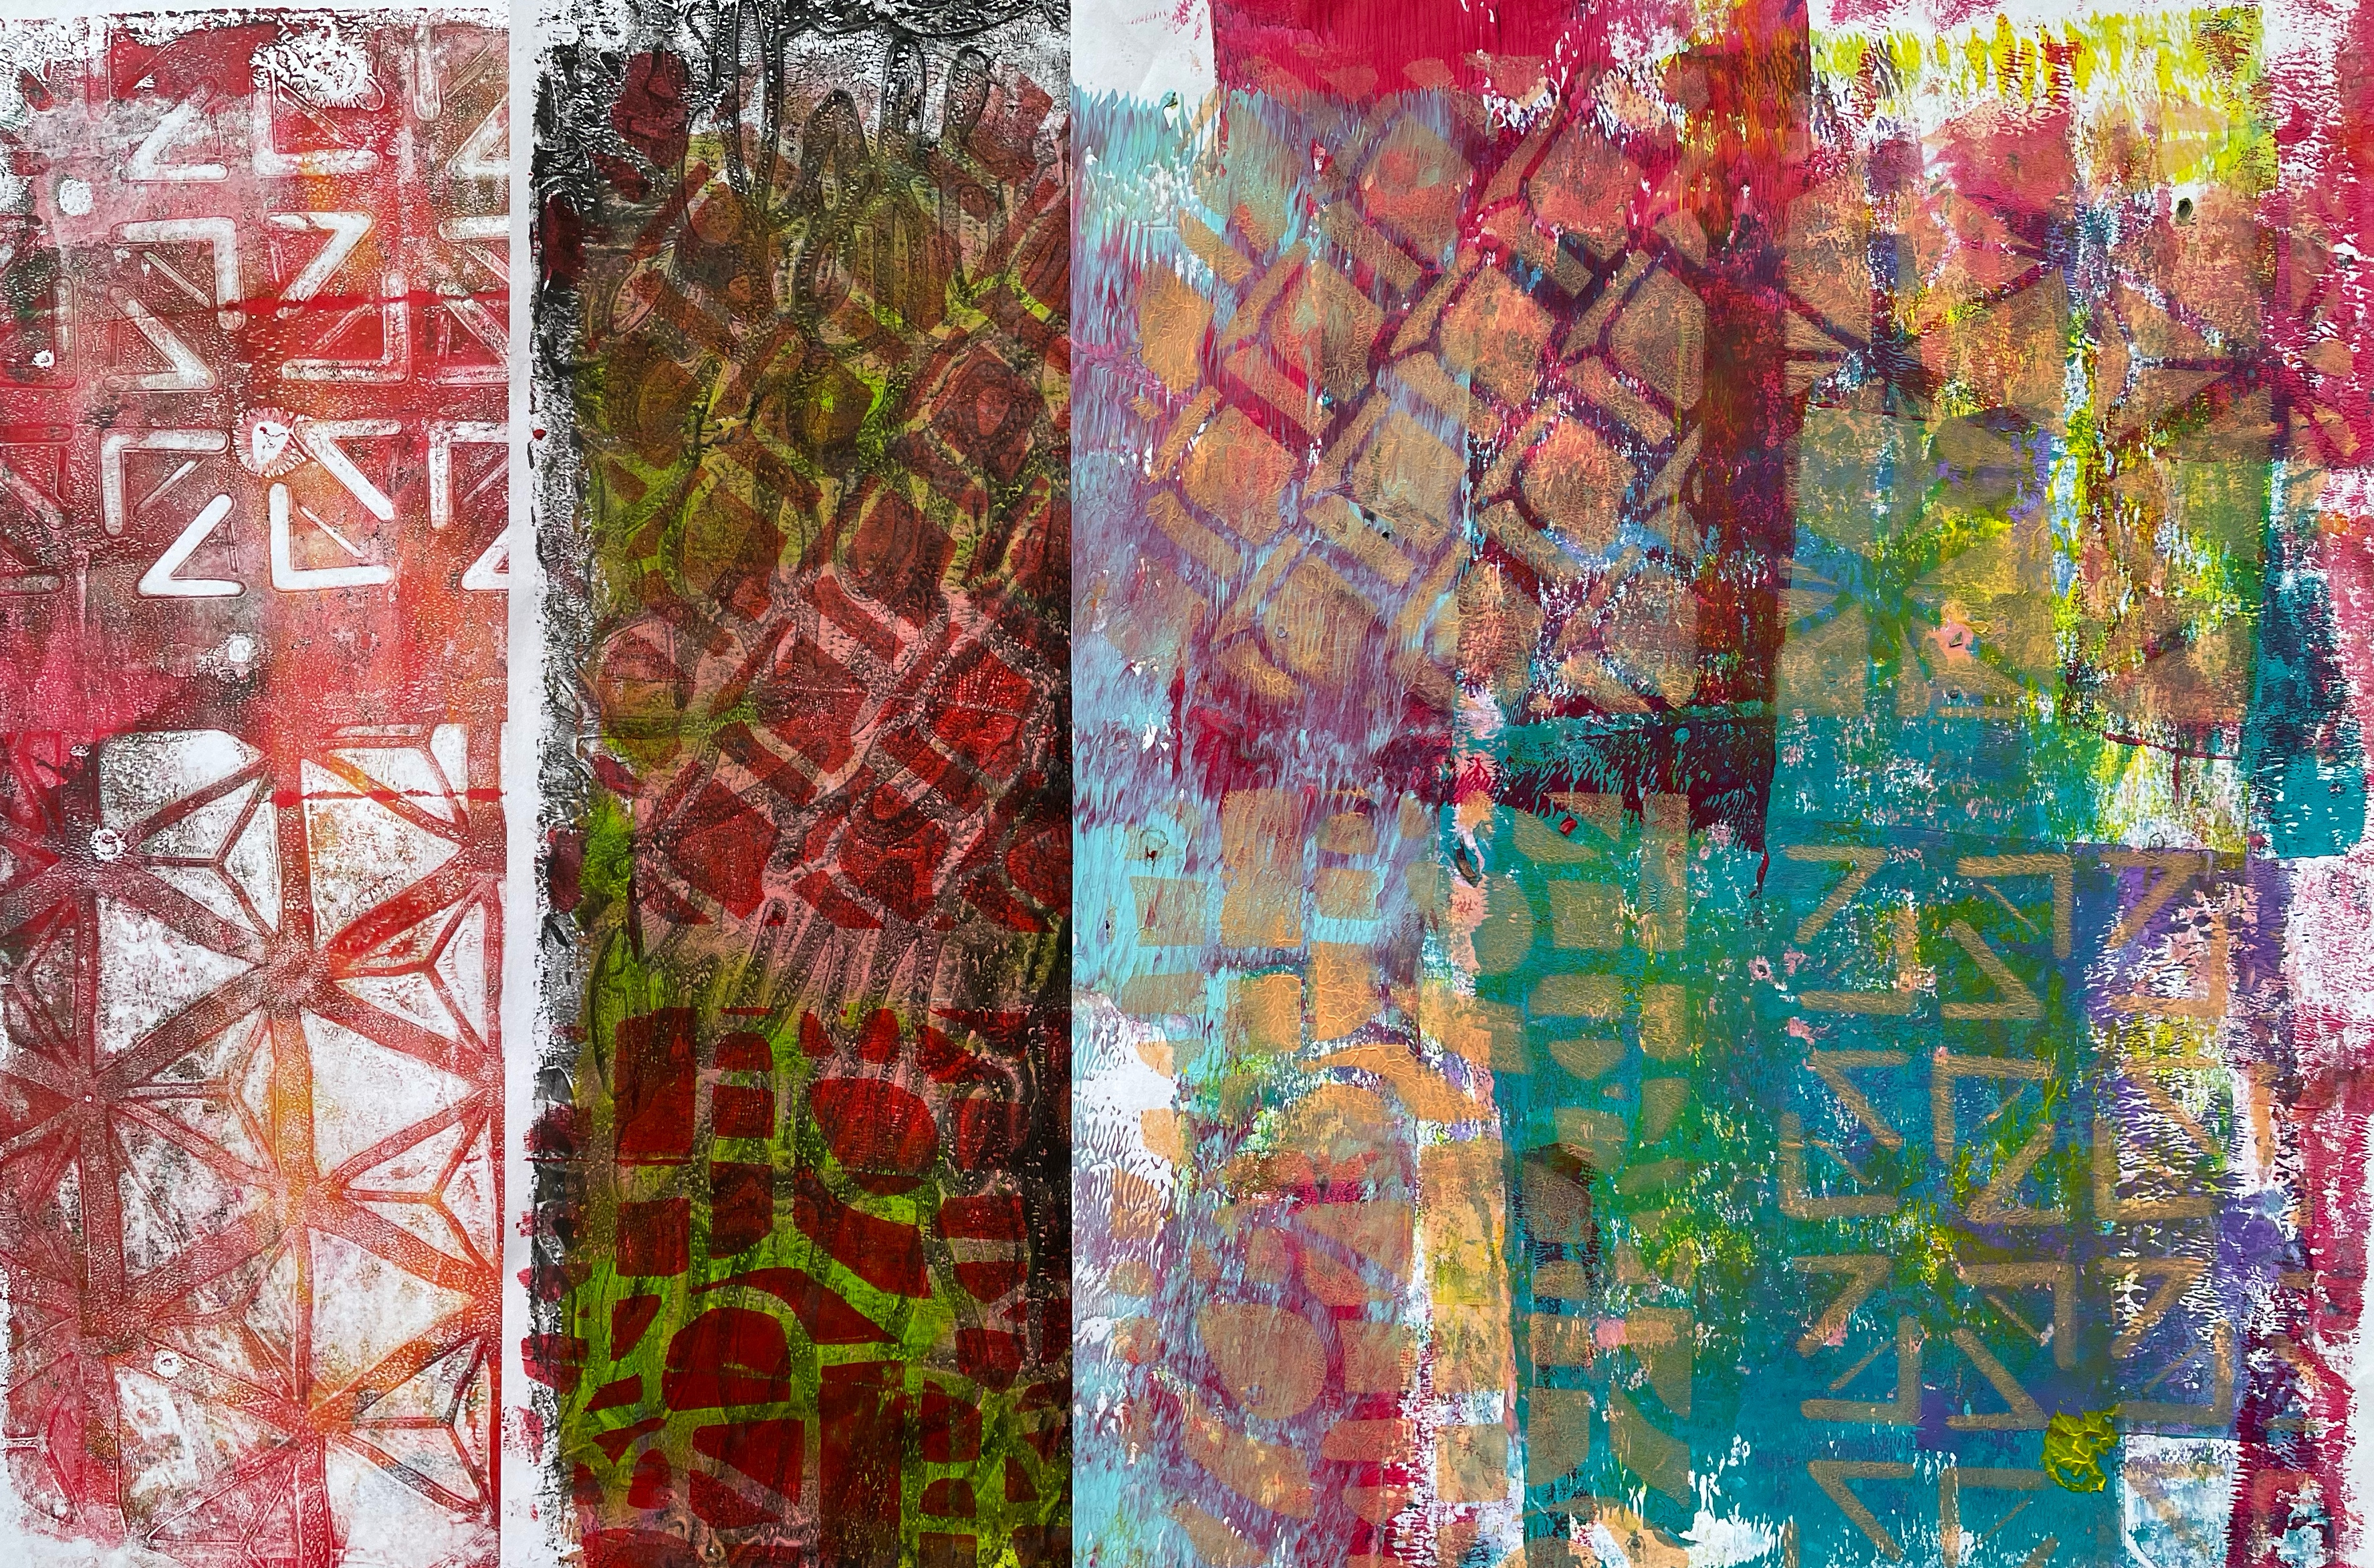
Here are some more images of individual painted sheets:

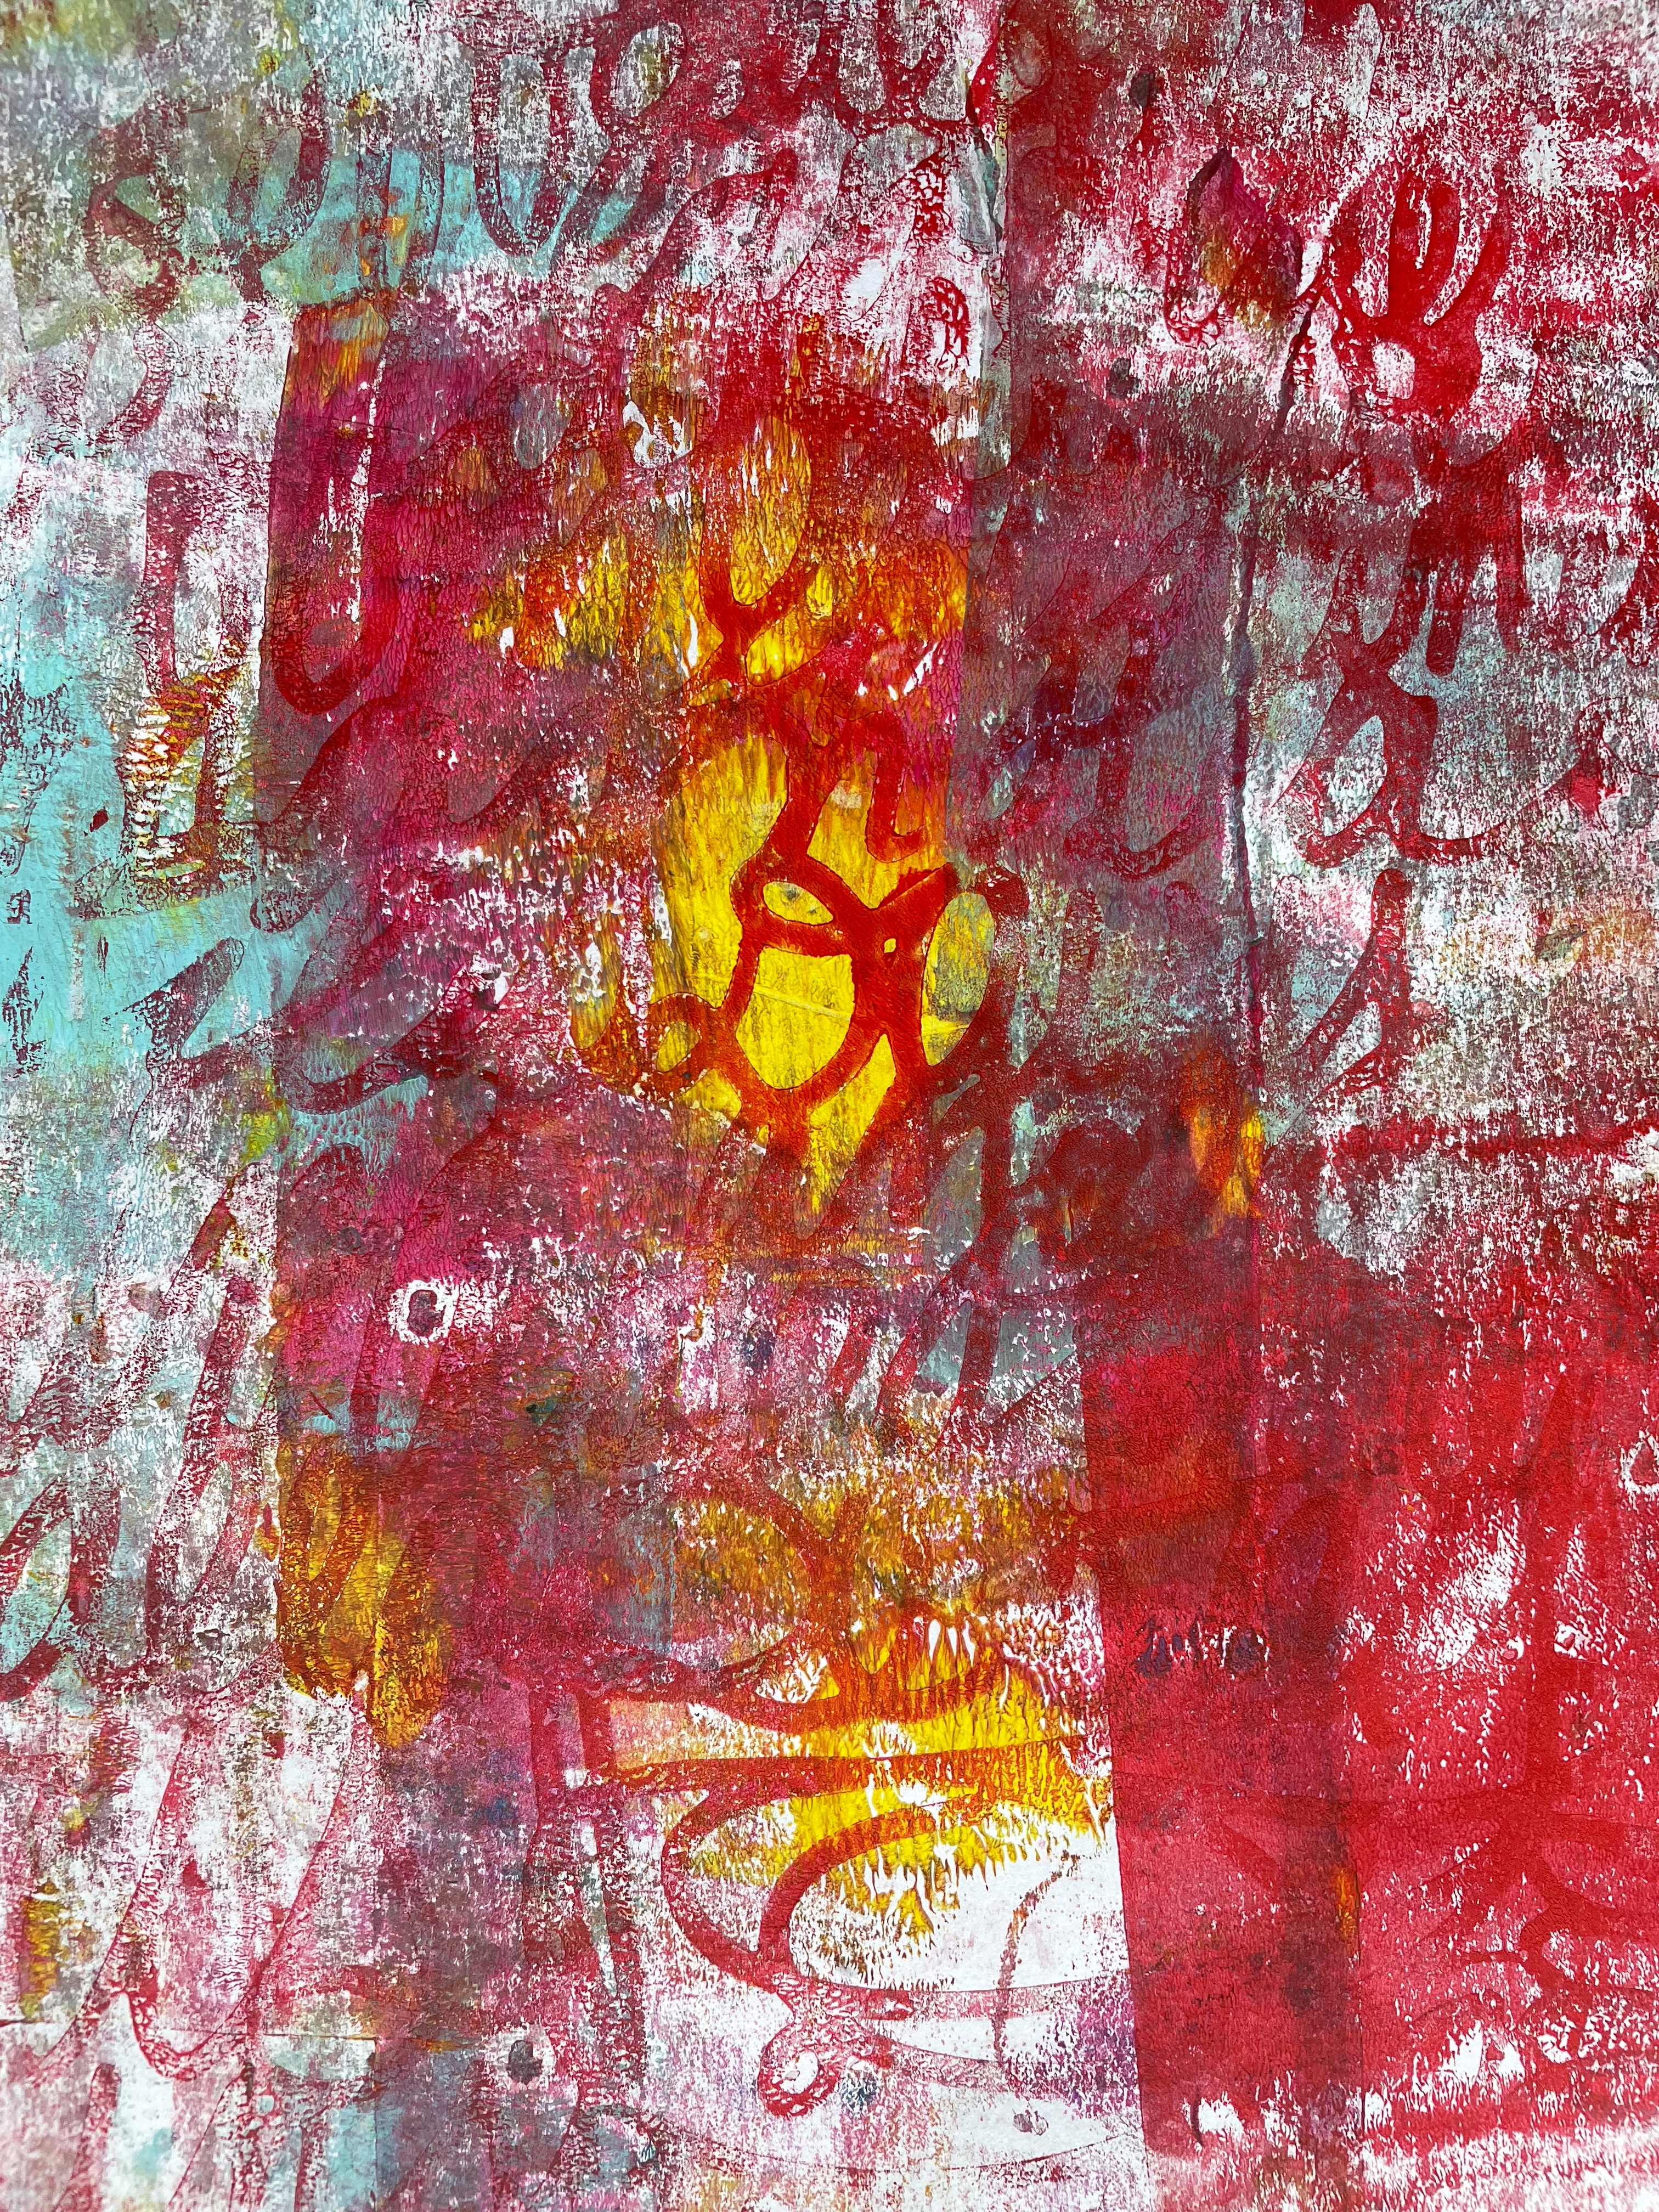


3. Take prints on previously printed papers so you mix all these patterns together.

4.
After a few hours I had
about 35 sheets of painted papers and it was time to start auditioning them on
the card size you have chosen, a white A5 card in my case. Think about the
elements of design like balance, contrast, size, colour, symmetry, repetition
etc. If in doubt there are many books, YouTube videos etc. to help you on your
way. Most of all trust your own judgement. What looks right to me might not be
right for you and that’s a good thing: variety is the spice of life.
5. I work in three stages, starting with the background. Sometimes I use one piece of paper for the entire background and at other times I made a sort of patchwork of different papers to make the background.

Once you are happy with it, glue it down. I used an UHU stick, but matte medium also works.
6.
Then it is on to the
focal point(s). For my #the100dayproject this year these are the circular
forms, so circles in a variety of sizes and little and large rings. I use a
compass to draw on the back of the papers to make these, as well as different
sizes of circular punches. Once you have an arrangement you like glue these
down. Take as long as you like. Some of my cards were done in minutes and
others took entire days for deliberations. It is hard sometimes to remember
these decisions are not a matter of life or death!
7.
Finally, it is time for
finishing touches such as black/white deli paper, vintage paper strips or
whatever you feel your design needs.
8.
All my cards were edged
with an appropriate colour and a layer of matte medium was added all over the
front of the cards.
Here are some
examples:
CardA
The background consists of 3 different papers, one circular themed strip on the left-hand side, another with the same circular pattern on the right, interrupted by a paper with the text pattern. I used a circular punch to cut circles from another sheet of paper (also with the text pattern) and glued them on as shown. The circles were outline with a black marker.

CardB
The background for this card consists of one sheet of painted paper. I then cut out a large circle from a spare sheet of paper and glued on strips of paper from a wide variety of papers in the same colour scheme. Glue on the finished circle to your card and on top add two more circles in descending sizes. Outline the circles with a permanent black marker.

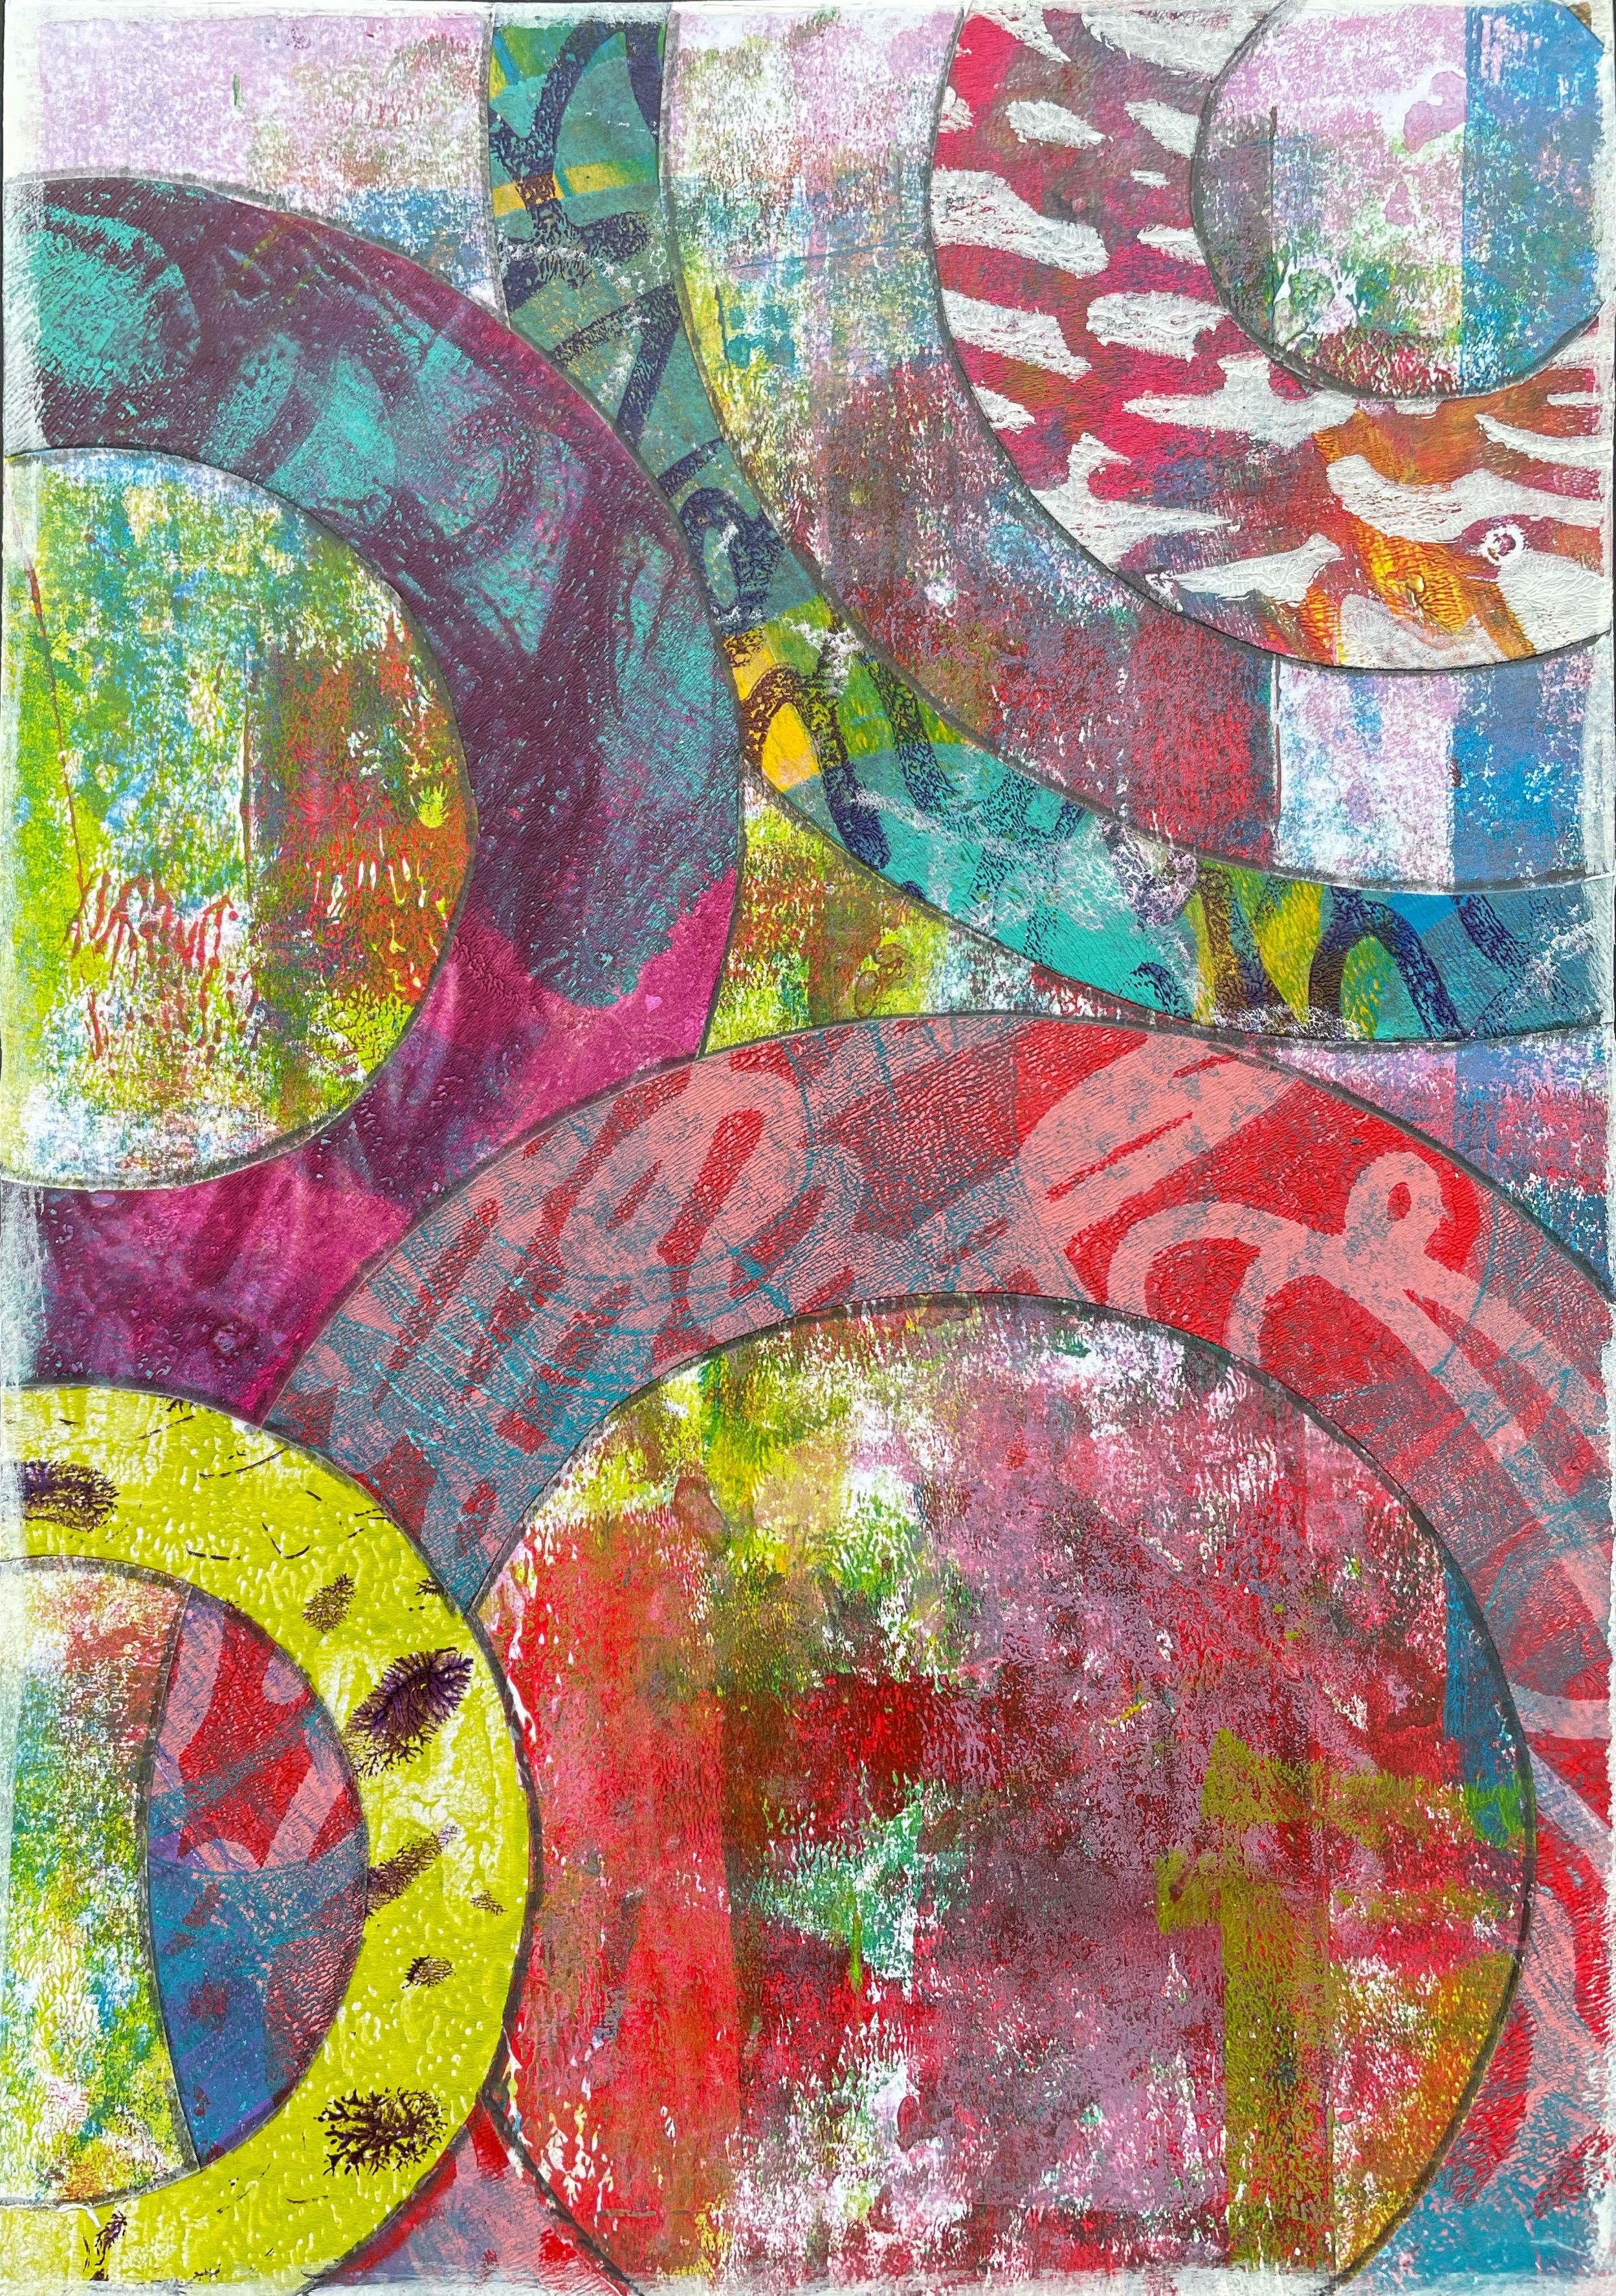
CardC
Use one sheet of painted paper for the background. Cut rings from a variety of your painted papers and arrange them in a pleasing (to you) arrangement and glue them down. Outline the rings with a pencil. Edge the card with a white paint marker.
You will see these cards appearing soon on my Instagram feed (@friedaquilter) as part of my #the100dayproject and you will find other cards there too using the painted papers I made for this project. It’s never too late to join in!
© Frieda Oxenham
2023
What an awesome tutorial, Frieda! Your explanations are clear and I love the freedom you encourage, especially with choosing what's right for you. And wonderful use of stencilgirl stencils!
ReplyDelete