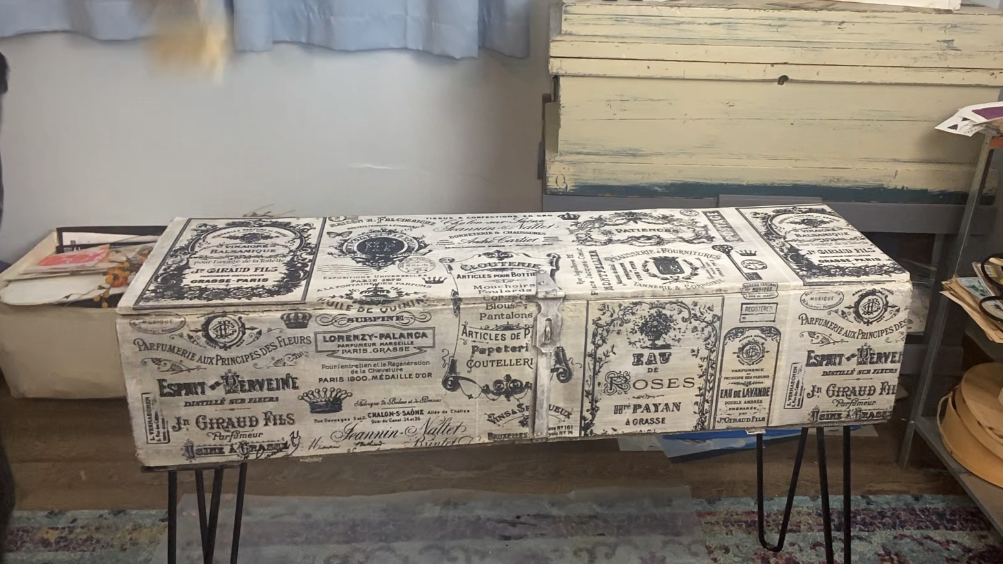
While I was there, I completed a series of 4 abstract collages that got me thinking about another vintage tool box I still had leftover from my shop that closed in 2021. I had great aspirations of up-cycling it into a table, and I thought this could be the perfect finish for it.

I started by ordering some pin legs from Amazon. These are pretty inexpensive and you can get multiple sizes to fit your project. The legs were attached so I got started with one thin coat of DayDream Apothecary's White Base and Mixing Medium. I knew I was going to be using multiple papers on this piece, so a white base coat was just the thing to make these papers stand out on the wood base.

Then, I used a lot of soft gel to attach the "Chloe" decoupage paper from ReDesign by Prima. I wanted the chest to look as though it were wrapped in this paper, so I had to carefully cut and glue on the edges and where the top opens. My hand was covered in dried glue, but it was worth it.
After the decoupage paper was dry, I used the DayDream Apothecary White Base and covered up some of the images on the decoupage paper so they would kind of disappear into the background as I added more layers.

Enter the "Dream, Imagine, Inspire, Create" 9 x 12 mask by Trish McKinney from StencilGirl Products. I thought about applying this directly to the piece, on top of the ReDesign "Chloe" paper, but I really wanted some bold separation, so I used some double strength wet tissue paper (that I actually purchased from Mary Beth at her class). I love this paper so much as it is not as flimsy as regular tissue paper, and can hold up to a lot of moisture (which is really good in my final steps to this piece that involved my garden hose!!).

I made two full sized papers with the "Dream, Imagine, Inspire, Create" mask and DayDream Apothecary's black paint called "Graffiti Pop". Then, I tried ripping out some pieces to collage into my piece. Even with brushed on water, I found that it was hard to rip this paper, so in some instances I just used my scissors. Then I pieced in the paper so it looked like ripped graffiti.

I am obsessed with DayDream Apothecary's neons so I grabbed the "La La Love Ya" and the white base again. I wanted a very soft drippy effect, so I started with my spray bottle of water with the white paint. I soon realized that my half broken spray bottle was not enough force to get the paint moving the way I wanted it to, so since I was already outside for this paint pour- I used my garden hose to complete the effect. Last, I painted the closue black to help it pop a bit more.

I then top coated with Paint Pixie's Forcefield and applied 4 coats of their Sheer Beauty Glaze to give this up-cycled piece a glossier look.

I really love this transformation! I took a worn out tool box and turned into a fun table with storage. I hope you'll give something like this a try for yourself! Heck- you can even grab your garden hose too.
You can watch the entire step-by-step video right here:
Supplies Used:
StencilGirl Products:
ReDesign by Prima
Chloe decoupage paper
DayDream Apothecary Paint
La La Love Ya
Graffiti Pop
White Base and Mixing Medium
Paint Pixie:
Forcefield Top Coat
Sheer Beauty Glaze
You can find me at https://www.janebellanteart.com and @janebellanteart on all social media platforms.
Happy creating!!
xo,
Jane
This is super impressive.
ReplyDeletehttps://www.melodyjacob.com/2023/10/the-blessing-in-emergency.html
thanks so much!
DeleteI love it so so much .. great job
ReplyDeletethank you!
DeleteSuch a cool project! Would love to try this technique 🖤
ReplyDeleteget your garden hose out! 😂😂
DeleteGreat job! Very creative! Thank you for sharing your process.
ReplyDeleteJane thank you so much for using our paint on this awesome piece , we are crushing on that stencil !
ReplyDelete❤️❤️❤️
DeleteThis is absolutely amazing!!!
ReplyDeleteWow! Amazing piece
ReplyDeleteWhat a great piece!!!! Thank you for this! 🫶🏼🫶🏼👏🏼👏🏼
ReplyDeletethank you!
DeleteGreat Project Jane!! Super informative!
ReplyDeleteaww thank you!
DeleteWow! What a beautiful transformation. So creative!
ReplyDelete