Hello Bloggers! Today I am going to share how I created a Travel Collage Roll
to take with me when I travel that will take up a small amount of space
but will result in several days of fun and creativity,
The main stencils I chose to work with are shown above and I also used
the stencils I have listed at the end of this post to create
some other random bits of collage to use in creating journal pages.
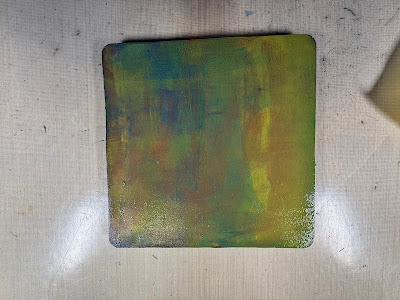
I started with my 6"x6" gel plate and a roll of tissue from Time Holtz. If you can't find
the roll of tissue then you could use a large adding machine tape roll or create a roll
by piecing together strips of any type of paper that you enjoy working on.
I also prepared a strip of newsprint paper to roll the excess paint off of
my brayer to create additional collage paper that I could roll up inside the collage roll.
This is the newsprint paper used to clean the brayer between colors.
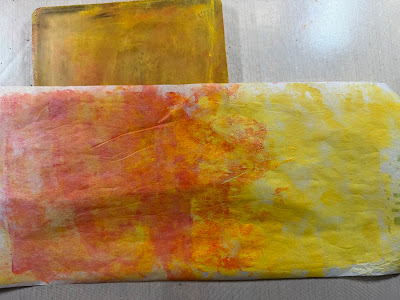
I used my brayer to apply a layer of paint on the gel plate and lightly placed the roll of paper
on the plate then moved it randomly around the plate until I had picked up all of the paint,
I continued doing this process along the roll of paper until I had as much of the paper
covered that I wanted. You will see that as I moved along the paper,
I blended new colors along the way. I did leave a lot of unpainted paper at the end to
add some washi tape, black and white images, and text.
Above is a picture of the painted section of the paper and the
colors of Paper Artsy Fresco Acrylic Paint used in this step.
Next I took black paint with a tiny blending tool and sponged paint
through the face and pi stencils being sure to leave some space
between so that I could cut or tear these images out to put in my journal.
I also changed it up on the last face and used white to stencil the face
which I thought would give me some different choices as I use them in my journal.
On the next section of the roll, I taped some different washi tapes from
my stash. I realize some of them may not release when I go to use
them but figured that I could just adhere them with a glue stick if necessary.
To end it up, I sponged black paint through some text and image stencils
to use in addition to the faces on my journal pages.
These next 6 pictures show the roll after I was finished with it. The
dots on the right were done when cleaning some of the black paint out of my blending tool. Lot's of
great materials to use to create at least 4 - 5 journal spreads while I am on my trip.
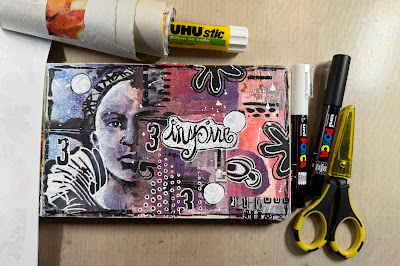
Above are a couple of pictures showing how I started creating the journal page below.
All of the images used were on the Travel Collage Roll that I
had created and any additional marks were made with the Posca pens.
Along with the Collage Roll, I will pack a pair of scissors (these
are optional as I could just tear the images I want to use), a glue
stick, a black and white Posca pen, and my journal!
This is a list of the other stencils I used to create my Travel Collage Roll
Pi
S613
Faces
S647
S648
S651
S652
Words
L184
L209
L311
L 317
L318
I hope that you enjoyed this project and consider making a Collage Roll next time
you are planning to travel to lighten up your suitcase and have some stress-free
creative time. If you would like to see a short video of this Travel Collage Roll,
I will be posting one on my Instagram page so be sure to check it out. My
Instagram link is below. I want to thank StencilGirl® Products for providing me with
these stencils so that I can share what I create each month with you.
Happy Creating!
To see more of my work please visit my Instagram page.
https://www.instagram.com/reel/DB3yorpu_QD/?igsh=Ym1rMTlrYjk0ajk0


Great idea, Carol - thanks!
ReplyDelete