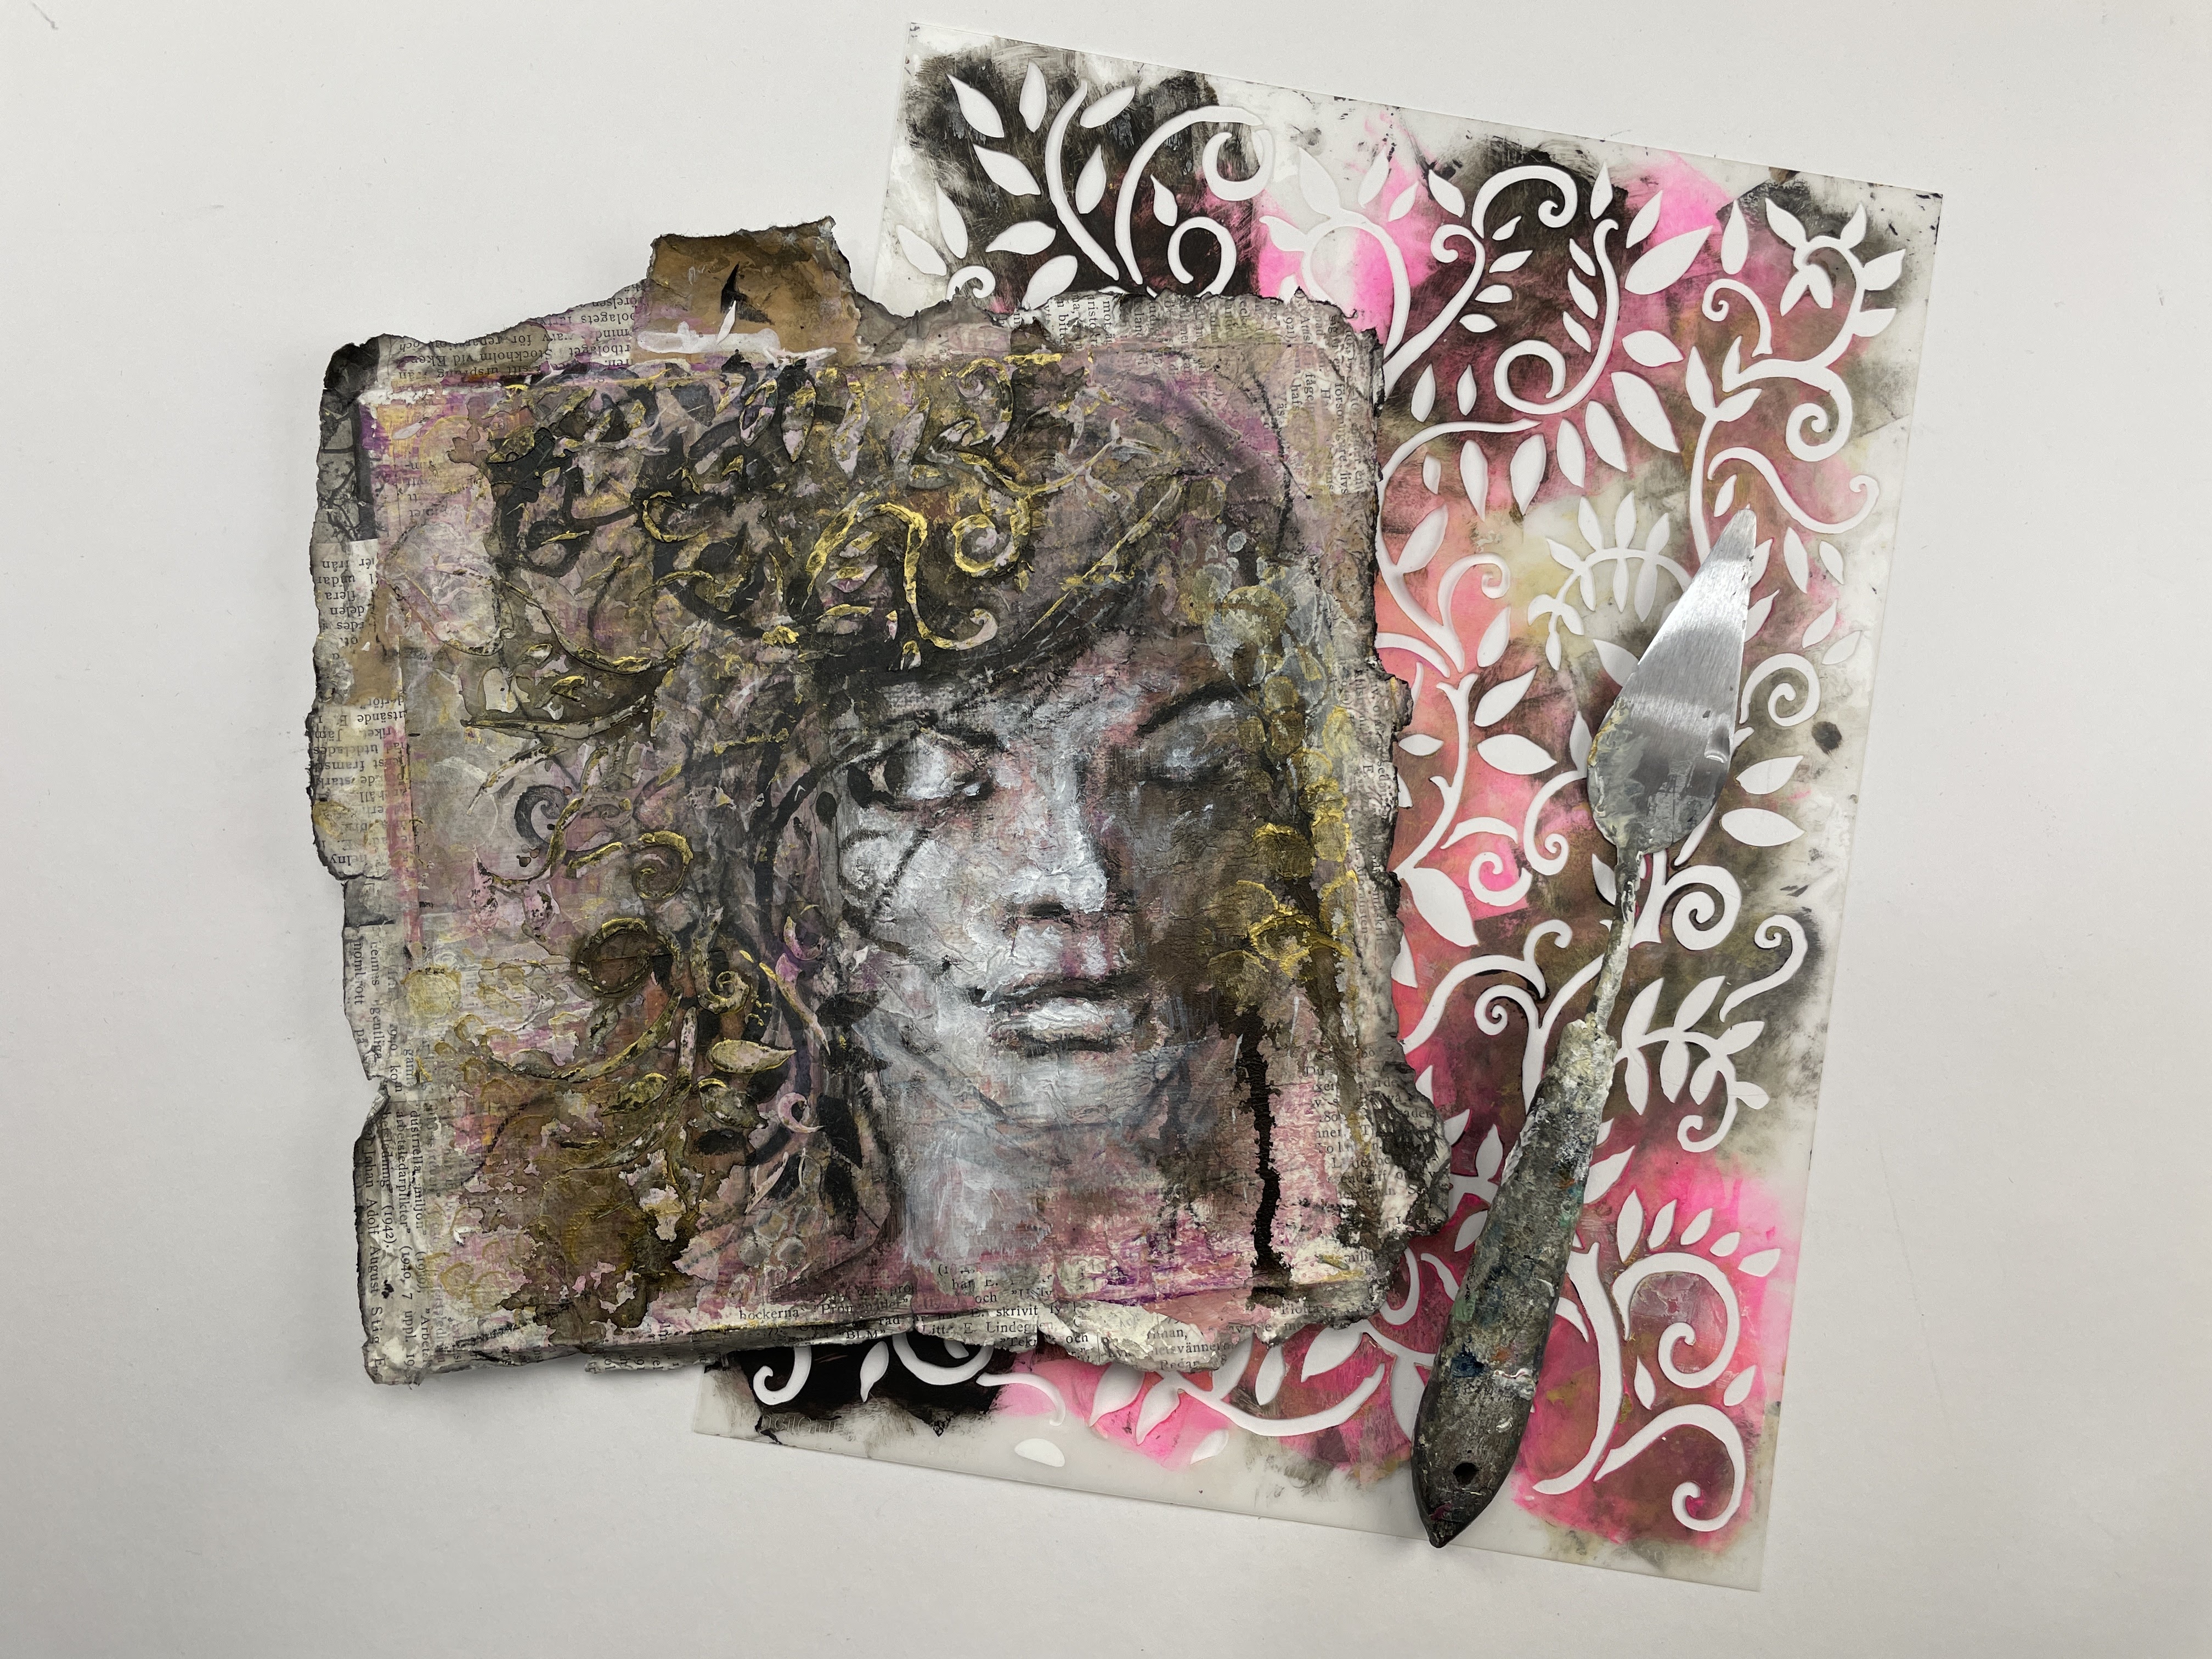
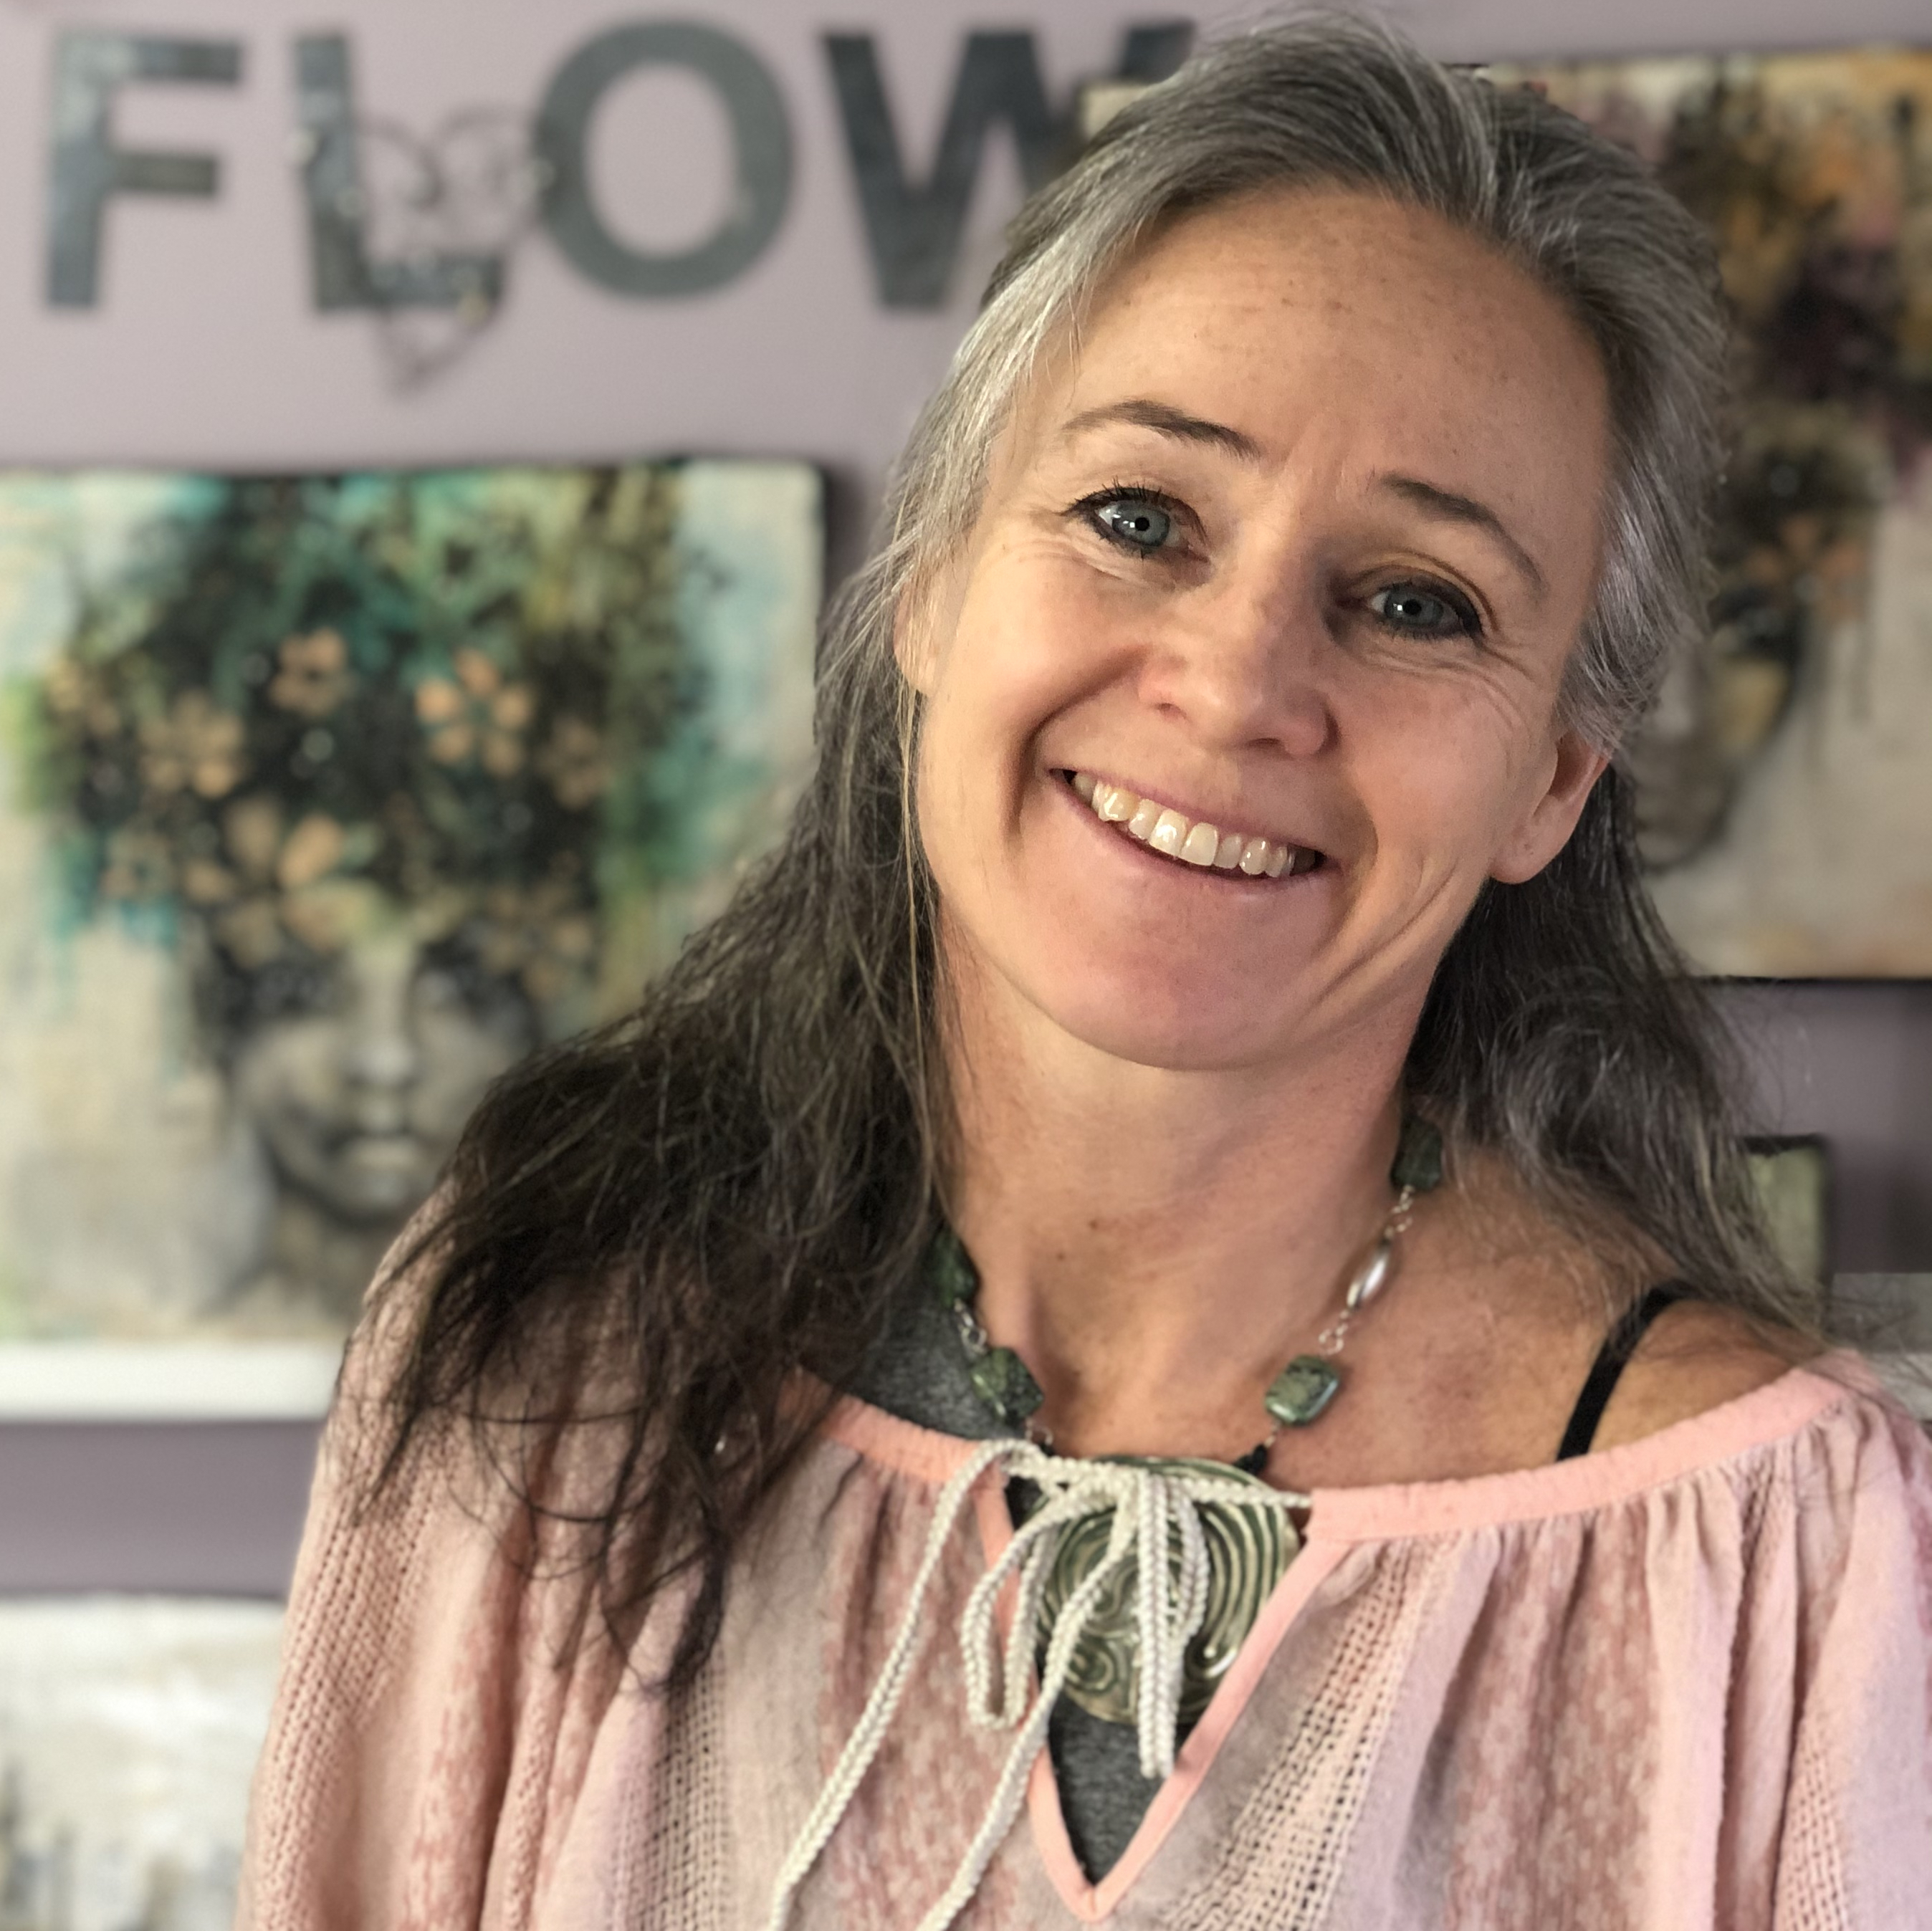
Hi everyone! I’m Jenny Grant from Studio Flow. When I open one of my handmade art journals, I often begin without a plan. I reach for a few scraps of paper, make a mark, and see what catches my eye. That little bit of not knowing is part of the joy. It gives me space to slow down, recharge, and follow the colors and patterns that make my heart sing.
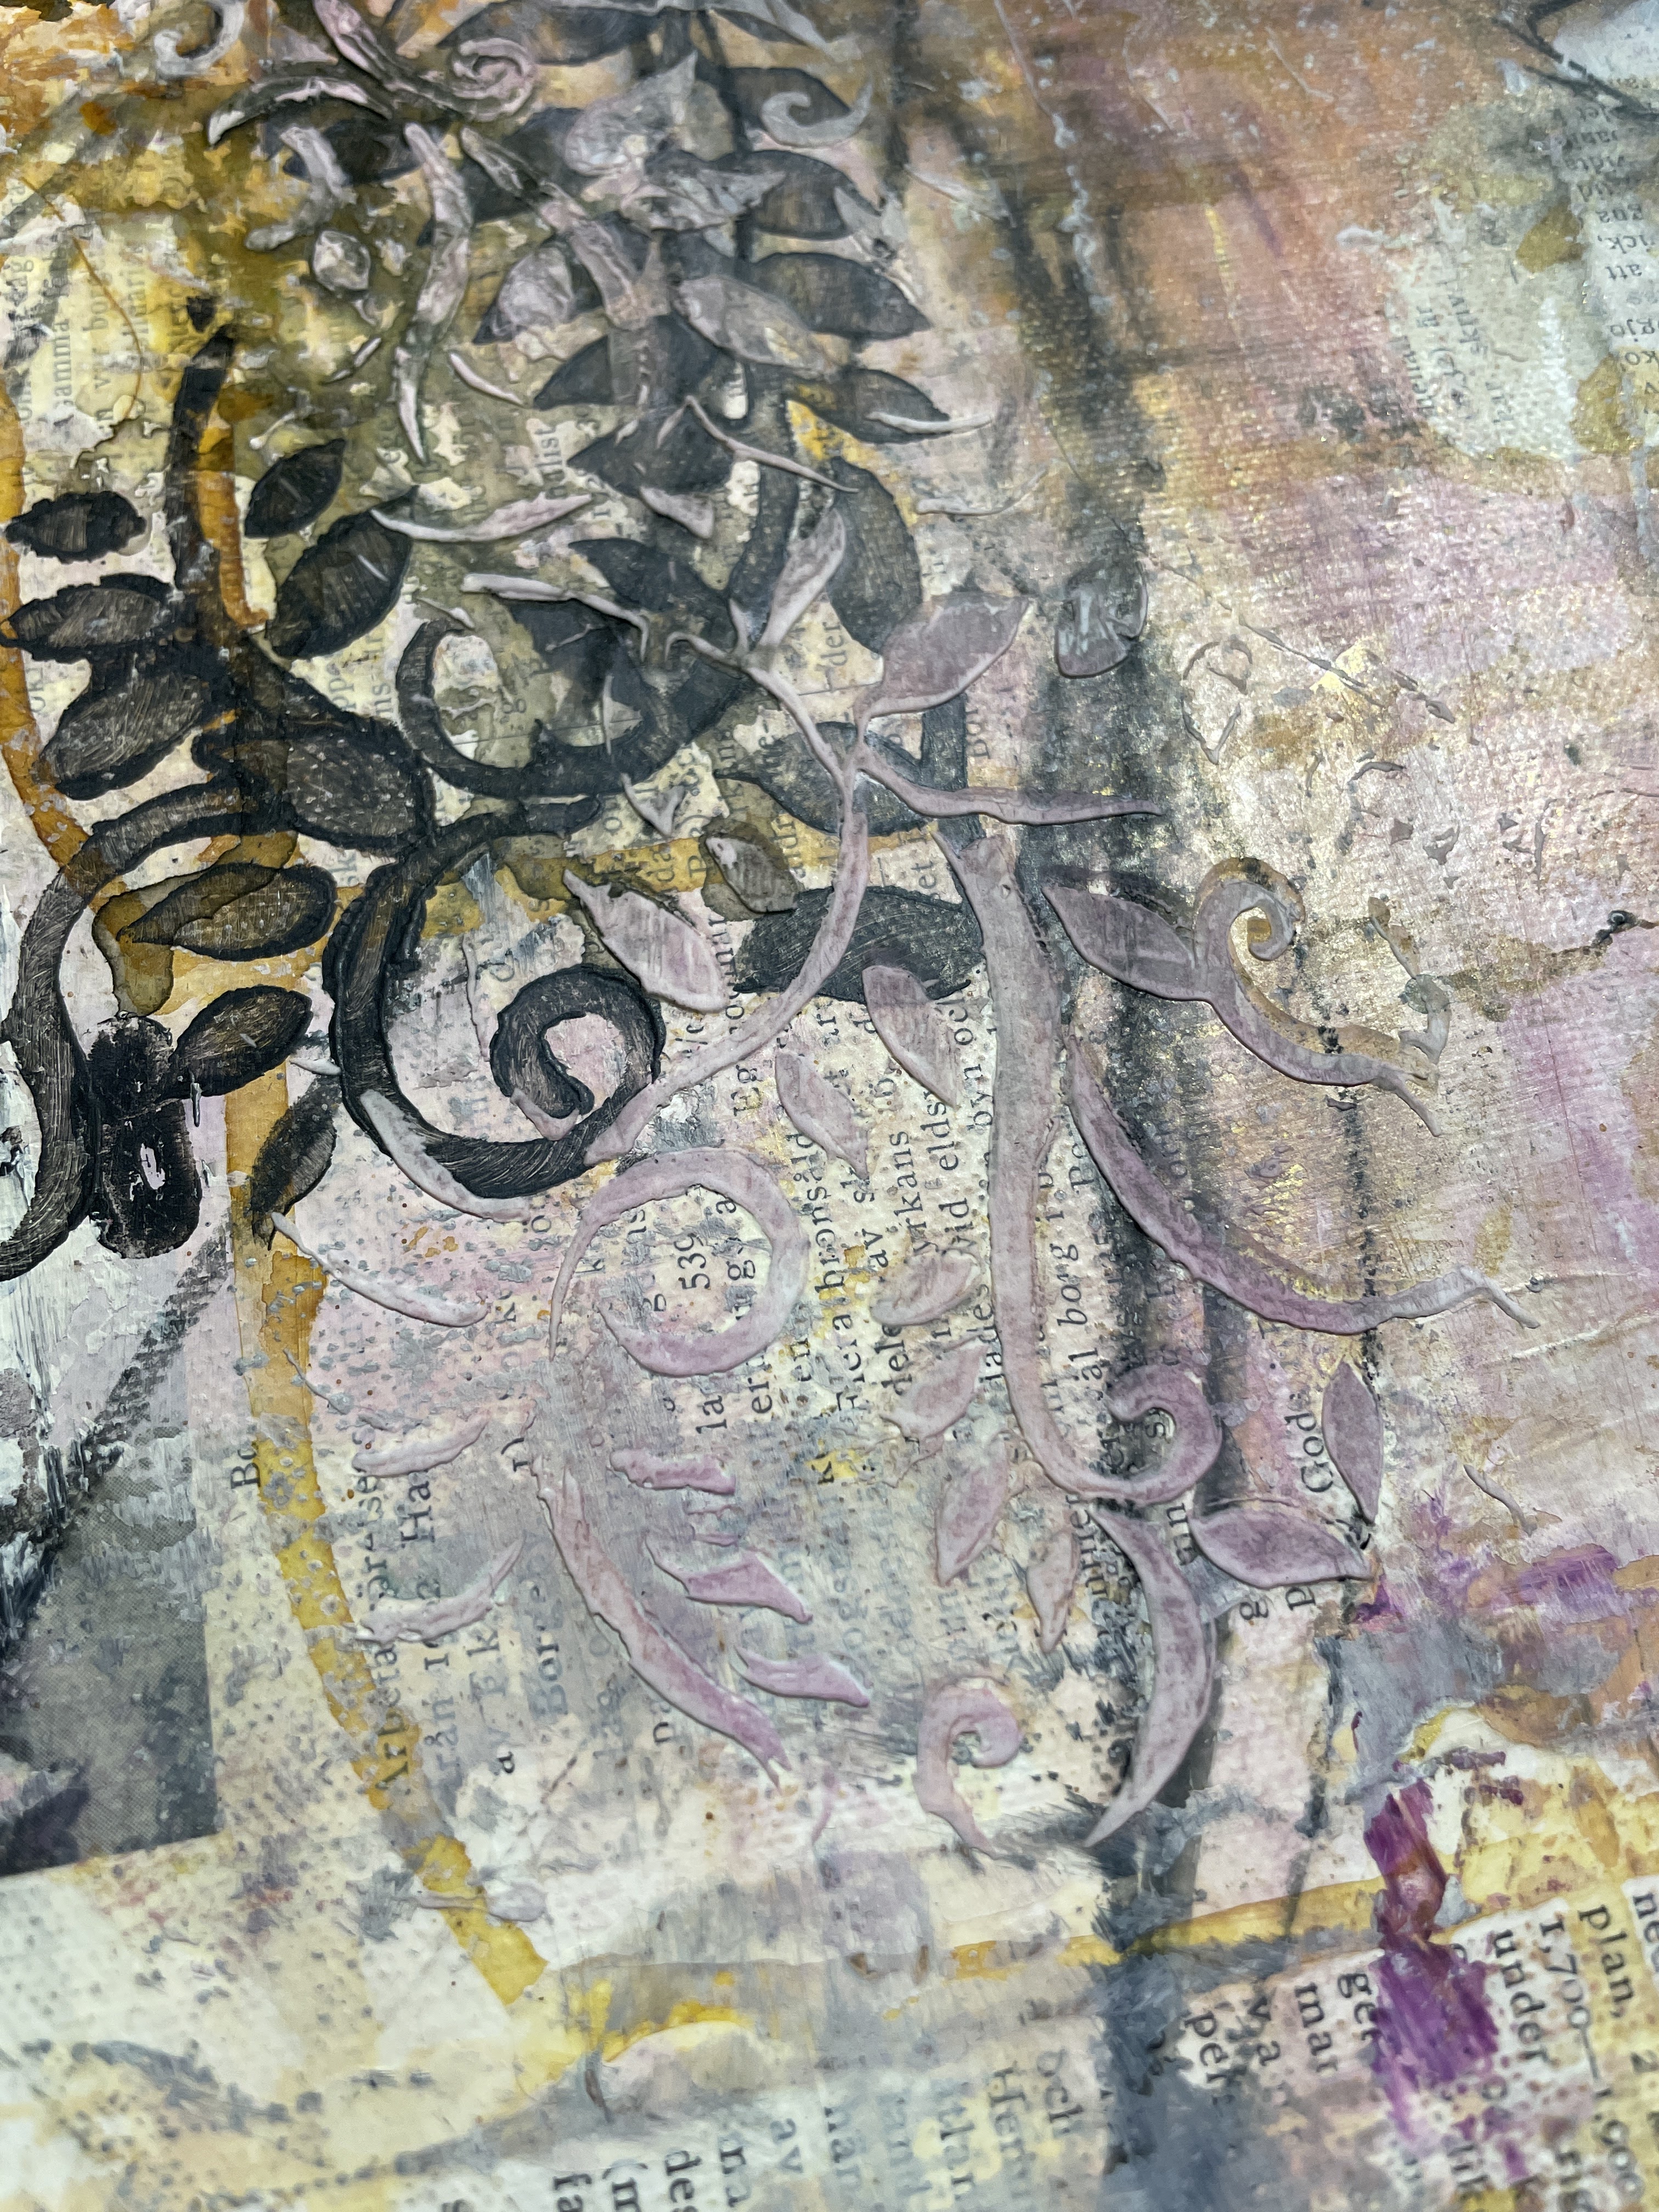
For this page, I start with old book pages and then I build up transparent layers of stencil marks, tissue paper, sewing patterns, acrylic ink and gold. I use small sections of different stencils and let the patterns overlap, so the marks become something new. Some layers cover what comes before, while others let parts of the collage and layers underneath show through.


List of supplies
● One of my Book of Flows - an handmade art journal
● Old book pages, tissue paper and old sewing patterns
● Acrylic Paint: Van Dyke Brown, Payne’s Grey, Green Gold, Gold and White
● Acrylic ink: Flame Orange and Muted Pink
● Liquitex Matt Medium
● StencilGirl® stencils:
○ Fragments in Motion (LL1070)
● A hard tool such as a Palette Knife. You can use a credit card or a wedge.
● Makeup sponge
● Recycled plastic lid to use as palette
● A Rag and a Spray Bottle
Step 1: Start with paper collage
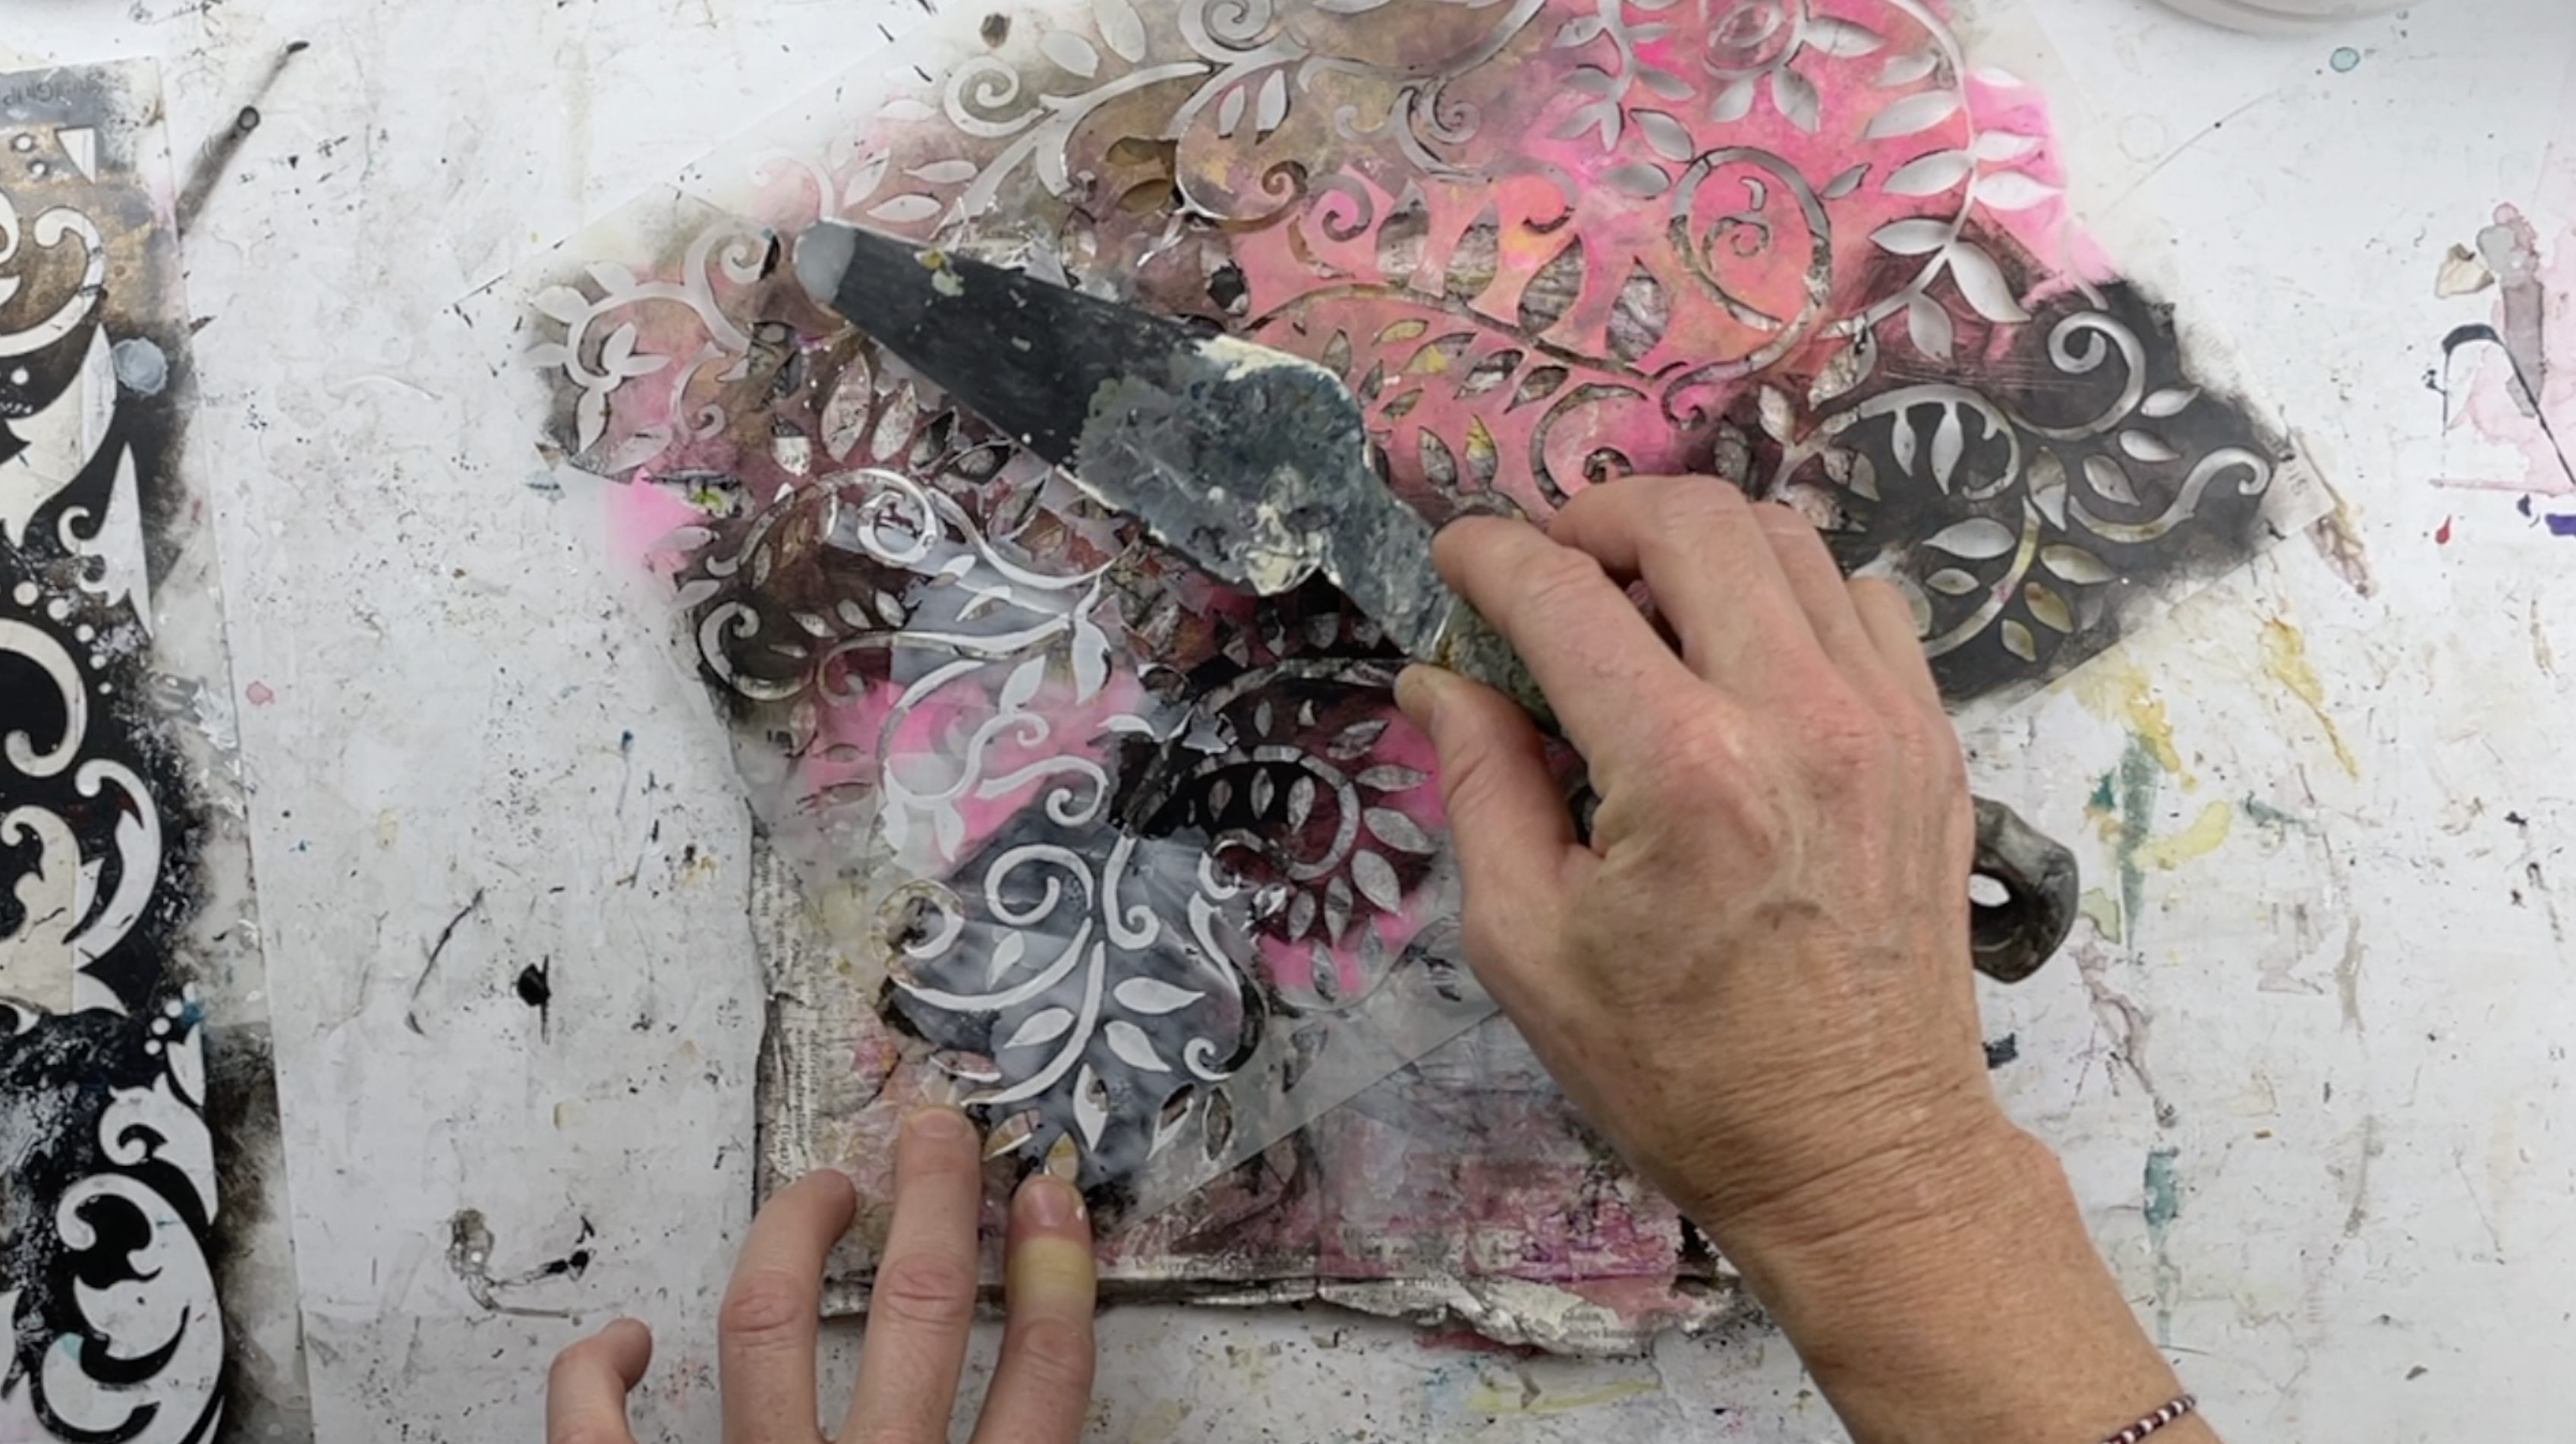
I work in one of my handmade art journals. I begin by collaging old book pages onto the page. I use Matt Medium and my favourite palette knife (you can use a credit card or wedge) to get all the bubbles out. I love the words, pictures and paper edges become part of the background.


Step 2: Add gold paint
Next, I add some gold paint over parts of the collage with a palette knife. It isn’t a transparent paint, but I apply it so that much of the background can still show through.

Step 3: Build the first stencil layers
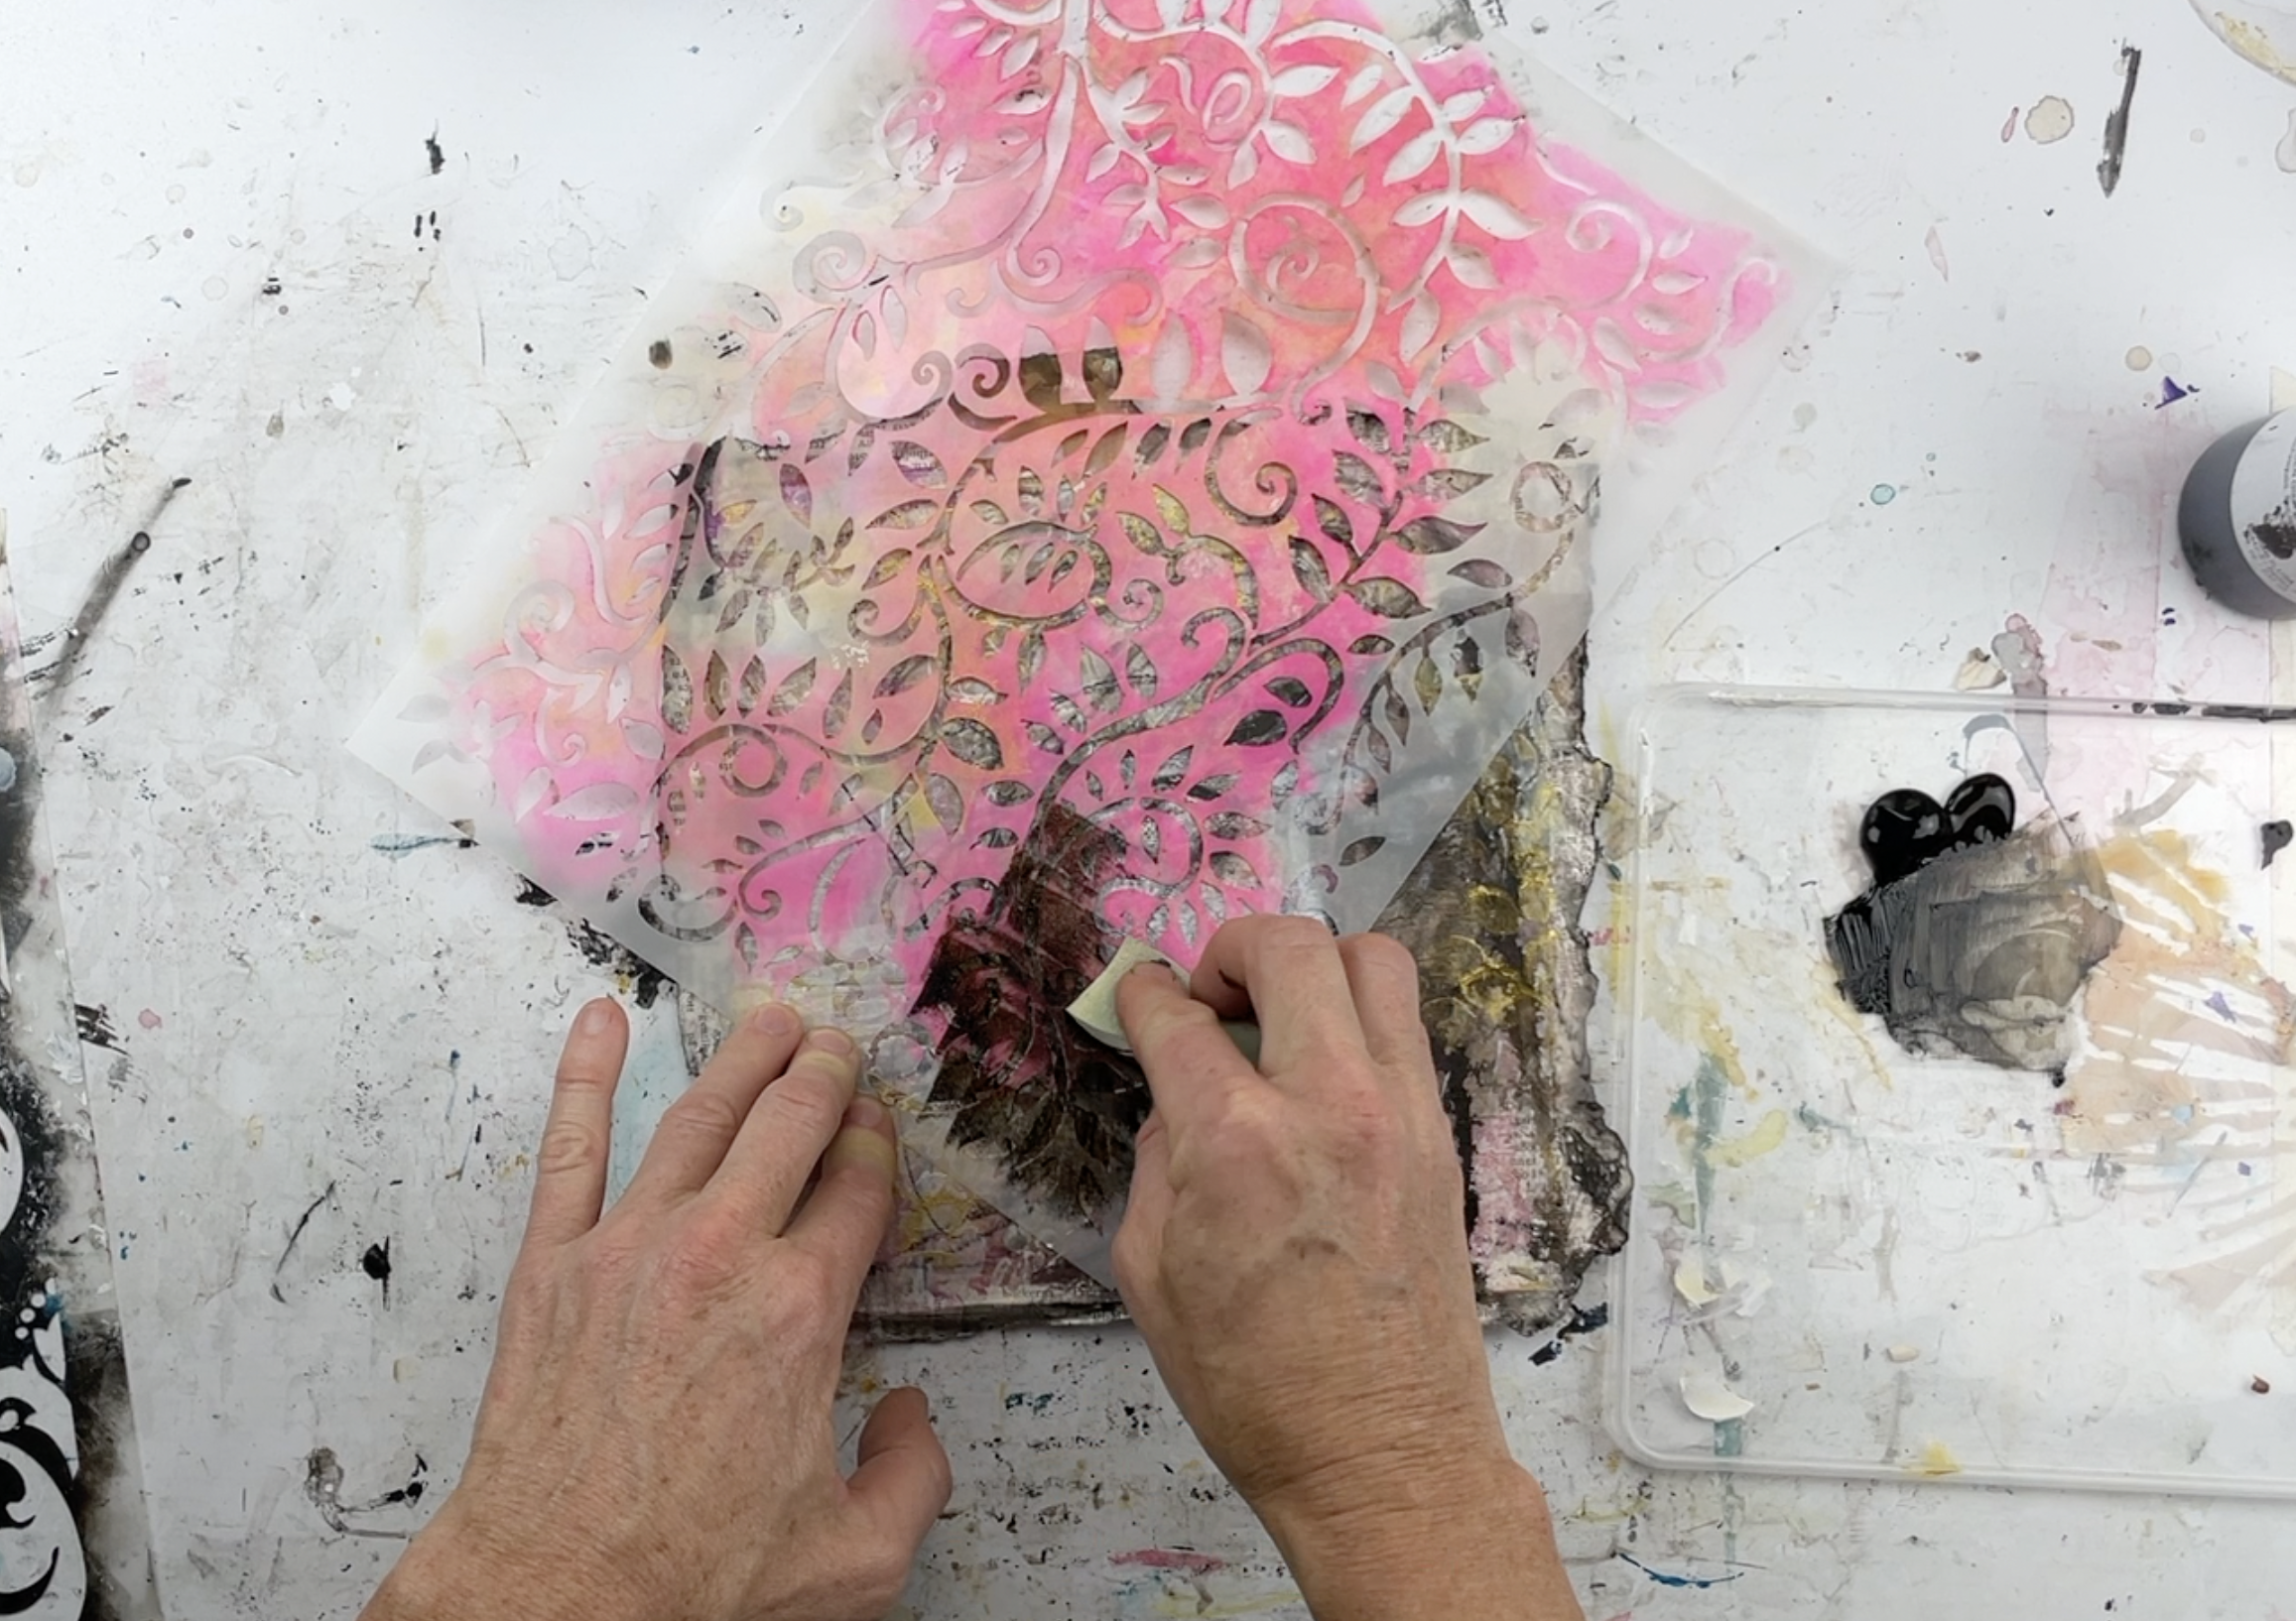
Next I add stencil marks with acrylic paint. I use a mix of Van Dyke Brown, Payne’s Grey, and Green Gold and I apply the paint with a dry MakeUp sponge. I keep the paint layers very thin and mix the colors so they fade into one another.

Rather than use a whole stencil design, I choose small sections and combine marks from different stencils. This helps the designs come together as new, grungy patterns. I love the collage and gold showing through the marks.

Step 4: Add tissue paper and sewing patterns
After the first stencil layers, I add tissue paper and pieces of old sewing patterns. They bring texture and some pattern into the page while being transparent so the earlier layers are visible through. It creates an amazing depth and texture.


Step 5: Bring in color with acrylic ink
Now it is time to add some colors and I am doing that with acrylic ink. I use Flame Orange and Muted Pink to create a warm palette. The ink is very transparent, so it brings color to the page while letting the layers underneath remain visible. I add and take away to create the color and transparency that I like. Then I let the page dry.


Step 6: Add light stencil marks and finishing touches in gold
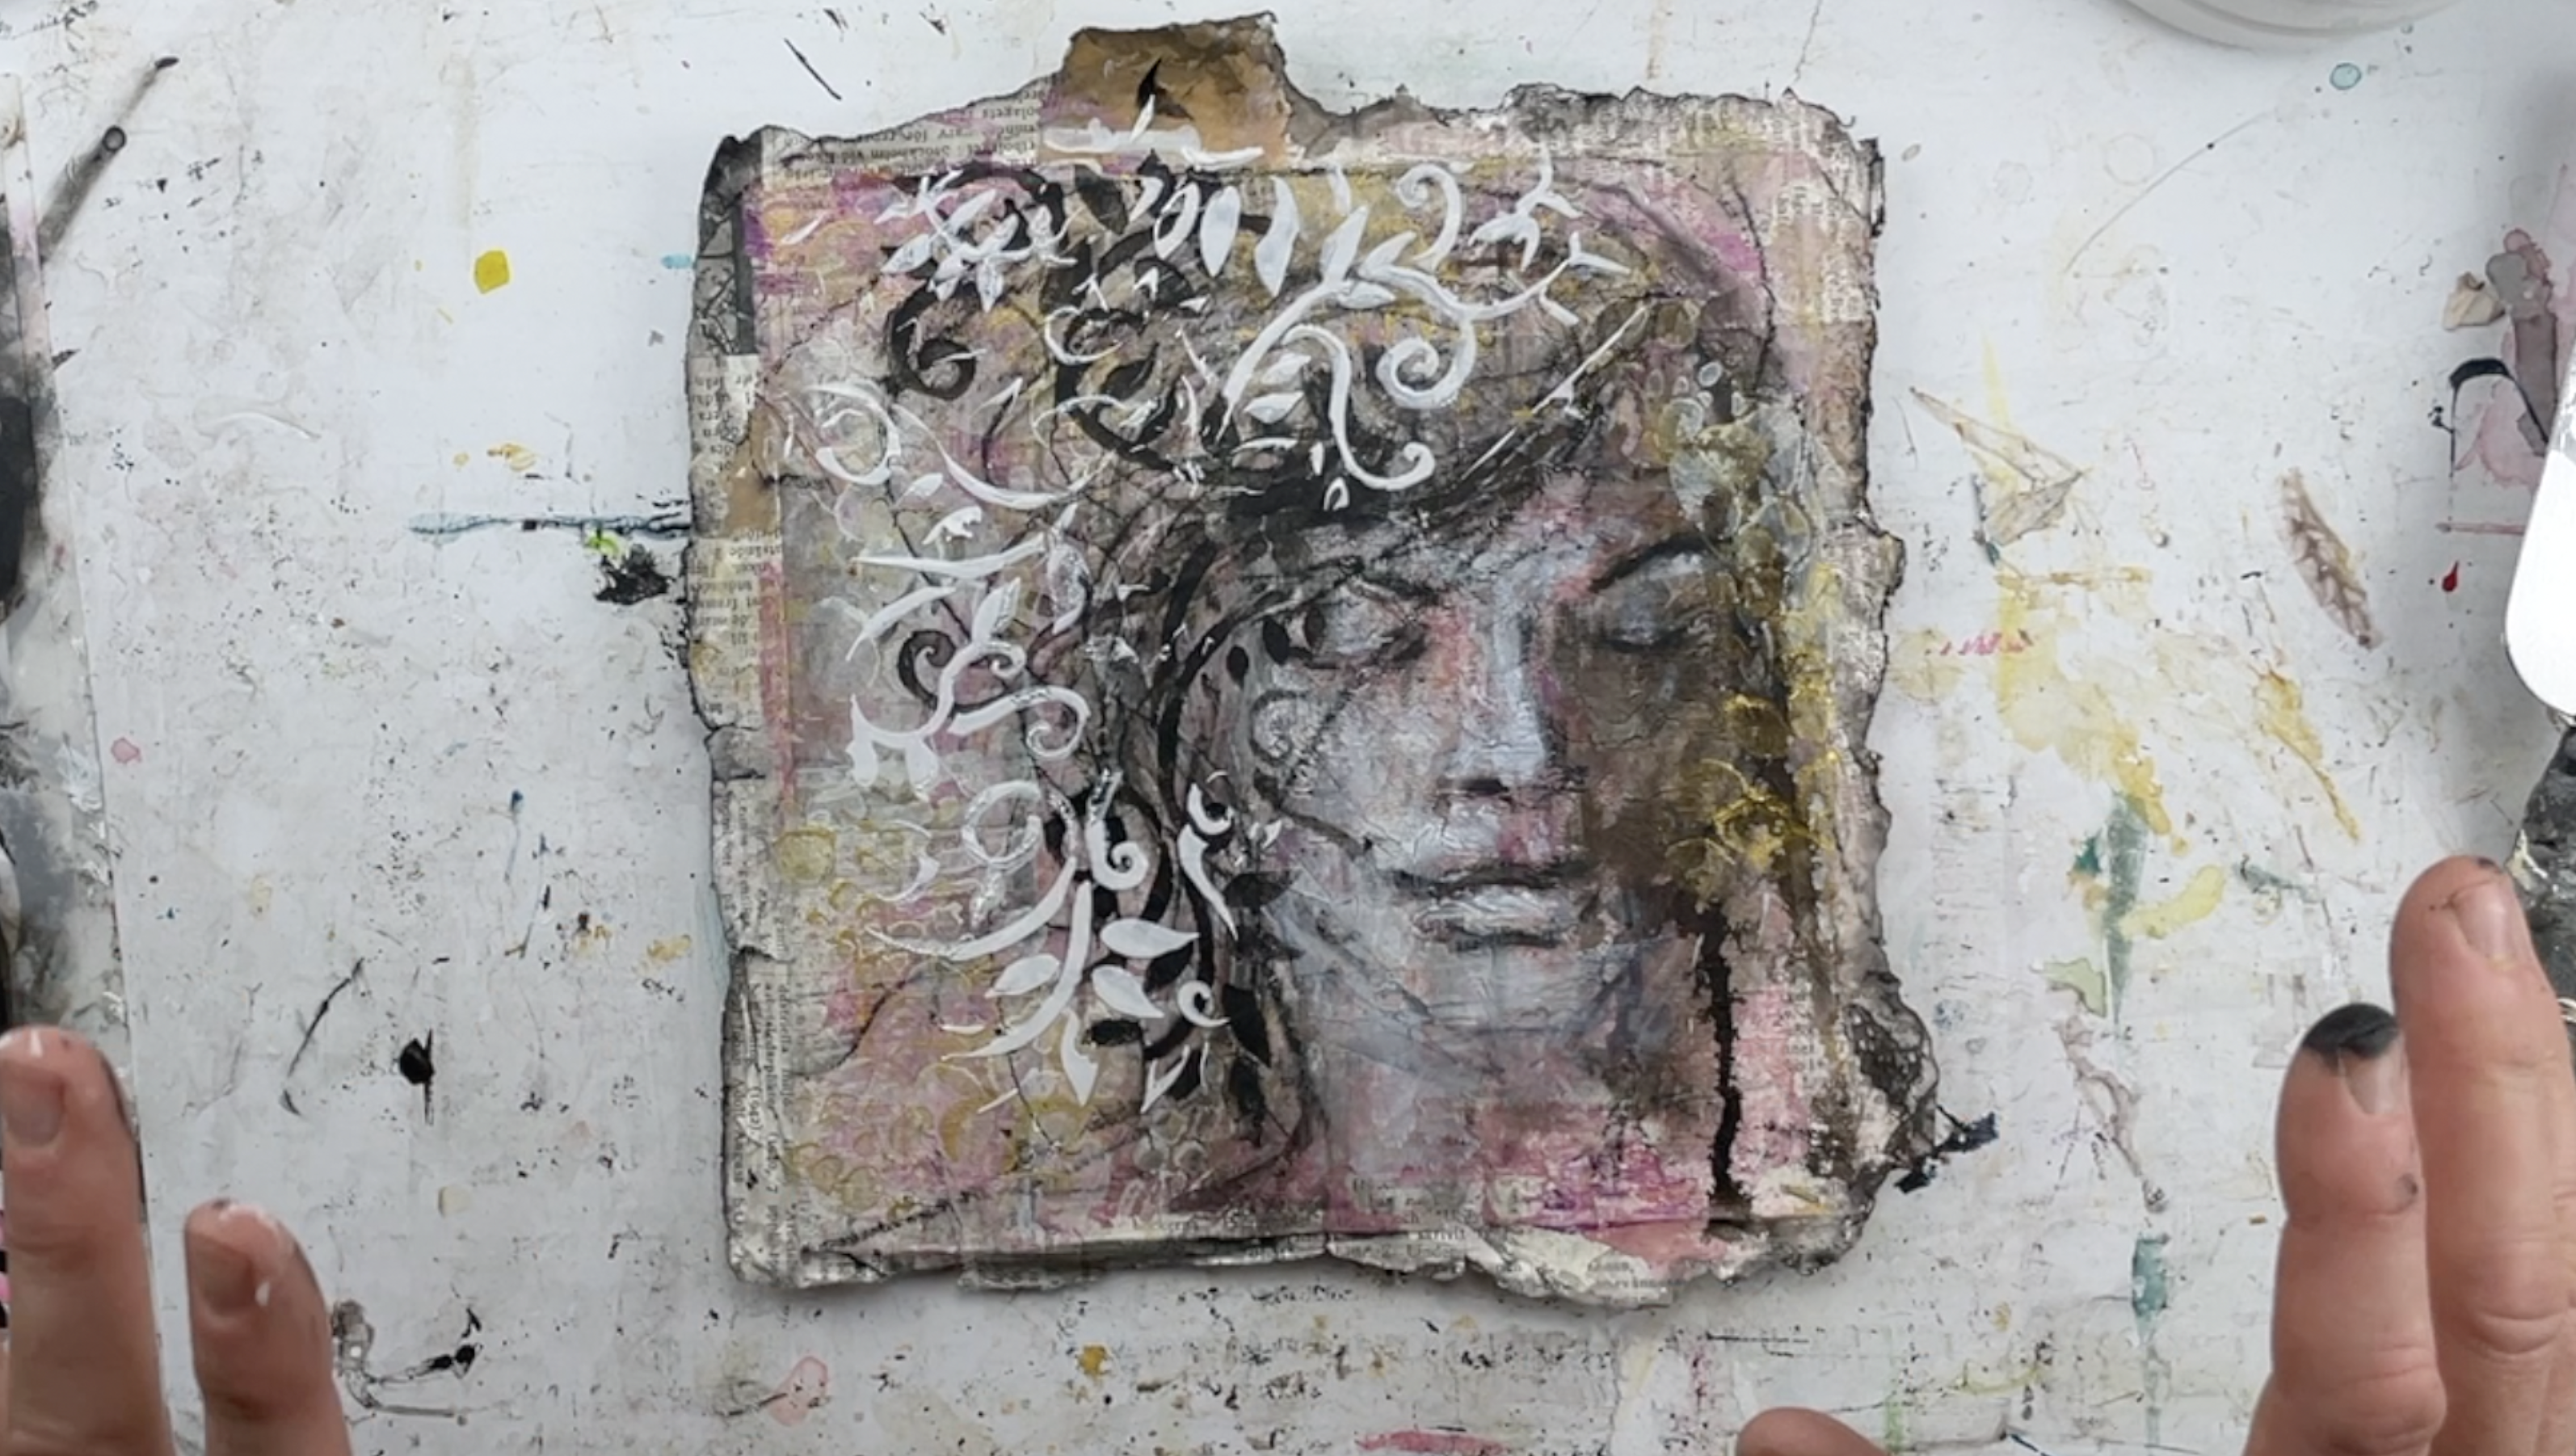
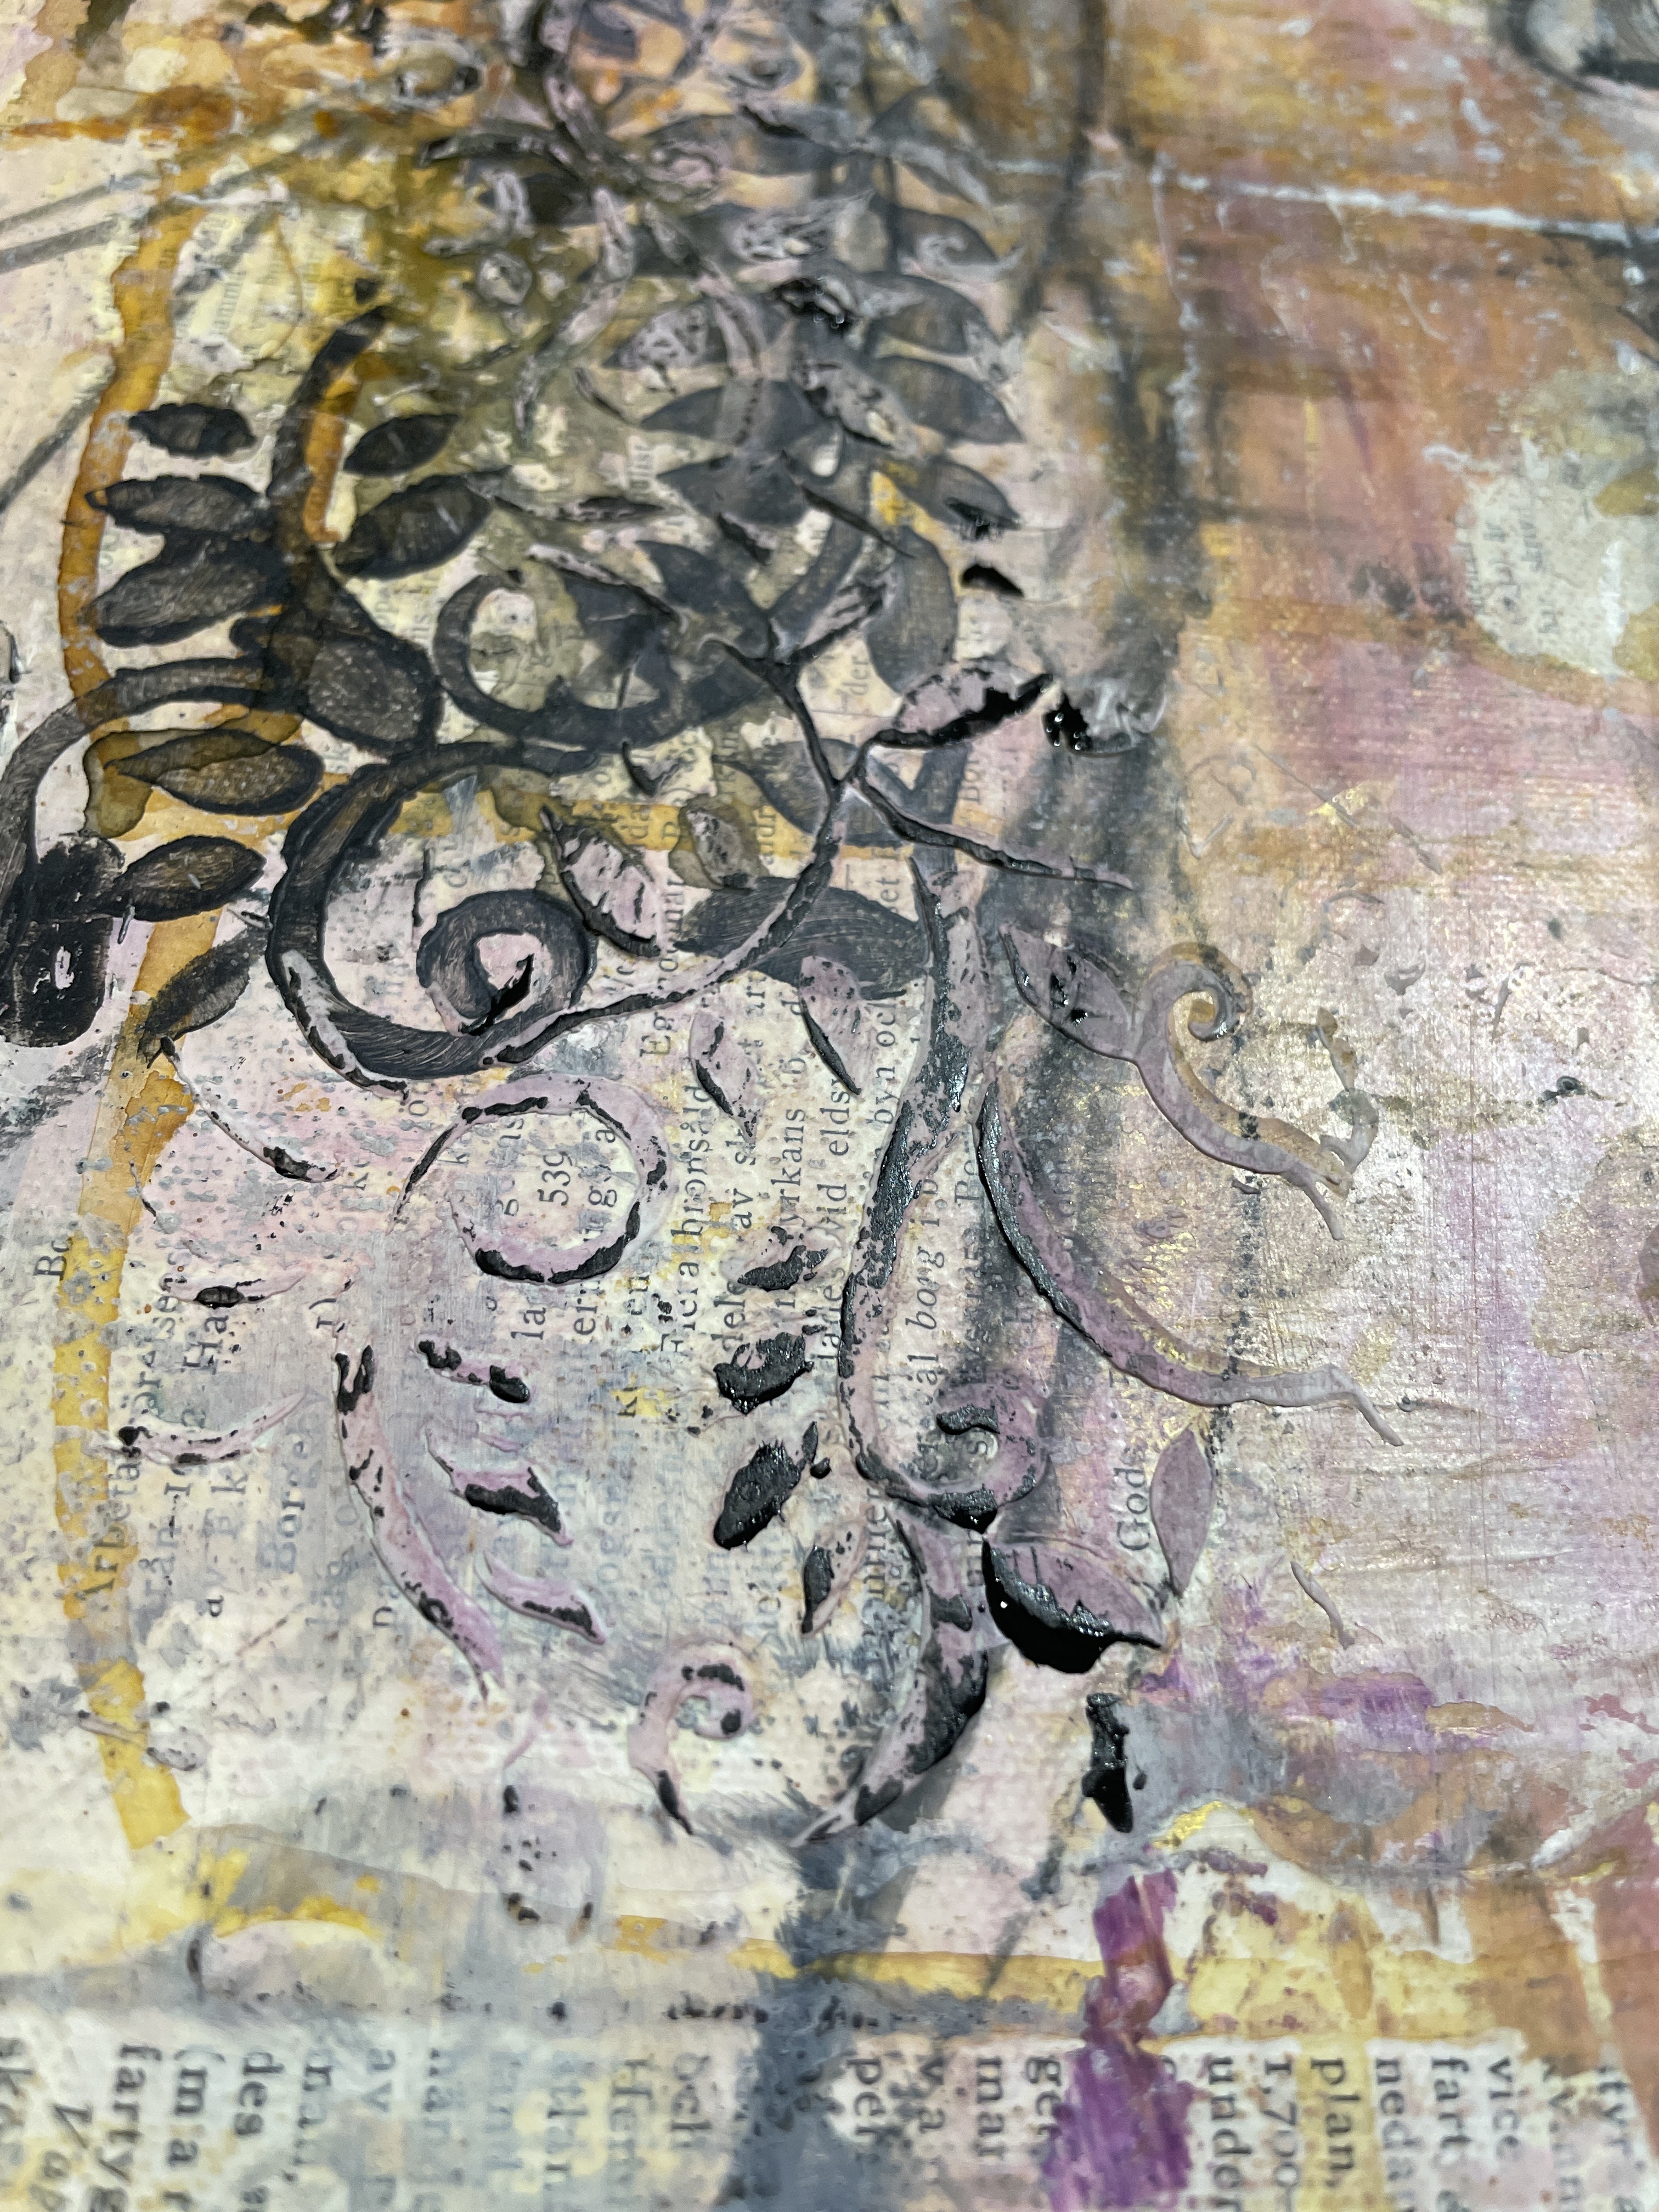
For my next stencil layer, I want to add some contrasting marks in white. But instead of using just white I mix a little of the Flame Orange and Muted Pink ink into the white acrylic paint. I apply the tinted white through the stencils. The marks vary across the page, with some staying transparent and some becoming more opaque. I add and take away to create depth and grunge. I really like the flowers so I keep adding more of them.


To create some more contrast I add dark dots using the same dark colors as the first stencil layer, and then I finish off with a layer of gold. This makes the pages come alive when light hits them.

Let the layers lead
I love taking time to play this way. I can relax, follow what I’m seeing, and do more of what I enjoy. I don’t need to know what the page will become, or worry about whether the result is beautiful. The time spent playing with the materials is the important part.


Sometimes I continue and add a face onto my background but this time I just let it be finished… at least for now. Playing with transparent layers is so fun. Nothing is covered up. Every layer is visible and gives the piece depth and history. Just relax and play with the layers. See what happens as you go. There’s no need to have a plan. Just go with the flow.

Watch the process
You can watch the full process in the video below.