Hi everyone, Carol Ponsford back this month showing you the sari ribbon that I
painted with fabric paint using the July 2023 StencilClub set designed by Ann Butler. This was
such a fun set to play with and with so many patterns, a perfect one for this project!
If you would like to see a video of the process click this link

Supplies Used:
July StencilClub Stencils
1 sheet of Card-stock
Sari Ribbon
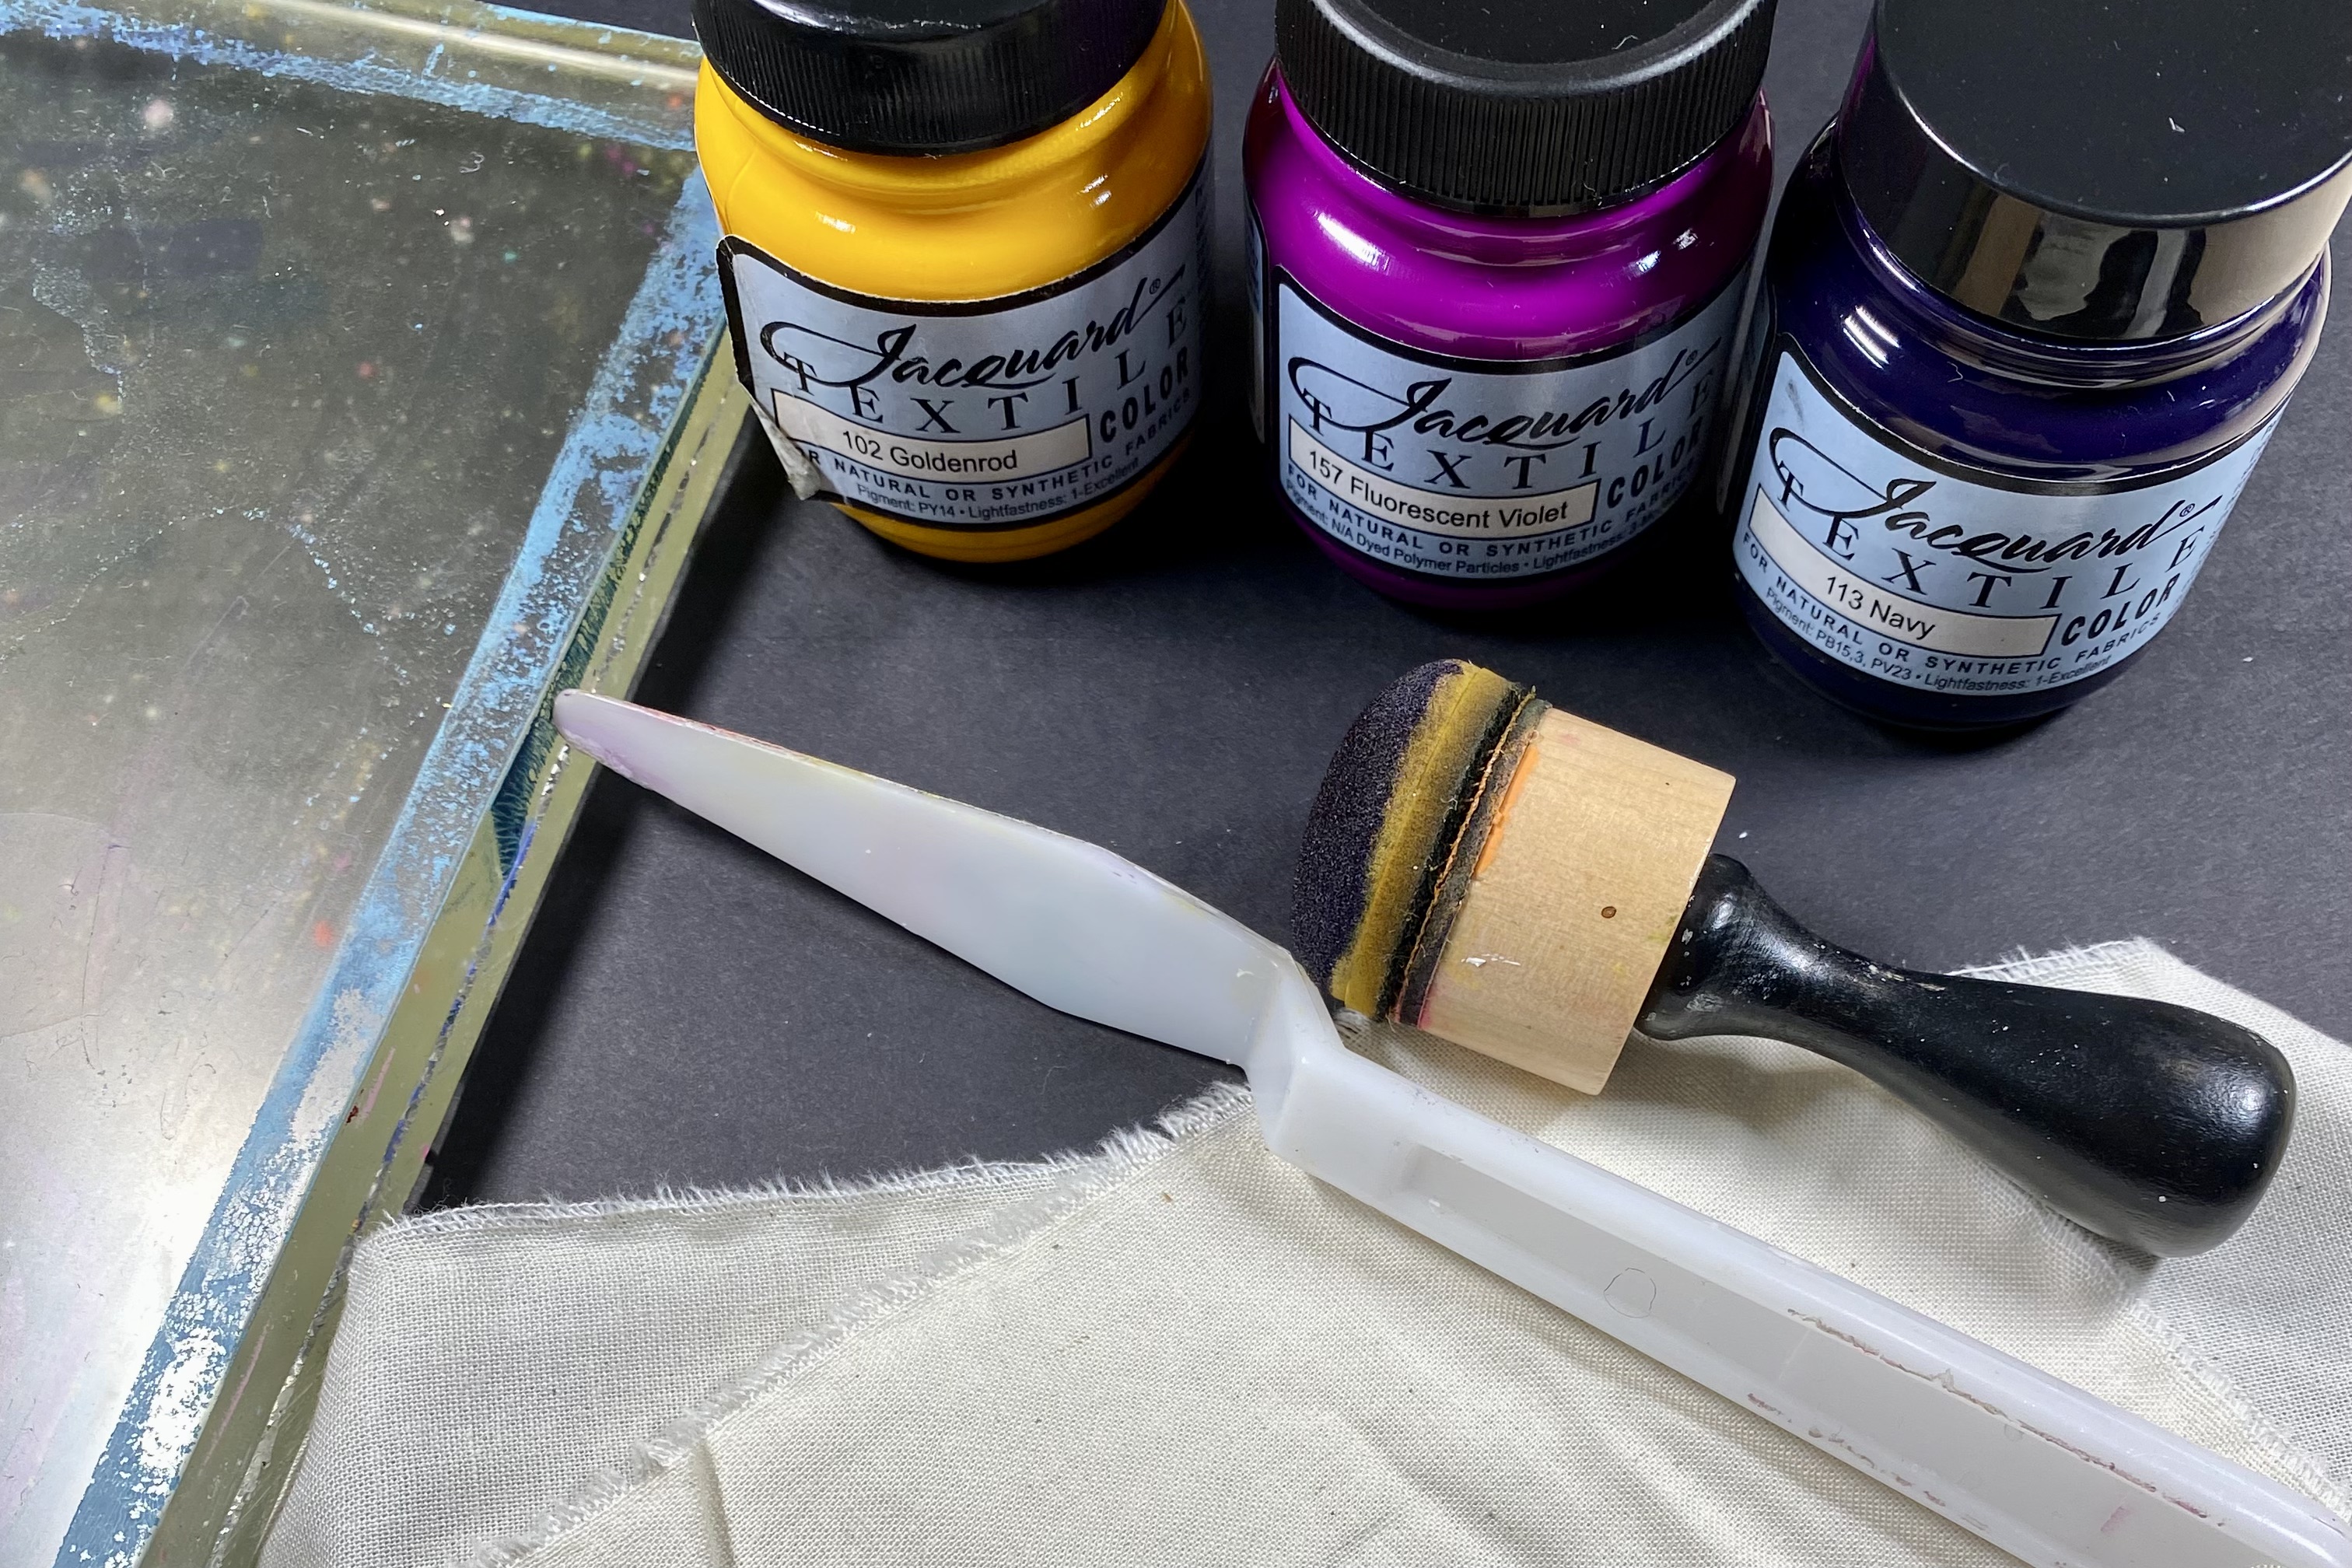
Jacquard Textile Colors
1 1/2” wide brush
Ruler
Sponge applicator
Palette Knife
2 1/2 circle hole punch

I started by cutting circles from card-stock using a 2 1/2" circle
punch and created a circle stencil and a coordinating mask.
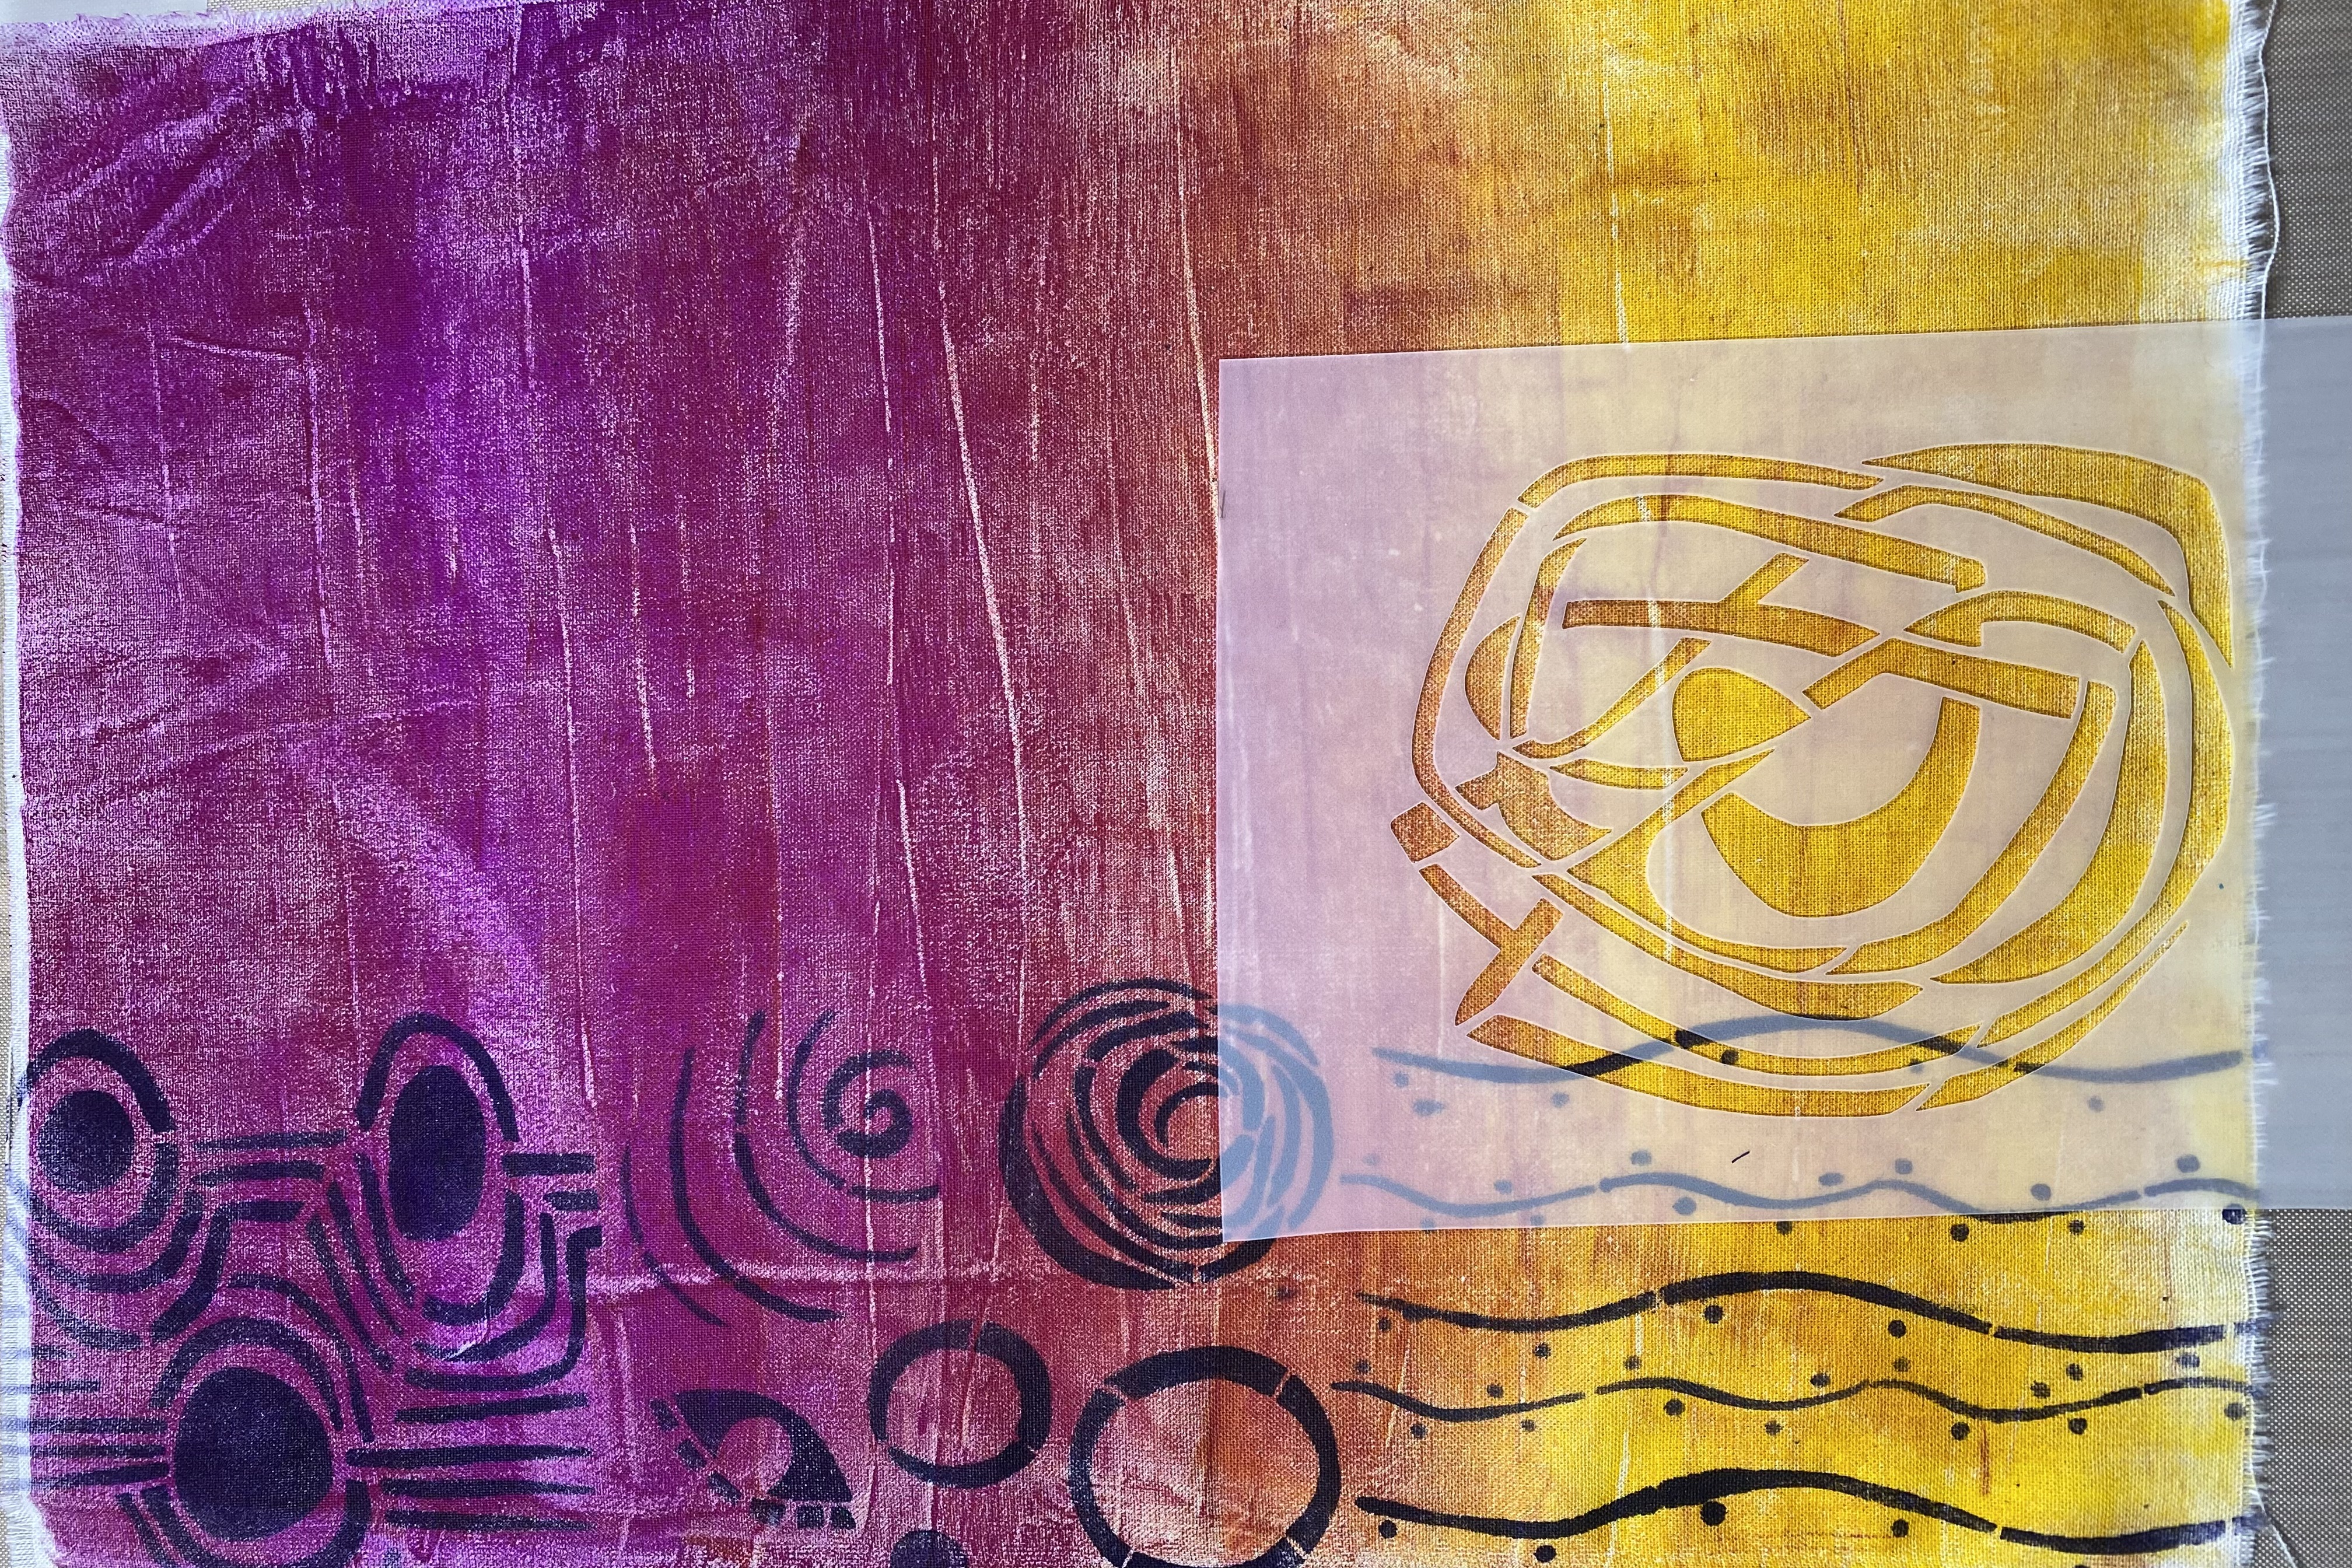
I painted various colors on a roll of sari ribbon using Jacquard Textile Colors. I then used the circle mask to add another layer of color to the ribbon.
The finishing touch was to place the stencil over the circle
and sponge paint through the StencilClub stencils to add a pattern on each circle.

I created a video showing the process of how I made these colorful strips of
sari ribbon to use in your journal pages, sewing projects, or mixed media artwork.
I hope you will click the link at the top of the page and watch the video.
I will be back next month with another project using the August 2023 StencilClub set
so until then, happy stenciling and creating!
Thank you StencilGirl® Products for providing me with this free StencilClub set so that I could play in advance and share what I create each month with you.
Join StencilClub by July 15th to receive these exclusive stencils and accompanying video tutorial with PDF (both downloadable!), and 20% OFF STENCILS EVERY DAY!!
Happy Creating!