![]() |
| The Stars come from a great StencilClub Stencil 05-2025 |
![]() |
| Carolyn Dube's word stencils are always on point. L923 & L924 |
![]() |
| Linda Edkins Wyatt has a great ATC stencil L852 |
A blog for the StencilGirl® Product line owned by Mary Beth Shaw for people who love stencils like we love stencils.
![]() |
| The Stars come from a great StencilClub Stencil 05-2025 |
![]() |
| Carolyn Dube's word stencils are always on point. L923 & L924 |
![]() |
| Linda Edkins Wyatt has a great ATC stencil L852 |
Nothing goes hand-in-hand as well as Molding Paste (same as Texture Paste, Grunge Paste, etc.) and Stencils. There. I said it. If you’ve never used it or haven’t used it in a while, this is the post for you.
Molding or texture paste dries hard and adds dimension to your surface design.
This medium provides a wonderfully adventurous and welcoming surface for inks, fluid acrylics, regular acrylics, or whatever liquid medium you want to flow through it. If precision is your jam, quit reading. You cannot control this beast. You LITERALLY have to go with the flow.
Before we get too far, if you want to watch a super real, mistakes and all, not a lot of talking video about my process, click here. For a description and photos, keep scrolling.
When I finish or nearly finish a journal, I ponder what I want on the front of it. Because of its versatility and interesting outcomes, most often I’ll reach for one of my favorite detailed stencils and some Molding Paste. I tend to do this at the end of completing a journal because it creates a bumpy surface and journaling, for me, is a messy process. I don’t want to mess up the front.
You can also use it on paper (I have an affection for tags) as well as canvas or wood surfaces. I use the tags in my art journaling or collage.
I mentioned grabbing a detailed stencil and this is my personal preference. I like all the little bits, textures, and shapes a detailed stencil provides. You can use any stencil with Molding Paste but beware the larger the area of the medium, the greater the risk for cracking or flaking during usage of it.
Generally, I have a stack of deli paper on hand to put behind the covers of the journal creating a barrier for the pages within. It’s not foolproof, but it helps.
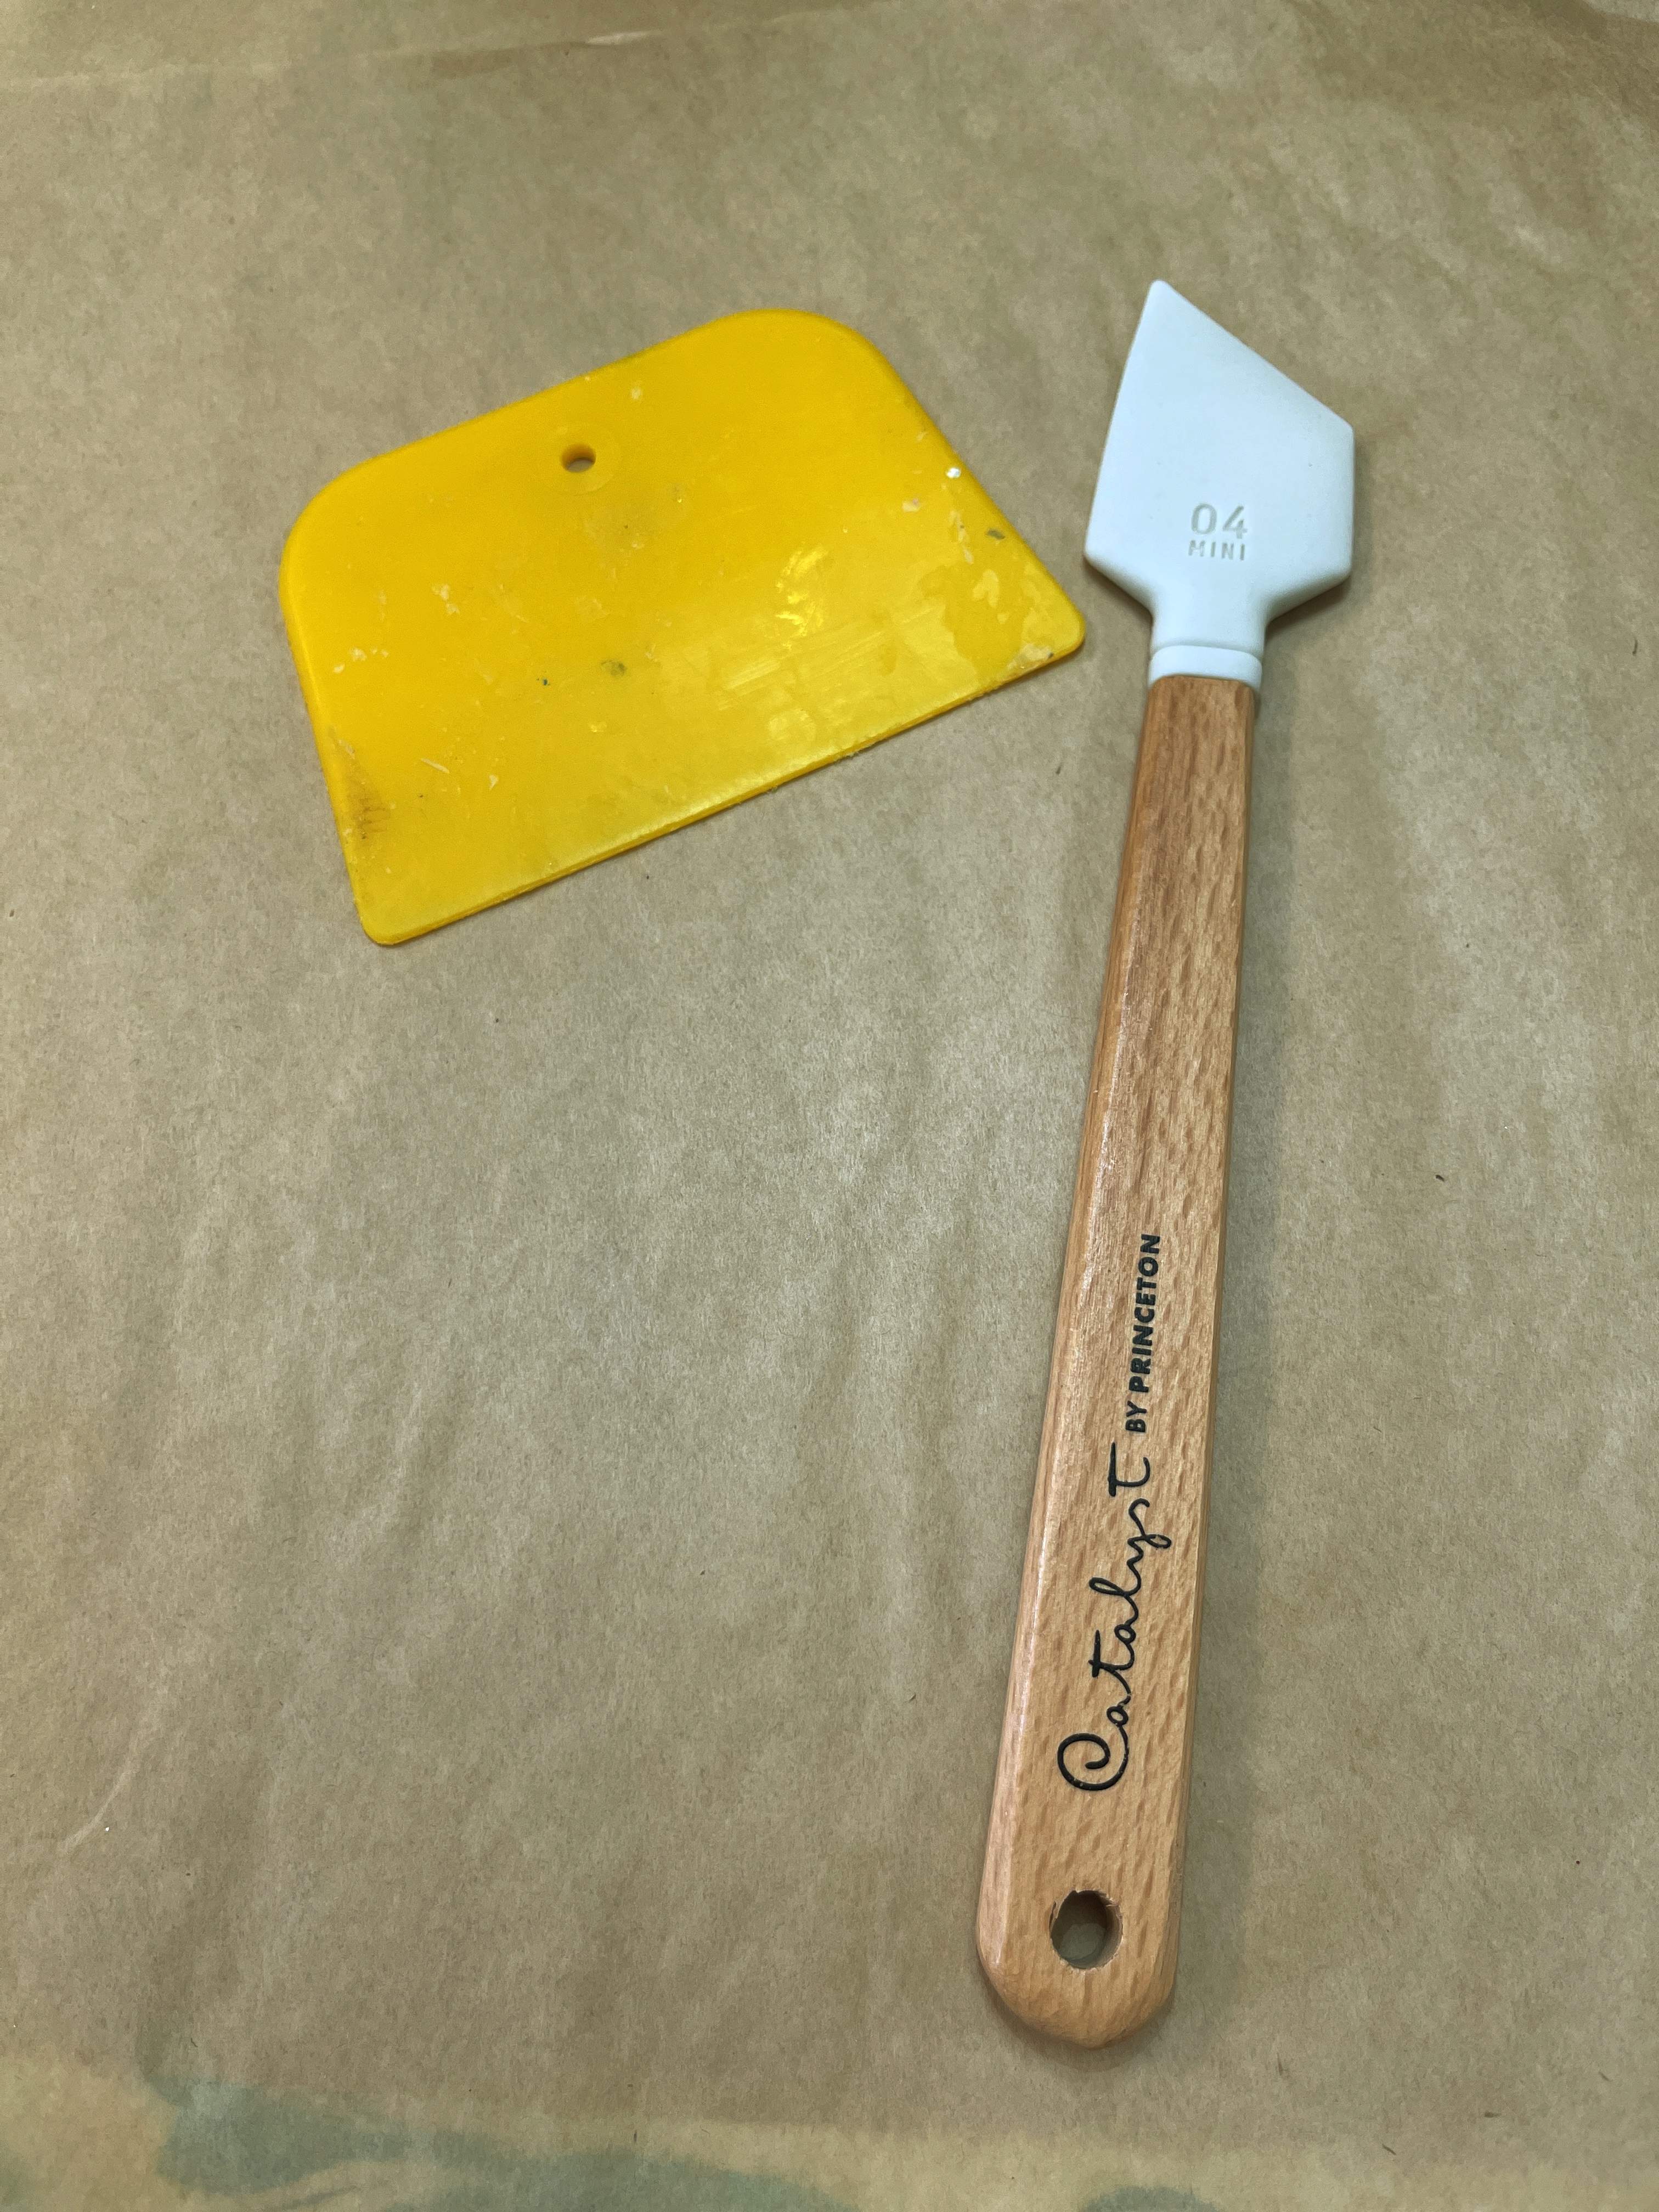
Using either a palette knife or one of my favorite yellow Bondo scrapers I pick up at Harbor Freight I spread the paste through the stencil much like icing a cake. I hold it down with one hand and spread it with the other.
OF NOTE!! Although I generally do not wash my stencils, I always have a pan of water handy when I am using stencils with Molding Paste. You don’t want that stuff to dry in your stencil and ruin it. You also don’t want to run the dirty water down your drain. Wash your stencil in the pan and then throw the pan water outside.
Because I’ve heard of people being impatient and ruining their surfaces by painting or manipulating too soon, ahem, I let my paste dry on the surfaces overnight. A good trick is to work with it your last hour of the day making art and then leave it to dry.
The next day I feel all over where I have applied Molding Paste without rubbing. I just lay my hand on the textured areas. If anything feels cold that means it is not yet dry. Once you can confirm all is dry, the fun starts.
A twofer trick I’ve learned for this next step is to create a pile of book pages, ledger paper, scrapbook paper you hate, and other ephemera (10-12 pieces) and put it underneath where you are working. Trust me, there is a method to my madness.
Get any kind of drippy medium - acrylic inks, sprays, fluid acrylic paints — and hold your piece above the pile. Squeeze some color directly on it and then attack with your water spray letting the drips fall where they may. Periodically toss your pile of drip-catching papers and blot your Molding Paste paper onto the pile. You can even pick up colors other than the one you are working with.
By doing this, you end up with a great load of collage paper!
Once you get to a look you like with the runny mediums, set your work aside to dry. Separate your collage papers pile so they don’t stick together.
Thanks for reading and as I said at the beginning, there is a warts and all process video you can take a look at here.
Hello! I am Kristin Williams and, like you, I have too many #$@^ art supplies.
Amiright?????
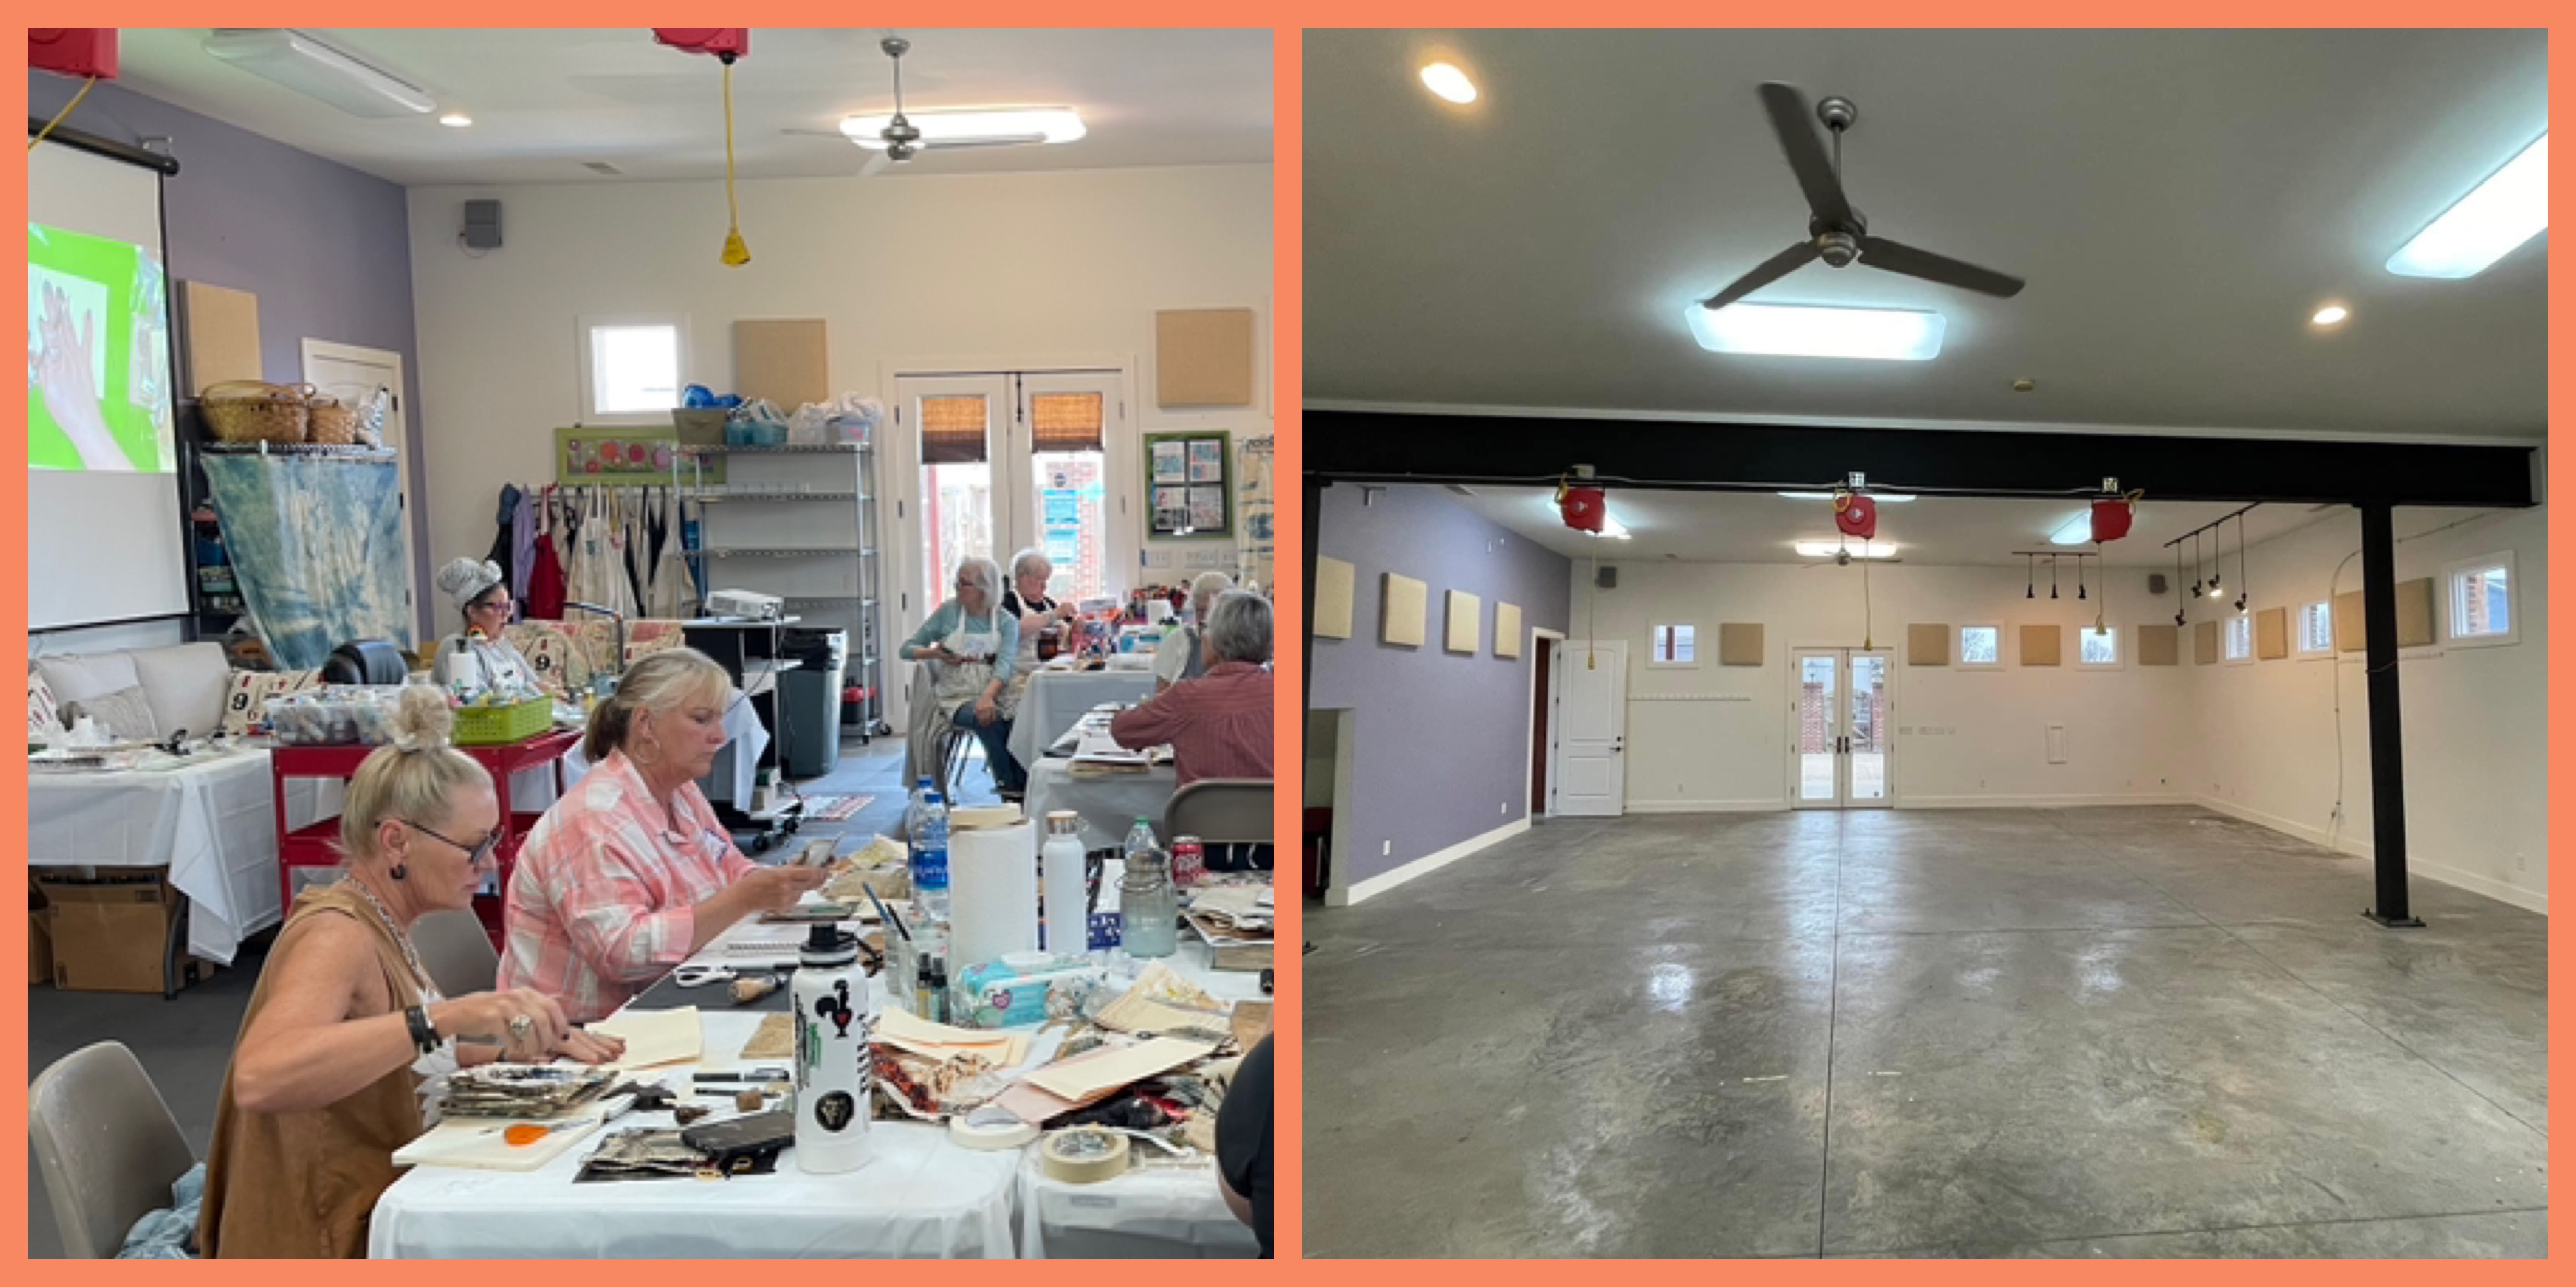
Recently I culled through, gifted, sold, tossed, and essentially liquidated the contents of my 2.500 s.f. shop & studio, Ephemera Paducah. For about 3 months I felt like I did nothing but make 87,532 micro-decisions each day.
At the end of the days in December and November when my husband and I would have the dreaded “what do YOU want for dinner conversation,” I would be in the fetal position in the corner mumbling, “you pick you pick you pick you pick.” Actually, I was probably yelling, "A MANHATTAN!” but the incoherent mumbling makes for a better story.
I survived and am on the other side.
Thankfully I had great helpers, and wonderful customers who enjoyed a heck of a sale, and, just in time, two enterprising folks appeared out of the woodwork and purchased what was left lock, stock, and barrel. By early December the place was cleared out except for what I kept for personal use.
Yeah, more micro-decisions. Where to put all the supplies I wanted to keep?
I ignored the piles as long as I could, but when my big dog TeeJay decided to snack on a tray of Acrylic Inks and took the title “Blue Dog” to a realistic level. I had to get busy.
Sidebar — I don’t know about you, but I have to have something mindless going on in the background while working in my studio. A TV is an art supply for me. I am not ashamed. And, thankfully, as I was doing the business of integrating a gazillion supplies into my home studio in December, I was incredibly thankful for Hallmark Christmas movies. They got me through sorting pens and pencils by color and lifelessness because you can tune out and pick up in the next movie but not miss a thing.
At first, I thought I needed either everything either out of sight, shoving bins into existing furniture and closets, or arranged in cute carts I could rotate as I needed. Since TeeJay is head level with the top of the carts, and art supplies are so delicious, I had to scrap that concept.
Also, I know myself. If I can’t see it when I am working, I am not going to use it. Having all the acrylic paints boxed up in a piece of furniture across the room from my desk was not going to work for me.
Mary Beth Shaw to the rescue! She had gone through the exact same mental exercise of “to see or not see” her Art supplies (prior to the horrible incident of frozen pipes bursting in her studio in December). I hopped in the truck and ran up to St. Louis to see her organizational methods for myself, and fell in love.
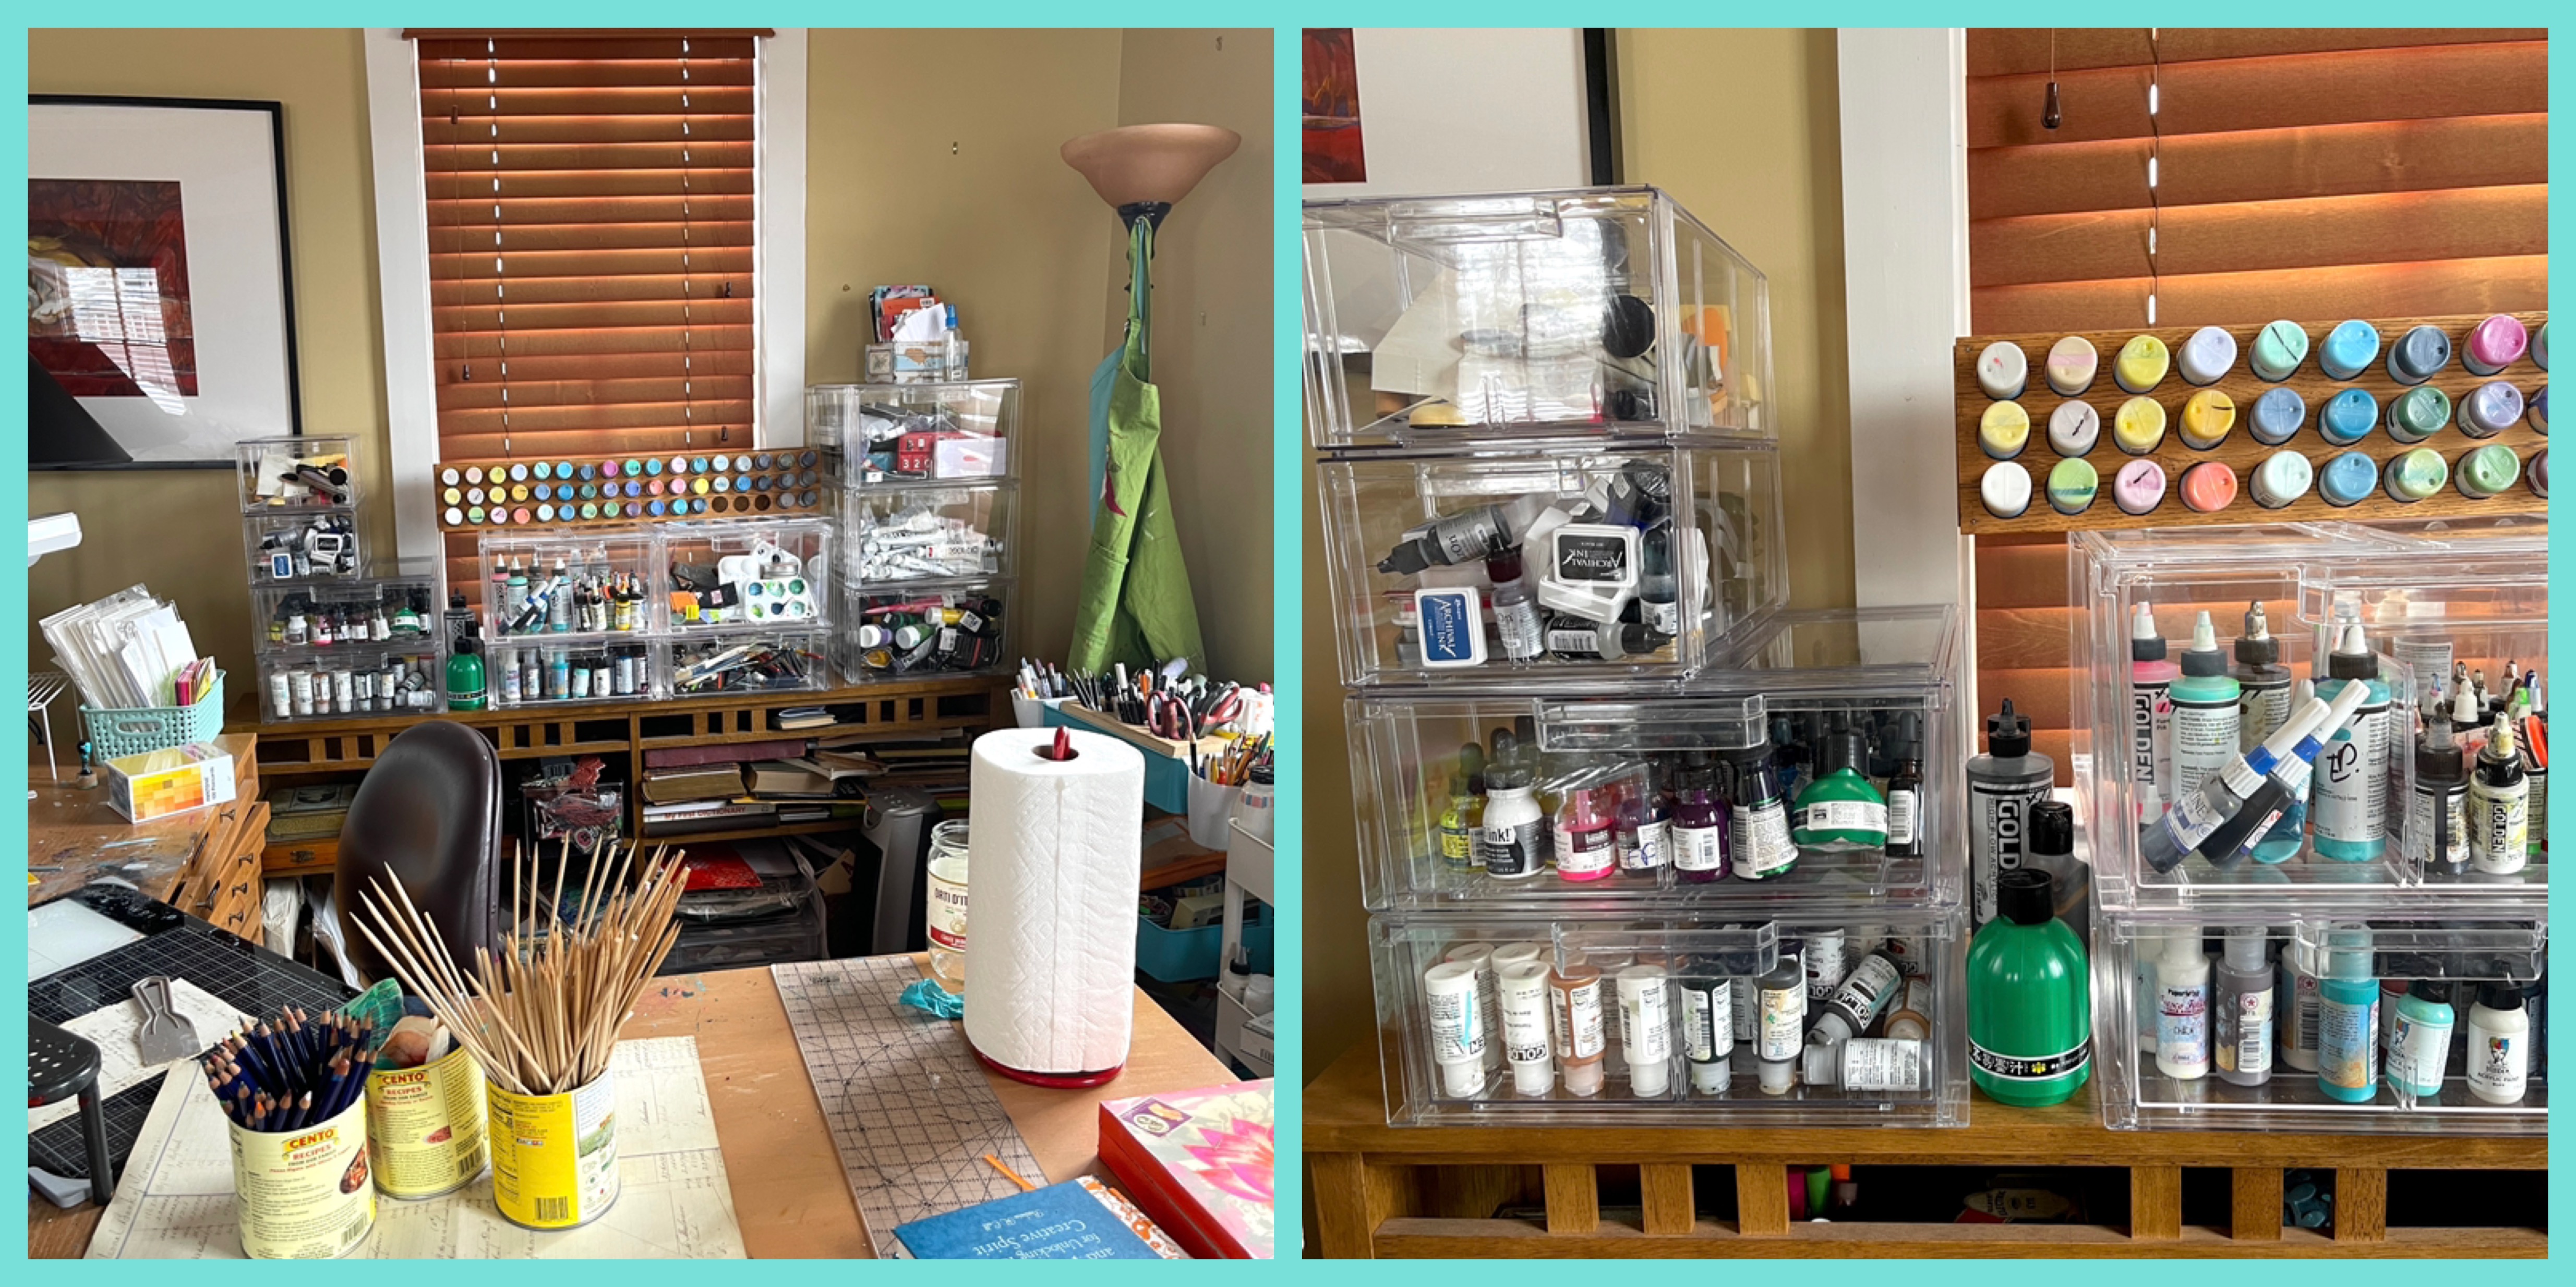
Off to The Container Store we went for clear stackable drawers, (which she reported to me post studio flooding, stayed dry inside). Once home I rearranged the existing furniture in my home studio and created a nest around my desk where I can twist in my chair and grab 90% of what I will use for mixed media — art crayons, paints, pens, brushes, etc. all at hand in a cozy, well-lit space.
I set up my sewing machine in a separate area and moved another piece of storage furniture to house everything fiber. — fabric, thread, notions, and tools. Sorting fabric is my next big thing but I am happy to report that I am still in love with my thread sorting system incorporating the Target felt baskets.
Using the 12” x 12” clamshells always on sale at Micheals or clear zippered pouches, I have my “specialty” packs together stored in furniture rather than out. For instance, I keep all the items needed to carve stamps together. And, I incorporated my favorite re-use of big cans of tomatoes for quick-grab or stuff items on my desk. One of these cans is a fabulous choice for those paper bits you can’t bear to throw away.
I am more compact in my Tennessee Studio. I love looking at this piece and have diligently labeled the drawers with a Signo Uni-ball and blue tape. It obviously is the opposite of “to see” but I can read what’s in each drawer. I also try to limit the number of supplies there as the space is so much smaller. I end up packing what I am working on back and forth to the two locations.
As for stencil storage, I do what works for me which is a giant drawer in Kentucky and a clamshell box in Tennessee. I swear the process of culling through them with my hands is part of my creative process. I love it when I sort through them and trip across the perfect stencil -- something that happens every time. I keep a ratty baggie of my favorite ATCs, Minis, and 6x6s together for travel and couch art journaling.
Other than some of the obvious things like keeping ‘Likes with Likes,” gifting or tossing something as soon as you realize you are not going to use it, having a place for all categories of supplies to live, and labeling as you need to, I don’t have any other words of wisdom other than "to thine own self be true!" I wish I could be creative in a beautifully curated studio, but that intimidates me more than inspires me.
Thanks for reading! If you’ve got a favorite Art Supply Storage tip please add it in the comments!!
![]() |
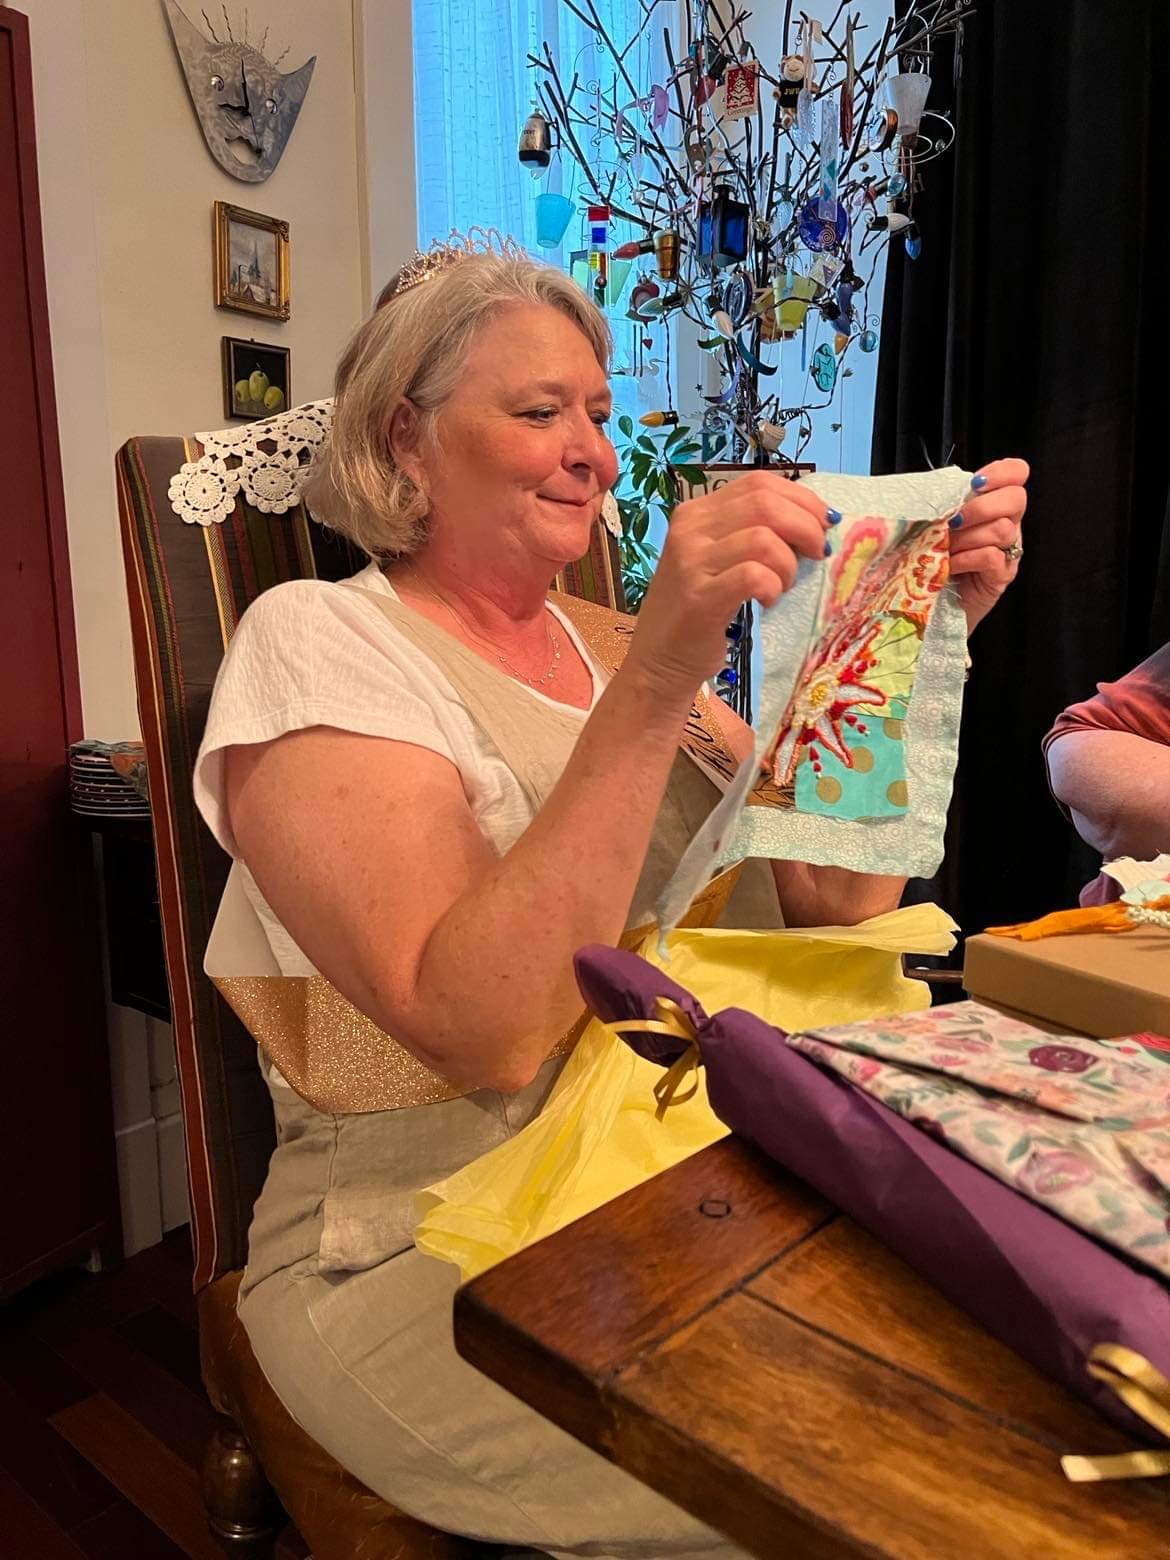
| Mary Beth Shaw, Lisa Visel, and Valerie Pollard's beautiful work. |