Showing posts with label Linda Edkins Wyatt. Show all posts

Thursday, September 10, 2026

Stenciled & Quilted Journal Cover


Hello Art Lovers, Linda Edkins Wyatt here with a new project using my stencil designs and a bonus sale on my stencils for the next two weeks when you use the coupon code SPIRAL20. 


I keep two kinds of journals — art journals with blank pages that I fill with paintings, drawings, and collage, and lined marble notebooks that I use as writing journals. I keep a marble notebook on my bedside and write all kinds of unrelated things in it — interesting dreams, Wordle and Connections puzzle possibilities, color formulas for digital artwork, interesting quotes, things I'm grateful for, and rambling morning / evening pages.

I decided that I could really use a removable, reusable cover for my marble notebooks, so I decided to give making one a try. And what could be better than designing a cover using my very own stencils?

I pulled out a few of my favorites to try stenciling onto cloth. I was feeling very experimental, and didn't have a plan or repeating pattern design in mind. I put some smooth, lightweight 100% cotton fabric on my worktable, pulled out some favorite colors of acrylic paint, gathered my stencils, found some cosmetic wedges to apply the paint, and started experimenting. I used heavy-body acrylic so that the colors didn't seep under the stencil edges. 

Below are the stencils I used:

Spiral, Lemurian Garden #M304; 

Lily, Lemurian Garden #M302; 

Lemurian Poppy, #S900; 

Woodcut Garden, #S958; 

Woodcut Mix, #M335; and 

Pansy, Lemurian Garden #M303. 

(You can see that they are well-loved by all the paint and stains on them!)


Here's a tip: I always put clear packing tape around all edges of my stencils when they are brand-new.  Many of my designs go right up near the edge of the mylar, so the tape gives some extra space and helps to avoid accidental smudges. I put the clear tape on both sides so there is no stickiness, and since the tape is clear, it allows me to see what is underneath.


Here's another tip: I used painter's tape to mask off some sections of my stencil when I had a small space to fill. On the bottom left photo you can see that I taped off the outer petals of the Pansy to make it a little smaller. I also taped off parts of the dots from the spiral and used them to fill in empty spaces and add visual interest.


I was pretty happy with the printing, but the white background bothered me. It seemed too boring. I also wanted something to unite the colors and patterns, so I decided to conduct a few tests and see if I could change the background color with some watered-down ink.


I liked the colored backgrounds, but decided to go lighter so that the stencils would pop more. Below, I diluted the ink with water and tried again. (I felt kind of like a mad scientist!)


On the left photo, I tested an edge with the light pink ink, and liked the look. So, I went ahead and covered the whole piece with light pink. I was anxious to see how it would dry, so I pulled out my hairdryer to help speed things up. Once the fabric dried, it was pretty, but needed something more. I decided to enhance it with quilting. 

I made a "quilt sandwich" with the stenciled and dyed fabric on top, thin batting in the middle, and some plain pink fabric on the back. I pinned the three layers together, then, using pink thread, did some free-motion machine quilting in a swirly pattern.


Once it was quilted, I carefully trimmed the fabric using my rotary cutter, metal ruler, and cutting mat to a size (11" x 17") that would fit nicely around the 7.5" x 10" book. I stitched an 11" x17" piece of the pink backing fabric to create a facing for the marble notebook's cardboard front and back to slip into.


After stitching the backing, I realized that I hadn't allowed for an opening that the marble notebook covers could slip into! So, I sliced down the center of the backing carefully and created two pockets for the front and back of the marble notebook.


It was almost finished, but the front cover seemed too plain, so I decided to honor my very first stencil, the spiral, by using it for a decorative front embellishment. 


The spiral is the shape that got me started as a stencil designer so it is kind of a "favorite child". I had entered a hand cut a spiral stencil, along with artwork created from that stencil, in a Cloth Paper Scissors magazine "Hand Cut Stencil" reader's challenge. It was among the winning submissions featured in Cloth Paper Scissors May/June 2016 issue. 

That success inspired me to join StencilClub, gave me the courage to apply to be part of the StencilGirl Creative Team, and eventually the confidence to submit my own stencil designs in 2020. 

Here's the artwork created with my very first spiral stencil, and the cover of the issue — from 10 years ago — that it appeared in:


My first try at a stenciled embellishment for the front cover of my journal wasn't quite right. I liked the turquoise spiral on the hand-dyed olive fabric, but the colors clashed with my quilted cover. I tried uniting the spiral patch with the cover by adding decorative buttons covered with some of the dyed fabric experiments. It was interesting, but not quite right, and also would have been too lumpy on a journal.


So, I used some of the cotton that I had dyed light pink (using the leftover dye from my earlier experiments) and tried stenciling the spiral with both white embossing powder and white acrylic. I tested both deep pink and aqua inks over the white spirals to see what looked best.


Once the samples were dry, I decided on the pink version that was dyed over white paint. I was a bit surprised that the white paint created a better resist than the embossing powder...on paper embossing creates a beautiful resist, but on fabric, the embossing ink sunk into the fabric too much and looked spotty. 

Next, I debated about the shape, and decided on a circle. I traced around a roll of packing tape to make the circle, then rusticly hand stitched the white spiral with white thread, basted the edges, and added some turquoise beads around the edge. The beading is a little wonky, as is the white hand quilting, but I decided to embrace my wonkiness and let go of my Virgo quest for perfection. My inner critic is still screaming at me to fix it and make it perfect :-)

As a final touch, I created a page marker with a handmade tassel, a few small beads, and one of my own handmade beads made from recycled Tyvek USPS mailers. If you want to see how to make the tyvek beads, here's a link to my post on bead-making.


Last but certainly not least, don't forget to use code SPIRAL20 to get 20% off any of my stencils through 9-24-26. 

If you want to see more of what I've been working on,  I hope you'll take a look at my beautiful new website and see all my favorite creations, especially my stencils & stenciled art section!

Happy Creating! 

Linda :)


Thursday, June 22, 2023

Check out the latest designs from Linda Edkins Wyatt!


Linda Edkins Wyatt’s Picnic Check stencil, S957, was inspired by medieval flags. The small heart shapes surrounding the diamond, as well as the paintbrush shapes inside the rectangles, add whimsy to the hard-edge geometric shapes. This design complements and contrasts with the flowing, abstract designs in her previous collections.


Linda Edkins Wyatt’s Woodcut Garden, S958, was created from several of her hand-carved stamps, and is a companion to Woodcut Mix, M335. The flowing leafy and floral shapes were designs she constantly doodled, so she carved them into stamps, printed them together in an allover arrangement, then interpreted the new pattern as a stencil. It coordinates nicely with some of her small geometric patterns from the Wyatt ATC Mix Up, L852.


Linda Edkins Wyatt’s Paper Doll stencil, S959, was inspired by her childhood love of paper dolls, especially Betsy McCall. As a child, it frustrated her that the paper dolls were stiff and unmovable, so she designed this stencil to have movable parts, allowing the dolls to express the feelings and energy of the person creating the doll. The dots can be poked with a needle or awl, and a small brad will join the pieces, keep the limbs together, yet allow for movement and pose-ability, and inspire storytelling.


Linda's stencils are available now at stencilgirlproducts.com


Tuesday, April 5, 2022

Wooden Shoe Love a Pair? How to Make Paper Clay Molds with Stencils and Carving Rubber


Hi Friends.  It’s Jill McDowell here sharing another way to use stencils in your upcycled, art, and home decor projects.

I recently had one of those rare a-ha ‘peanut butter meets chocolate’ moments when I spied on my work table a package of Paper Clay sitting on top of a package of Carving Rubber.  I started experimenting and discovered that YES, you absolutely can make a mold out of rubber and then use the mold to make a pair of paper clay shoe buckles.  Who knew?  Keep reading and I’ll show you how I used my own Four Bells Trivet stencil to do it. And as a bonus, I’ll also share how I turned a wooden shoe into a vase by repurposing packaging from a common bathroom toiletry item.

Previous to my a-ha moment, I had scored a child sized, mismatched pair of wooden shoes at the thrift shop.  One shoe was clearly an old souvenir, while the other, stamped Holland on the bottom and the number 16 in its heel, proffered to be an authentic Dutch Wooden Klompen.  (Don’t you just love how the word Klompen rolls off your tongue?). I gave myself permission to repurpose both clogs since a quick check online turned up a rather large number of wooden shoes available for sale.  Turns out wooden shoes are neither rare nor precious artifacts to anyone except us creators.


At $1.99 each, (a wapping $3.18 for the pair after my Senior discount) these wooden shoes were an absolute steal so I scooped them up and into my cart.  Back at home, I poured over Pinterest in search of nuggets of inspiration down that rabbit hole known as cyberspace.  (No sense in reinventing the wheel if I can find a way to put my own spin on a good idea….) And I pulled together an Wooden Shoe inspiration board on Pinterest .  Check it out for more wooden shoe upcycling ideas or if you just want to feast on some yummy eye candy.

Inspiration under foot, (pun intended) I set about developing a plan to repurpose my shoes.  I appreciated that they were an odd couple and decided to subtly exploit their mismatchiness, (ok, I confess that I may have just made that word up to frustrate spell checker).  I liked to think of them as a matched pair who let their distinct personalities blossom during their senior years.  
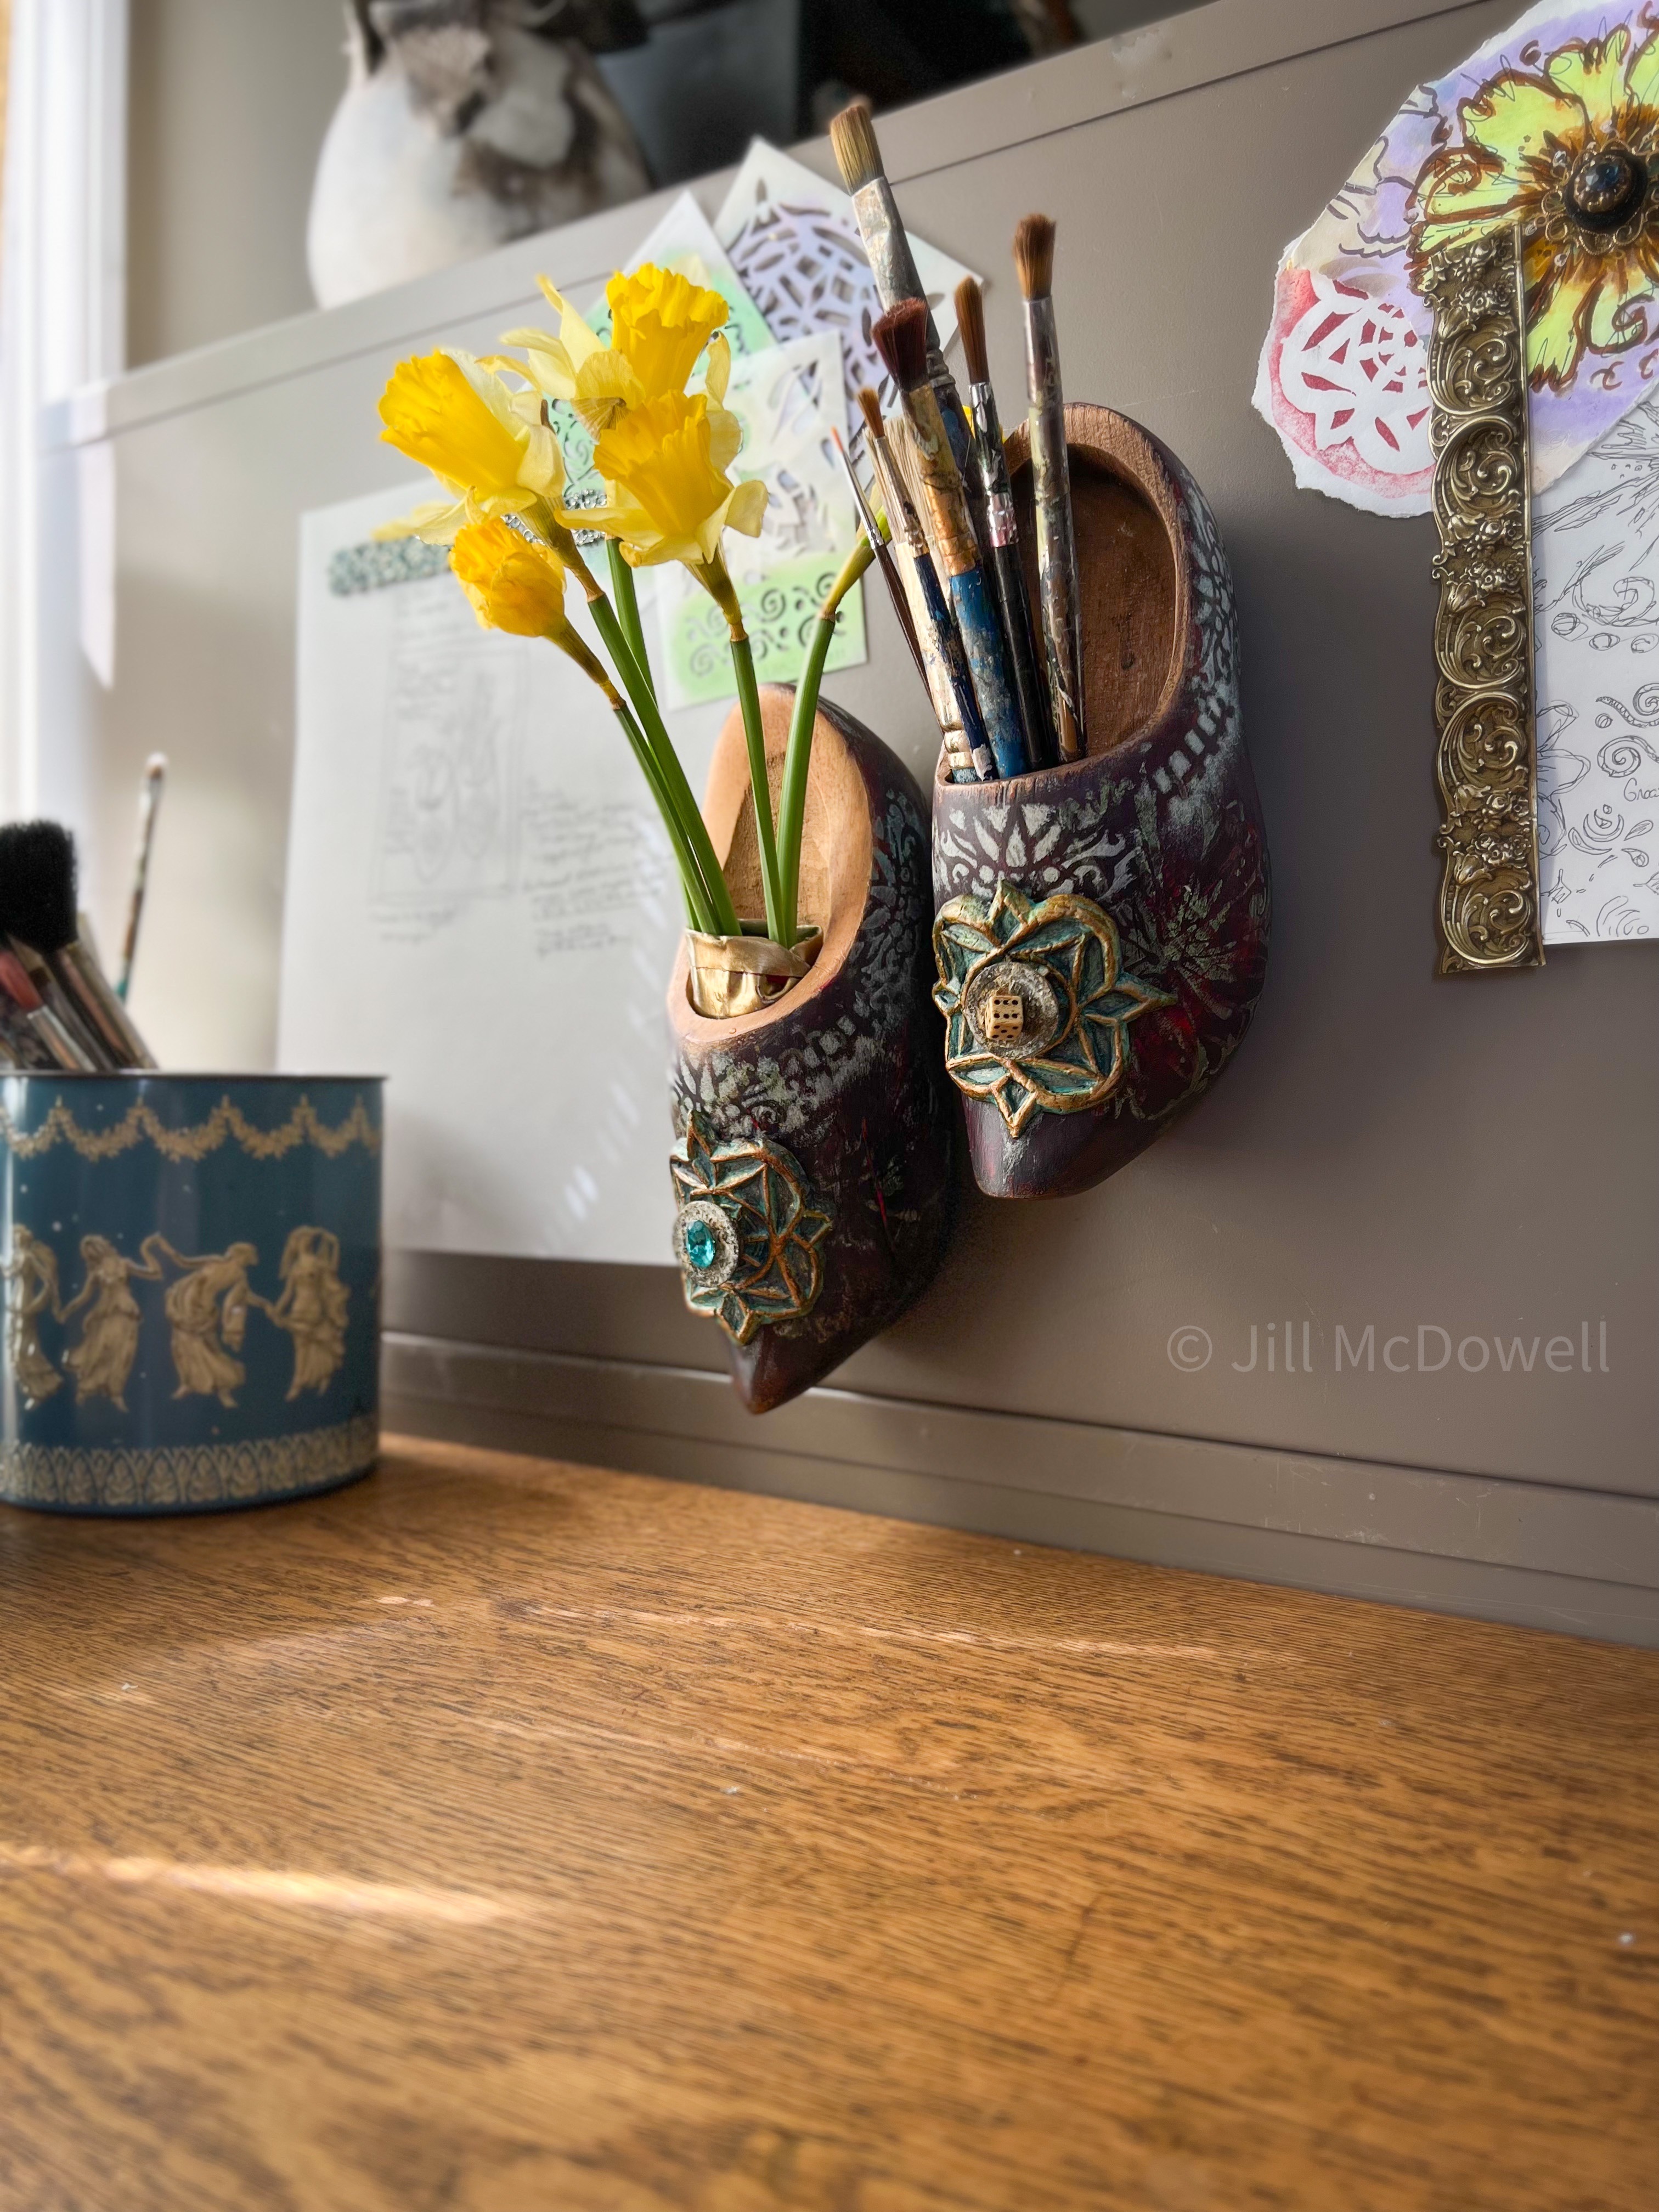
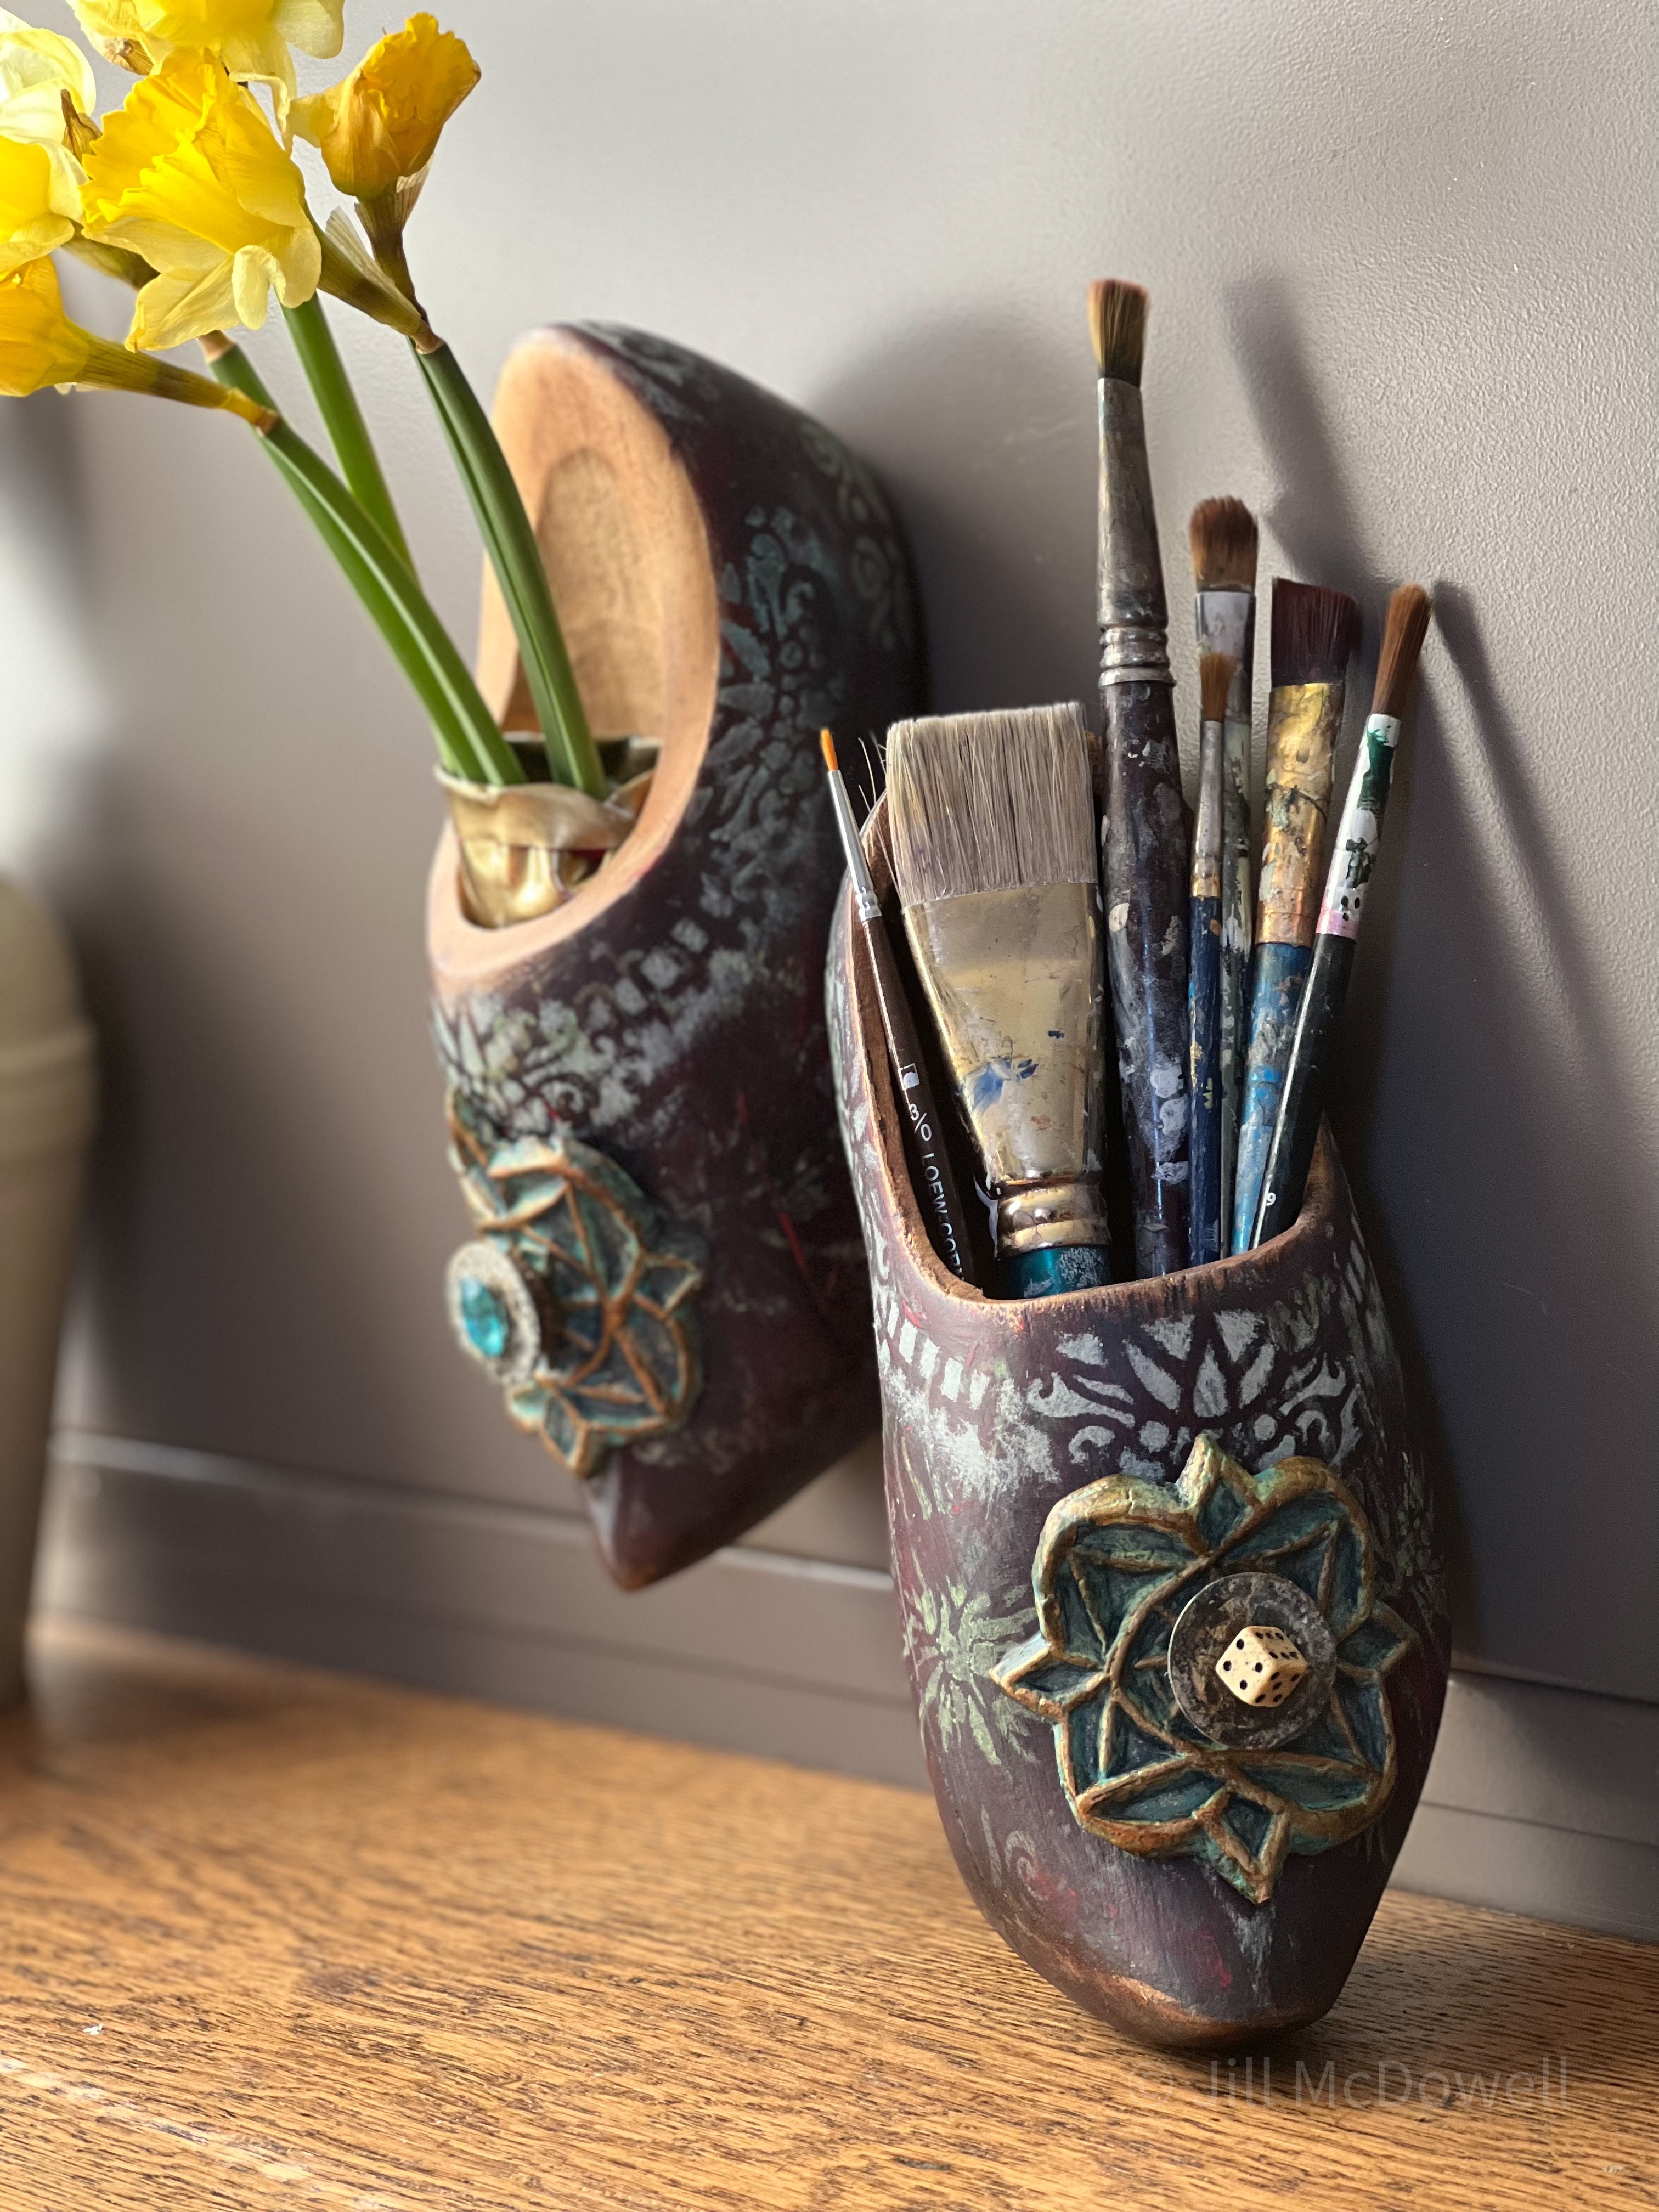
Eventually, I opted to fashion both shoes in an old vintage style with big honking aged metal buckles. One shoe, I’m calling the artist, would become a vessel to hold paint brushes while the other, the naturalist, would be transformed into a flower vase. Ultimately, I wanted them to live together on the magnetic inspiration board I have in my art room, (LOL, It’s really just the side of my flat files). 

So let’s get on to the actual making….

How to make a Mold from your Stencils with Carving Rubber Blocks

Tools and Supplies

Clockwise from top left: 
  • Carving tools (I have a variety of tools in the basket, all work but my go to favorites are my Palm and Micro carving tools made by FlexCut); 
  • A rubber carving block, (I’m using an Inovart Eco Karve Printing Plate.  It’s both thick and easy to carve); 
  • A brayer, (I picked up this vintage one a a thrift store a few years back.  A rolling pin, smooth bottle or can would also work to roll out the Paper Clay); 
  • Corn starch (I like to keep mine in an old salt shaker.  Baby powder is a good substitute if you don’t happen to have any in your pantry); 
  • A variety of clay shaping tools, (use whatever you have - the end of a paintbrush, an orange stick, a pen cap, anything that will help you smooth the clay); 
  • Metal files, an Emory board, or sandpaper* to smooth the edges of your pieces once it’s dry;
  • A stencil, (of course I recommend StencilGirl®️ Stencils); 
  • A stamp pad and your choice of ink applicator* (I used a cosmetic wedge);
  • A Sharpie Marker*; 
  • A craft knife * used to cut the rubber;
  • Air Dry Paper Clay*, ( I used Creative PaperClay Modeling Material but most any brand of air dry clay will work);
  • A piece of thin plastic*, (I recycled a bag from the dry cleaners);
  • Key: *=not pictured

Creating the Mold from Rubber

Before we get into actually carving the design, let’s go over a few notes on carving safety; 
  • Always remember that carving tools are extremely sharp and should never be used without adult supervision.  
  • Always carve with your hands pointing away from you to avoid being cut if the blade slips.
Carving a mold is similar to carving a stamp.  You’re just carving deeper into the rubber knowing that the area you carve out will become a relief printing. This means that any marks on the bottom and sides of your channels will show when you fill it with clay and unmold it.

I choose to use my Four Bells Trivet  to create my shoe buckles.  Then I began making my mold by applying ink onto a the surface of a rubber block with a cosmetic wedge.  I used a Sharpie Marker to designate where I wanted to carve out the channels of the mold. (Keep in mind that you don’t need to carve the entire design; you can pick out just the shapes and patterns that work for your project.)

Then I carved into the rubber block, making the channels wide and much deeper than I would have had I been carving a stamp.  The deeper you carve into the rubber, the taller your element will be.   I’m being careful not to carve all the way through to the other side.
This mold is close to being finished.  Since I’m going for a vintage look, I’m perfectly happy leaving nooks, crannies and rough patches in the channels knowing that the imperfections will show in the clay when it’s unmolded and painted.  Once I was satisfied with the mold, I cleaned out any excess rubber pieces left in the channels with a stiff brush and then using a craft knife, I cut the mold from the big block of rubber.

That was pretty easy!

Molding with Paper Clay

I took a small piece of clay out of the package, rolled it into a ball, sandwiched it between two pieces of thin plastic, (I recycled a dry cleaner bag for this purpose), and used my brayer to roll it out to about 1/4 inch thick.  You’re aiming for an even, smooth finish with no cracks that’s just under the size of your mold. (Be sure to keep any clay not being used in a sealed plastic bag along with a wet baby wipe to keep it from prematurely drying out.)
Then I sprinkled both sides of the clay and the mold with a dusting of corn starch to keep the clay from sticking to the mold.
I used my brayer to roll the clay out over the mold and gently pushed it down into the carved channels. 

There is no need to wait to unmold the clay. Just gently pull the clay away from the rubber using a rolling motion. 
Here’s what the clay looks like fresh out of the mold.  If you’re not happy with what you see, no worries just roll it back up in a ball and re-roll it. If you need to make adjustments to your mold you can go back and carve in more details, but just remember once it’s gone you can’t put it back, so I advise moving slowly.  

Once I was satisfied with my relief print, I started cleaning up the clay.  I wet my finger and used it to gently smooth out any cracks then used my clay shaping tools to crispen up some of the details.  (You can also add additional texture with the clay tools at this point.) Finally I used a craft knife to trim the edges of the buckle into the shape I wanted and then smoothed the edges with my wet fingers.  Keep in mind, the more smoothing you do now, the less sanding you’ll need to do once it’s dry.  
Normally I would set the piece on a wire cooling rack to dry, (be patient as this could take several days depending upon your climate.). You’ll know its dry when the clay no longer feels cool to the touch.  If your piece begins to curl out of shape you can ‘lightly’ mist it, and then cover it with a piece of deli paper and a book (not too heavy) to weigh it down. Let it sit overnight and it should flatten out in a few hours.

However for this project I wanted the buckles to hug to sides of the shoes.  So I molded them over the shoes and let them dry. While the drying process takes longer this way, the fit will be perfect when it’s time to glue the buckles onto the shoes.

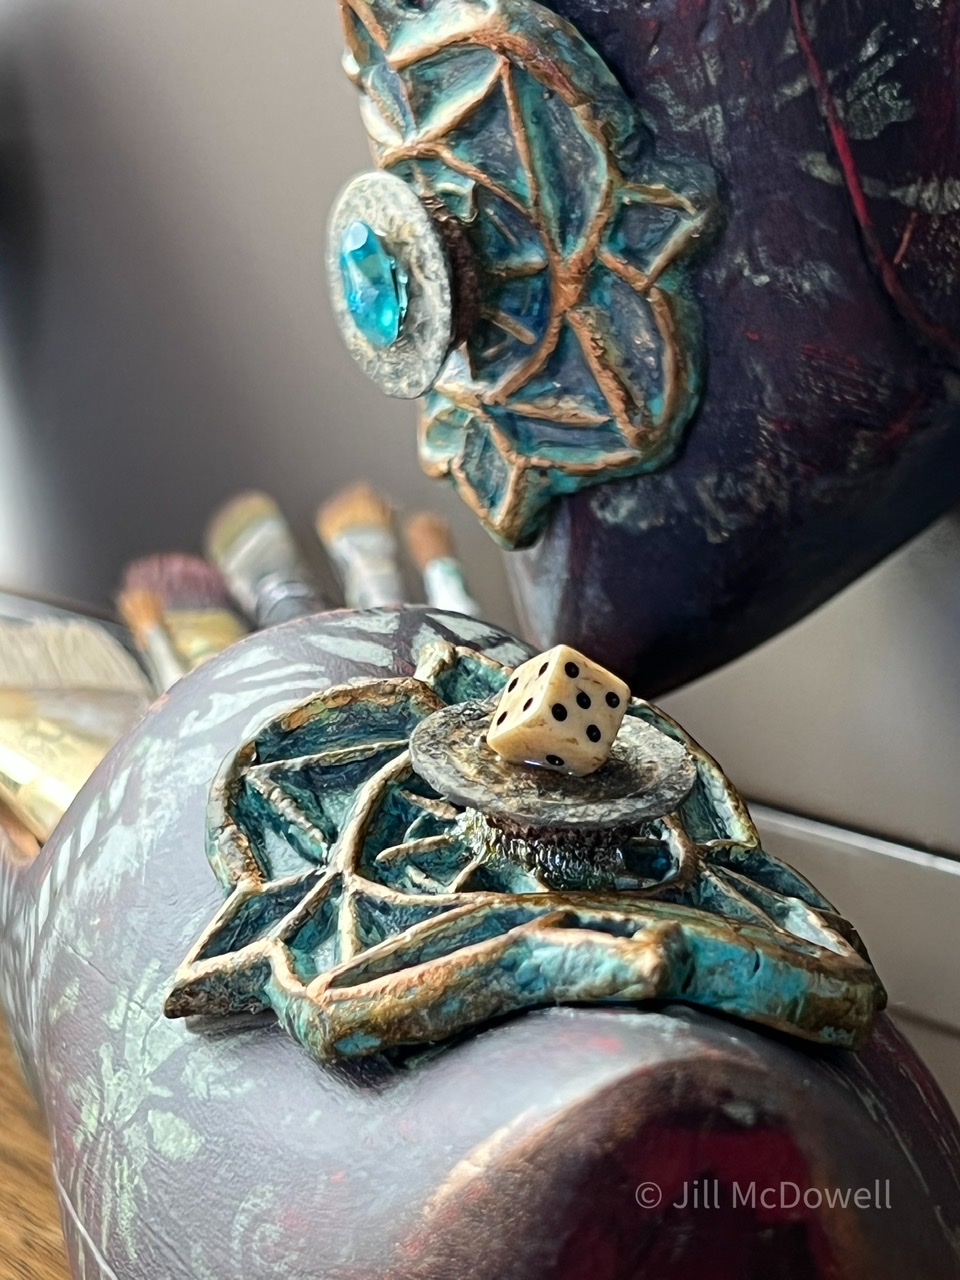
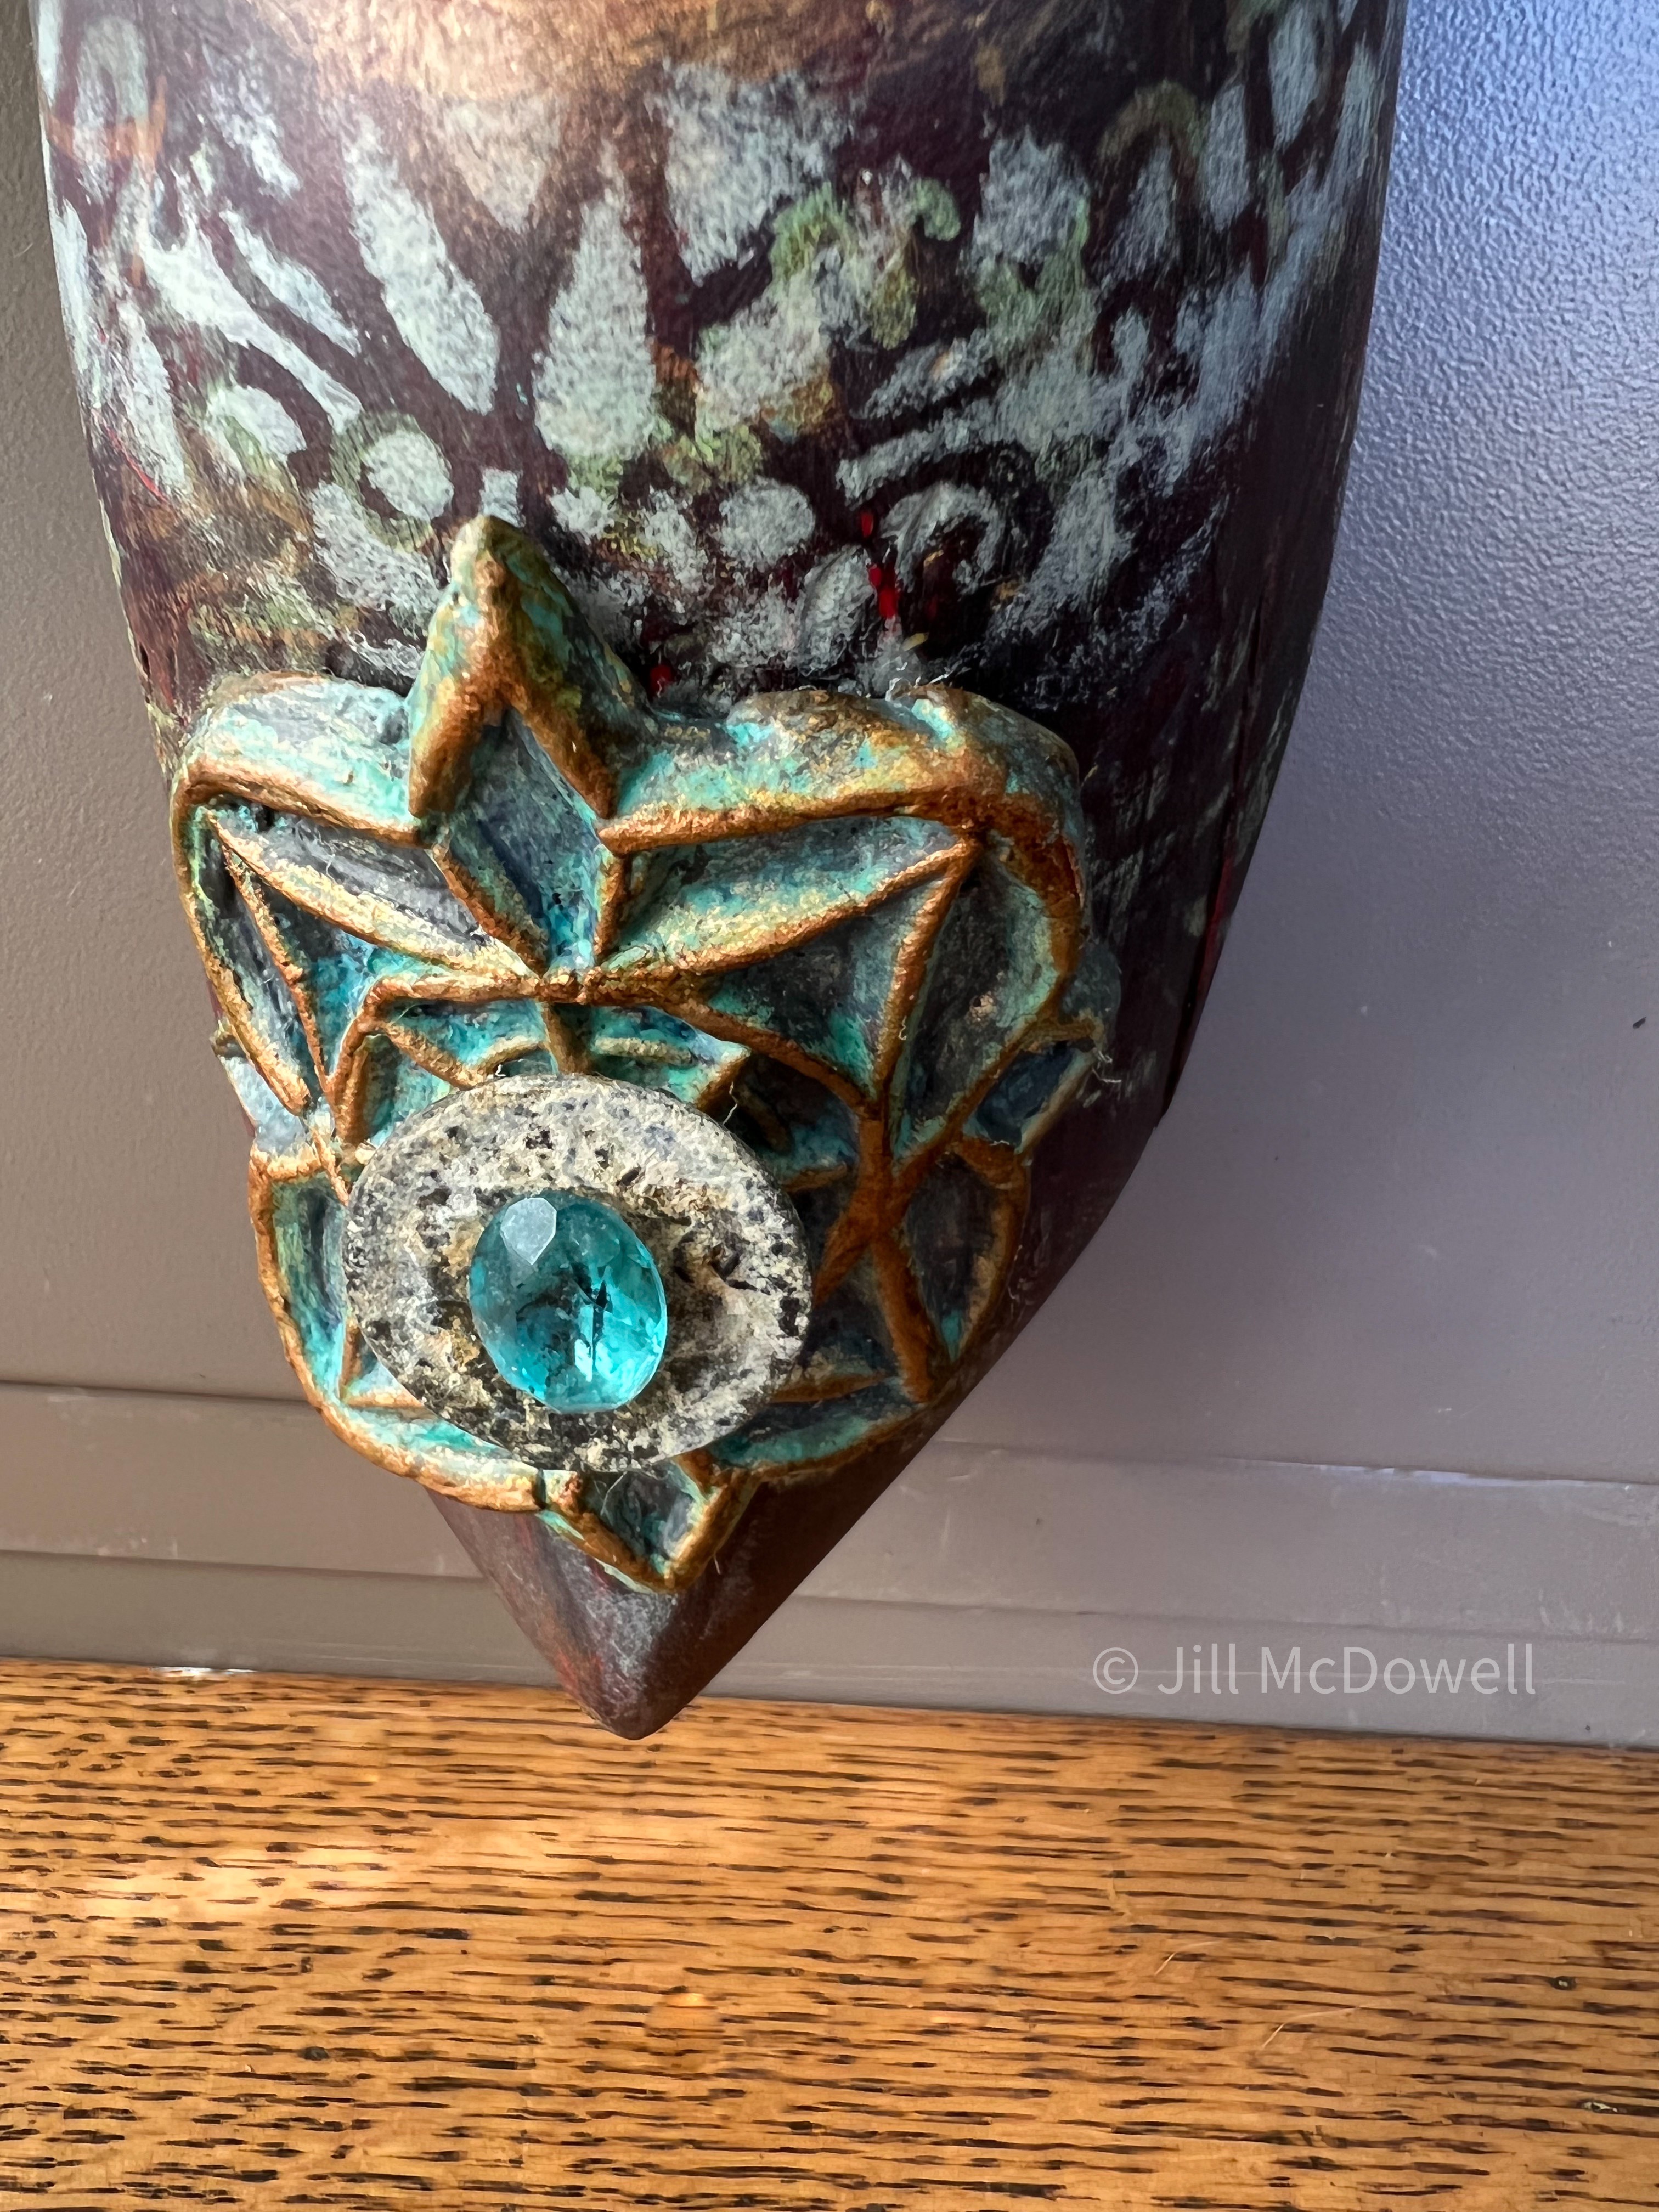
Once the buckles were fully dry, I sanded all the rough edges with a file, (you could use an emery board or sandpaper) and then set about aging them with acrylic paints and waxes.

I dug through my stash to find the perfect embellishment befitting their unique characters for each buckle. I wanted them to sit high off the buckle so I raised them up with and acorn cap.  


Transforming the shoes 

I used these four StencilGirl®️ Stencils in this project, two of my own designs; my Four Bells Trivet  (for the buckles) and my Four Buds Trivet stencils, along with two Linda Edkins Wyatt’s designs; her Loose Mum Stencil and a sweet little motif pattern found at the very bottom of her ATC Mixup which I used to dress up the back of the heels.

I lightly sanded and then painted the shoes with red gesso.  Then I just kept adding glazes tinted with a mixed of purple, gold, and brown until I got the worn vintage look I was going for.

Then I stenciled them using Linda Edkins Wyatt’s new Loose Mums stencil on the front and a sweet little design I fell in love with from her ATC Mixup stencil to dress up the heels.  I knocked back the stenciling with sandpaper to make the shoes feel worn.  Finally, I dry brushed Titan Buff paint over my Four Buds Trivet to the shoe rims. 

Finishing Touches

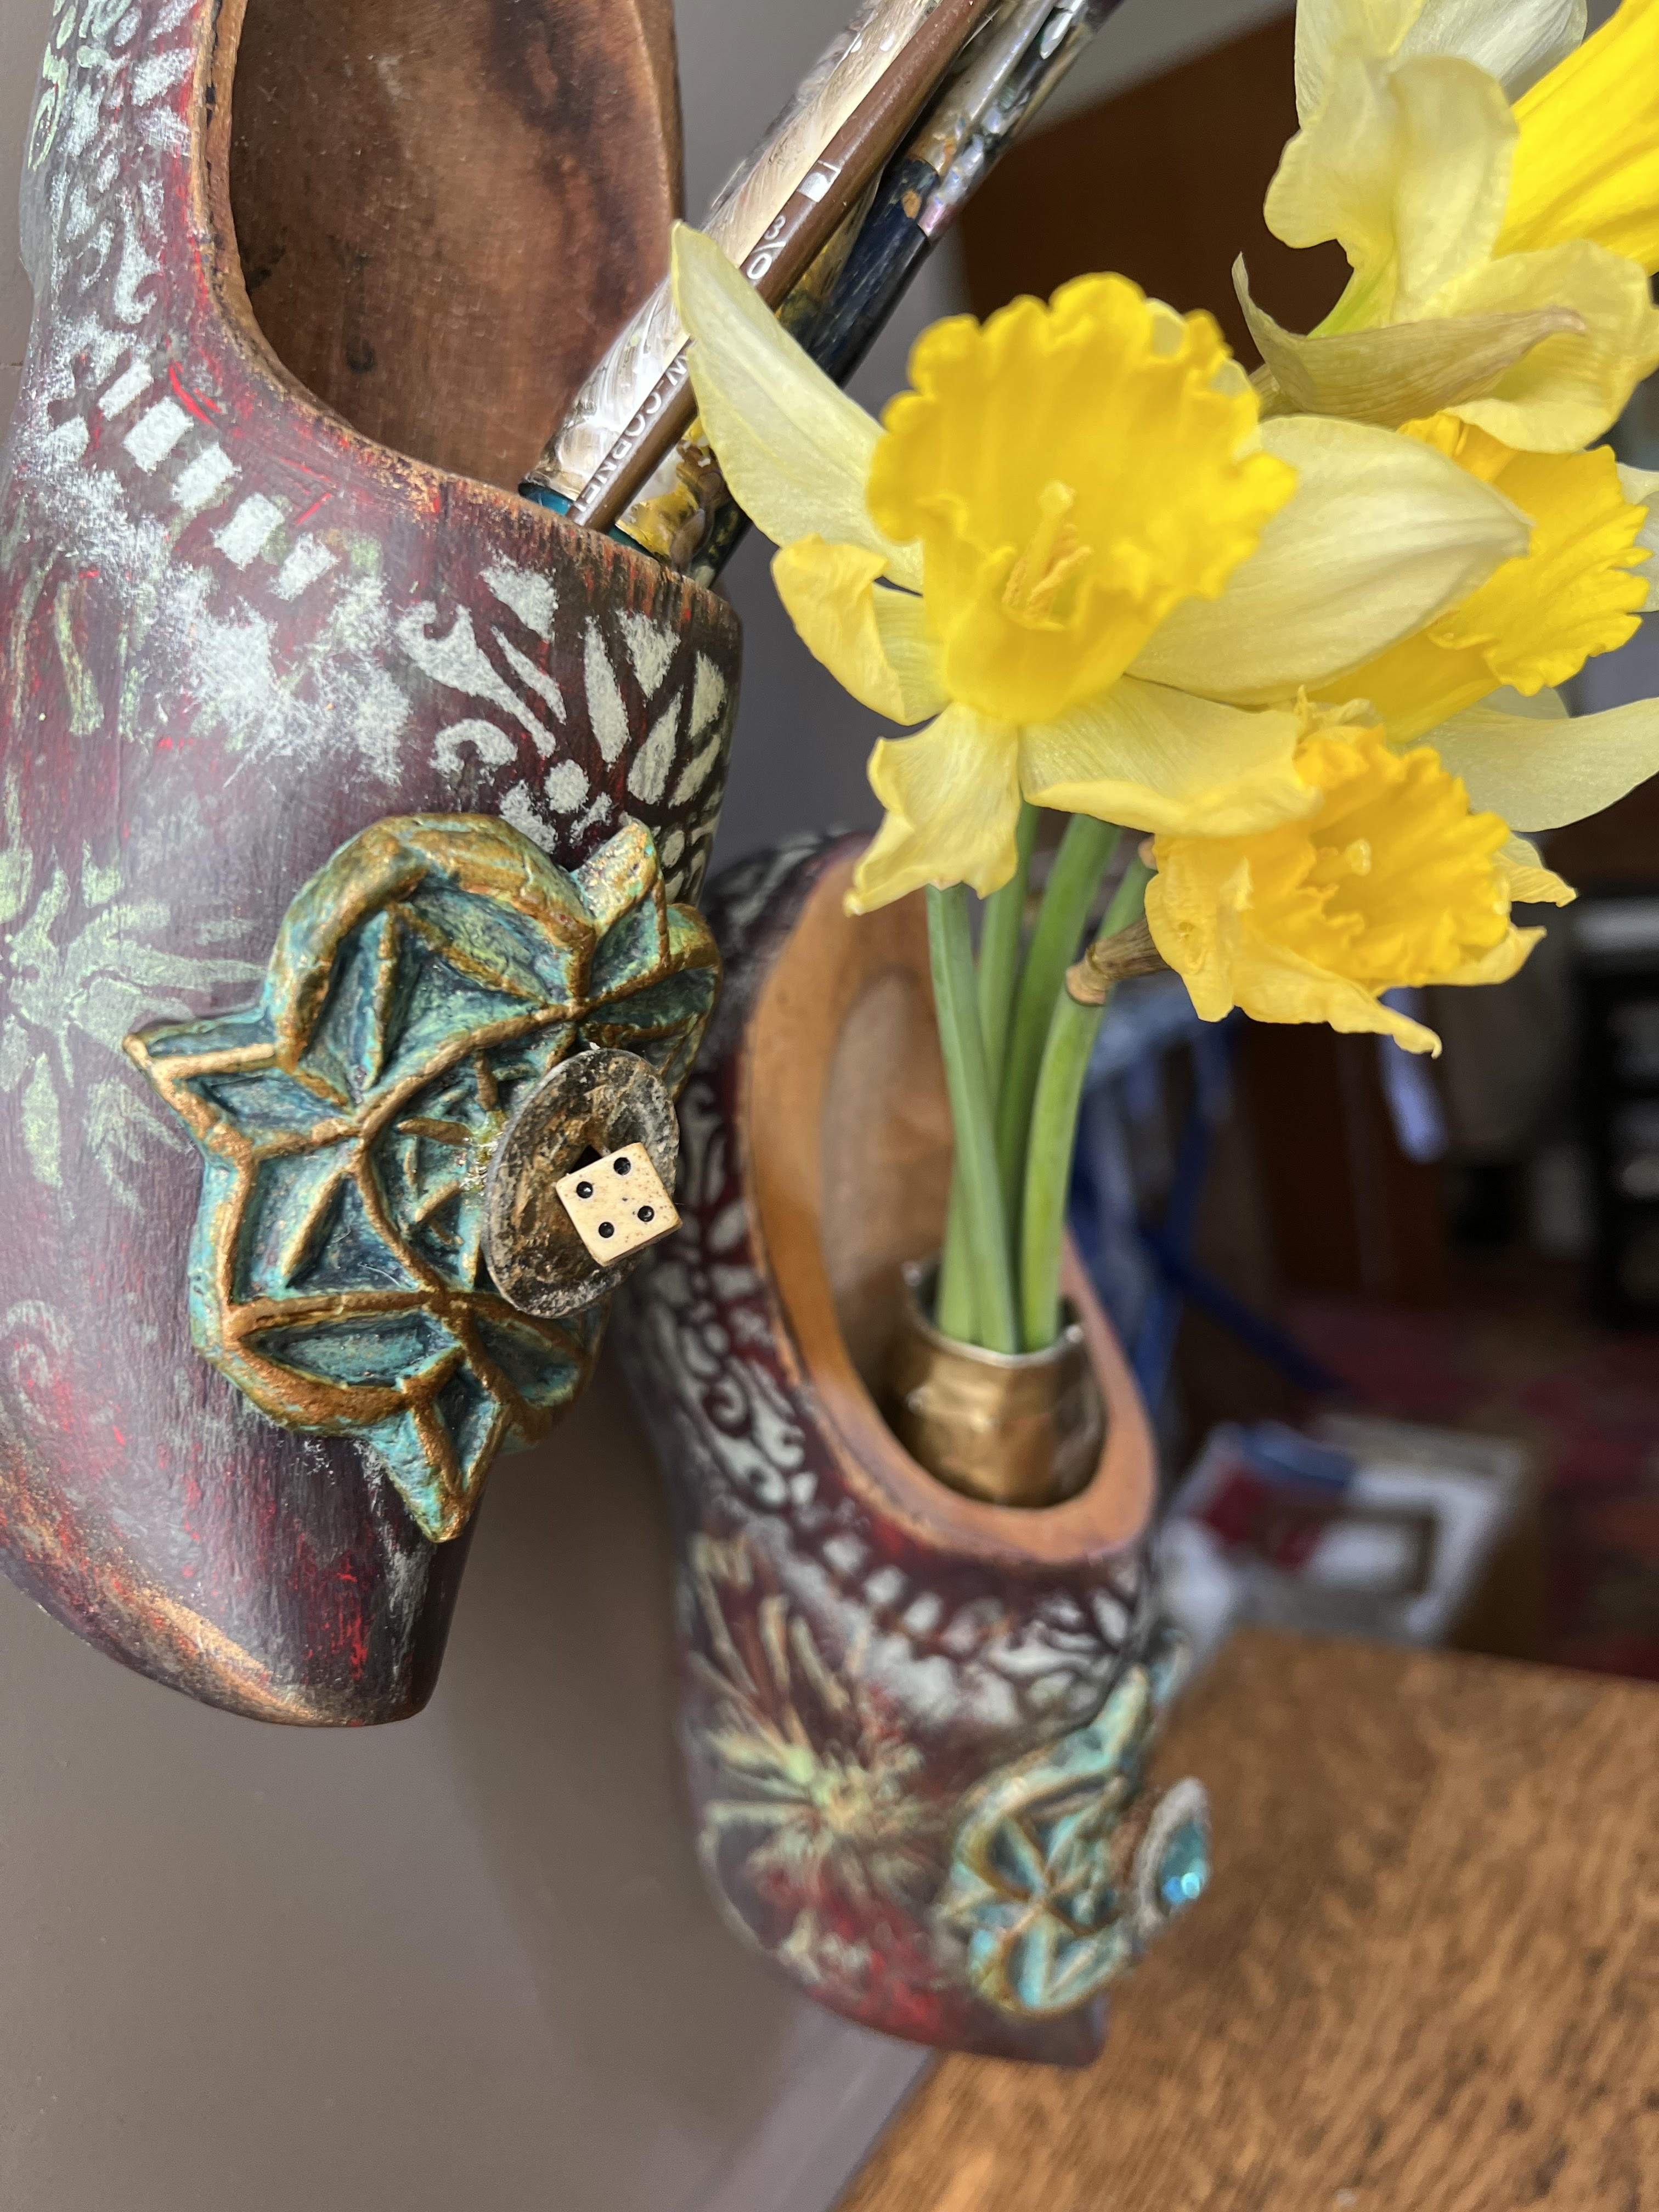
I repurposed a toothpaste tube to line the shoe that was to become a vase. I just cut the top of the tube off, washed out the leftover toothpaste, folded over the top edge to adjust the height, and painted the visible area with a gold paint pen.  It was the perfect solution and cost me nothing!


And lastly, I glued on the buckles; added strong neodymium magnets to the back of each shoe so that I could mount them and move them around my memo board, (which is actually just the sides of my flat files); and sprayed them with three coats of Krylon UV-Resistant Clear Coating to seal and protect the wood.

And that folks is the end of this project. It also draws to the end my time here as a StencilGirl®️ Columnist as I’ve decided to focus more on my family, (I just became a Grandmother!).  It’s a bittersweet moment for me and it’s hard to find the right words to express how grateful I am for the opportunities and experiences I’ve gained representing StencilGirl®️ these past four years.  I’ll always be a StencilGirl®️ at heart.  Thank you all for the support you’ve all shown me over the years.

And with that, I’ll leave you with a few more beauty shots of my Wooden Shoes.  Take care, pray for peace, and keep creating.  Hugs, Jill


Follow me on Instagram at: