Today I am using the Tall Birds stencil to show you how versatile this one little stencil (and a bit of Stendoodling) can be. The tutorial is for the birthday card in the photo at top. After that I show some other cards you can also make with the same stencil.
Supplies used:
Tall Birds Stencil (6" x 6") from StencilGirl Products
Circle 9 (9" x 12") from StencilGirl Products
White cardstock,6" x 12"
Watercolor paper, 3.5" x 5.5"
Black cardstock, 3 5/8" x 5 5/8"
Black Permanent Marker
Vintage Photo Distress Ink (optional)
Happy Birthday Phrase
Black Archival Ink
Double sided tape or other glue
Bling
Stickles
Prismacolor Watercolor Pencils and a waterbrush
Bling
Stickles
Prismacolor Watercolor Pencils and a waterbrush
Step by Step:
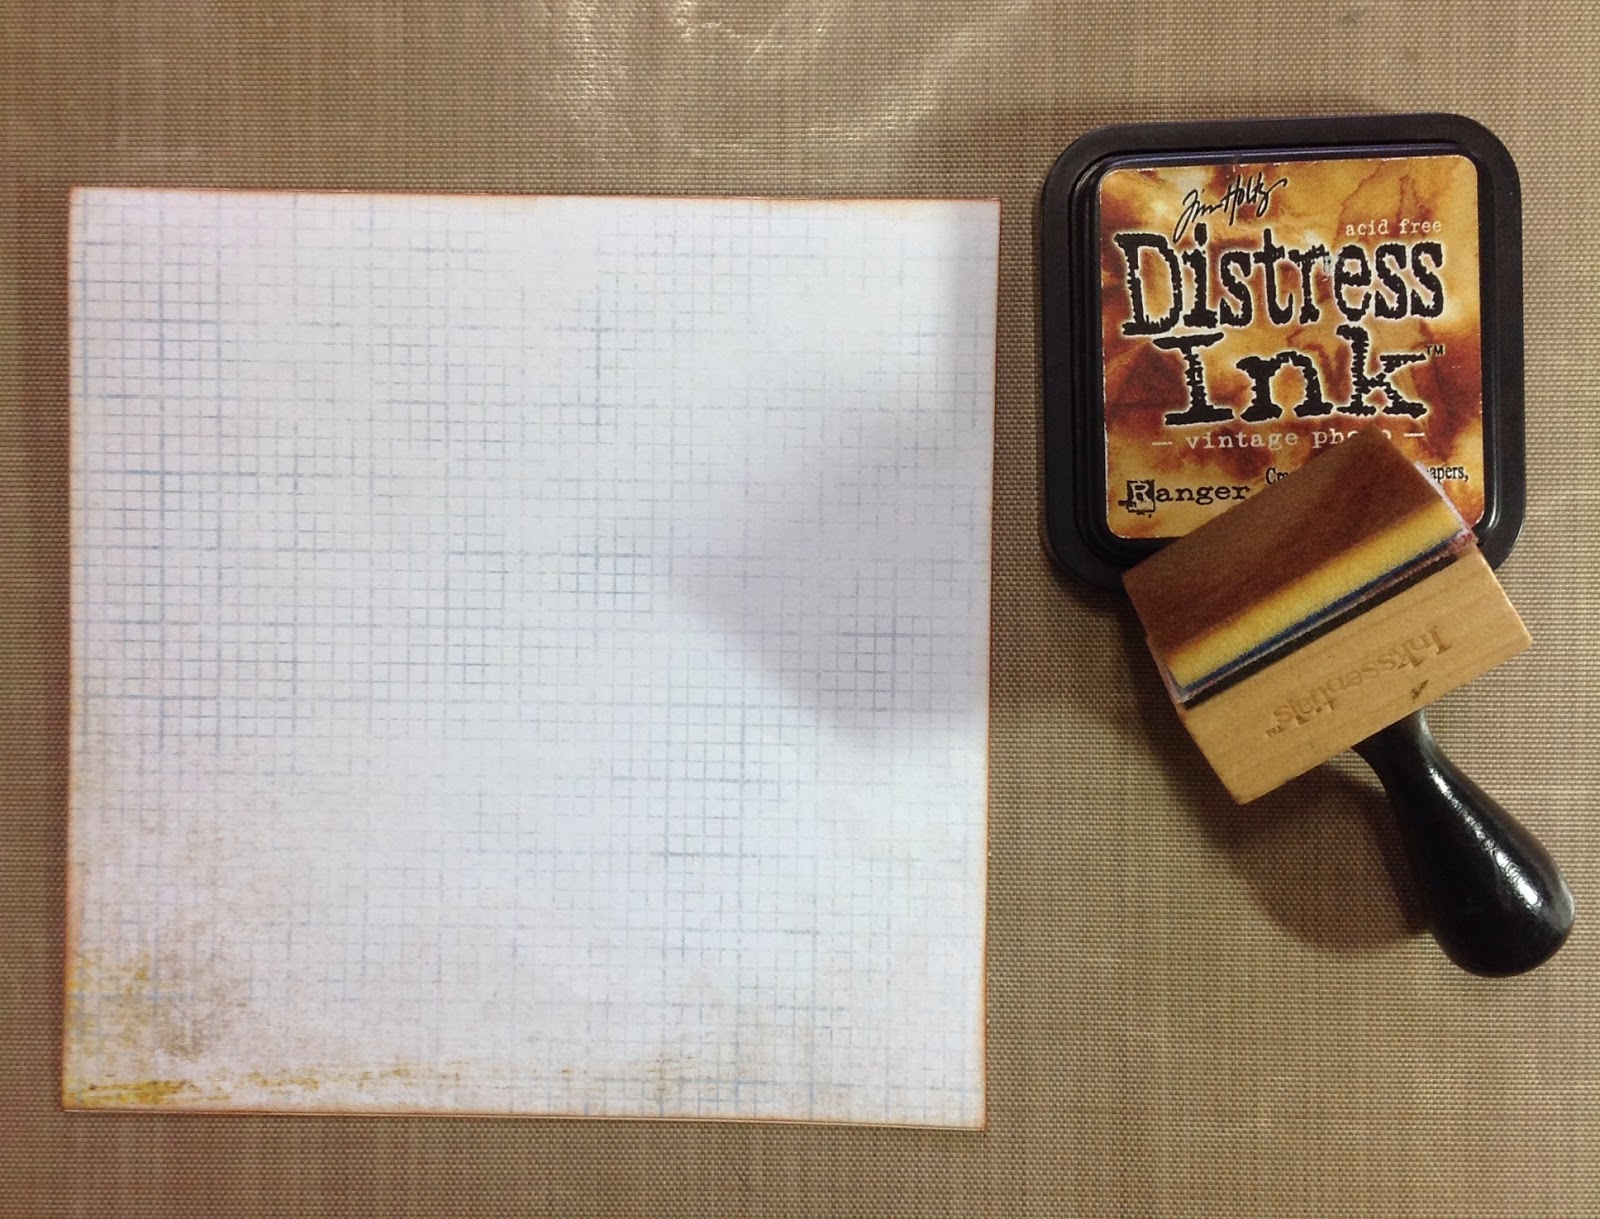
1. Make your card base by folding a piece of cardstock, 6" x 12", in half. Your card base will be 6" x 6". Then trim a piece of patterned paper, 6" x 6". I like to use a paper with a very light design on it. Distress all 4 sides with Vintage Photo Distress Ink (optional), and adhere it to the card front.
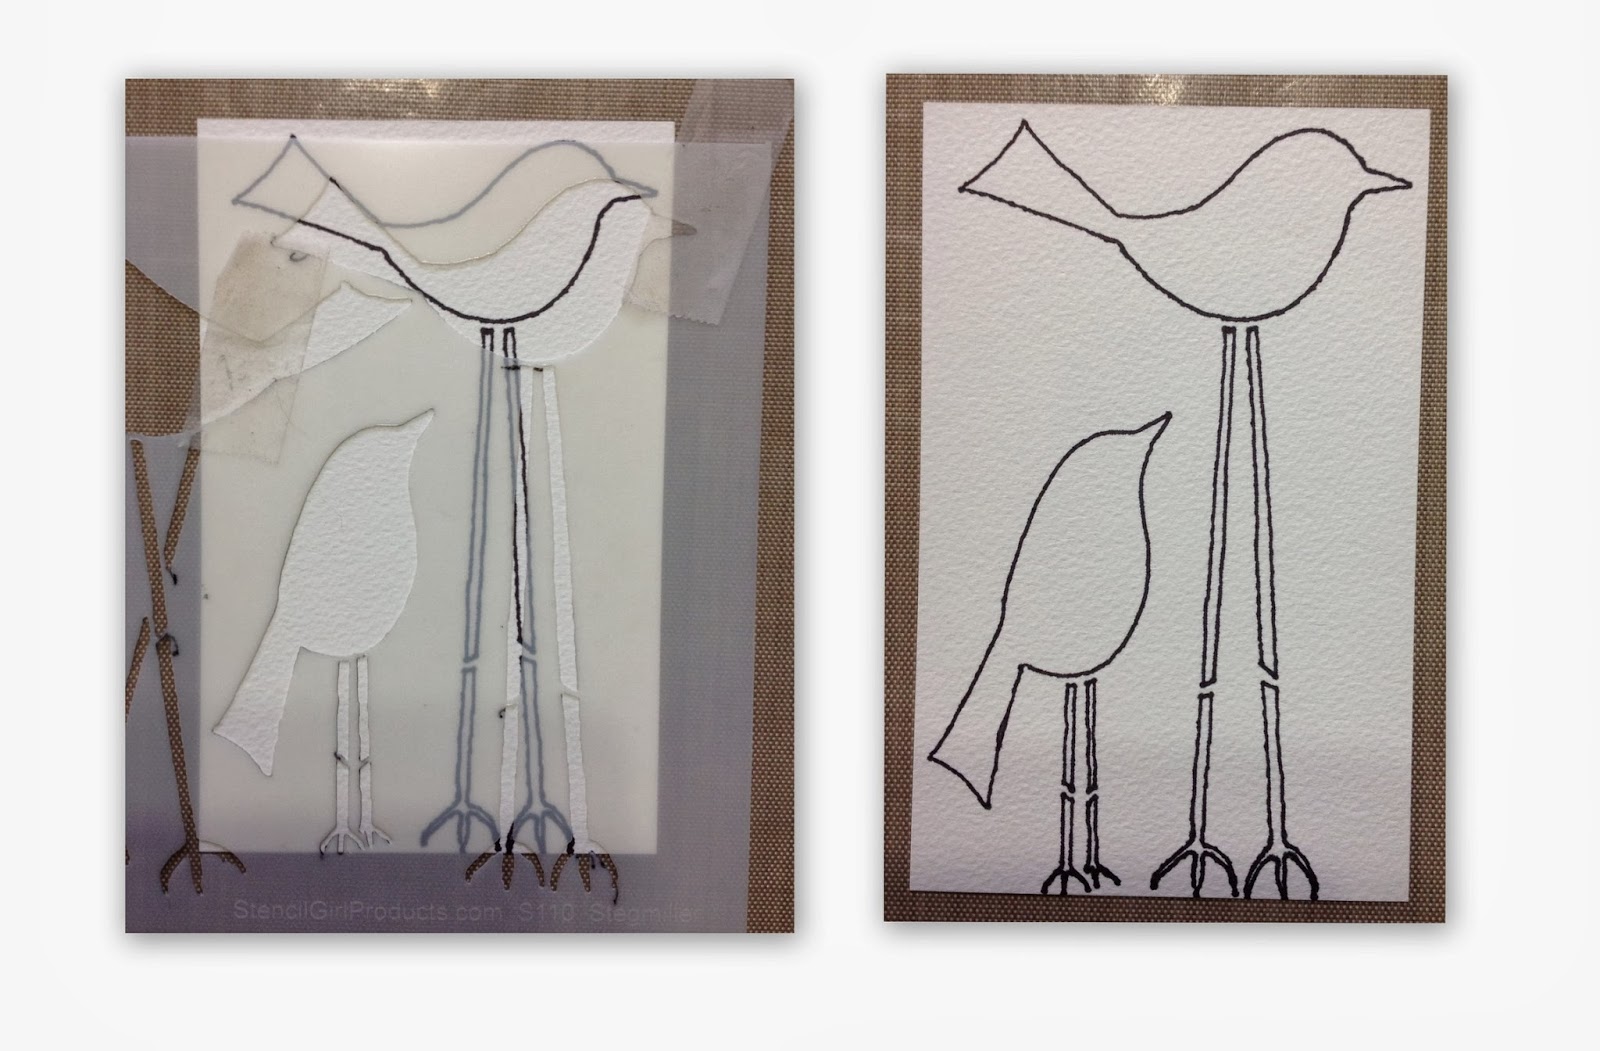
2. Lay the Tall Birds stencil on the watercolor paper and trace the largest bird with the permanent black fine tip marker.
4. Now the birds need eyes. The Circles 9 stencil has several different sized small circles. Find one for each bird and color in with black marker.
5. Now, find one of the designs in the Circle 9 stencil that works well in the small bird. Then trace. You might need to move the stencil or the paper around a bit until you find just the right fit and look. After that, I traced some of the small circles on the bird's belly.
6. Now do the same for the taller bird. I added small circles here also, on the tail and in each of the "feathers".
7. Now to color. I used Prismacolor watercolor pencils and a water brush for my piece but feel free to use whatever medium you want to. Below is a before and after shot.
8. Adhere your piece to the black cardstock. Then adhere to card front on the left side. Stamp phrase in black Archival Ink directly to the patterned paper - on the right side.
9. Adhere some bling to the small circles as well as some Stickles to really make it pop - and this card is good to go!! Sign it, write in it, and send it off to someone that will appreciate it!!
Now for other ideas for cards using the same stencil -
 | ||
| For this card I used only the Blades stencil inside the birds and colored with Tombow markers. The phrase is from Inkadinkado. I applied Stickles on the legs and wings and some clear bling for the eyes. |
 | ||
| This card I really loved making. It's a change of address card. I know what you are thinking - too much work to do over and over. My answer is - make one, then scan it, and print them out on postcard templates - you get 4 per page. Adhere it to the card front and put your new address inside the card. The stencils for this card I used are Journal Texture No. 2, Slices 6, Mini Downward Stairs, Net, and Weaving. The alpha was a $1 set from Michaels. Bling for the eyes and lots of Stickles on the birds and legs. I did the phrase on a second sheet of paper and layered on cardstock. I cut around the tail of the small bird and slid the phrase under the tail. I also traced the larger bird on a second sheet, colored it in, cut it out and, using pop dots, made it 3D. |
I really hope you guys liked this tutorial and the ideas!! See you next time.
~Michael
.jpg)


.jpeg)


Michael, I love these cards! They're so bright and beautiful! Stendoodling is going to be a big new trend!...or is that Trent?! LOL (sorry...that's really bad!)
ReplyDeleteLOL Linda...it is a Trent Trend...I hope it becomes a trend too!! Thanks!!
Deletethese are terrific - it's usual to see such exactlng and careful, steady handwork with stencils. Bravo!
ReplyDeleteThanks Tristan. I can get down and dirty with my stencils too but this technique is relaxing and neat. glad you like it.
DeleteWonderful work! Really loved these cards.
ReplyDeleteThanks Carla!!
DeleteAwesome! All of these cards are great!
ReplyDeleteThanks Terri! It seems your stencils work well with my technique since I keep grabbing those.
DeleteThank you for sharing your Stendoodling. This is very doable! Lovely cards that bring a smile to my face. Creative Bliss...
ReplyDeleteThanks so much. Glad you like!!!
DeleteHow absolutely gorgeous...you have a flair for the whimsical.
ReplyDeleteThanks Jo. I do like whimsical and bright.
DeleteThanks Eileen!! Glad you like.
ReplyDeleteI just love these cards. They are a joy to see.
ReplyDeleteLove how you did this!!
ReplyDeleteMichael, these card are so whimsical. The come together so nicely. I have not tried Prismacolor Watercolor pencils. I love Prismacolored pencils. Have you compared the to other watercolor pencils? Thanks for the tutorial.
ReplyDeleteI love your work, Michael!!!!!
ReplyDeleteWHo doesn't love birds with long legs? They look great worked with the stencils!!!!
ReplyDeleteThese are adorable! I definitely want to try this technique. I've seen it before but these particular pieces really tickle me and make me want to give it a go! Thanks for sharing your birds with us!
ReplyDeleteFabulous
ReplyDeleteThese birds just make me smile. You have nailed every part of this in such a good way!! Trent Trend, I *love* that. And I love that you are part of our team.
ReplyDeleteThank you MaryBeth. And I love that you guys asked me to be part of the team.
DeleteLove your results and steps.
ReplyDeleteThis is a really cute card idea. Adding this stencil to my wishlist, but I thimk I can fudge it with the bird stencil I have. I realized when I was reading this I started my card making journey when I was 8 years old and made a get well card for my Greandpa. That was a loong time ago!
ReplyDelete