Please welcome StencilGirl Artist, Seth Apter, to the blog today!!!
I am excited to be the guest blogger today and am starting
this post with a thank you to the entire crew at StencilGirl Products. Even
though my newest set of stencils were released just a few weeks ago, I decided
to use my original set of stencils instead. Didn’t want them to feel left out!
Unfinished is even the Deal of the Day TODAY over at StencilGirl Products!
I started by gathering three sheets of decorative paper from
Authentique, large enough in size to be able to
handle the 9” x 12” stencils.
A new favorite product, a texture spray called IrResistible from Imagine Crafts, were used to spray through the
stencils.
I used multiple colors to get a more mottled effect.
What I love about this spray is the fact that it actually
gives a textured and dimensional feel to the surface after it dries.
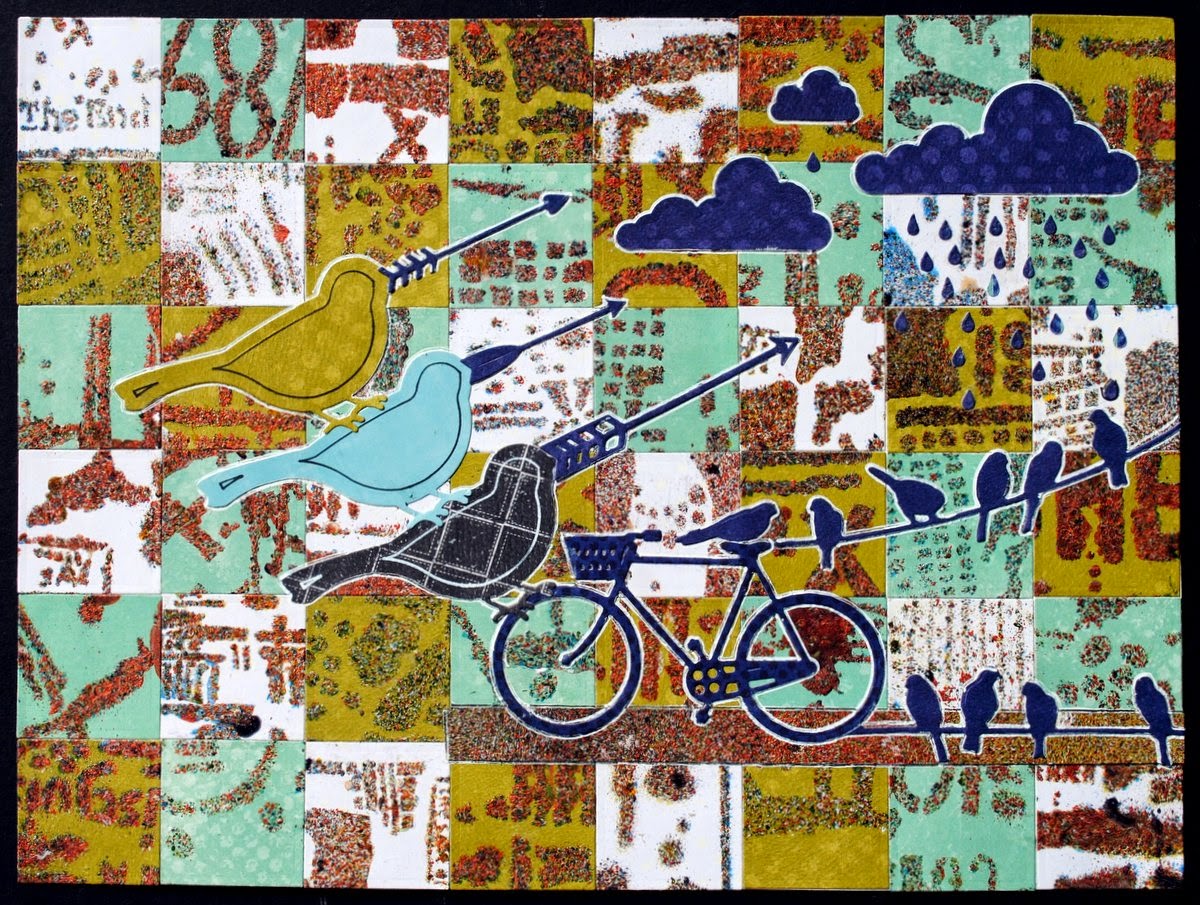
I took all three stenciled papers and cut them into small, 1
3/8” squares using Spellbinders Media Mixage Squares Two die set.
My aim in doing this was to reassemble the squares into a
quilt-like mosaic as a background. I used a piece of watercolor paper that
measured approximately 11 ½” x 8 ½” as the substrate. I like the look of the
grid as a base and the stenciled images become even more abstract as a result.
In addition to the square die, I used 5 other sets of dies
from Spellbinders to create focal images for the artwork:
I adhered the die cut images to the mosaic grid background
using adhesive.
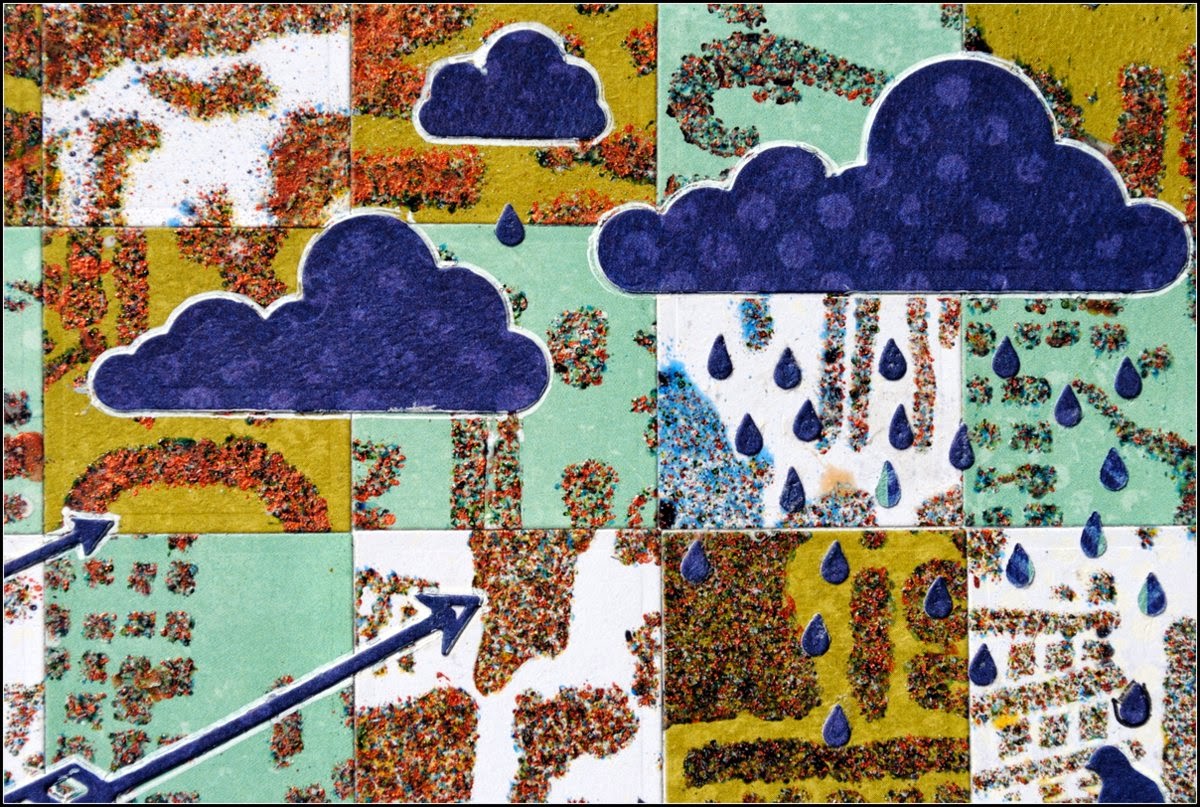
Here is a detailed shot to better see the layers being
created.
Next the fun really began. I dry brushed gesso over the
entire surface to better blend the disparate elements. I then used the three
stencils to add additional imagery and text over the background. This was done
using acrylic paint and gesso, which were added by pouncing with a craft
sponge, as well as black and white gel pens. The gel pens were also used to outline the die cut figures
and to add my own hand drawn marks. For a final touch, the edge of the piece
was inked using several colors of pigment ink.
I
Another details shot for a closer view.
I really enjoyed adding additional elements to the original
and simple bird die cuts – so much so that this piece is called “In Disguise.”
Thanks so much for taking the time to read through the
tutorial. My favorite part of this project was taking the stencils and the dies
– both commercial products – and altering them in such a way that I could make
them my own.


Wow. You've done it again, Seth. A marvelous page. Great stencil, dies , colours and technique!
ReplyDeleteThis is a superb piece. Love the grid design.
ReplyDeleteI love this Seth, you sure spread the joy in art making!!!
ReplyDeleteroxanne
Love this piece! I need to get me some of that texture spray, I haven't seen it before.
ReplyDeleteGreat job, Seth. Thanks for using irRESISTibles!
ReplyDelete