First, let's create several stenciled backgrounds, using rice paper, spray mist, and some of your favorite StencilGirl stencils. (Don't overthink this - spritz and go)
StencilGirl Stencils Used:
Pomegranate Seeds, Grapes, Apple, Flowers
Organic Roots Large
Scan the papers for future use. Here's a couple of backgrounds I created.
Besides being able to re-use a background on multiple projects (by scanning), you can also flip the image horizontally or vertically, creating a different look.
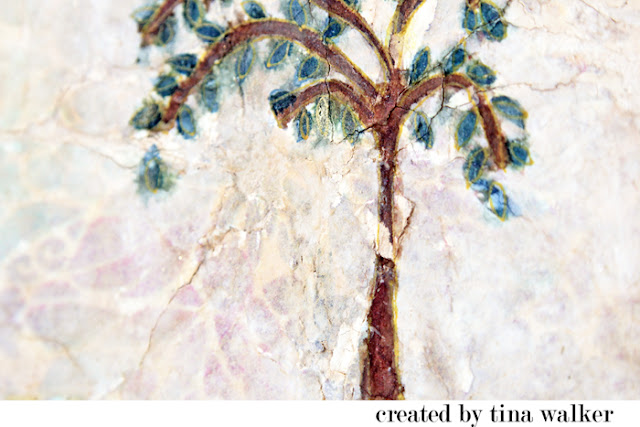
For my first project, I laser printed my scans so that I could do some image transfers. I prepared an old quilt scrap piece with wall plaster and let it dry. Love me some cracks!
Prepare your surface and image transfer sheet by adhering the image (print side down) with matte/gel medium. Burnish the surface to ensure it is completely adhered.
Once the image is dry, reveal the transfer with water and a light touch. You must be patient with this step. The magic is worth the wait.
I wanted the image to 'melt into' the background even more, so I added a watered-down layer of gesso over the entire piece. Once the background was pushed back, I wanted the tree and stars to be more of a focus, so I painted over the stenciled and transferred image with Lindy's Gang spray mist. I love the subtle hints of glimmer.
To finish off the piece, I hand-stitched the outer edge and adhered the quilt to a wood canvas. Add a chunky chain and done!
Ready for project #2? The beauty of scanning your backgrounds is that you never have to worry about 'using that one piece' on a project. Since I have the scanned image saved, I can feel free to use the original in my art journal. Perfect!
Using the stenciled shape as a inspiration, I cut the background up into several pieces.
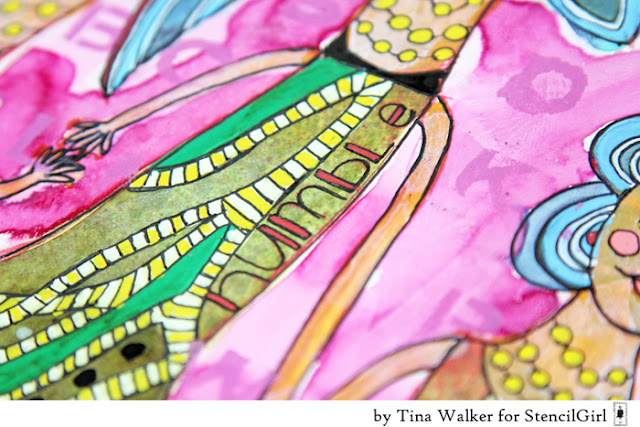
I adhered them to my art journal then begin to add my drawing. I decided to draw funky and whimsical women, all shapes and sizes.
I thought it would be fun to show you the painting and doodling process - as they go from just shapes to a finished page.
Can't forget the background! Stencils to the rescue!
StencilGirl Stencil Used:
Alpha Jumble Large
You would never believe these two projects were made with the same background!
I hope you enjoyed my projects today! Have a wonderfully creative week!
Tina ♥


Those are fabulous!
ReplyDeleteLove these projects - thanks for sharing your processes!
ReplyDeleteI always enjoy it when someone is obviously having fun, and your pieces exude that vibe! Not to mention that those cracked images are WOW!!!
ReplyDeleteThanks for using one of my stencil designs.
Thanks for the amazing line up of artists on the Blog Hop and this wonderful art process! pinecone (at) cybermesa (dot com)
ReplyDeleteDefinitely going to try these!
ReplyDeleteltfili0603@yahoo.com