Hi there Stencil Fans!
It's Natalie and I'm back doing a little guest spot this month showing you
FOUR easy Scrapbook Pages using StencilGirl® products!
FOUR easy Scrapbook Pages using StencilGirl® products!

Life has been AMAZING & CRAZY for me this year and I have not been scrapping
as much as I'd like so it was a no brainer to create a page or four today
as much as I'd like so it was a no brainer to create a page or four today
especially for StencilGirl®!
This first page has been created using The Floral Frolic 9x12 designed by Wendy Brightbill.

Start with some smooth cardstock and use a modeling pate to wipe it over the Stencil.
I wanted to only do half the page so made sure I didn't go right to the edge of the stencil -
I don't want to see a straight line of paste half way down the page.
I don't want to see a straight line of paste half way down the page.
Once dry, I started with a Lindys Gang spray in Hibiscus Rose & gave it a generous spray.
To help it drip down the page, I gave it a light mist with water. Before it dries, I added the next colour, Hydrangea Blue
then Time Travel Teal and the let it dry.
then Time Travel Teal and the let it dry.

This is how it looks before adding the embellishments and photo.

And a few close ups.


The next page is using a similar technique but with a twist.

I used the Peony Bloom 6x6 stencil for this one (designed by Wendy Brightbill).
When adding the paste, I dried it before doing another so that I didn't smudge or squish
the image I had just stenciled. Once dry, I use a paint brush to dip direct into the spray bottle and puddle the colour
on allowing it to bleed into the colour next to it.
on allowing it to bleed into the colour next to it.

And before the embellishments and photo.

And a few close ups.


I think this next page is my fave of the four.

I wanted a delicate circle and the Butterfly with Border by Jennifer Evans was perfect!
For this page, I applied paste only to the circle and let it dry.
I then applied water with a paint brush only to the stenciled area before dripping
Lindys Squirts all over it. The colour only went where the water was!
I dripped in a 2nd colour and then while it was wet, sprinkled some
Magicals over it to add some additional shine! The result is soooo incredible!

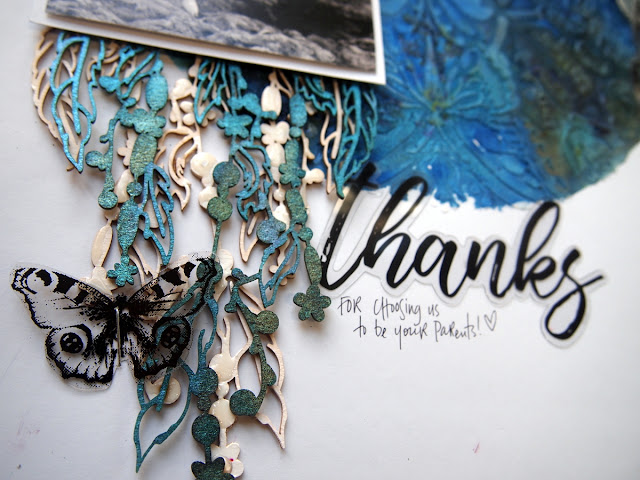
Here are the close ups.


And finally, a layout of my family.

This page is all about this photo so I had to keep it the hero.
The Circles Layer Me by Carolyn Dube was ideal for keeping the background simple.
Once the paste dried, I used a combinations of the Lindys Squirts in Black & Blue plus a spray in Teal
to get that awesome colour to cover the page.

And finally the close ups.


So thats it!
These four pages took me two hours to create the backgrounds and another 2 to do all
the embellishing and finishing off!
I love how easy it is to use stencils to create a beautiful background ...
and StencilGirl® will always be my first love!
Until next time
xxx
Natalie May
StencilGirl® PRODUCTS USED - L380 The Circles Layer Me by Carolyn Dube, L499 Butterfly with Border by Jennifer Evans, S657 Peony Bloom 6x6 by Wendy Brightbill, L671 The Floral Frolic 9x12 by Wendy Brightbill.
OTHER PRODUCTS USED - Lindys Gang Sprays, Squirts & Magical, Liquitex Light Modeling Paste + assorted embellishments


These are beautiful! Thanks for the tutorial and for sharing these great layouts!
ReplyDelete