Hi friends! Happy to have you join me today. I’m Debi Adams and I love using stencils in all forms of art and today's project is no exception. With the holidays approaching, I thought it might be fun to share an artistic twist on a gift I received last year that I think we all could use and is perfect for embellishing. Though it was intended to be used as “potholder" scarf to wear when cooking in the kitchen, I really think it translates well into an art scarf when painting and creating in general. I love the fact that this kind of purposeful scarf makes everything at arm's length and conserves on paper towels. The towel at the bottom was created for wiping hands and water spills and will eventually be turned into art itself. Imagine all those fabulous layers of paint! I think this would make a great gift for the artist who has everything. :)
To make this post a bit more fun, and since it is the season for giving, I thought it would be awesome to have a **GIVEAWAY** for one of these scarves. It will be left blank for you to decorate! Leave a comment or note here on my post on StencilGirl Talk and you will be entered to win. That's it! One winner’s name will be drawn and contacted on Monday, Dec. 21st. (Since I will be mailing it, the giveaway is only available to those residing in the U.S.)
Supplies needed to make this scarf:
- StencilGirl® stencils of your choice-I used my Mushroom and Toadstool ATC Mixup Stencils, Rae Missigman's Mixup Botanical #2 and Wendy Brightbill's Bouquet Greenery.
- Dishtowel-cotton or terry cloth towel-cut in half
- 10” x 44” piece of cotton/cotton blend fabric (Pattern or plain is good and length can vary slightly.)
- Sewing Machine and Thread
- Sponge/stencil applicator
- Fabric Paints-I used Neopaque® Paints by Jacquard because they have good coverage and are soft when dry. Feel free to use any other fabric paints. Follow manufacturer's instructions for best results.
Instructions:
*You can choose to embellish your towel before or after making the scarf. Because I was uncertain as to how much the paints would soak in, I chose to do mine before hand. I applied the paints to the stencil using a piece of sponge. When dry, I came back in with a fine tip pen and outlined the designs. The stencils I chose are listed above.
So now let's get started with the making portion...
- Cut the towel in half, horizontally.
- Cut a piece of fabric 10” x 44” long. This can be altered for someone with a shorter torso. I chose to purchase a piece of watercolor-type print but you can also go with a bolder pattern, solid or white.
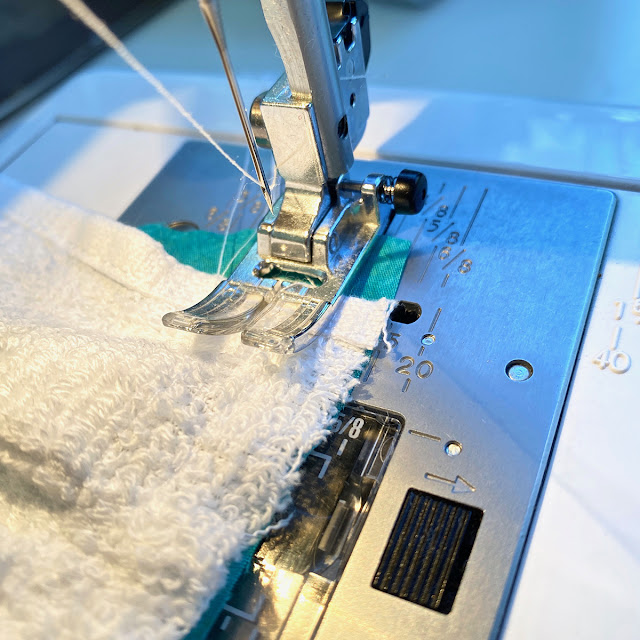
And that's it! FYI, if you don’t sew, try looking into the Surebond Glue Gun for fabric. Outside of the gathering stitch that you can accomplish by hand, the glue gun should do the trick. Make sure to see if you can press it first though.
And here's another idea...
Consider making the bottom half of your scarf from a non-terry cloth cotton towel like Aunt Martha's cotton towels and create a background from the “wiped” off paint. Go back in later and layer with some fabulous StencilGirl® stencils! Ah, the possibilities!
Hope you learned something fun or new today. Don't forget to comment to enter to win a scarf!
XO,
Website/Blog: www.debi-adams.com
Instagram: debi_adams
Facebook: Debi Adams


This comment has been removed by the author.
ReplyDeleteLove this beautiful scarf and creative project!
ReplyDeletesundog11400@gmail.com
Love everything about this scarf!
ReplyDeleteMamimemo4@yahoo.com
DeleteThis is a fabulous idea! I'm always looking for my towel and it would be great to have one right at my hand. Thanks for the chance to win one. Jeannie jespaleum1 (at) aol (dot com)
ReplyDeleteOK - I did learn something new today! LOL! I have never heard of a potholder scarf! What a useful item to have around the kitchen or the craft studio. Those colors and the design you created with the stencils are amazing! 😍 BTW, I am using your mushroom stencils for a couple of projects right now. Hoping to share next month as I have to get deadlines out of the way first. #WorkGetsInTheWay HA! Sending you love and light during this holiday season! xo MargieH in Chicago (mhiguchi at comcast dot net)
ReplyDeleteVery clever. Loved the color choices.
ReplyDeleteThis comment has been removed by the author.
ReplyDeleteGreat project! Love the colors!
ReplyDeletejudesigns7 (at) gmail (dot com)
Omg this is brilliant
ReplyDeleteA wonderful solution to keeping paint of your clothes. lubovich (at) Comcast (dot.net)
ReplyDeleteClever!! babs2769 (at) yahoo (dot com)
ReplyDeleteVery stunning scarf. Thank you for the tutorial. It is a must try project.
ReplyDelete