Get
the Color Wheels Turnin’ with Journal Covers!!!
Angie Garcia Cragwick here with bright and colorful hand painted journal and signature covers!!!
Hard Cover
1. Find and start with a gutted book (Hard Cover)
2. Prime the hard cover with black gesso…let dry.

3. Pick your choice of paint colors. I used acrylic paint by Liquitex. I was going for a bright and vibrant look.

4. Gather
a wide flat paint brush and start adding your choice of colors to both sides of
cover. I used a ¾” flat brush and
alternated colors from dark to light while blending them in with an up and down
stroke until covers are completely covered.
Make sure not to over-blend. The
result should be a soft look. Let dry
completely.

a. I started with 5 colors, leaving the brighter, more vibrant colors for the center of the painted cover.
5. Using
the backside of your palette knife, pick up some paint and skim it in an up and
down motion. Perform this action across
the entire center of the cover until a “chipped paint” look is achieved.
a. I
started with dark colors and ended with the bright colors as the last
layer. Let dry
completely.

6. After the cover is completely dry, take your StencilGirl® stencil (I used Timeless) to add random marks around the cover.

7. Gather your mark making tools (china marker, stabilo, black uni-ball pen), etc., and make random marks with the tools of your choice.

8. Take a palette knife and add a crackle paste,
randomly, over the entire cover.
9. Add ink drips, only to the top of the cover, allowing the drips to drop down the cover while spraying with a spray bottle. I used orange and brown India ink (made by Dr. Ph. Martin’s). Let dry completely.
10. Seal with matte or gloss medium spray sealer, and again, let dry before you handle.

Optional
Step A: I like to go a step further by
dripping some encaustic wax down from the
top of the cover. To achieve this optional step, make sure you
do your
own research on encaustic wax and safety before you experiment with it.
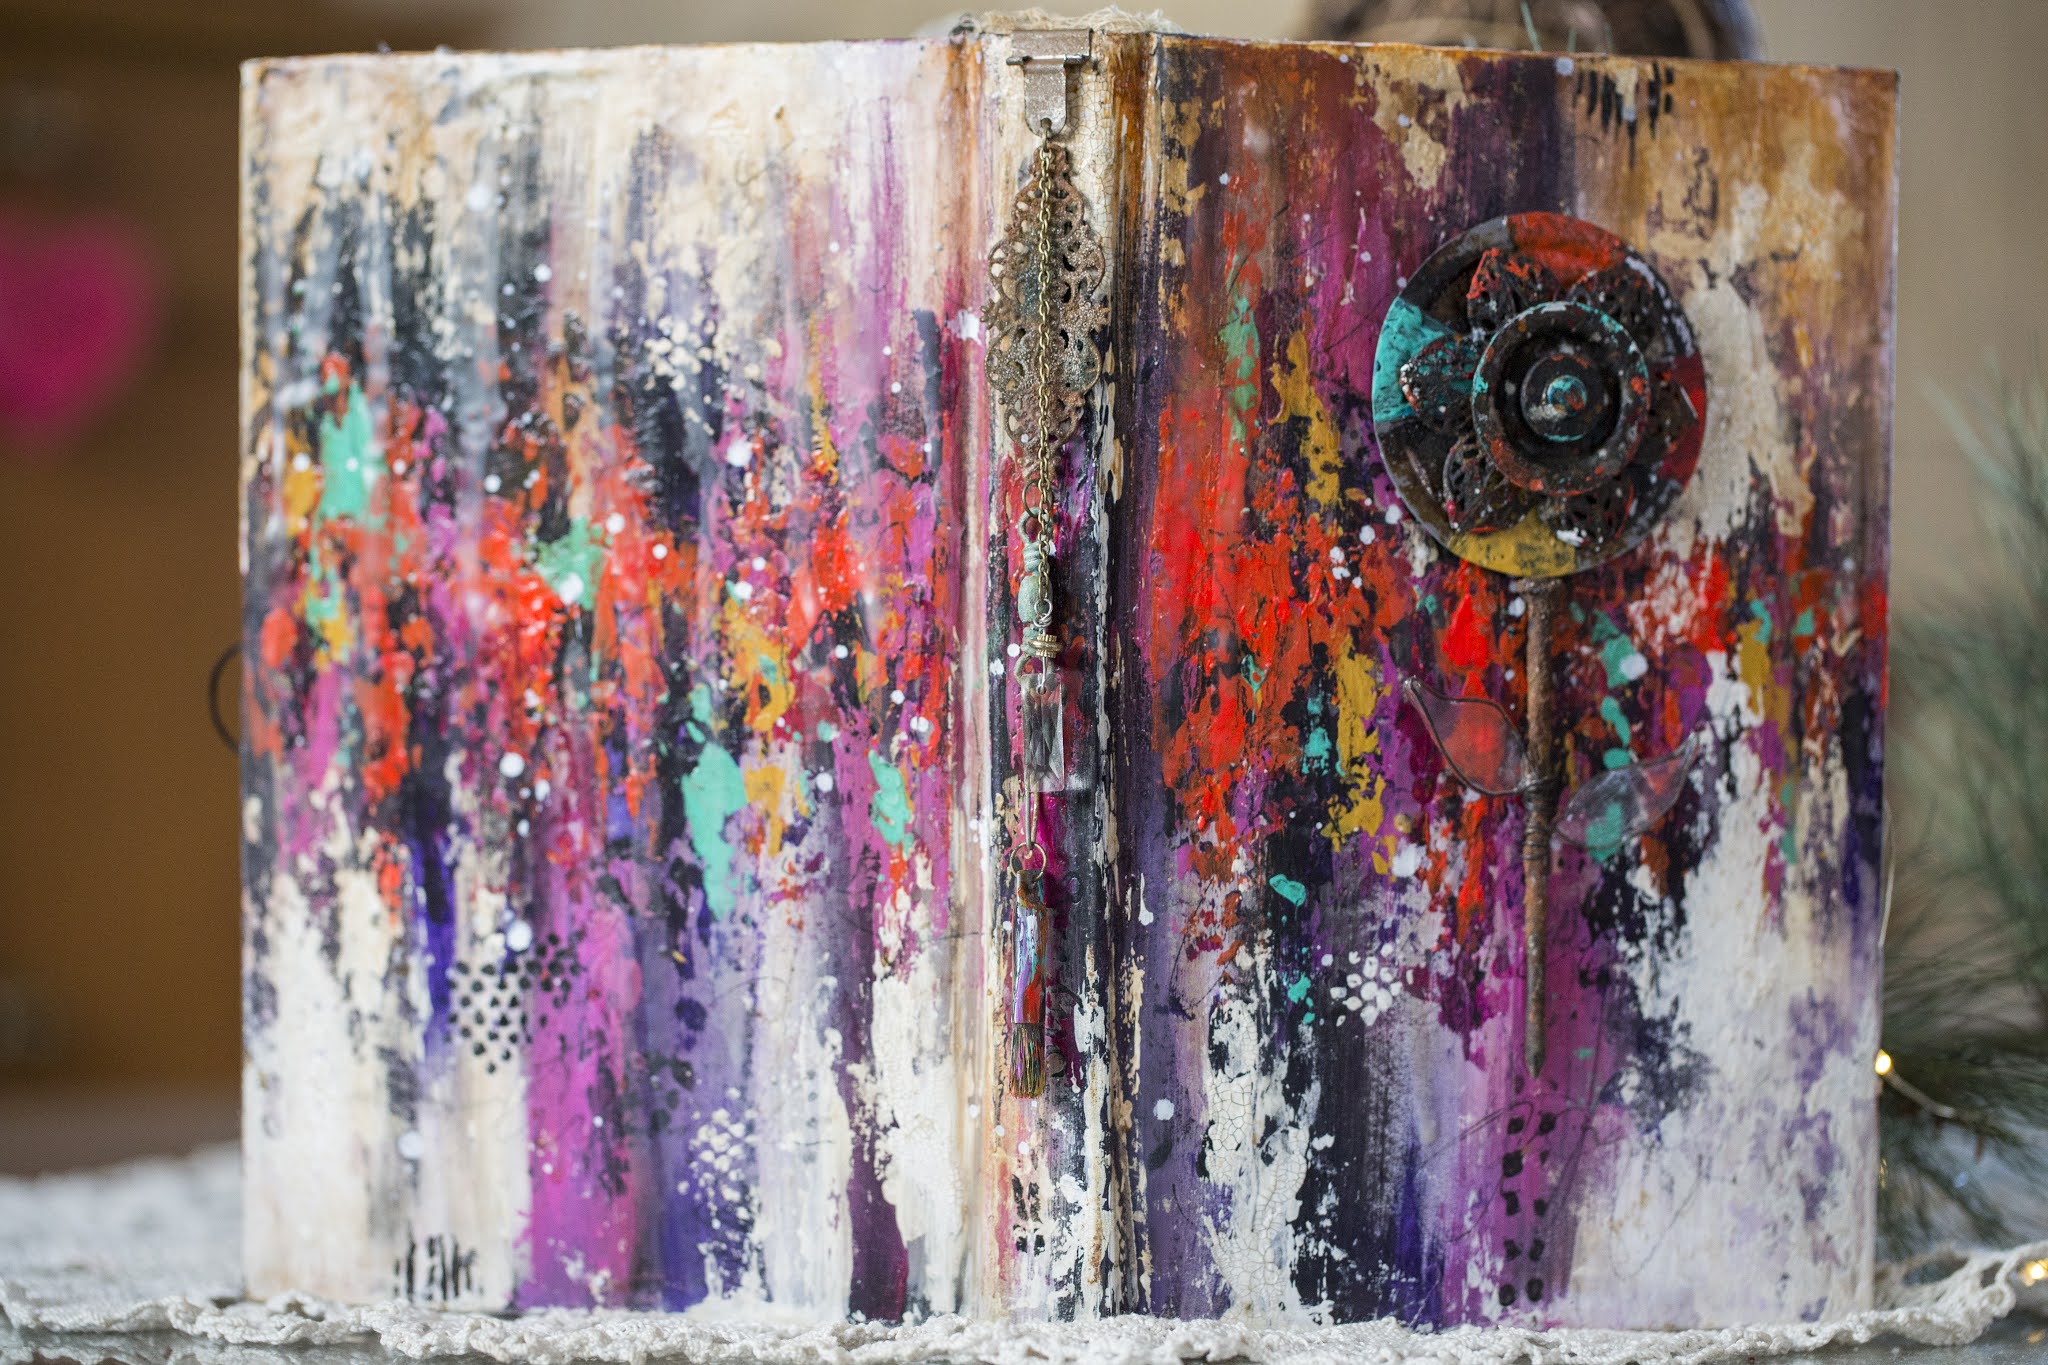
Optional
Step B: I sometimes like to add an art
piece to my covers. On this cover, I
used
the end of a tuna can and cut it down to
size. I then painted it to look
like a rusty color wheel and layered it with a
rusty flower-shaped piece
of metal and some washers glued down with
E6000.
-take a rusty nail, add wire to form leaves, and wrap around the
stem of the nail
-I clamp the piece on, glue
with E-6000, and allow to dry for 24
hours.


Signature Covers
1. Use 140 lb. water color paper and cut to size needed to fit your art journal. I am using three 9” x 12” signatures (folded in half) in this art journal.
2. Lay flat and use Numbers and Emotions and Feelings #1, using a molding paste of your choice. I used a paper texture paste. Stencil the entire signature cover with the stencil. I alternated between the two stencils. Let dry completely.

3. Spray a coffee strain onto the three signature covers. Let dry completely.
4. Spray a white-wash of watered-down gesso onto the three signature covers. Let dry completely.
5. Gather
the same colors you used on the cover and create a wash (watered-down color). Apply to the covers in sections, avoiding
blending/mud. Let dry completely.
a. make sure each color wash dries before adding the next color wash
6. Using the same colors straight from the tube, dry brush the colors on until you are satisfied with the look.
7. With the back of a palette knife, add a white paint or gesso. Skim it across your signature covers. Using the same technique, add a white crackle paste. Let dry completely.
8. Gather your mark making tools (china marker, stabilo, black uni-ball pen), etc., and make random marks with the tools of your choice.

9. Seal with a matte spray. Let dry.
Optional Step A: Add drips of acrylic ink in a dark color
Optional
Step B: Apply a wash of color on the
inside of the covers. Let dry completely.
Skim on white gesso with the back of a palette knife.
10. You always have the option to leave the covers how they finish or embellish them to your liking and/or taste!

Pockets/Envelopes
1. Choose a medium weight cardstock (I chose black), and construct a basic pocket and envelope.
2. Gather stencils (I used Color Gradient Swatch Wheel and 20 Color Swatch Grid) and a palette knife to apply your choice of modeling paste (I used a paper texture paste) to the envelope.
3. Apply modeling paste with stencil (I used Color Gradient Swatch Wheel) to the top and bottom of the envelope. Let dry completely.
4. Using water-color paints, color in the stencil on the envelope. Let dry completely.


5. Apply acrylic paints (colors that tie in with the journal) to the envelope using a palette knife. Build the color up until you are satisfied. Let dry completely.
6. “Grunge Up” the look by adding drips of acrylic ink followed by a spritz of water. Let dry completely.
7. Embellish further if you wish to your liking and/or taste!

8. Steps 2 - 7 were completed on the envelope. Repeat steps 2 - 7 on the pocket. For the pocket, I used 20 Color Swatch Grid.

Completed
Project (Now – go get out those gutted books and
paint!)


I have been so mesmerized by Angie’s work for some time. Truly, truly a fantastic artist! Such beautiful work!!
ReplyDeleteI have the incredible honor of being her friend, she truly inspires everyone around her, she is an brilliant artist....
ReplyDeleteBeautiful work as always Angie! You are so talented. Thank you for sharing your process and I look forward to seeing more of your work!
ReplyDeleteAwesome work, my dear friend! I can see your passion in all you do! xo
ReplyDeleteI love everything about this! Grungy weathered look is right up my alley. You took it to a different level and beautifully so!
ReplyDeleteThis comment has been removed by the author.
ReplyDeleteAngie is such a wonderful friend, and so inspiring, and always willing to help or teach me something new. She is just an amazing Artist.
ReplyDeleteWhat a wealth of inspiration here - thank you!
ReplyDelete