
 |
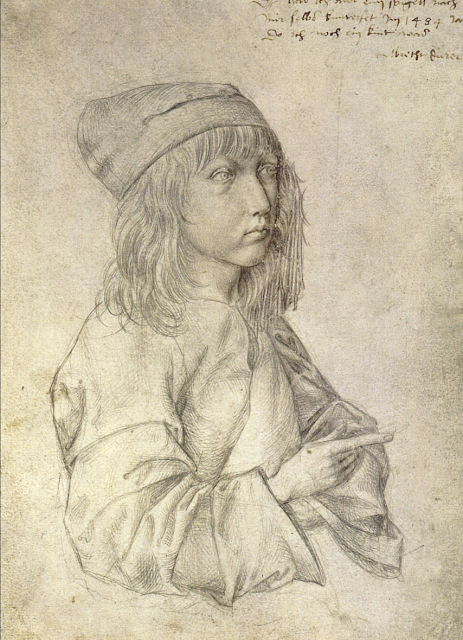
| Self-portrait (at 13) by Albrecht Durer, using hatching to establish values |
There are a lot of elements that go into making a portrait come alive, and perhaps one of the most important is modeling - making the face appear dimensional. The human face is a complex arrangement of shapes and forms - curving, casting shadows, jutting forward or dipping in - and it takes a lot of practice to get comfortable with how to use tone, line, and color, to recreate those three-dimensional contours on a two-dimensional surface. If you also have to work on getting the proportions right, it can feel like a pretty daunting job. Fortunately, the face stencils from StencilGirl® provide a wonderful framework for establishing the features of the face. They are great templates for practicing shading and modeling.

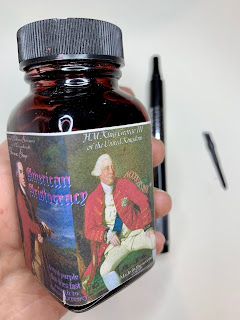
I managed (with a dropper) to add bit of a beautiful ink from Noodler's called American Aristocracy. It's a deep purplish brown that I find really great for portraiture - I use it in a fountain pen and with dip pens, usually. It's water soluble, and can be diluted and brushed to beautiful effect. (At the end of this blog post I have added another portrait using one of Pam Carriker's face stencils. It was done entirely in American Aristocracy, using both brush and dip pen, plus a bit of white pastel. The pinkish and brown tones have a tendency to separate, which is lovely. )
Whatever color ink you choose to put into the eyebrow pen, it's a good idea to practice drawing lines with it. Press too hard and you'll get a solid line, but with a light touch, you will get the parallel lines. It's also a good idea to practice simply to accustom your hand to drawing lines consistently and steadily. Fountain pen ink is very fluid, and will not dry out or gum up the nib.

Using Pam Carriker's Create Face stencil (S646) I established the base layer of the features with the brow pen. You'll see that I have cut away pieces of the stencil so I don't have a hard, square border. I also penciled in a hair line as well as the cheek and jawline on the left side of the face use as guidelines during the hatching process.

When that's all done, this is the result. As you can see, my lines sometimes wobbled, sometimes went out of parallel. However, the beauty of this technique is that there will be so many additional layers of hatching that the imperfections of the first layer will disappear. But you can pretty quickly establish the start of the crosshatch this way. To be honest I think there is probably still some brown eyebrow makeup in the pen mixing with the ink, but that's why I chose a purplish brown - and I don't think it matters if I'm drawing with makeup at this point!

Now the magic begins. This stencil (in this orientation) clearly indicates the light source from the upper right. This means that all parts of the left side of the face will be darker than the right side. Wherever the contours of the face curve away (into the eye socket, down the side of the nose, the corners of the eyeballs, the side of the jaw, etc. ), it should appear darker; wherever contours bring a feature forward (cheekbone, brow bone, tip of the nose, etc.) the values should be lighter. With a variety of colors, line widths, and by varying the spacing of the lines, you can begin hatching to create these contours and changes in value. Hatch perpendicular to your first set of lines, then switch colors and hatch straight up and down, then hatch straight across. Use the typical palette of skin tones, or get more dramatic with some unexpected colors, keeping the lines in each layer as parallel as possible. Experiment to see which direction is most comfortable for you and turn the paper or journal if it's easier to switch direction that way. Take your time, keep checking where the shadows should be, and have fun! Remember, it is the nature of stencils to have quite a few broken lines as a way of preventing whole chunks of Mylar falling out. Where there are interrupted lines (for example, around the eyes) feel free to complete them with hatch lines.


As you can see, I filled in the background with a wash of the American Aristocracy ink, and then hatched over that with a white gel pen. To be honest, I may have gone too far and too dark, but I had gotten into the hatching rhythm, I was listening to a good podcast, and I just didn't want to stop! It's a wonderfully meditative process. I've used this face stencil with this technique a few times, and it really is a fun technique for practicing the modeling of the face.
And here, as promised, is the ink wash (not cross-hatched) portrait in American Aristocracy with Pam Carriker's Strength Face S653. Using water soluble fountain pen inks with stencils always turns out great - especially with a gorgeous color like this.

stencils used:
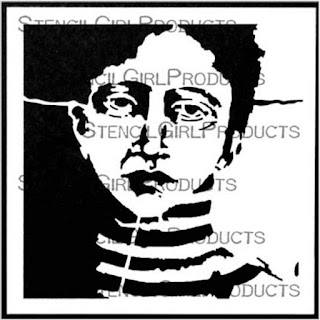 |
| Create Face, by Pam Carriker |
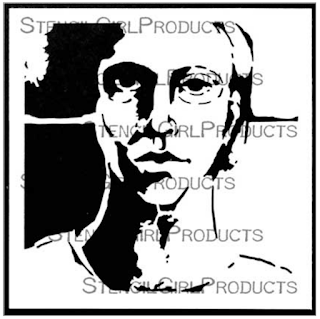 |
| Strength Face, by Pam Carriker |
Very striking image, just beautiful. Thanks for sharing a technique I knew nothing about and will definitely try out.
ReplyDeleteLovely way to make stencil art your own!
ReplyDelete