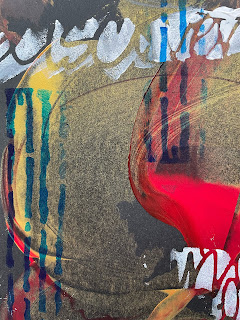
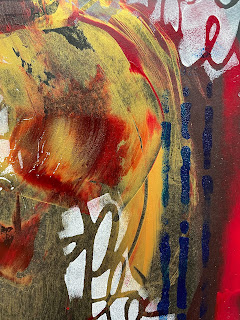
As I mentioned previously in my February 2022 project I had bought some black sheets of paper from Arteza that were pre-scored to be folded into 7 x 8.6” frames, and it seemed a shame not to use them again as I was rather taken with them. This is the result.
Here is the
tutorial:
1.
I started with three
colours of acrylic paint: Golden Iridescent Bright Gold, Golden Quinacridone
Red and Quinacridone Burnt Orange, and spread them out randomly over the frames
using an old credit card.
2. Using titanium white acrylic paint stencil on parts of Dream Imagine Inspire Create stencil using a cosmetic wedge.
3. Stencil through Drips to add stripes to the frames using Golden Phthalo Blue.
4. Using Distress Crayons Salty Dream and Candied Apple add more colour to the frames and then remove it with a baby wipe using the same stencil as in step 3.
5.
Add dots in various sizes
with Radiant Gel in a colour of your choice, using the
large stencil from the January 2017 StencilClub.
6.
Following the main shapes
on the frames, outline them with black, gold and red Woody pencils and activate
by spraying with water.
7. Add smaller teal dots to the frames using Radiant Gel and the medium stencil from the August 2014 StencilClub.
8.
Add circular shape to one
of the frames using teal Radiant Gel and the
medium stencil from the January 2015 StencilClub
9.
Rub on some more paint
where you feel you need to.
10. Glue
on vintage text as shown
11. Spray with gold mica spray through one of the circles of the stencil used in step 8 (the one with the little dot pattern.


A wonderful set of process photos! I love the finished result too.
ReplyDeleteWhat a difference in tone from your usual projects, Freida! Love it!
ReplyDelete