I have participated in #the100dayproject on Instagram quite a few years now and decided to do it once again this year. I wanted to do more collage projects after making my February 2022 project for StencilGirl® Products and decided to make collages on 5 x 7” Strathmore Watercolor Paper cards. When StencilGirl® announced they would also take part in the project and add the hashtag #100daysofStencilgirl I couldn’t believe my luck.
I had endless left
overs from all my previous projects as Guest Designer and they have been put to
good use since February 13 which was the starting day of #the100dayproject. I
also wanted to use my project this month to show you some of the cards I made
and as the project ends on May 23rd, this is my chance. You will see
the resulting cards pop up on my Instagram (@friedaquilter) soon and if you
look back you can find some additional ones.
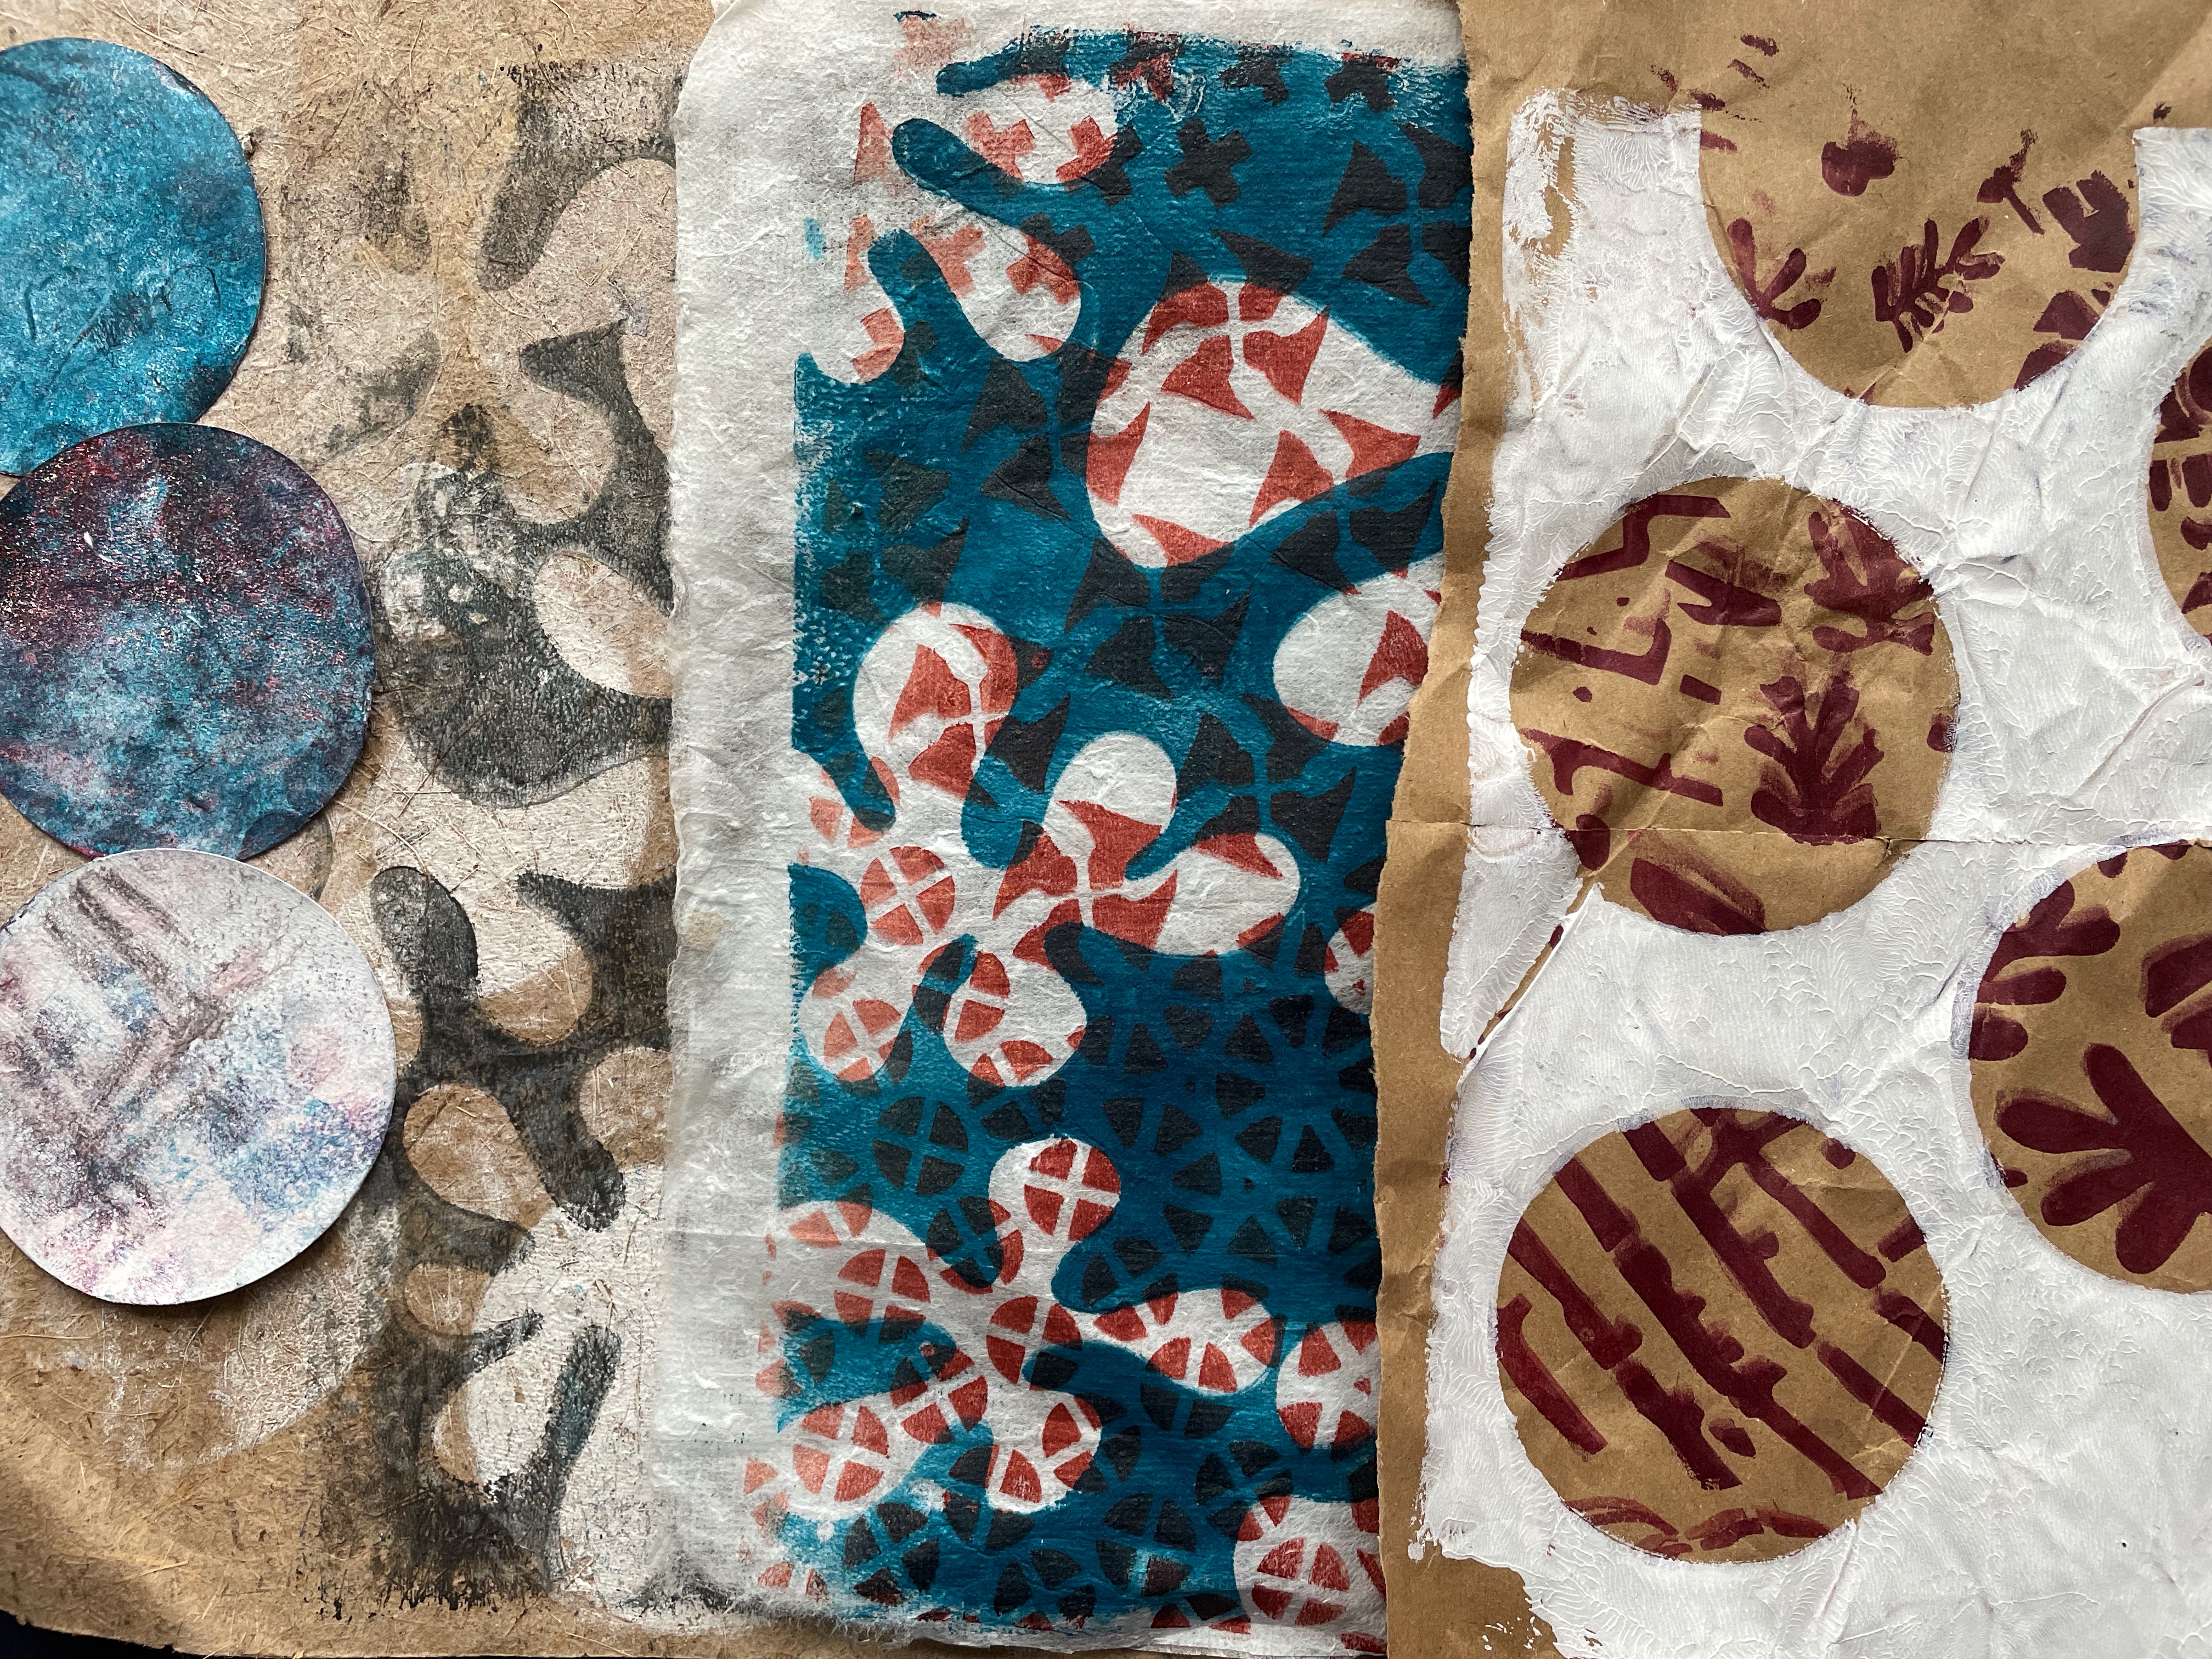
I made some extra collage material by gathering together some copy paper but also some more unusual papers such as wrapping paper, coloured and hand made papers, and put out my 8 x 10” gelli plate, a brayer and a selection of acrylic paints.
1. Add
one colour to your gelli plate and brayer out. Put a stencil on top and take a
print (or two if there is sufficient paint left). Then remove the stencil and
take a print of the remaining paint on another piece of paper. Repeat till you
have a good selection of printed papers. I used the following stencils: the
large stencil from
the October 2021 StencilClub, stencil Floral Lace, Crazy Quilts Crosses and Rounds, Straight Stems as well Dream Imagine Inspire Create and Mid Century Modern Motif XL. This last stencil I cut up into section for
ease of use.


2. Using
stencil Mid Century Modern Motif XL and the squiggly
shapes on top of your painted (using the same colours as in step 1) take prints
on the papers made in step 1 using the same method as in step 1.


3. Make some circle shapes out of sturdy paper using a compass or a circular punch and repeat step 2 on the papers made in step 1 and 2 still using the same colours.

4. Use Dream Imagine Inspire Create and do the same as in step 2 using white, black and red paint on the papers made in the previous steps.


5. In
the end I had a collection of approx. 25 sheets of paper plus the circles and
the background out of which the circles were cut and that I used as masks.


6. Now
it’s time to take out your background which could be your art journal or as in
my case the 5 x 7” cards and start making your collages.
The next steps are
hard to describe. Making a collage is like doing a jigsaw without a picture to
follow. The good news is however that there is not one solution but many and
that the choice is yours. Had I handed my papers to someone else they would
have come up with entirely different solutions. Audition your papers together,
see how they look, and what other papers would go with the mix. Tear or cut
them to size, move them around and make a final decision when something just
tells you that you like the arrangement. We all have instinctive reaction when
it all gels together into a pleasing whole. Then start gluing. I use an UHU
glue stick but matte medium also works well. Let the glue dry and put a heavy
book on to keep things flat.
7. Once
dry have another good look. Does the collage need anything else, another
element, text, mark making, maybe some paint or outlining, sparkly etc, or a
mix of these? Add as required.
8. Once
you are happy outline the cards with a permanent black marker. For my 100 day
project I also added a number to each card using the numbers on the medium
stencil from the August
2020 StencilClub and finally cover your cards with a layer of gloss gel
medium or matte if you prefer.
Here are three examples but you can see more on my Instagram feed @friedaquilter:


No comments:
Post a Comment
If you are entering a GIVEAWAY, please add your email address in the event we need to contact you.
To avoid SPAM, please write it like this:
marybeth (at) stencilgirltalk (dot com)
Thank You!