I LOVE techniques and being able to use my stencils and supplies in a variety of ways. Today I am going to share a Bokeh Technique using Stencils, Ink and Water…it is oh so easy!
What is bokeh? Bokeh is a background without hard edges or sharpness. Nothing in the background should be distracting. The blurry area should have circles of light that are round and smooth. The lines are out-of-focus and should be blurred and the points that intersect should blur into each other. I believe this technique does just that.
Supplies:
- Random Assorted Dots by Ann Butler
- Linked Fence by Ann Butler
- Hexagonal Basket Weave by Ann Butler
- Dye Ink: Key Lime, Tranquil Teal, In the Navy
- Cardstock, White
- Blending Brushes
- Spray Bottle of Water
- Heat gun
- Baby Wipes
- Tray
- Craft Sheet

Step 1: Grab the Random Assorted Dots Stencil and ink colors.
Note: Pick any three colors of ink that you like and will blend well together.

Step 2: Place the stencil in the tray and ink up the top third of the stencil with Key Lime.

Step 3: Ink the middle of the stencil with Tranquil Teal.


Step 5: Spray the inked stencil with water. NOTE: The water should come out as a mist not a stream.
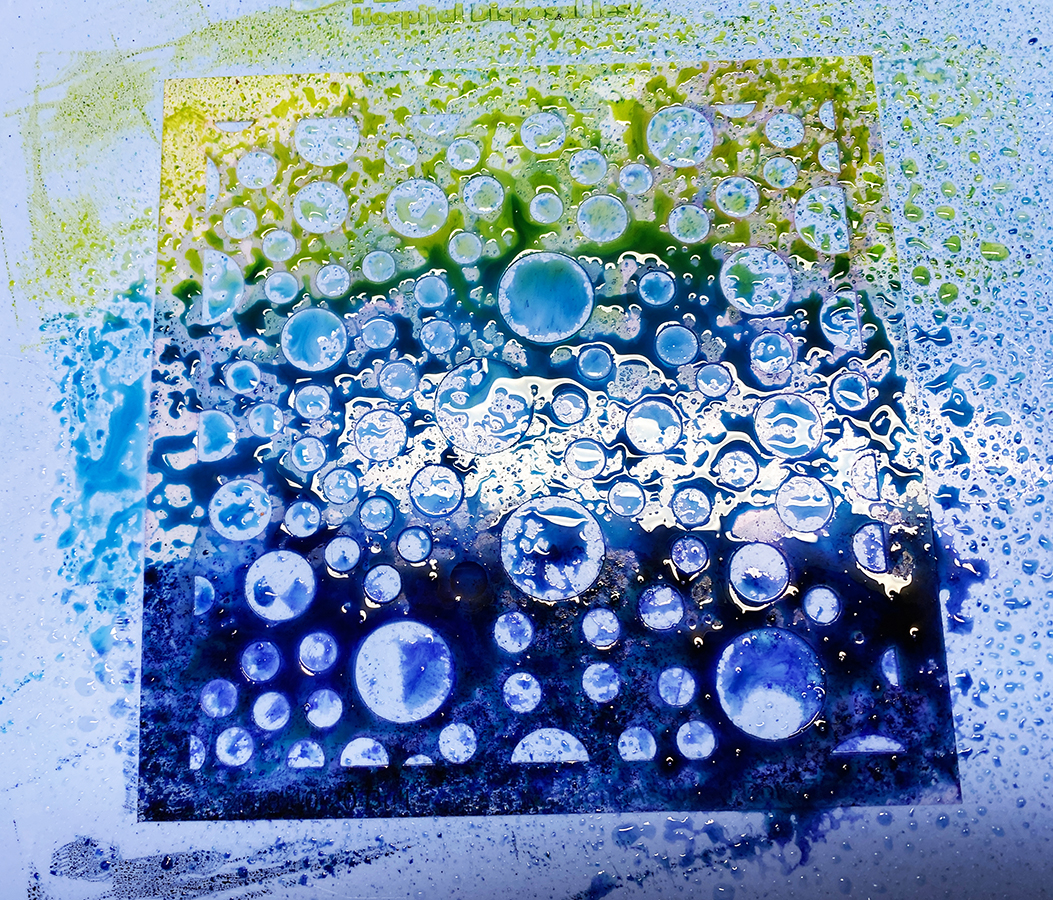
Step 6: Shows how the water looks on the stencil in the tray.


Step 9: Rub gently over the cardstock.

Step 10: Pull the cardstock off the stencil.
See that great effect. You could stop here but then it would not be a Bokeh look…but it is still fabulous!
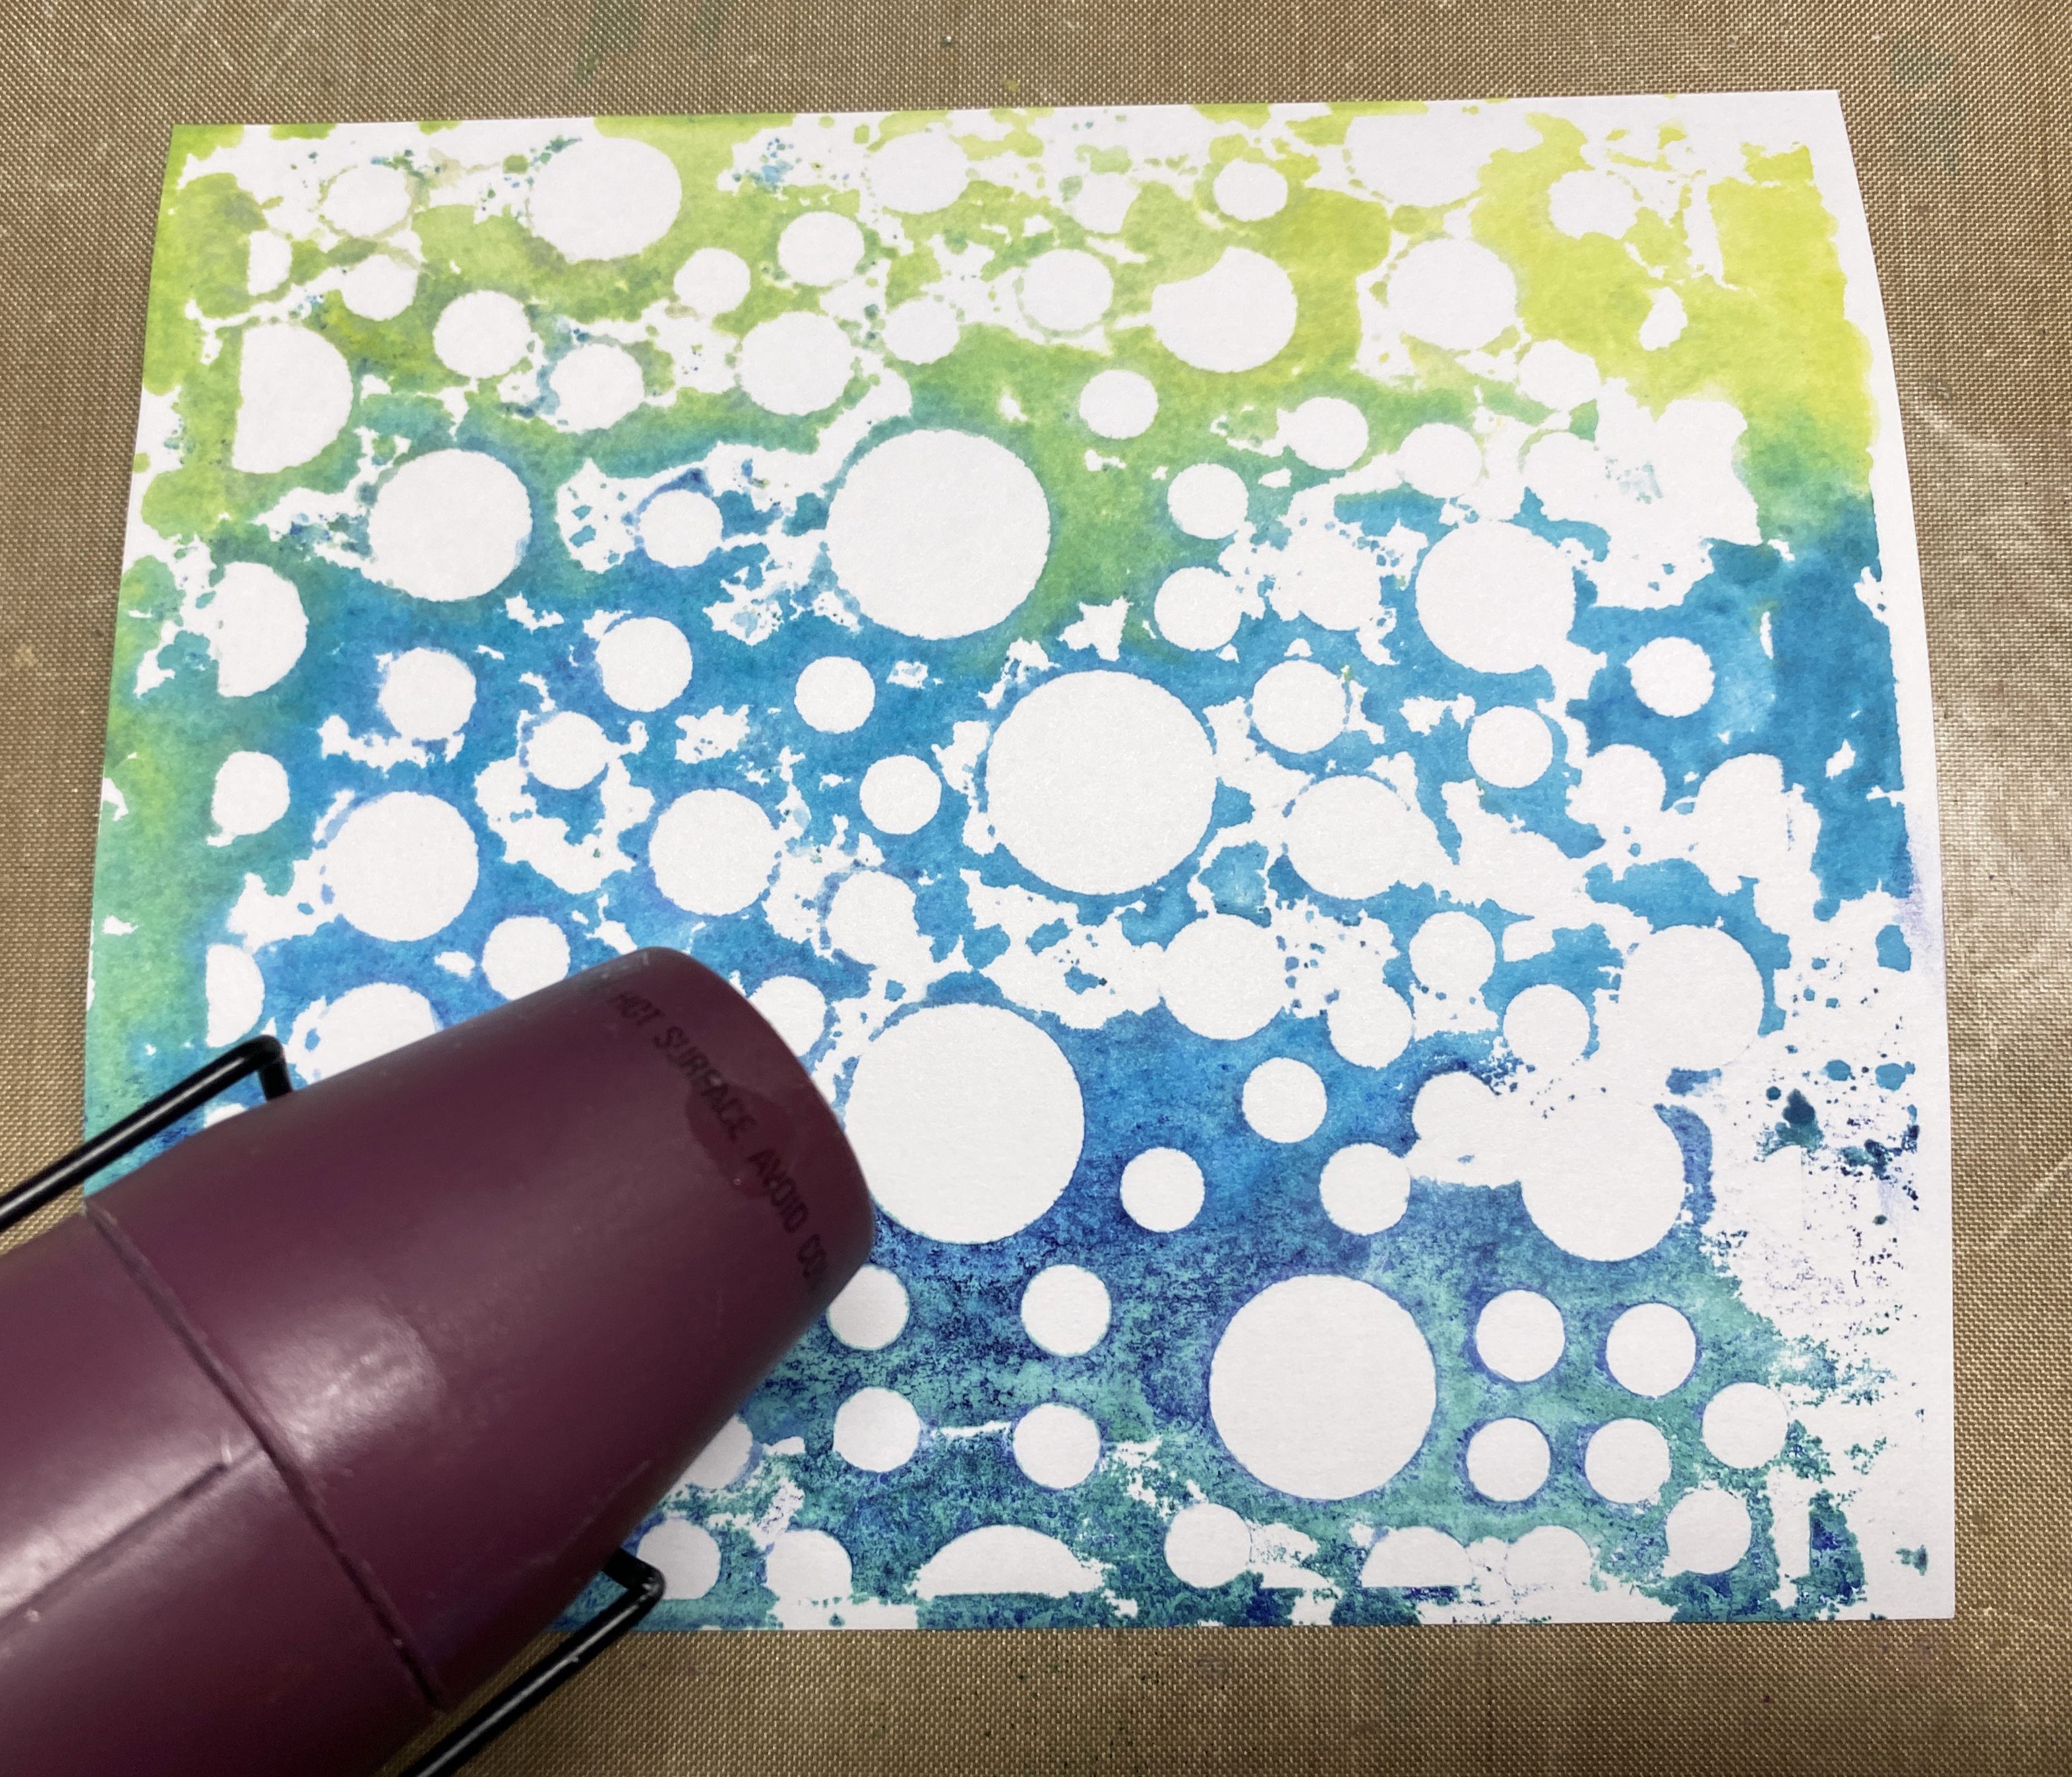
Heat set the front…

and back to dry the cardstock.

Ink up a blending brush with Key Lime and blend the ink onto the top third of the cardstock.

Ink up a blending brush with Tranquil Teal and blend the ink onto the middle of the cardstock, going up into the Key Lime to blend and create another color.

Ink up a blending brush with In the Navy and blend the ink onto the bottom third of the cardstock, going up into the Tranquil Teal to blend and create another color.

Continue to blend adding more ink if necessary to have a smooth blending of the colors.

A completed Bokeh piece of cardstock.
BONUS:

Here is the tray with the leftover ink…why not use it…

Place the stencil into the tray to pick up the ink.
There will be no reason to spray it with water as this ink is already sprayed down quite a bit.
Place a piece of cardstock over the stencil and press.

Here is a picture of the first impression and the second impression side by side.

In this one I used all three: Key Lime at the very top edge coming down about ¼ of the way.
Then used In the Navy along the bottom edge and filled in the rest with the Tranquil Teal.
I think it was a great way to use up the rest of the ink
and come up with a totally different look from the first one.
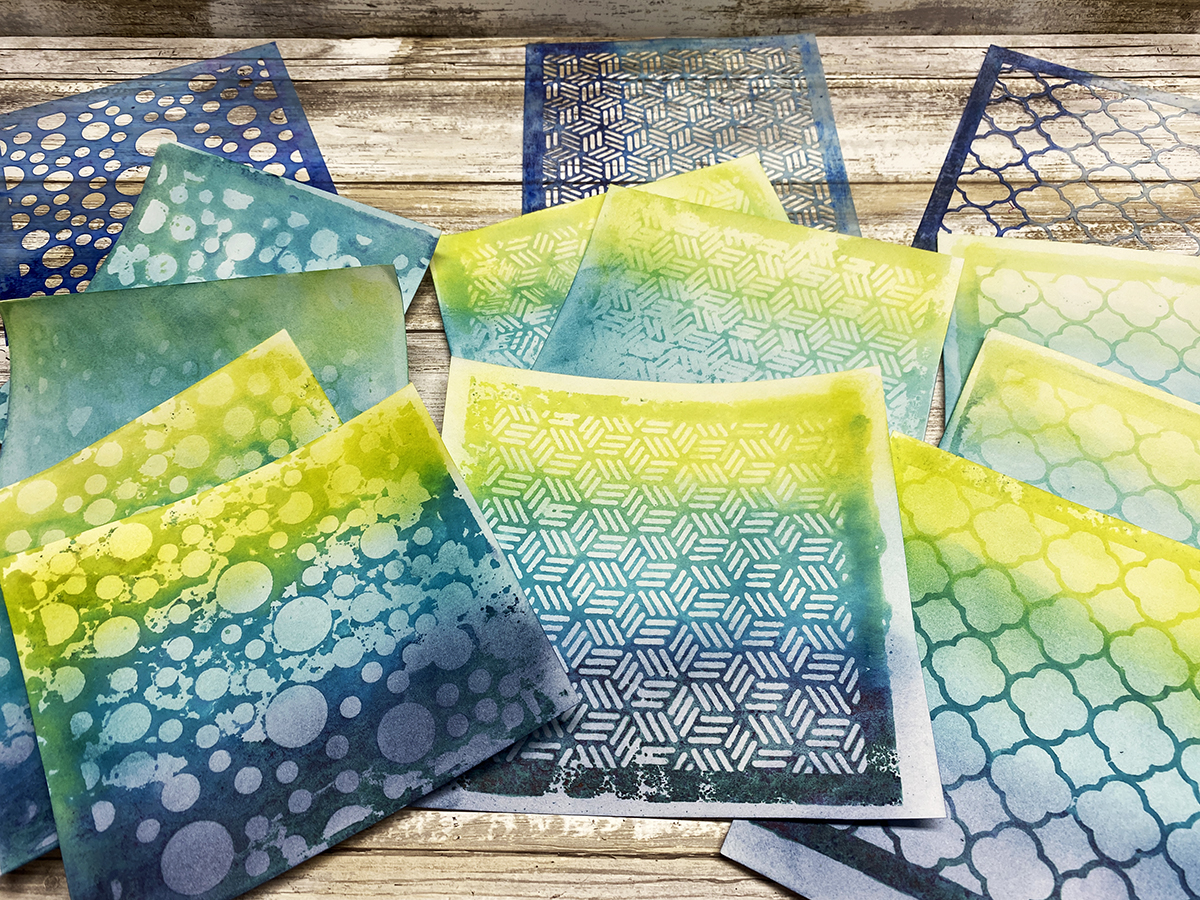
Have fun creating with this Bokeh Technique
for fabulous background papers that can be used for cards, journaling and more.
In the hero shot I show the results from all three of the stencils mentioned in
the supply list.
Beautiful bokeh pieces! Love both the stencils and colors you’ve used!
ReplyDelete