
Do you ever get the chills when you create something magical? Sometimes it’s not even what you create in the end, but it’s the process or the emotions and feelings that needed to come to the surface for you to explore them through paint, or in my case stencils.
Let me back up a tiny bit.
Several months ago, StencilGirl® asked me if I’d be interested in posting on this blog as a Guest Designer. I of course said yes! I spent hours mulling over the website searching for the perfect stencils to create with.
When I found them, they sparked an idea that felt so personal and yet so me. These stencils sat on my desk for a bit, almost causing me to feel paralyzed at the idea of creating with them, just hoping this vision I had would come to life.
However, as nervous as I felt, I grabbed my Dina Wakley Media journal, gessoed a page (and a bit of the canvas page next to it) to start creating. I began this journey with some of my favorite ephemera: small, old ledger pages that are penciled on and some old dictionary pages. I love the scratchy pencil marks that are not perfect and the story they tell. I added bits of the ephemera to the geoosed page and a few to the canvas page as well using matte medium.

Once that ephemera layer was dry, I added some gesso and scribbled a Lyra graphite stick all over eventually activating with a bit of water.


Afterwards, I began to add some color: cobalt teal, turquoise, and mars yellow deep. I used a bit of water to create a “watercolor” look with the acrylic paint, allowing some white space and also some of it to find its way to the canvas page.


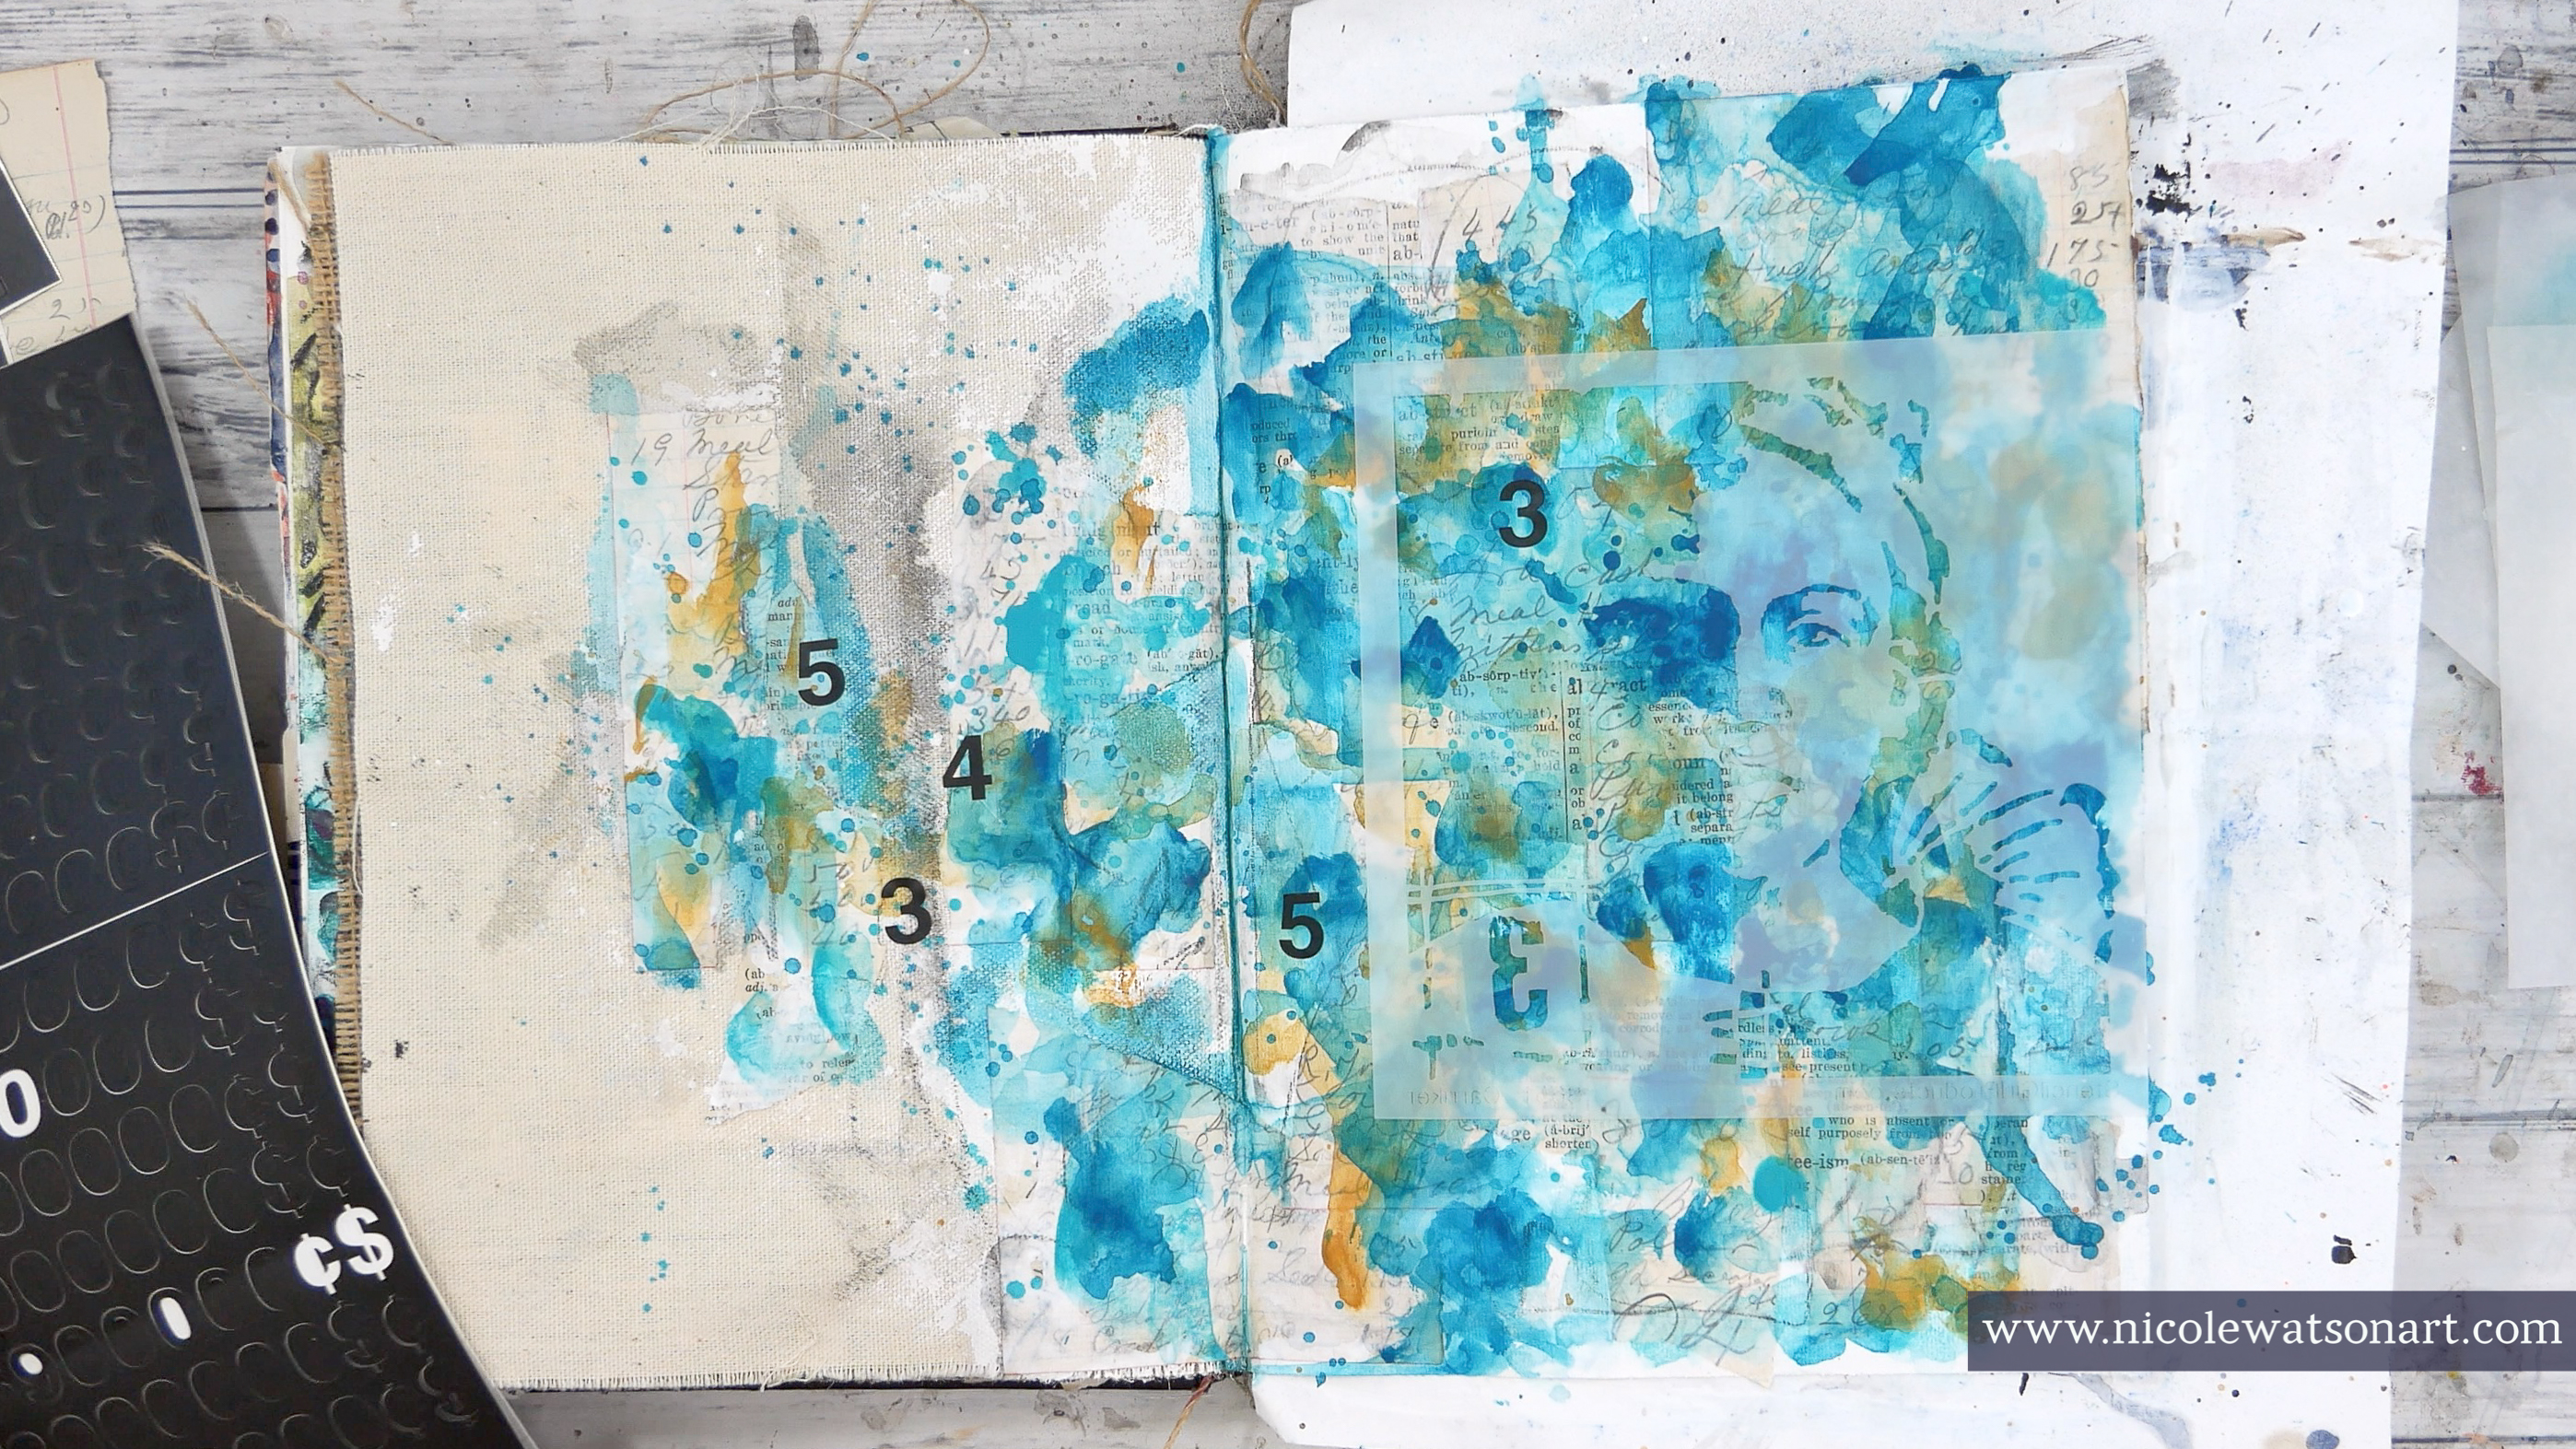
Next, I grabbed the stencils, placed them on my pages to visualize where I wanted to them go. As you can see below, I had a few options I was considering!

Then, I stopped, left my studio, and took a break.
The next day, I cleared my head to get to work. It was time to bring this lady’s story, my story, to life. First, I added some number stickers around the pages, picking spots where they wouldn’t interfere with the silhouette stencil. I used my focal point stencil as a guide.
Unsure of how to accomplish my vision, I decided that stenciling the laugh face stencil would be where to start. I used Payne’s Gray with a sponge applicator to add the lady to my pages. Since I wanted the empty space of the stencil to be inside, I flipped the stencil over and stenciled every part but the “3” because I didn’t want it backwards. Later I added the 3, and also another wing with the stencil flipped over to the right side.

I used some watered-down Payne’s Gray to feather the paint out and add sort of a cloud around her. Then, I added the birds from the flock stencil using the same process so they would look as though they were flying free from her head.

Using a gel plate and brayer, I added the flower mask stencil to the bottom of the page. This was a bit of a messy process as I used a brayer over the mask and papers to push it down on the pages. The mess was worth it though, as I love the result of using the stencil mask as a stamp!

Both of these images are so symbolic to me, representing growth and flight And, that’s where I got those chills. Those three stencils came together to tell a story.
A few other touches included: adding mars yellow to the wings and some more above where the birds were taking flight, spatters of teals and more layers of color, “grunging up” the pages with some more Payne’s Gray (especially the canvas side), lightening up the face a bit with some gesso, and re-stenciling the wings.

As my head was flooded with words and meaning to this page, I didn’t feel I could write about it. So, I looked through the Dina Wakley typed ledger sheets for a quote that might stand out and found it:
Art is you being free from all the world’s heaviness.
(Insert more chills.)

You can watch the entire process come together in the video below (or click here!).
I hope this has inspired you to create in your art journal today! If it does, give me a shout on Instagram so I can see your magic.
-Nicole
Find me on Instagram @nicolewatsonart
And, my website
Stencils:
Other Supplies:
- Golden So Flat (Payne’s gray, mars yellow deep, cobalt teal, turquoise)
- Dina Wakley Media Journal
- Sponge Applicator
- Dina Wakley Media Ledger Sheets
- Number Stickers
- Gesso
- Matte Medium
- Ephemera (dictionary pages, ledger pages)
- Small Gel Plate
- Brayer
- Lyra Graphite Stick (2B)


Lovely idea and beautiful results! Thanks for sharing your process, Nicole.
ReplyDeletethank you!!
ReplyDelete