
Hi StencilGirl Friends,
I had so many different projects in mind for my first blog post here, but as soon as I saw the results on a test run of this technique, I knew I had to share!
If you follow me at all, you might know that I love to incorporate botanicals into my artwork and I am a big fan of eco-dyeing. I have stacks of eco-dyed papers in my studio and I am always looking for new ways to use them. (But please know that you do not need to try this on eco-dyed papers! This technique should work with most backgrounds.)
I also had golf leaf (intended for a completely different use) that had been laying around for weeks and weeks. Since I am a big proponent of using what you have, I gave gold leaf stenciling a try. I found that using modeling paste as the adhesive worked best because it is so easy to see both wet and dry.
I hope that you will enjoy giving this technique a go...ld!
Tracy
SUPPLIES:
- Substrate - I used eco-dyed papers, but any background on any paper, journal page or other surface should work!
- StencilGirl Stencils - For each piece, I selected one stencil with a pattern for the background and a larger image stencil for the gold leaf. Here are my selections:
- Sidewalk in Puerto Rico #2 by Mary Beth Shaw
- Rock Wall Small by Mary Beth Shaw
- Create Face by Pam Carriker
- Bouquet Greenery by Wendy Brightbill
- Modeling Paste
- Palette Knife
- Black Gesso (or other dark colored paint)
- Applicator
- Gold or other Metal Leaf
- Small Soft Paint Brush (flat or round)
- Gold or other Color Gel Pen (optional)
STEP ONE:
Use your Black Gesso/Paint and your Patterned Stencil to stencil randomly over your background.
TIP: You want to create enough stenciling that is at least 3/4 of your Image Stencil size (so the leaf really pops off the page).

STEP TWO:
Once dry, use your modeling paste and palette knife to stencil your image over top.
TIP: Scape a nice even layer over the entire image or the section you’d like to use, AND wash your stencil right away once done!

STEP THREE:
Gently lay sheets or small broken pieces of your leaf over the modeling paste.

TIP: Pat if you need to make contact with the paste, but do not push too hard or you will flatten and distort the image.
STEP FOUR:
VERY IMPORTANT! Allow paste to dry completely!
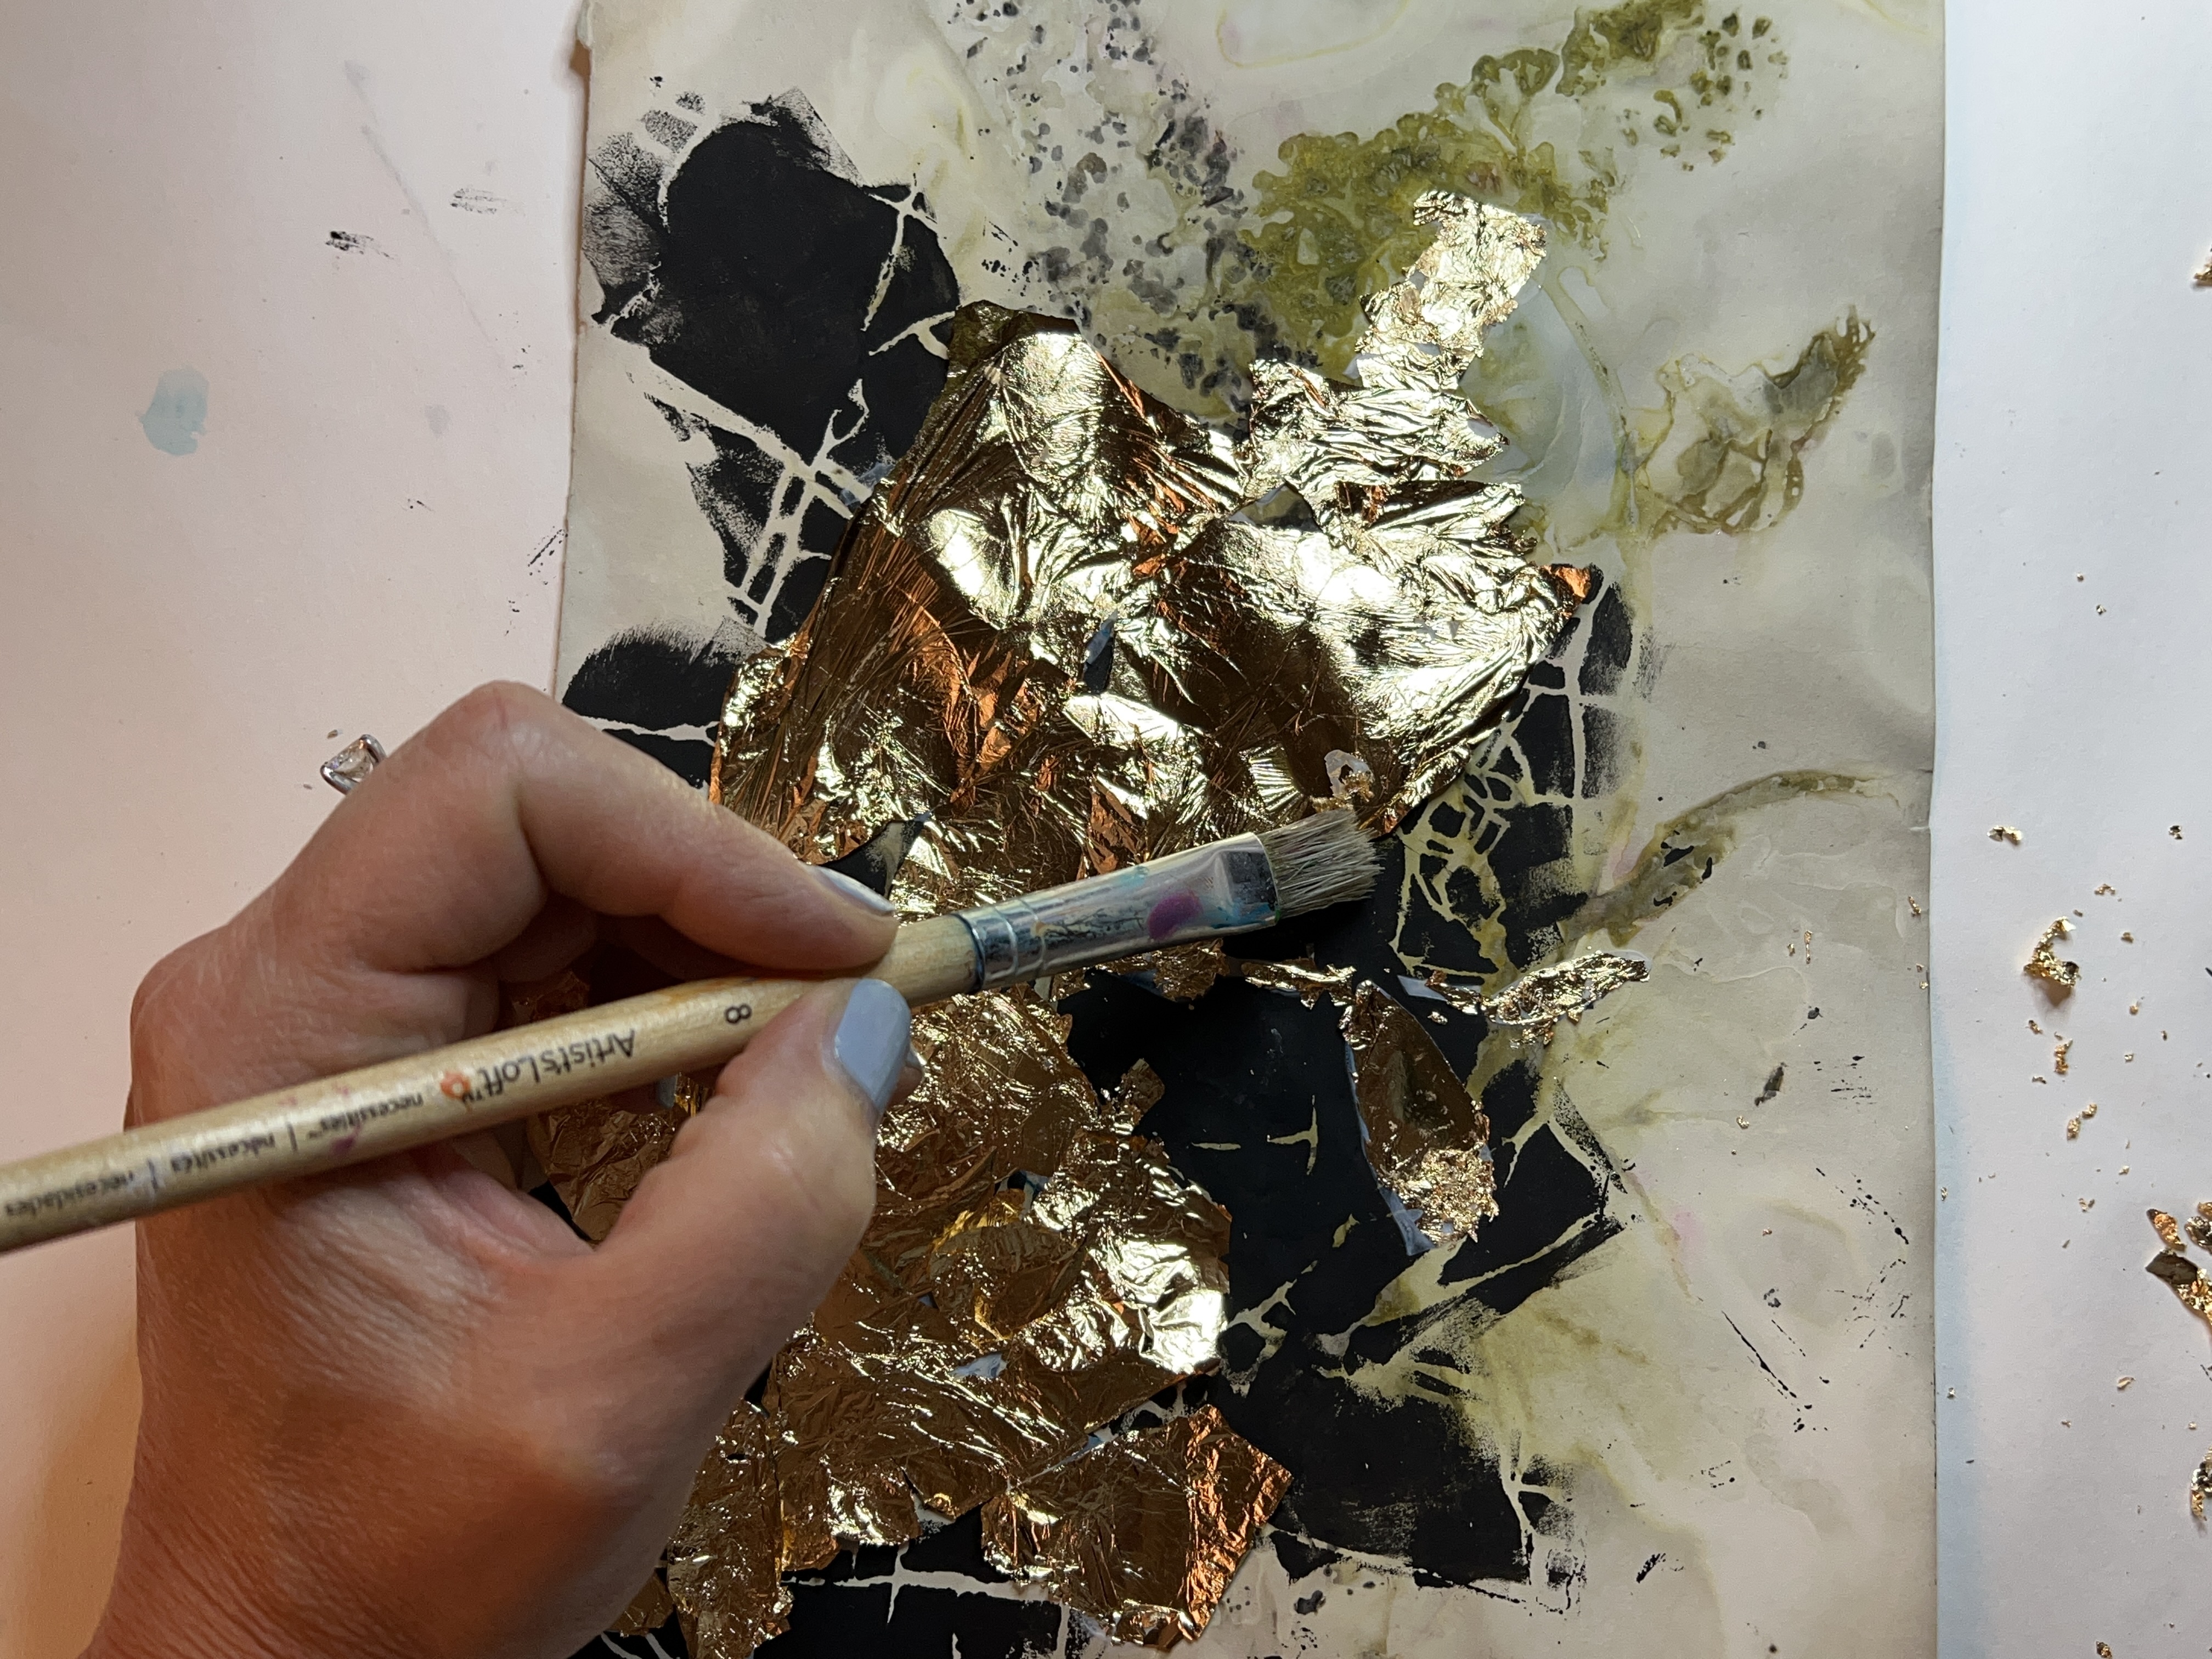
TIP: If you accidentally scrape away some of the leaf from the paste, put the tiniest bit of adhesive on the “bald spot” and patch with a gold leaf flake.
STEP SIX: (optional):
Line some of your dark shapes under the leaf with gel pen.
I would love to see what you create!
Find me at www.corkandbrush.com or @tracyvillart on Instagram.
Tracy
.jpg)
Very intriguing process, Tracy! Thanks for sharing your technique.
ReplyDelete