
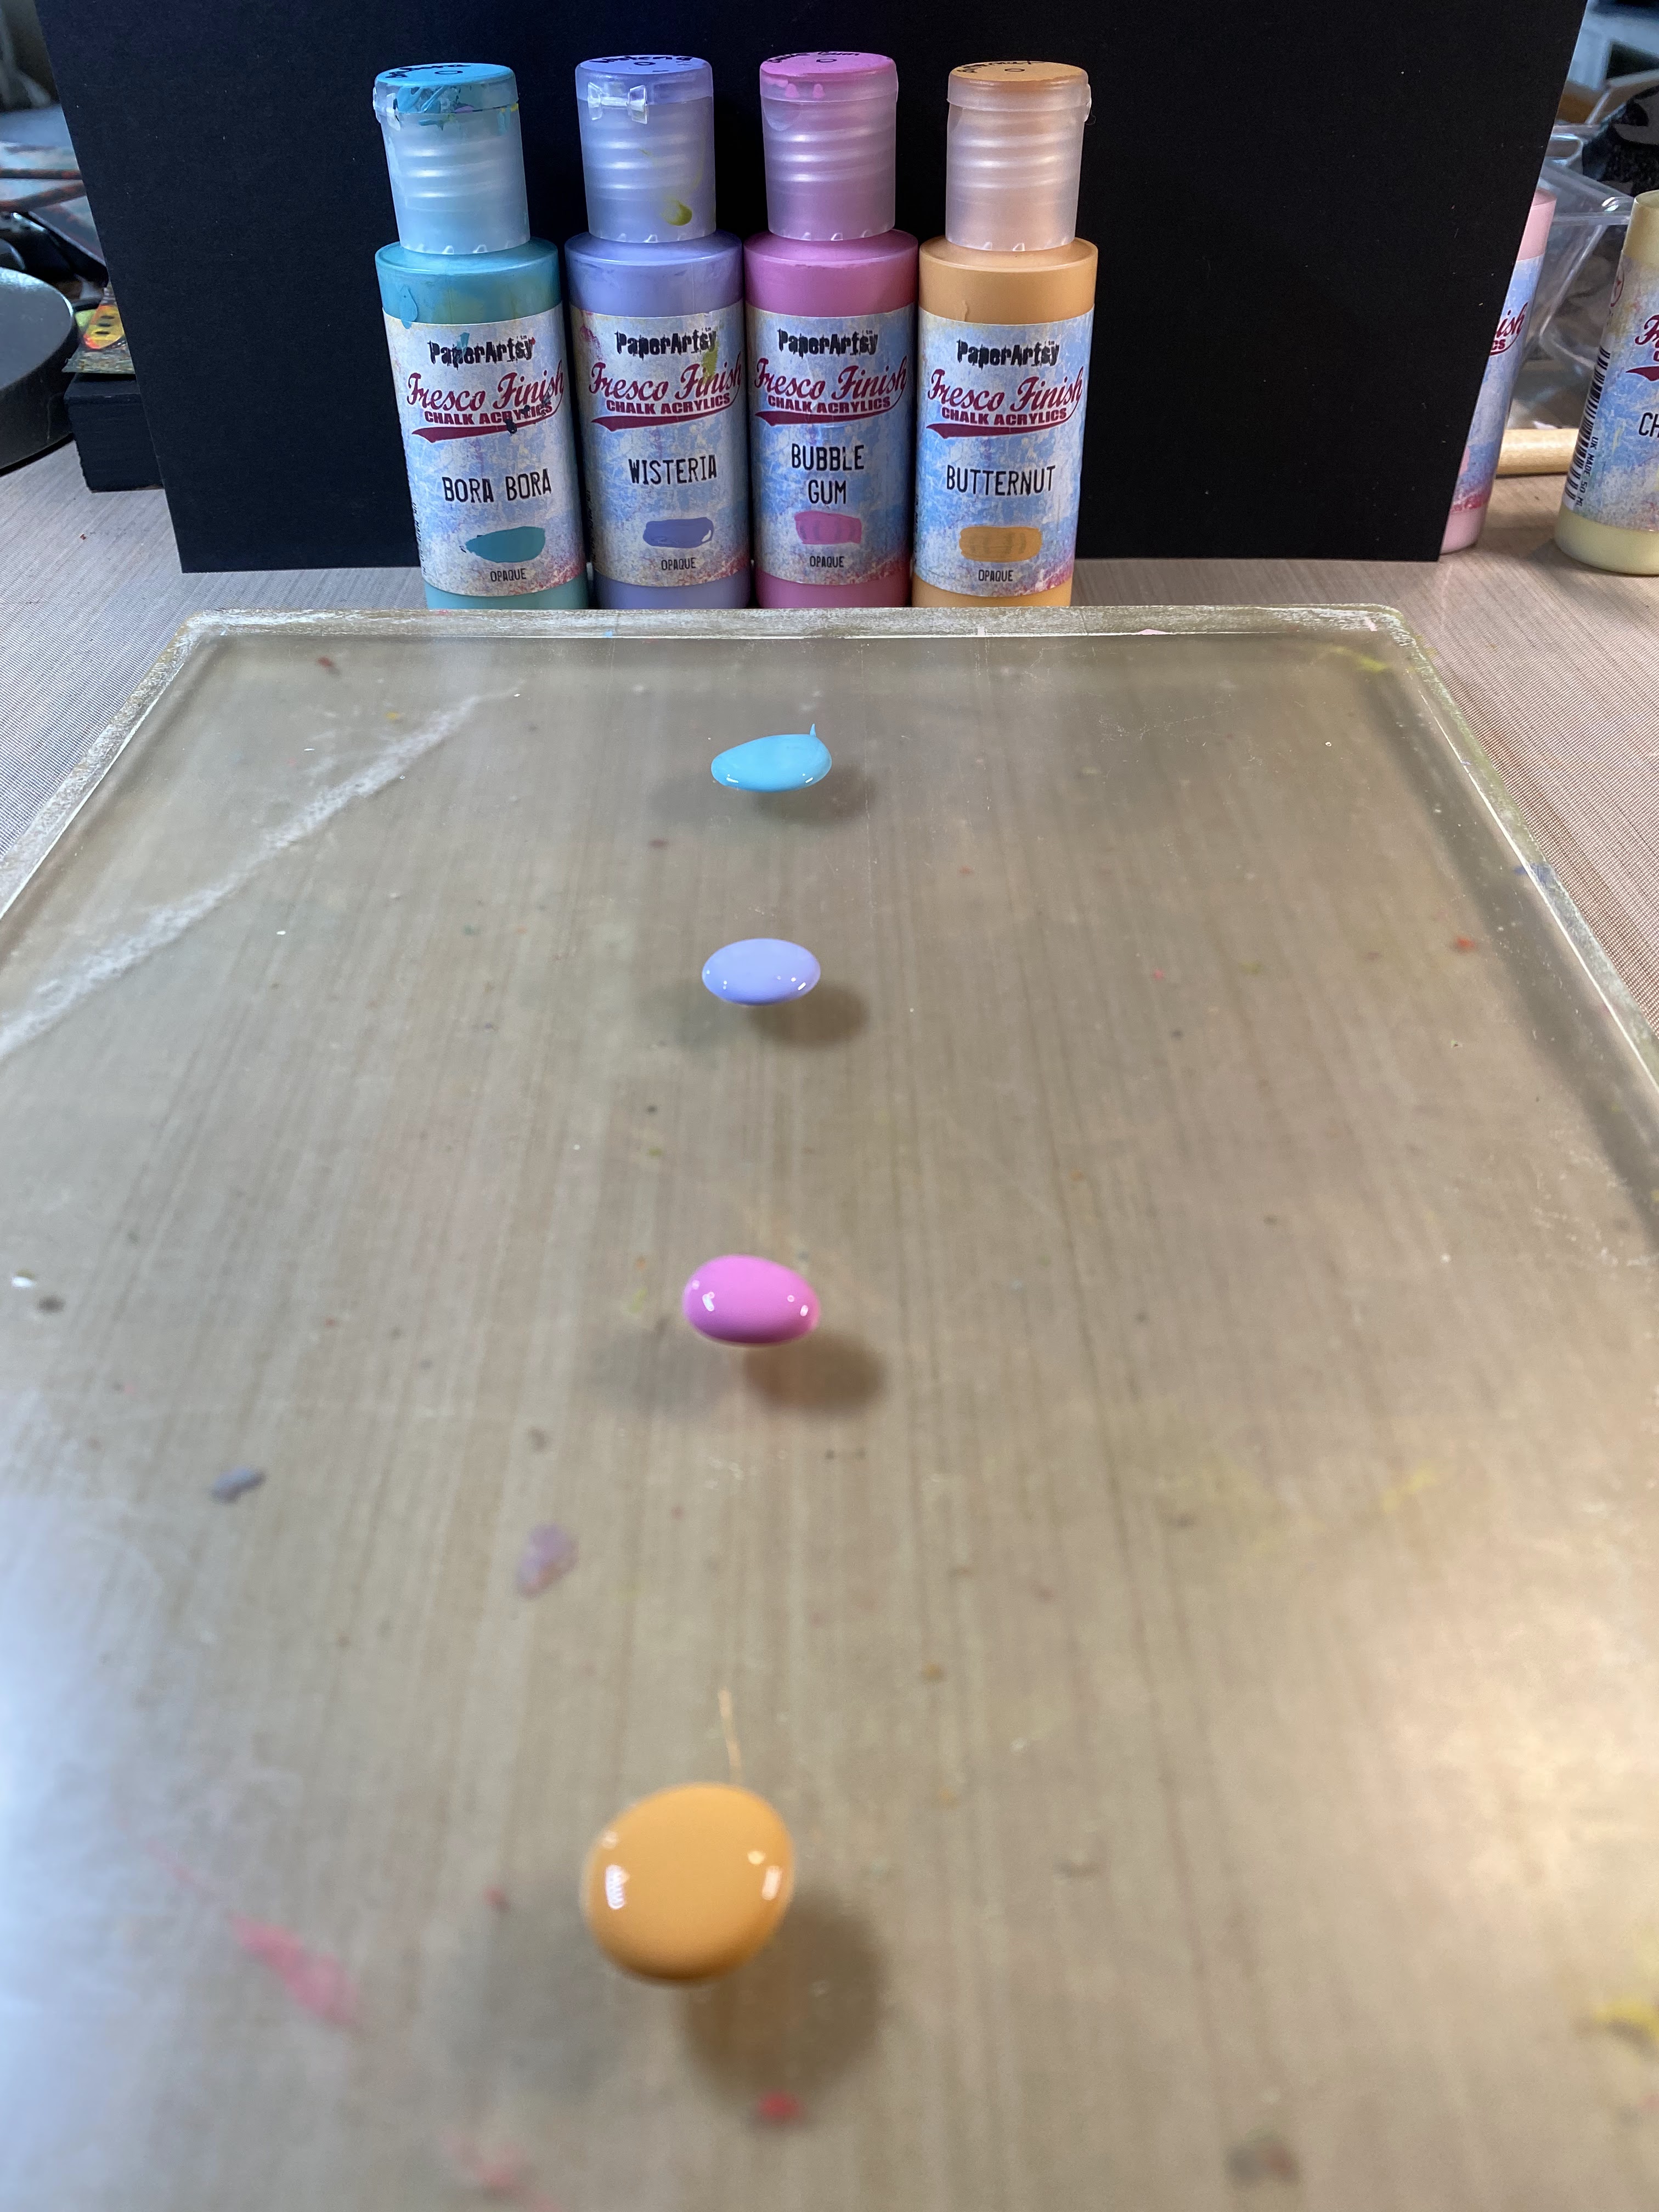
To start I took PaperArtsy paint and rolled a stripe pattern on the plate using the colors Bora Bora, Wisteria, Bubble Gum and Butternut, laid the stencil on top and made my first pull on white printer paper.


I removed the stencil and let what was left on the plate dry. I then rolled the same colors with a little white in the opposite order and rolled these out in a thin layer and pulled a print on deli paper. Feeling like parts were getting lost, I decided to add another layer so I rolled a solid layer of PaperArtsy Cherry Blossom on the plate then laid the stencil back on the plate paying attention to which side I needed down to be sure to align with my previous print. I then turned the gel plate over and placed the plate onto the deli print trying to align as best as possible (I didn't mind if the registration was off a little bit). I removed the deli print and the stencil and let the remainder of the paint dry. Once it was completely dry, I rolled a thin layer of gel medium over the plate, turned the plate over and printed it onto the first (white paper) print I had done. The gel plate makes it so easy to get positive and negative prints. I hope you will give this a try!


Below is one more fun project of collage fodder I did with these wonderful stencils. I rolled a layer of FolkArt Color Shift paint in Aqua Flash and Red Flash on my gel plate, printed it on black Cardstock then cleaned any residue off of the plate. I then laid the stencil on the plate, rolled black paint on top of the stencil, removed the stencil and cleaned the excess paint from the stencil by pressing it onto a scrap piece of paper I had waiting on the side. While the black paint was still wet on the plate, I pulled a print onto the color shift coated Cardstock. Once dry, I traced each area with a gold Uniball pen and then doodled on the black areas of the print with my colored Posca markers until I was happy with them and then cut them into fodder pieces.


I will be back next month to share new projects with the StencilClub September set. Until then... I hope you have as much fun playing and exploring the possibilities with these wonderful stencils as I did!
Join StencilClub by August 15 to receive these exclusive stencils and accompanying video tutorial with PDF (both downloadable!), and 20% OFF STENCILS EVERY DAY!!
Happy Creating!

To see more of my work please visit my Instagram page.
Beautiful work, Carol!
ReplyDeleteCarol, I am very interested in your paisley art, however instructions are confusing for me. Would it be possible to make a video? . Thank you.
ReplyDeleteCarol, I figured it out, thanks for your inspiration!
Delete