Inspired by the quotation I used and a beautiful Face stencil as well as the fact that it is now full summer and flowers abound, I came up with this page.

Here is the
tutorial:
1. On a sheet of 9 x 16.5” watercolour paper brayer on a selection of paints (I used the Art by Marlene Calm paint set). Mix the paints with white gesso.

2. With
a pencil draw 4 horizontal lines across the page and then divide each area into
segments. These will just be rough guidelines and you can change the divisions
as you go along.
3. Using some of the same paints as in step 1, brush on paint to some of the areas outlined in step 2 and remove the paint with a baby wipe through the small stencil of the March 2016 StencilClub set.
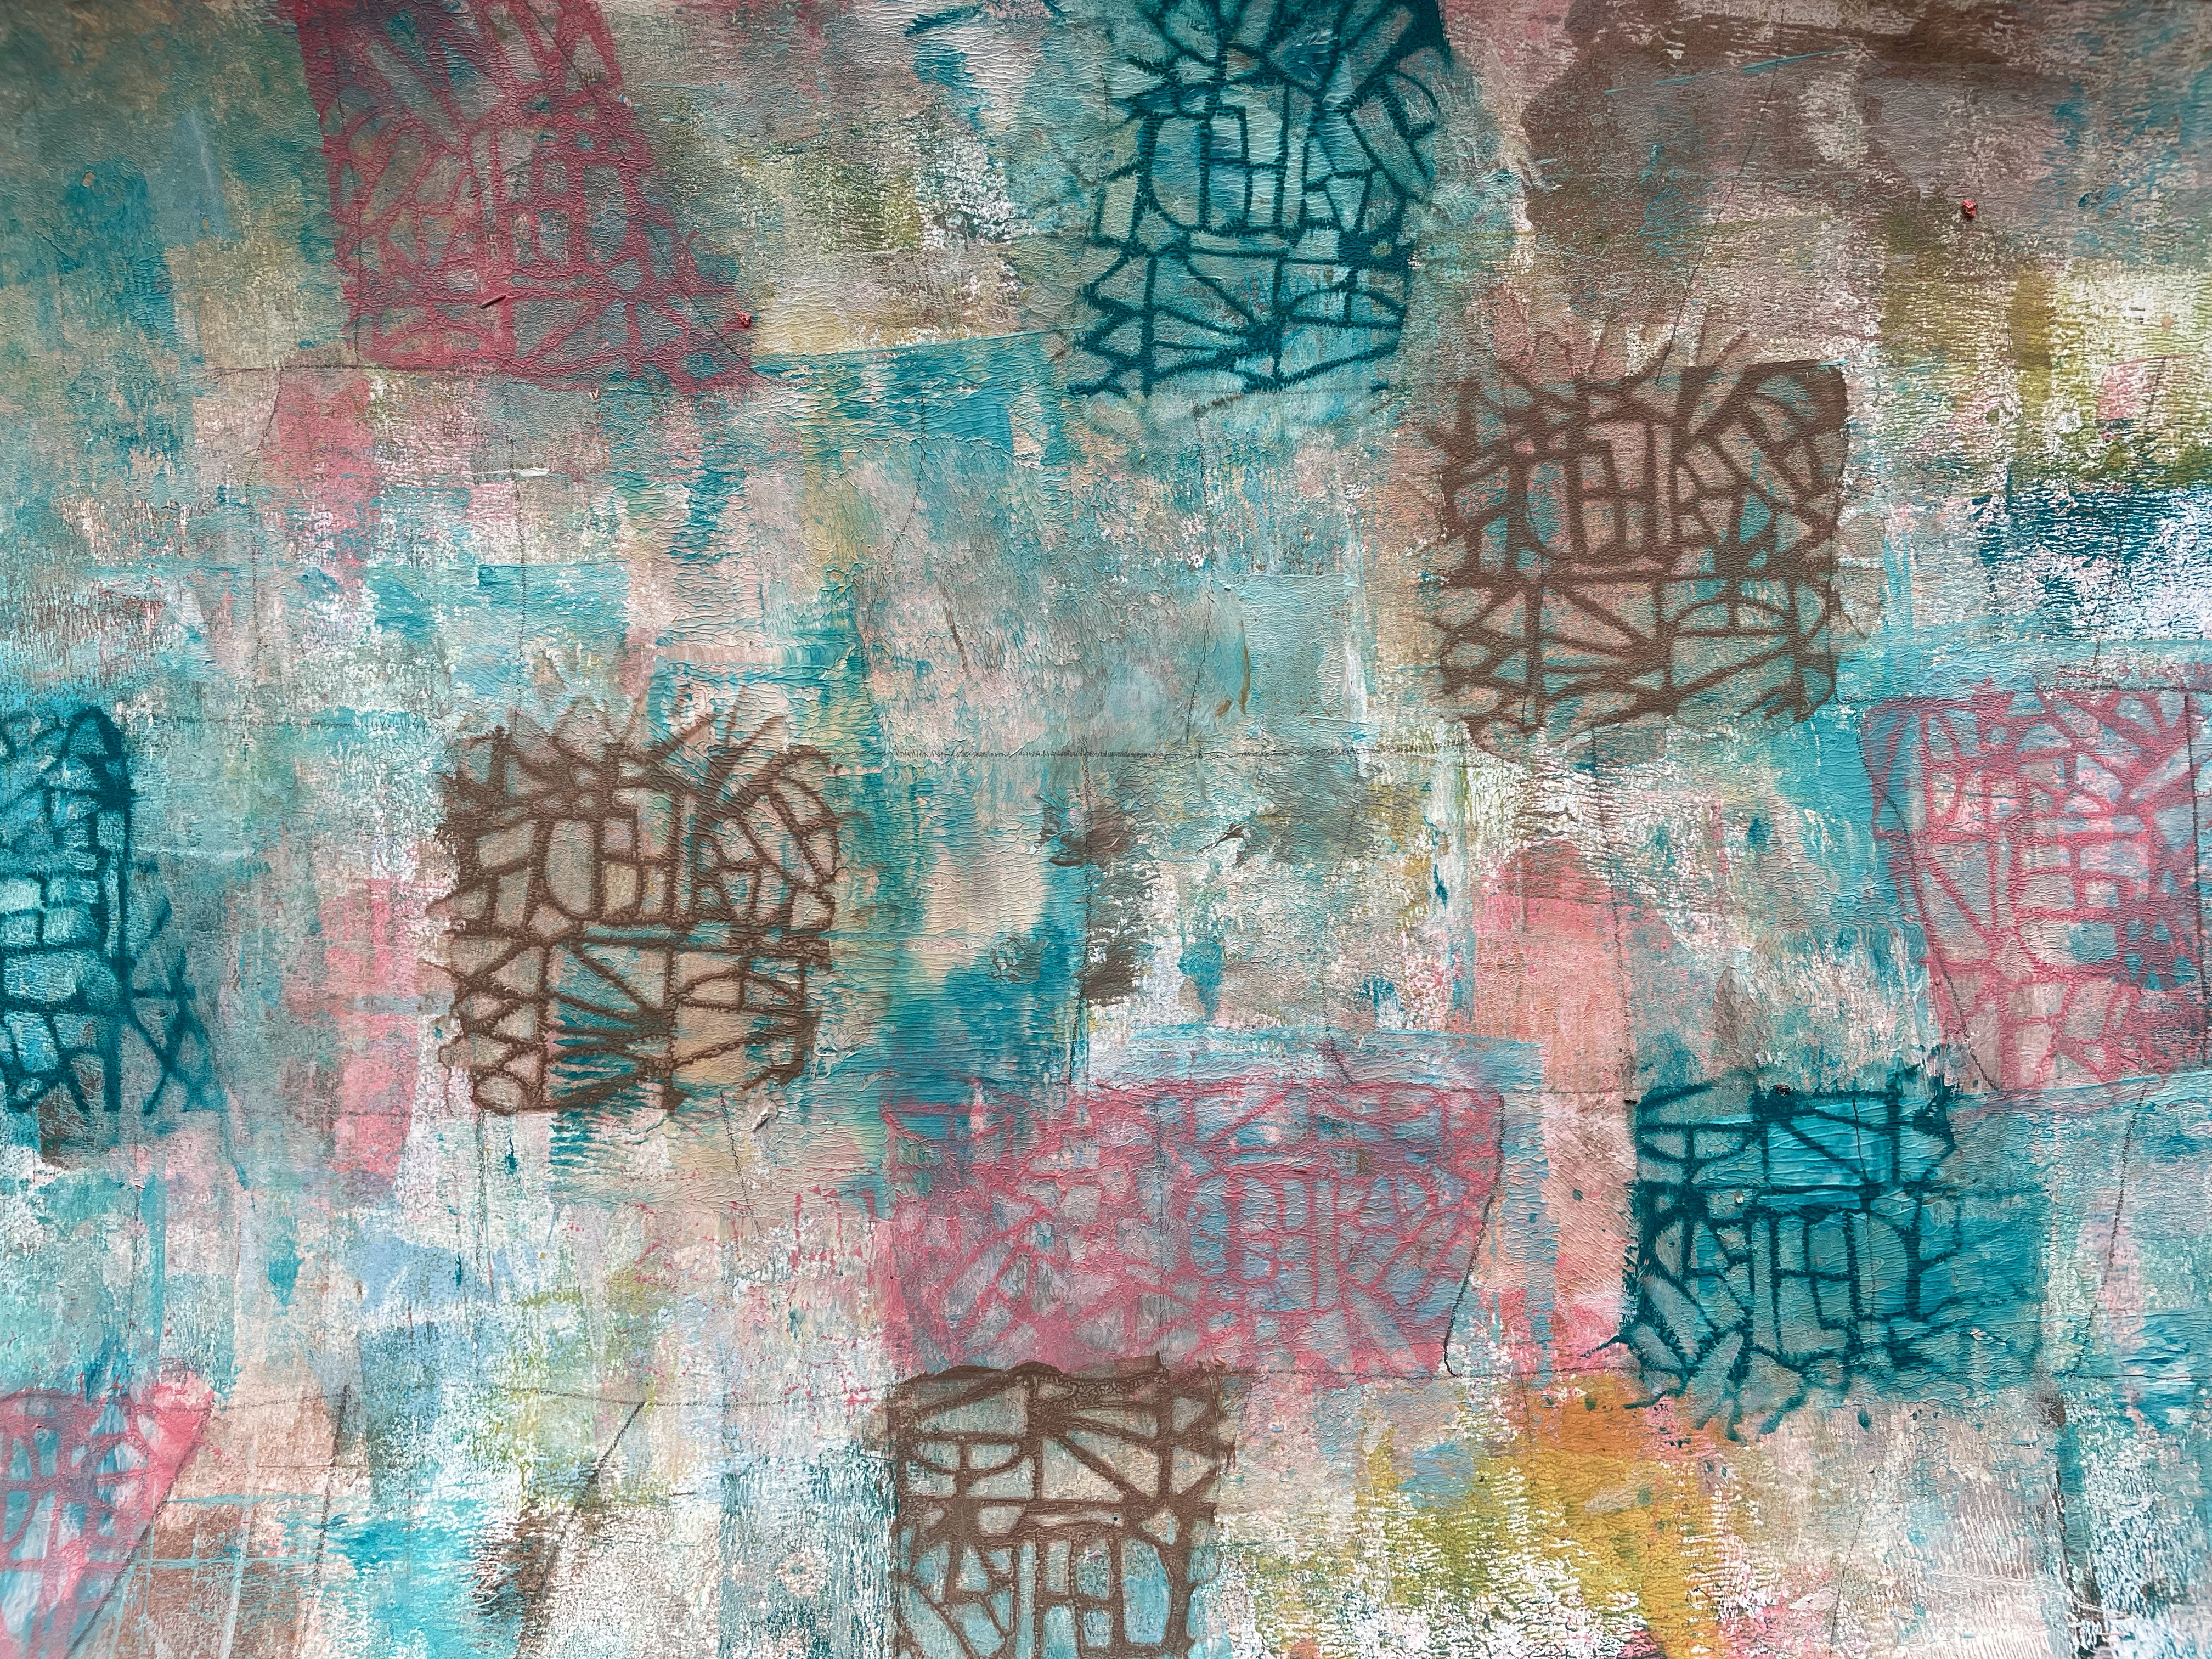
4. Glue on circular themed tissue paper and vintage paper.

5. Add more circles using one of the paints from step 1, a cosmetic wedge and the circle pattern on the large stencil from the August 2013 StencilClub set.

6. Using a variety of colours add Distress Crayons to the page I some of the marked areas and then remove with a baby wipe through the same stencil as in step 5.

7. Spray on a selection of acrylic inks and spread them about with a water spray.

8. Using a 8 x 10” gelli plate, brayer on white acrylic paint and put stencil L301 Circles Circles on top. Take prints on spare bits of paper and deli paper (keep these sheets till later) till the white paints has completely gone from the negative shapes.
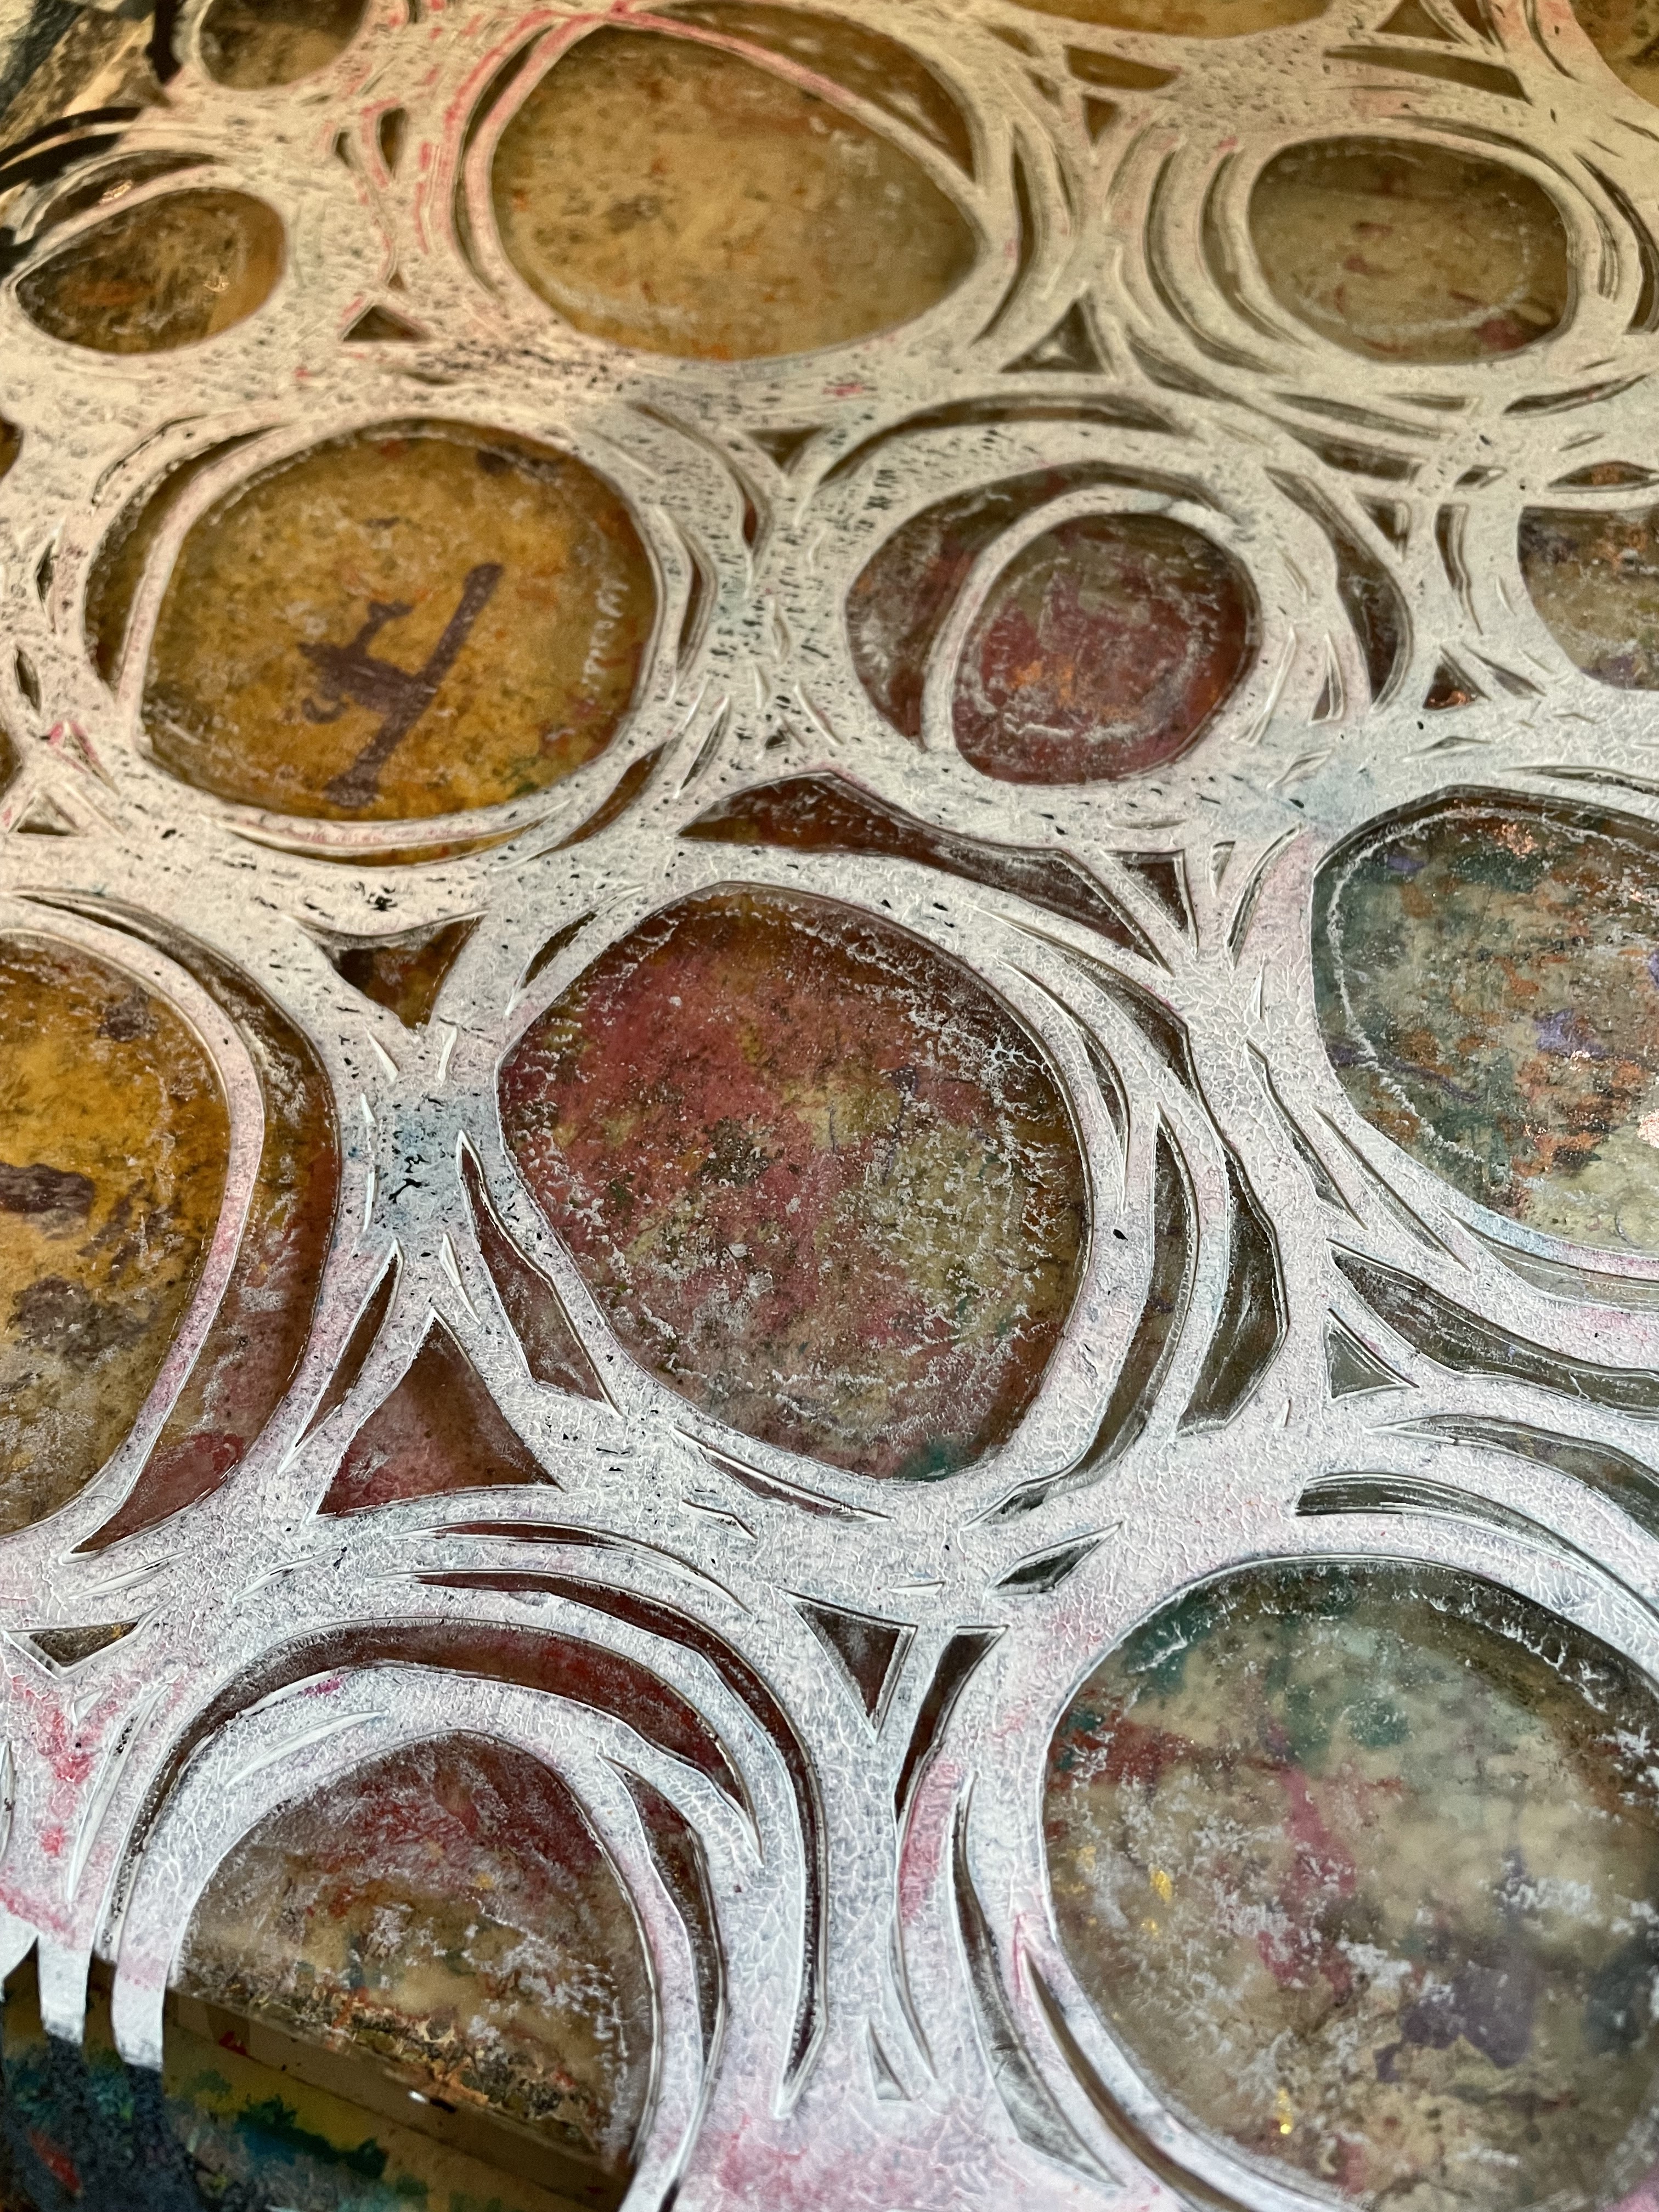
Then lift the stencil from the gelli plate and take a print on one half of your sheet. Repeat for the other side.

9. Using the spare sheets from step 8 and the gelli plate with stencil L806 Selene Large and black acrylic paint repeat step 8.

10. Cut out both the positive and the negative faces and glue onto your sheet, using matte medium.

11. Using the A stencil of the May 2022 StencilClub set add leaves around the faces, using white and black paint for the shadow face and green, peach and yellow for the light face.

12. Spray 2 paper sheets with inks (I used Izink dye spray). Spray one sheet randomly and one through stencil L607 Soulful Scribble Let Go.

13. Using
the
medium stencil from the September 2021 StencilClub
set, mark out flower shapes in different sizes on the back of the sheets
made in step 12. Do the same on a sheet of black paper.
14. Cut
out the flowers and glue them onto the page, the black ones on the shadow side
and the coloured ones on the light side.
15. Outline the flowers using a white marker, and colour in the centres with that marker too as well as a gold pen.


16. Colour
in some areas of the white face with colouring pencils
17. Glue
on the quotation using words cut from magazines and outline with a black marker
18. Edge the page with a permanent black inkpad.


© Frieda Oxenham 2022. To see more of Frieda's work, please visit her BLOG.
Wow! So interesting, Frieda! I love your ideas - so layered!
ReplyDeleteI like the way you use so many colors and so many mark-making and so many stencils in your projects. Beautifully layered. Thanks, Frieda!
ReplyDelete