
Hello stencil lovers! This is Carol Ponsford wishing you a wonderful February and showing
you today how I used the February StencilClub set designed by the talented Tina Walker.
I haven't made a Rolodex piece yet and I know there may be others that have not either so
I will be anxious to see yours if you choose to do one. If not, let me show
you how you can take components of these stencils and turn them into a Spring
inspired painting. (Can you tell, I am looking forward to Spring!)
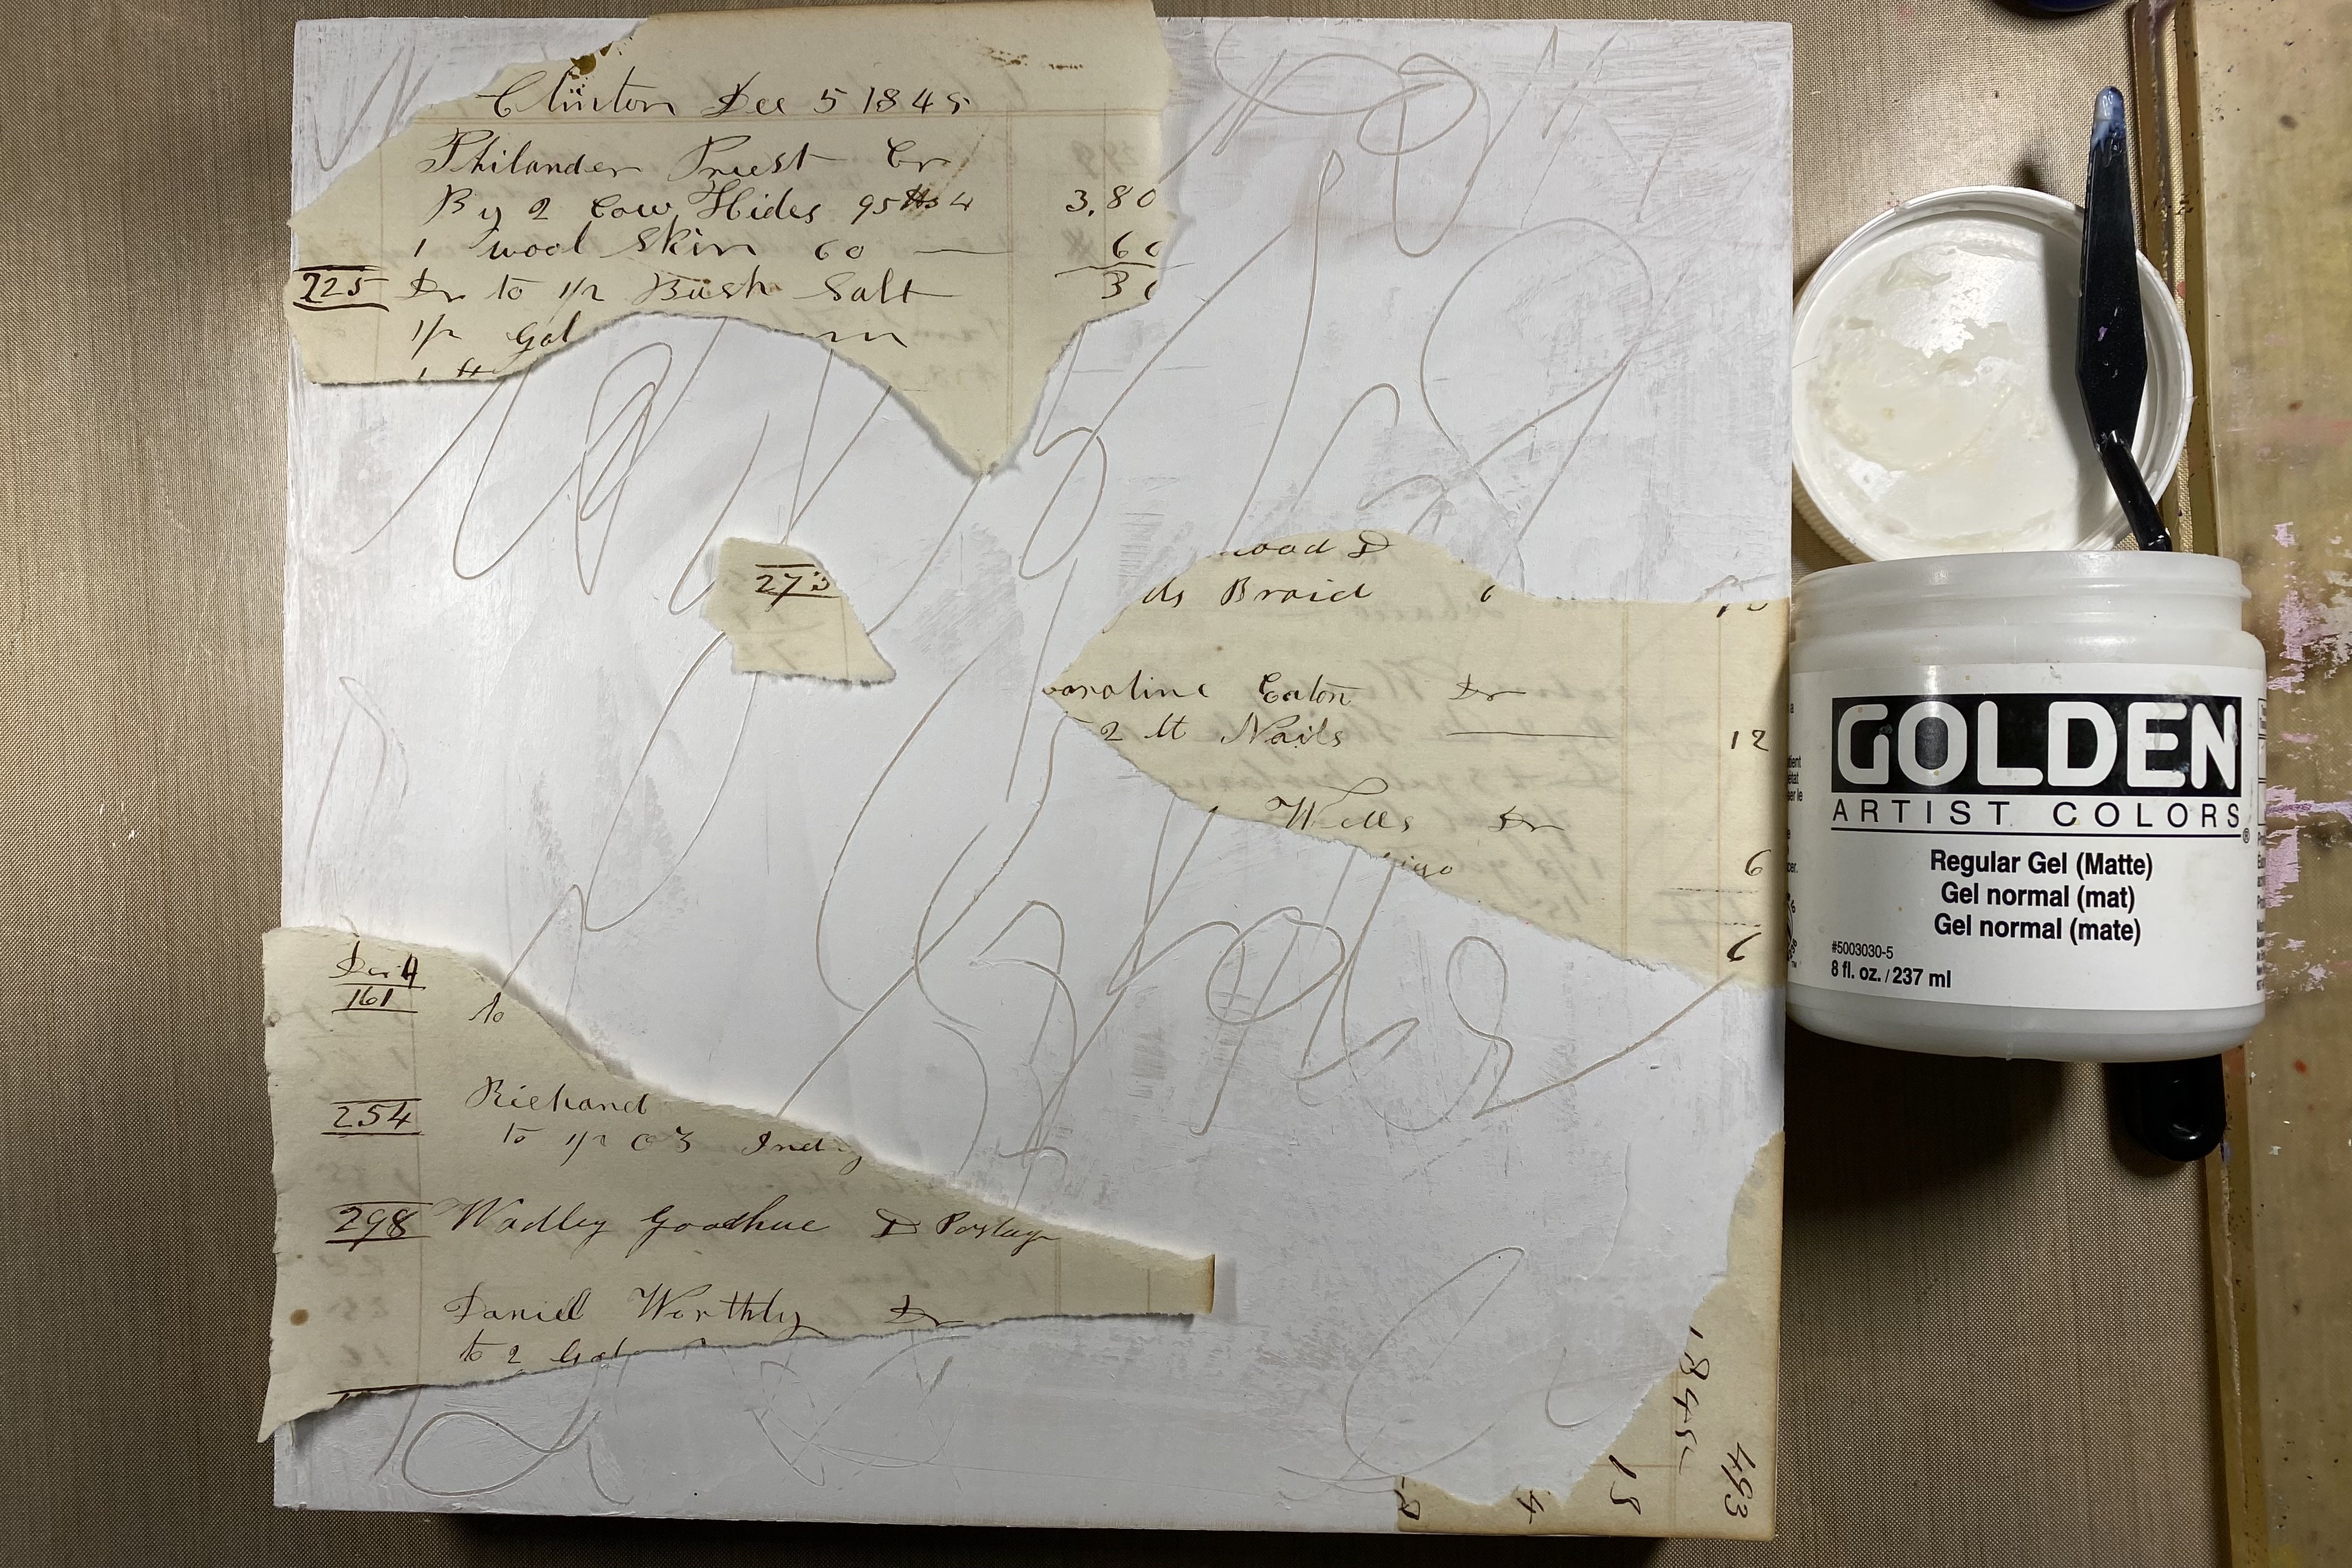
I started with a 10"x10" 1 1/2" deep wooden panel and covered it with white gesso.
Using a wooden skewer, I scribble into the gesso to give it some texture.

After it was dry, I tore some vintage journal sheets and added some of the pieces
with matte gel medium making sure to work out any bubbles under the paper.
Using Daler & Rowney Antelope Brown FW Acrylic Ink and a baby wipe
I moved the ink over the surface to get the look I wanted.


I tried to do a wash of paint with PaperArtsy's Little Black Dress Fresco Acrylic paint but (as
sometimes happens) I was not happy with the results because I should have painted a layer of
gel medium over the vintage paper so that it would not grab the paint so much.

So, I moved on to Plan B and using my brayer I covered the surface of the
painting with a very thin layer of white acrylic paint and then used a baby
wipe to remove some of it until I had muted the black paint some.


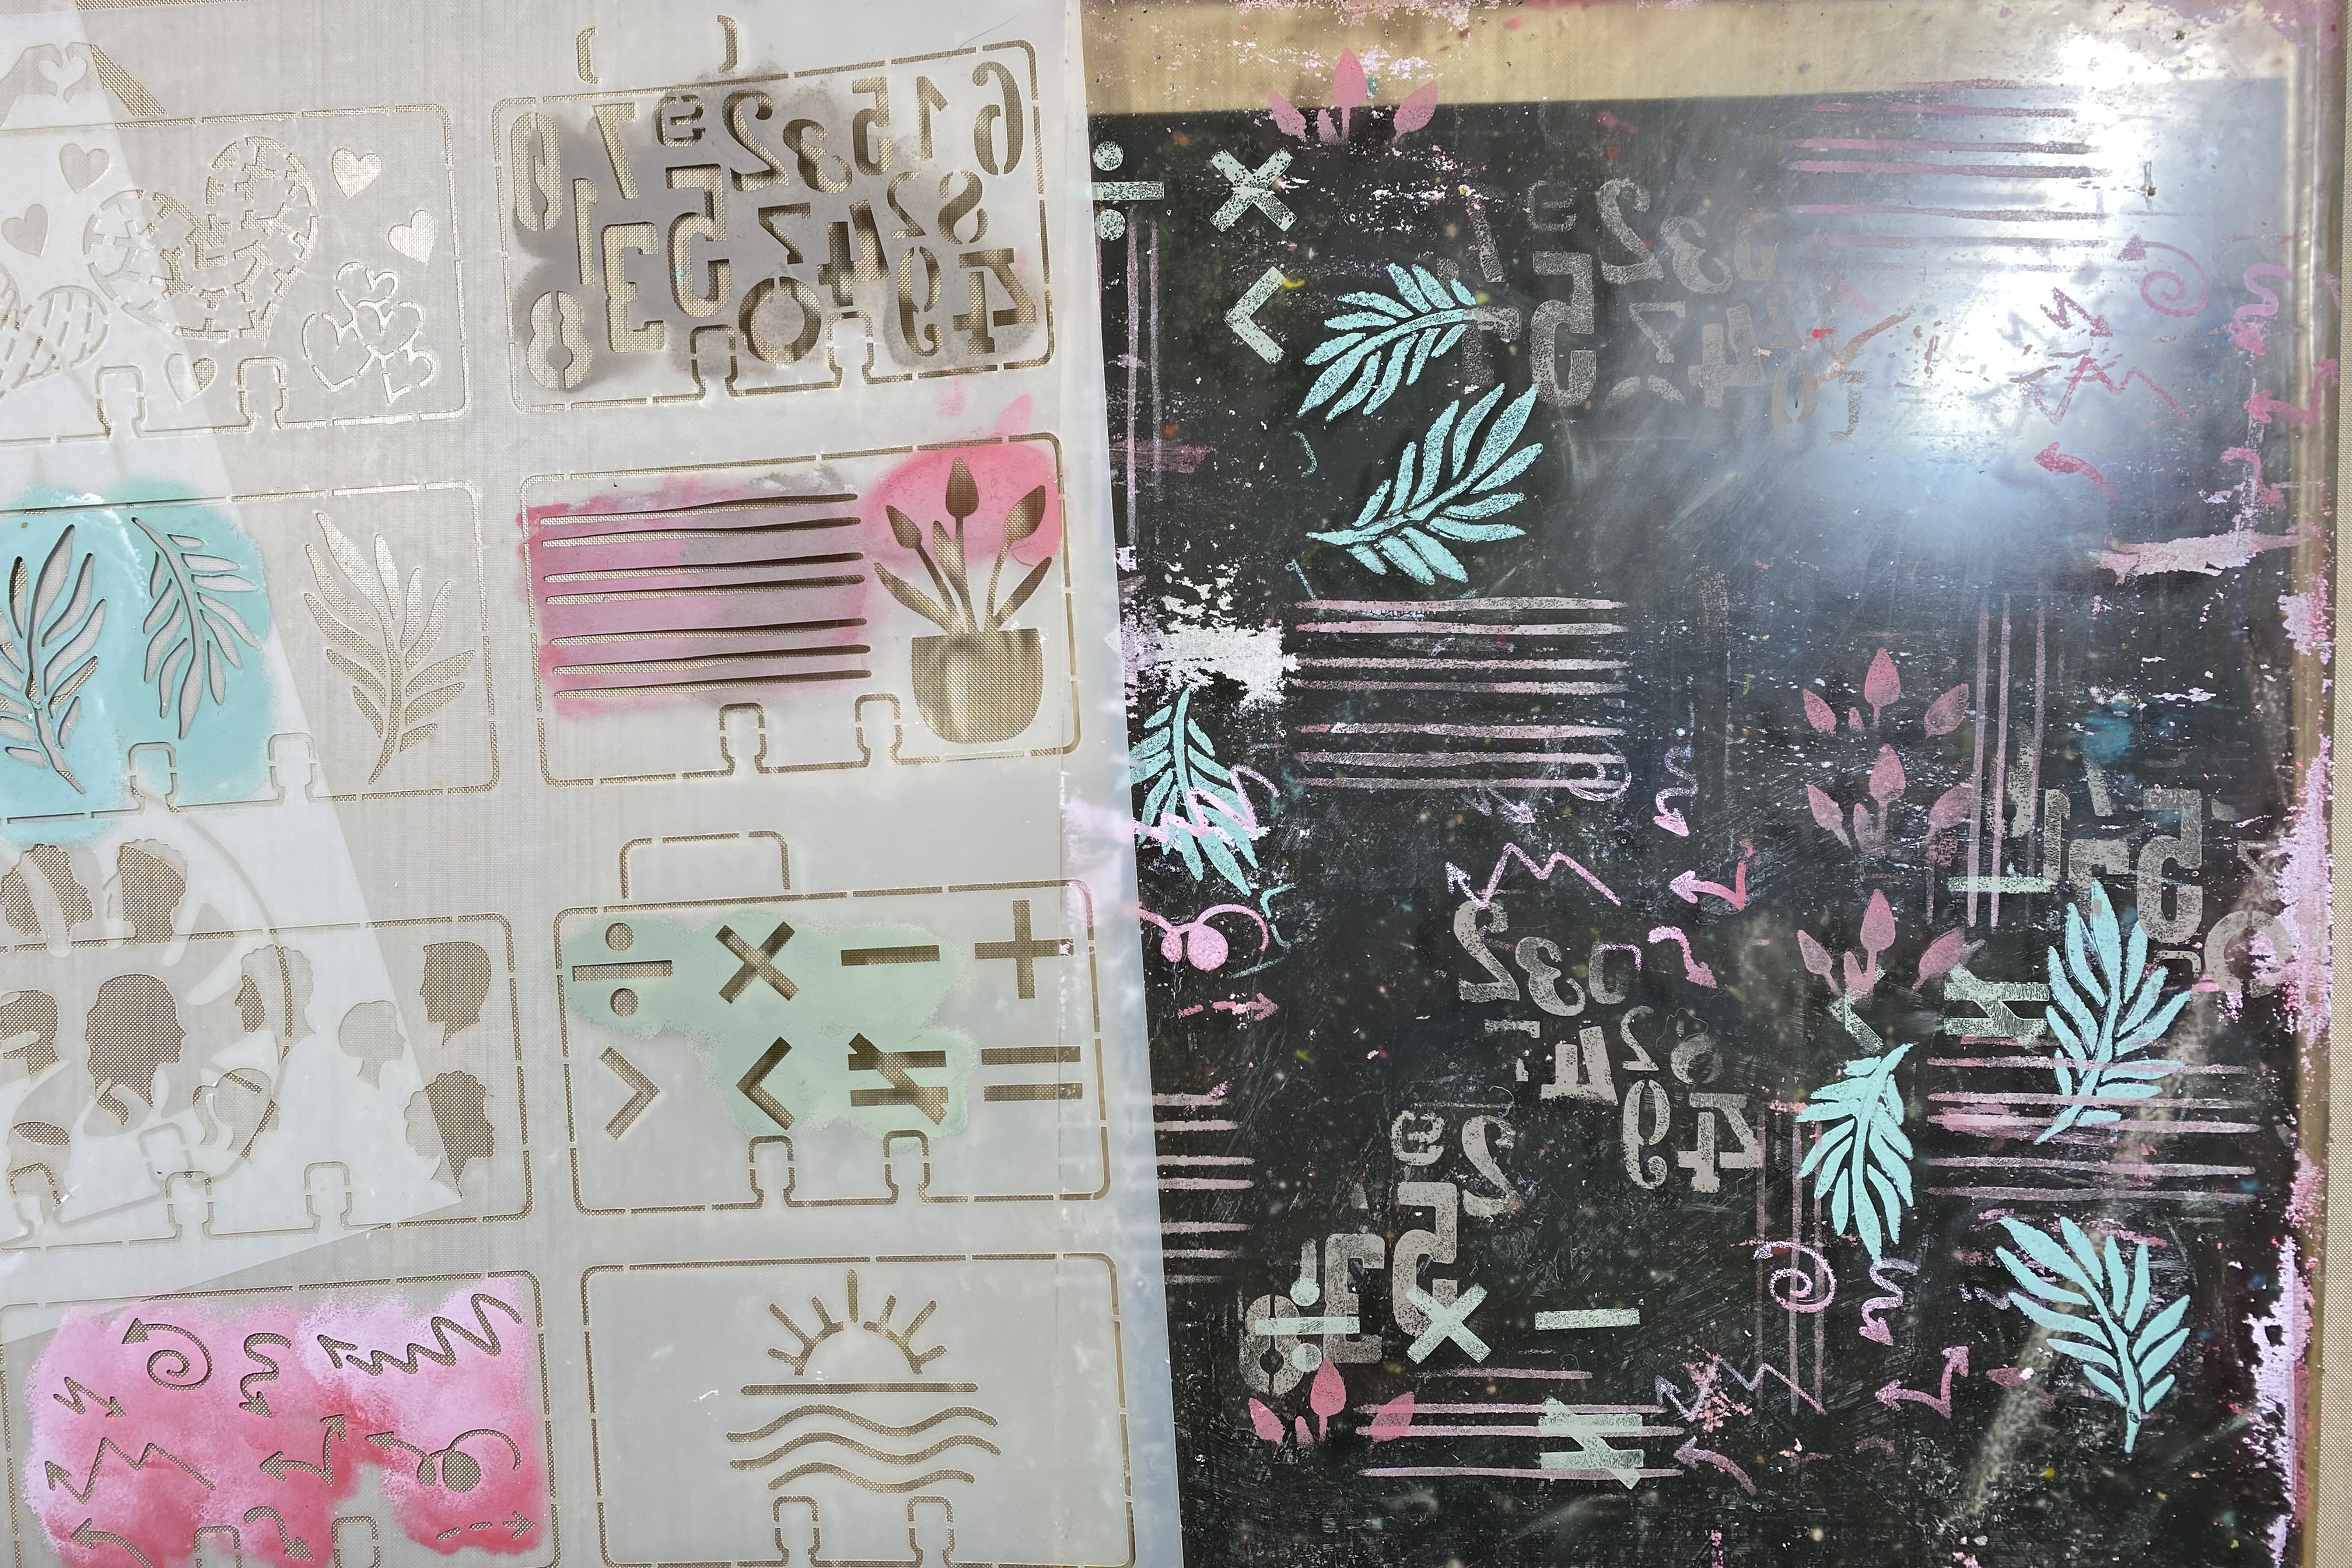
While this was drying I took the stencil with all of the rectangular rolodex cards on it
and started randomly adding components of it to my gel plate with a sponge and paint. I
used a variety of colors from my collection of PaperArtsy Fresco Acrylic paints.
I put a sheet of black paper under my gel plate so you can see how I arranged them.
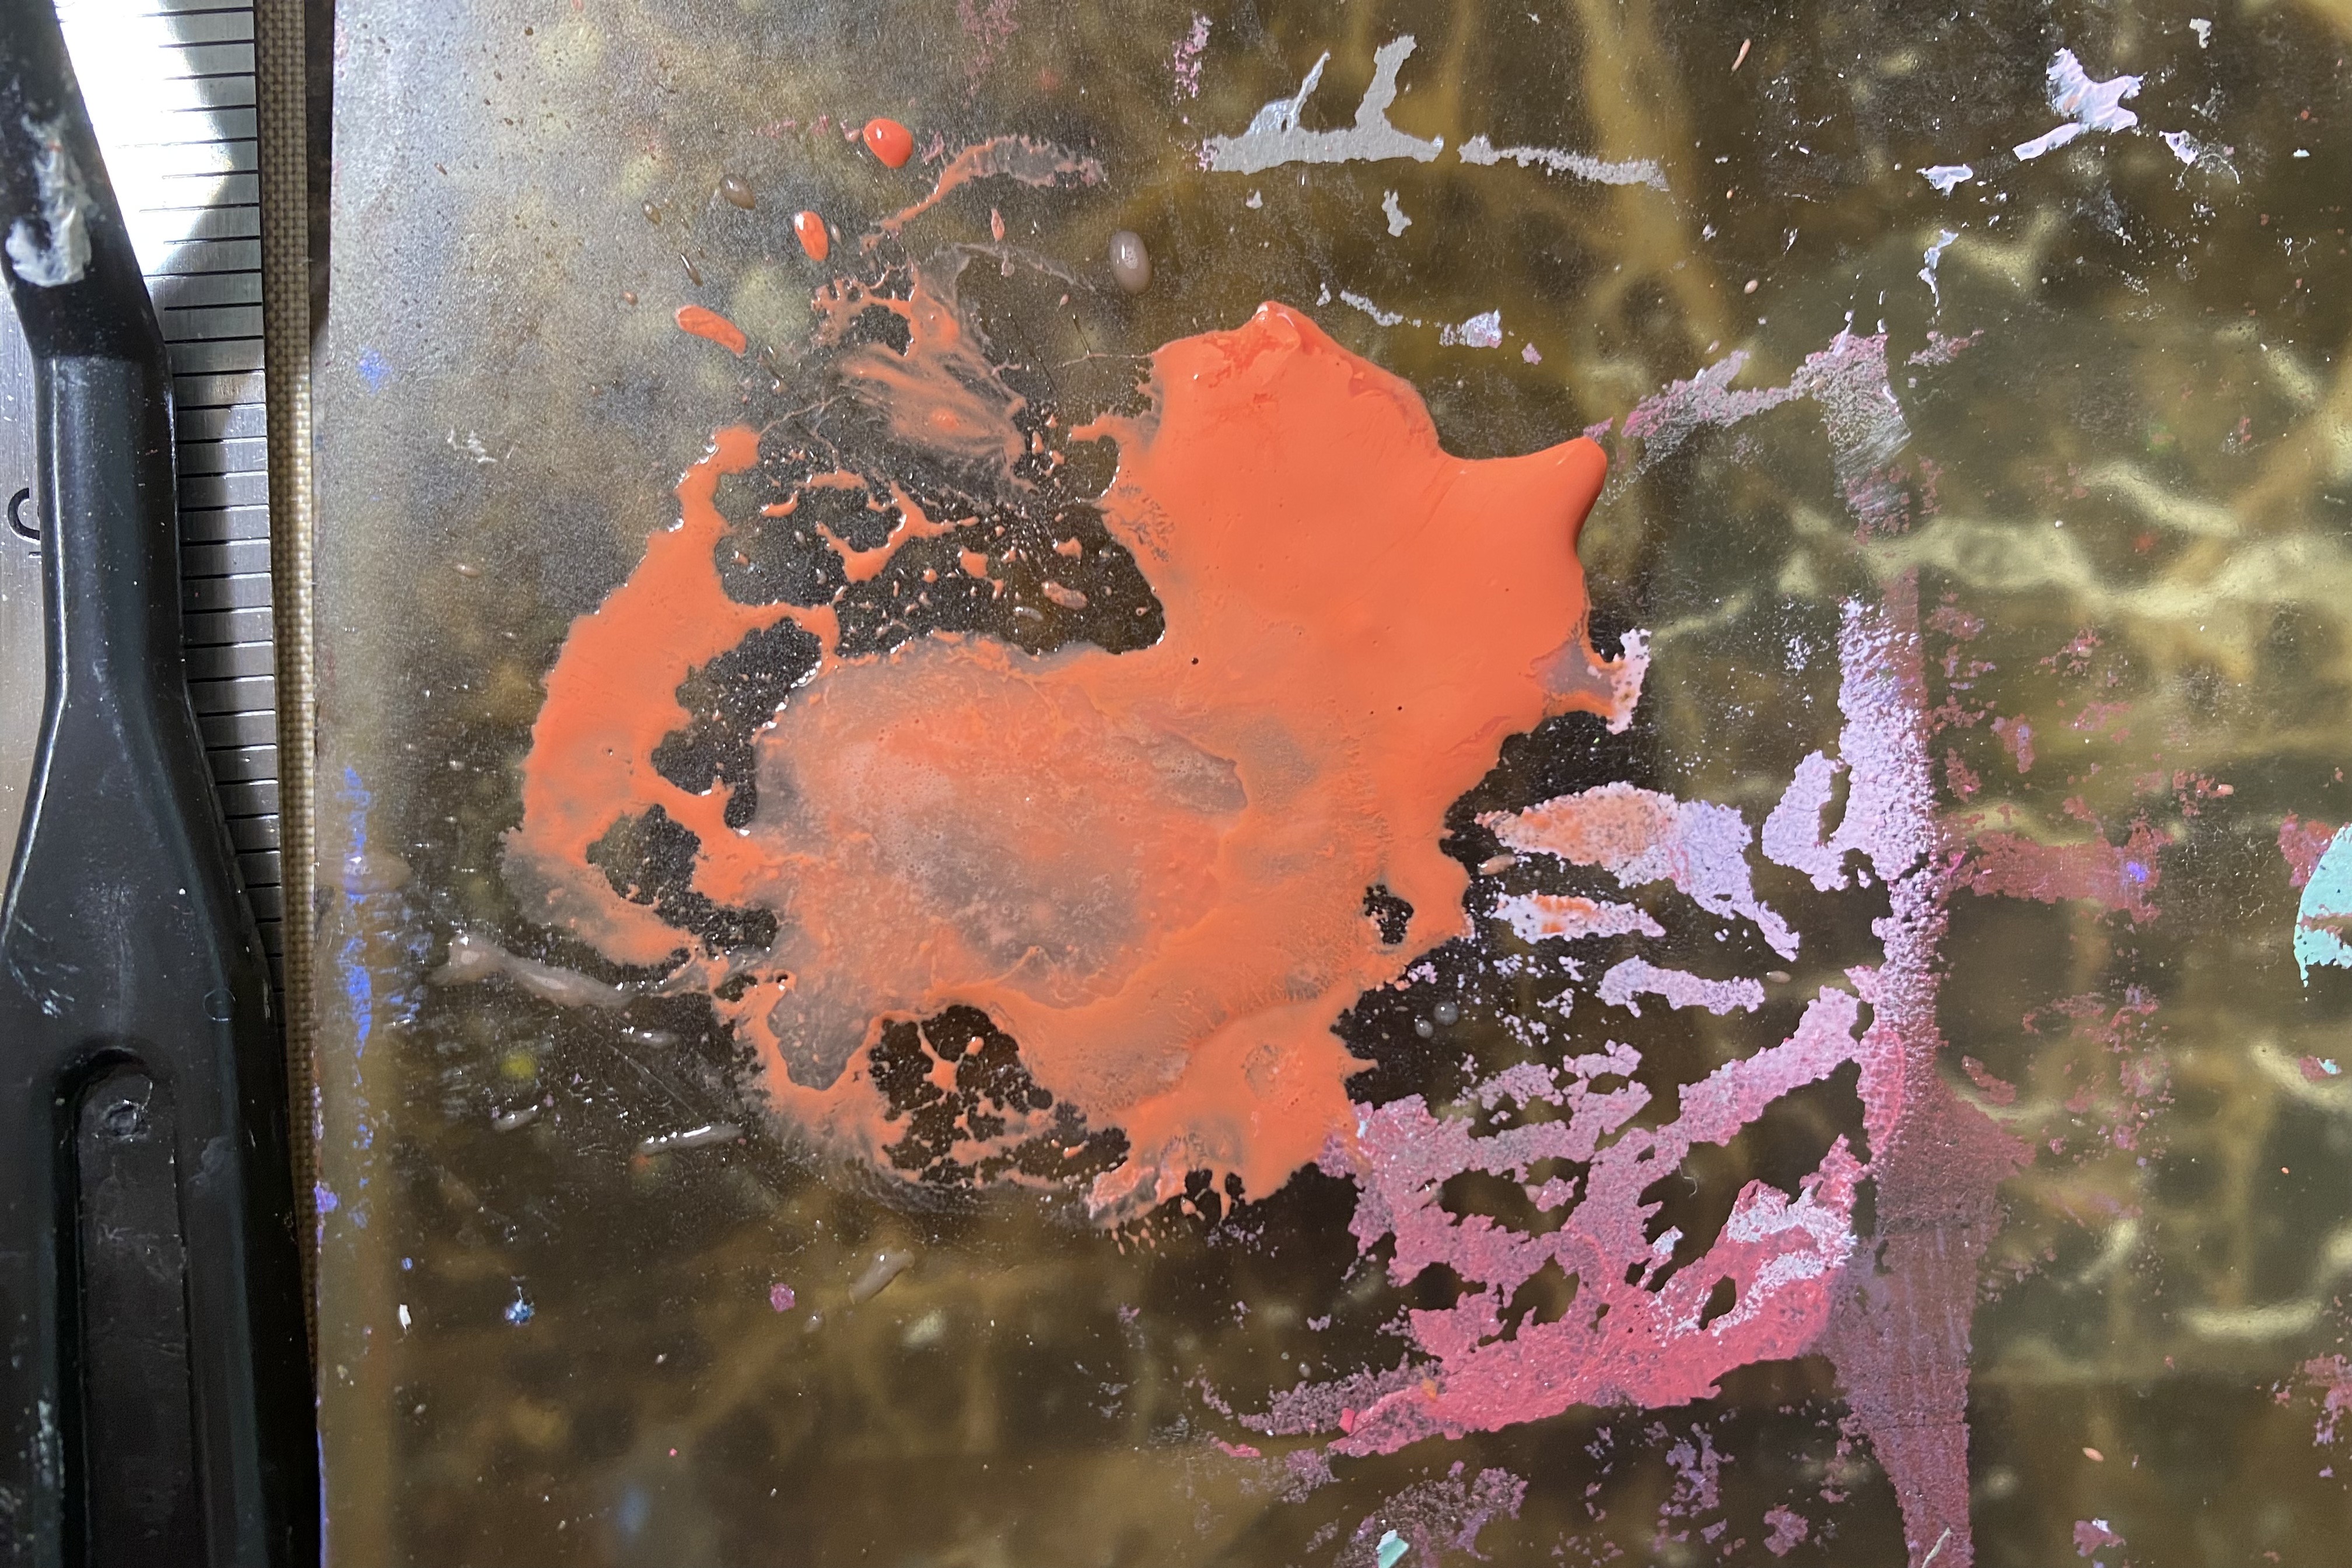
Working quickly, I spread a thin layer of Golden Matte Medium on the gel plate
and immediately laid it on my painting pressing firmly to get good contact with
the plate. I then flipped them over while they had contact and placed some heavy
magazines onto so that it could dry. After about 10 minutes I flipped them back over
and peeled the gel plate off of my painting. It took a little effort to get them apart
I guess that was maybe because the board had no flexibility.


After that was dry I took some acrylic paint and watered it
down to add a glaze in certain areas of the painting with a baby wipe.
Using the Antelope Brown Ink again I put a few dashed lines of it along the top edge of the
painting and sprayed it with water to get some drips running down the page
and laid it flat so that the drips could dry completely before moving to the next step.


At this stage, I wanted to push back some of the busyness going on so I used a palette
knife to spread thin areas of gesso over the piece. I then sponged some additional
components from the stencil back on top of the gesso.


After these were dry I painted the entire surface with a wash of Golden Quinacridone Nickel Azo Gold High Flow Acrylic and again using a baby wipe removed in some areas to give dimension.


While this was drying, I used some of the shapes and sponged them onto a sheet
of deli paper so that I could use them to create my flower shapes. After they dried I took
the baby wipe with the excess Quinacridone Nickel Azo Gold and added the glaze
onto the deli paper so that they would blend in to the painting. At this point I also
took some brown paint and painted stripes of brown to cut the stems from.


I cut the shapes out and adhered them onto the painting with Regular Gel Medium.

The flowers were getting a little lost in the background so I painted a halo of white
acrylic paint around them and them added another coat of the Quinacridone Nickel
Azo Gold on top of the white. After the final coat of paint, I took black gesso and painted
the sides of the panel and carried a little over the edge to help frame the painting.


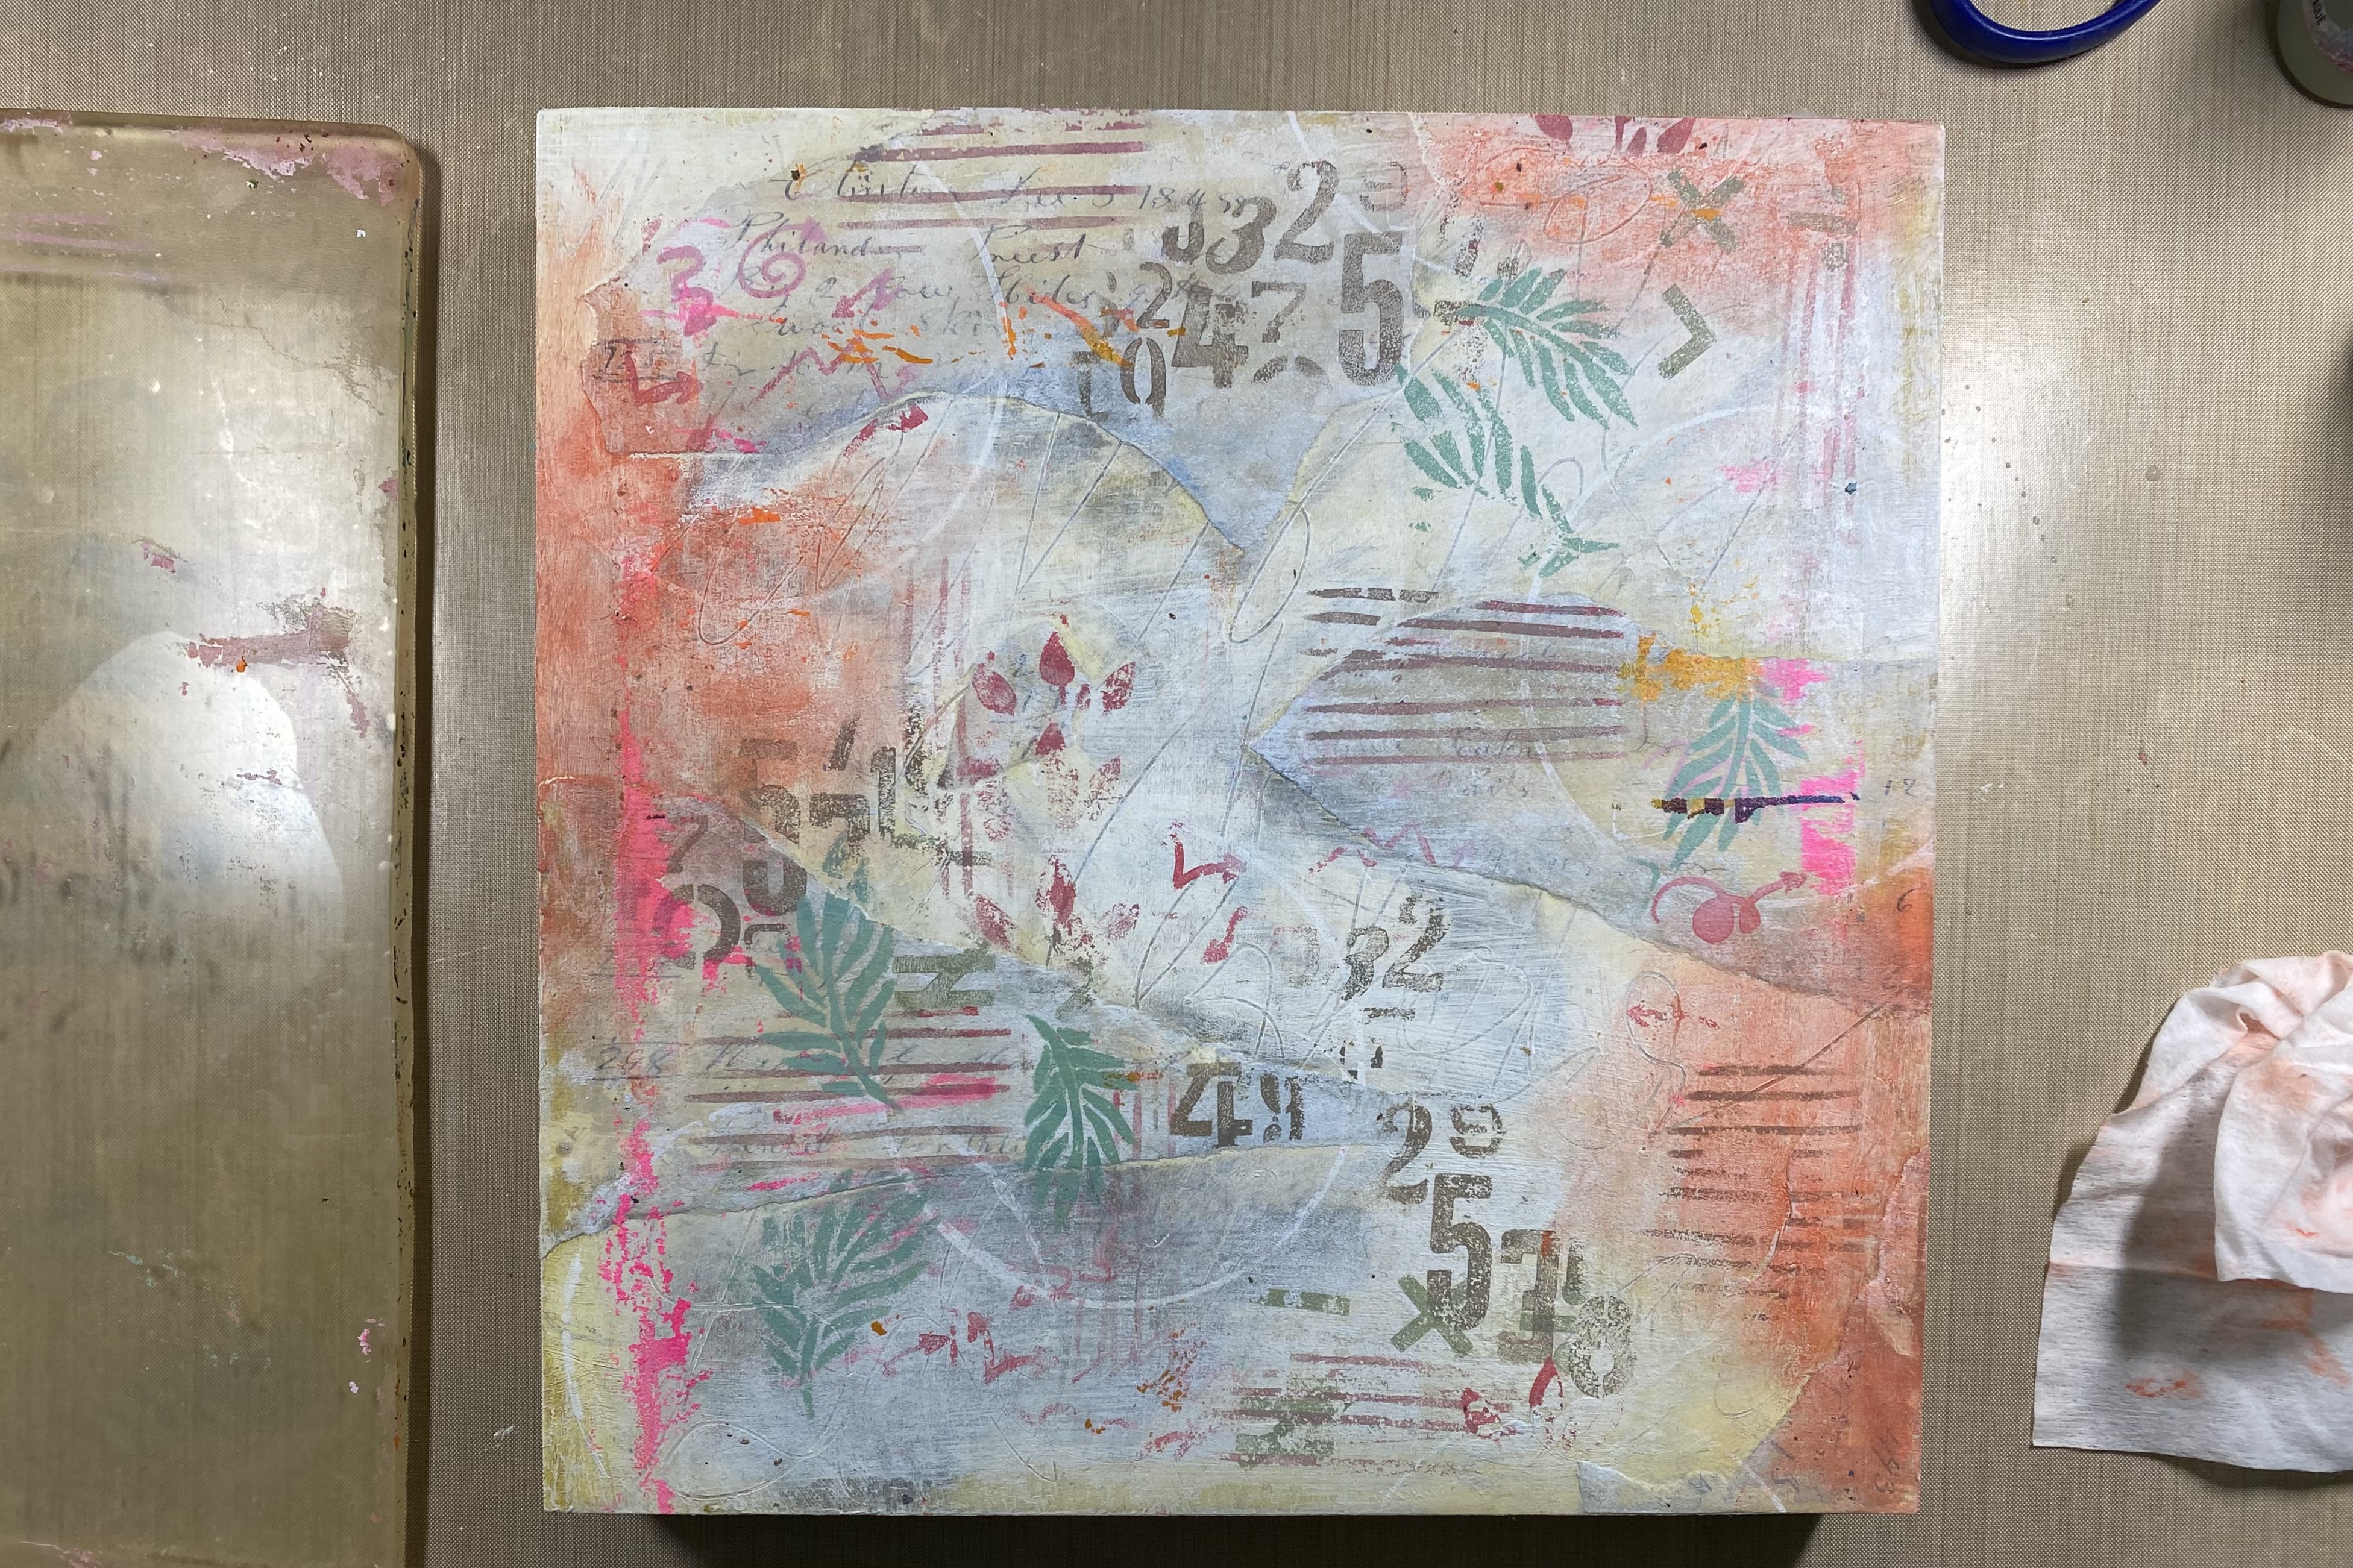
The final step to finish the painting was to take a Sigma Micron #05
Archival Ink pen and trace around the flowers, leaves, and stems of the flowers
along with some of the background components to bring them to the foreground.

I hope you enjoyed seeing my process as I create. As you see, things don't always go as
planned but there is usually a way to fix or cover-up problem areas
instead of starting over. I hope I have offered a glimpse into some of those
tricks of how to proceed when things go different than planned.
I hope you have a Happy Valentine's Day and I look forward to seeing you next month!
Happy Creating!
Join StencilClub by February 15 to receive these exclusive stencils and accompanying video
tutorial with PDF (both downloadable!), and 20% OFF STENCILS EVERY DAY!!
Happy Creating!

To see more of my work please visit my Instagram page.
Love this canvas! Thanks for showing and explaining each step.
ReplyDeleteSo glad you liked it Kelly. Thanks for checking it out.
Delete