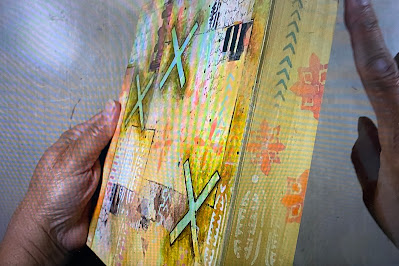
Hi everyone, Carol Ponsford here with my tutorial on how I created this 8" x 8"
painting using the August 2023 StencilClub set designed by Gwen Lafleur. This set has so
many great patterns to add texture to a painting through building layer upon layer.
If you would like to see the full process I have a video showing how I created this. Just click this link:
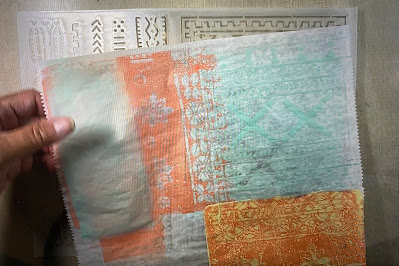
I started by making some collage paper on deli paper using my gel plate. I used
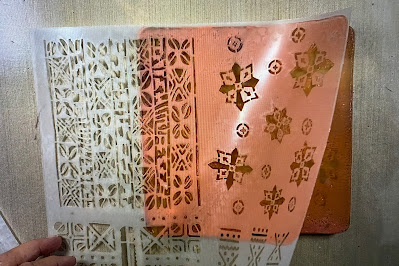
various areas of both stencils and a variety of PaperArtsy Fresco Acrylic paint.
Once I had a sheet filled, I set it aside for later.
I then took several colors of PaperArtsy paint and brushed some
colors onto a sheet of Bristol Smooth paper and sponged a variety
of the stencil patterns on top of the colored sections.
I cut pieces of collage paper and previewed where I wanted to adhere them to the page.
I cut the painting to the size of an 8"x 8" wooden panel to help me decide what other layers were needed.
Using Acrylic Ink I added an additional layer to highlight some of the sections and stenciled areas.
I decided it needed additional interest so I used washi tape by UM WOW studio to add another layer.
After adhering the tape with Matte Medium, I sponged some paint on the edges of the washi tape
to blend them into the background then used the stencils with other colors to connect the painted
areas to the painting. Using these layering techniques will give a more cohesive finish to the painting.
To finish the painting, I used Golden Regular Matte Medium to adhere the Bristol paper to the wooden panel and trimmed off any overhang. I added some of the same stenciled elements on the edge of the panel and then added a thin layer of the acrylic ink I used in the painting so they matched.
Thank you very much for stopping by the blog today to see the many ways these stencils can
be used as a mixed media tool. I will be back next month to share my September project with you.
I want to thank StencilGirl® Products for providing me with this free StencilClub
set so that I could play in advance and share what I create each month with you.
Join StencilClub by August 15th to receive these exclusive stencils, an accompanying video
tutorial with PDF (both downloadable!), and 20% OFF STENCILS EVERY DAY!!
Happy Creating!

To see more of my work please visit my Instagram page.
Supplies used:
August 2023 StencilClub Set
6"x6" gel plate
Brayer
PaperArtsy Fresco Acrylic Paint Colors:
Cloud 9, Butter, Cherry Blossom, Prawn,
Butternut, Coral, Mermaid, Verdiris
Daler Rowney FW Acrylic Inks:
Antelope Brown, Fluorescent Pink, Fluorescent Orange
Golden Regular Matte Medium
Baby Wipes
UM WOW Studios Washi Tape:
Kraft Marks and Noted Confidential
Ranger Tim Holtz Domed Sponge Applicator
Ranger Dina Wakley Clear Gesso
Scraper
Uni-Ball Vision black pen


Wow - I really love what you did with these stencils as well as the other products you used in this piece. Really nice video, too, to show your technique in more detail. Thank you!
ReplyDeleteThank you for your kind comment Terry. So glad you enjoyed it!
Delete