Showing posts with label #flowers #springcrafts #papertags#stenciledtags. Show all posts

Friday, March 27, 2026

Master Sheet Spring Tags


Hello friends, 
Tina here from, Tina Hois Art. Today we will be creating a stencilled master sheet and with it we will make some lovely tags that can be added to gifts, journal pages or made into a tag journal! 
I love working on master sheets or master boards mainly for the efficiency- rather than working on individual tags for example - working on a large scale paper also allows for more freedom and another favourite, creating beautiful depth with layers.

Step 1:


On a sturdy piece of watercolour paper collage the first layer of torn book pages.

Step 2: 


With a brayer spread the first layer of acrylic paint~ this is a very organic layer as are the ones to follow.
Allow enough transparency so that some of the first layer is visible.


Step 3:


The first stencilled layer will be with Lacey Lotus stencil designed by Jessica Sporn. With your favourite acrylic colours dab on the stencil randomly (I used purple, sea foam and yellow ochre) 


Step 4:


To add contrast I decided on the delicate Nosegay stencil, designed by Cecilia Swatton  black acrylic paint to create a silhouette.


At this point feel free to leave your master sheet as is or proceed to step 5.

Step 5:


For the final touch of interest I added some
Fluorescent pink splatters and marks using acrylic ink.

At this point  the master sheet is ready to be transformed into a variety of projects.

Supplies

Stencils 
Acrylic paint
Book pages
Mod Podge
Brayer


Friday, April 11, 2025

Flowers in bloom tags


Happy Spring creatives!

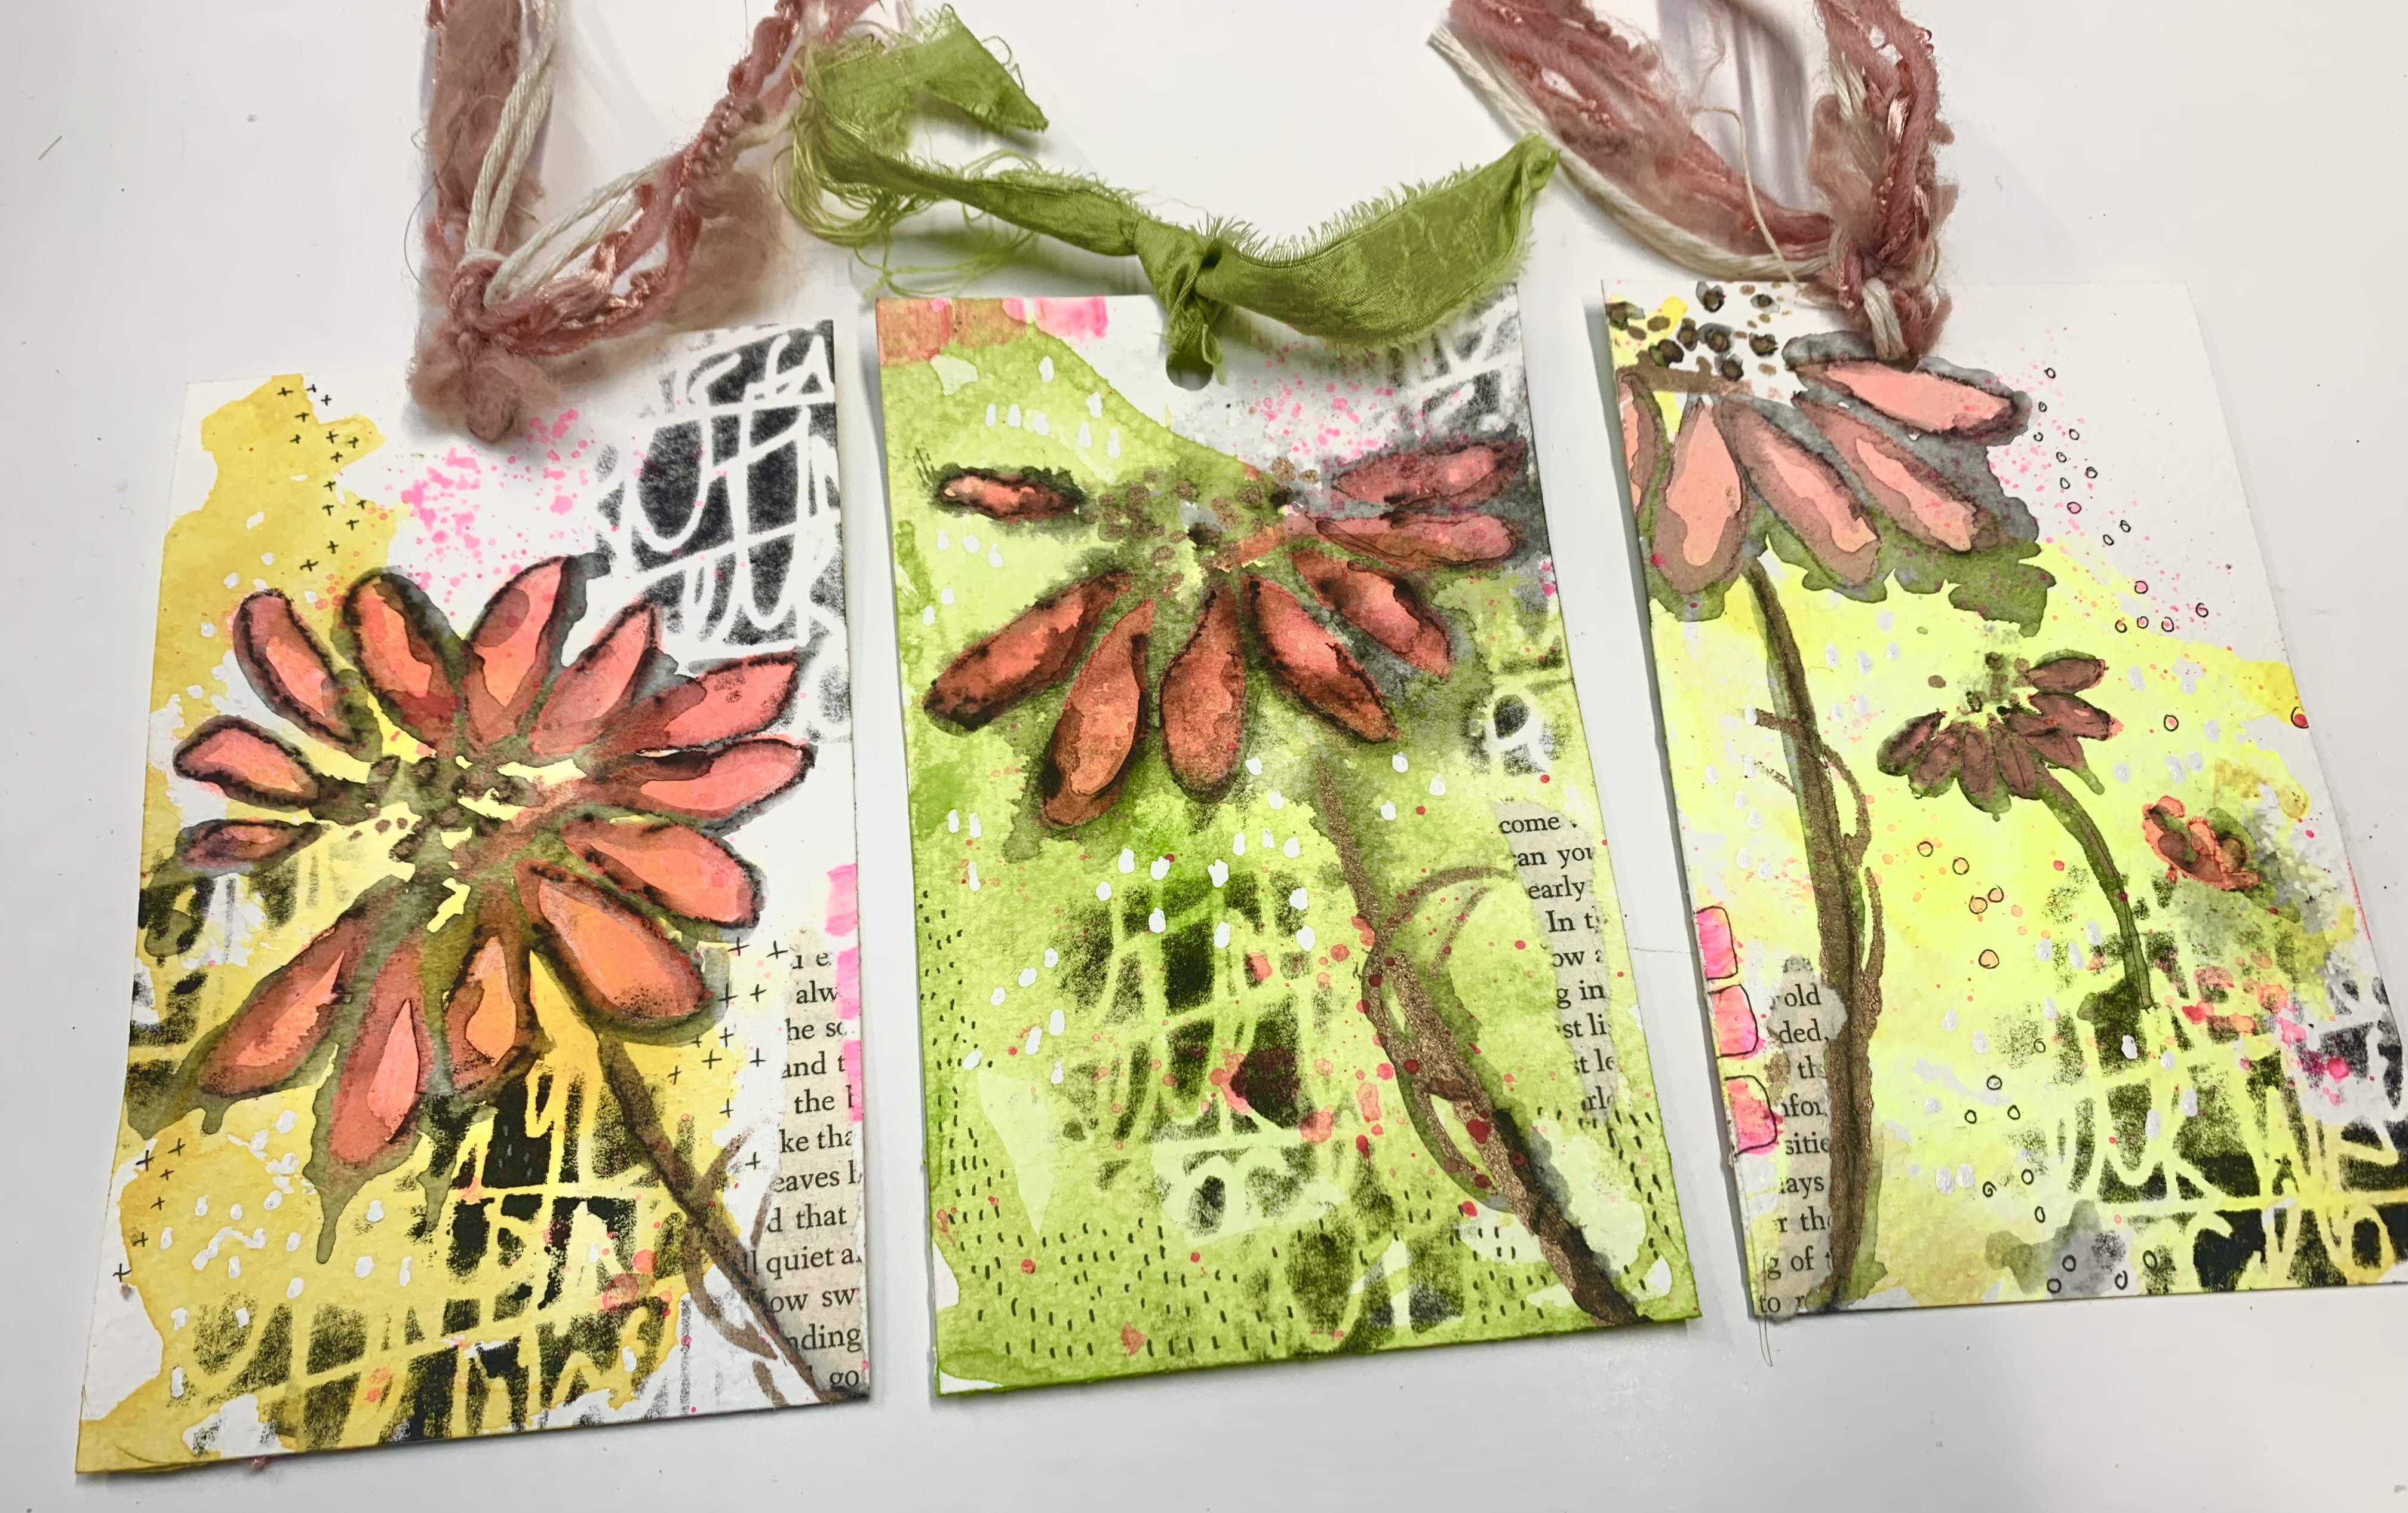
April showers bring May flower tags and these were simply a joy to create using Vintage Thicket S976  and Travel Note M102 both designed  by Rae Missigman.

What I love about this 6x6 stencil is the assortment of floral blooms that one can incorporate in their artwork.
The Travel note mini stencil is one I tend to reach for time and time again. I find it the perfect companion for art-journal pages and tags. It’s design is perfect for backgrounds and bits of it can be used for mark making as I did here.

The Process:


Cut your paper to preferred size ( I am using watercolour paper.
Create a flowing background first by applying water to the paper and then follow with acrylic ink or watered down paint.


Add the flower of your choice.


I wanted a flower that had more petals and to achieve this I simply flipped, turned the stencil upside down and added paint with my sponge.


With the Travel Note stencil apply sections to different pints of the tag with a contrasting colour.


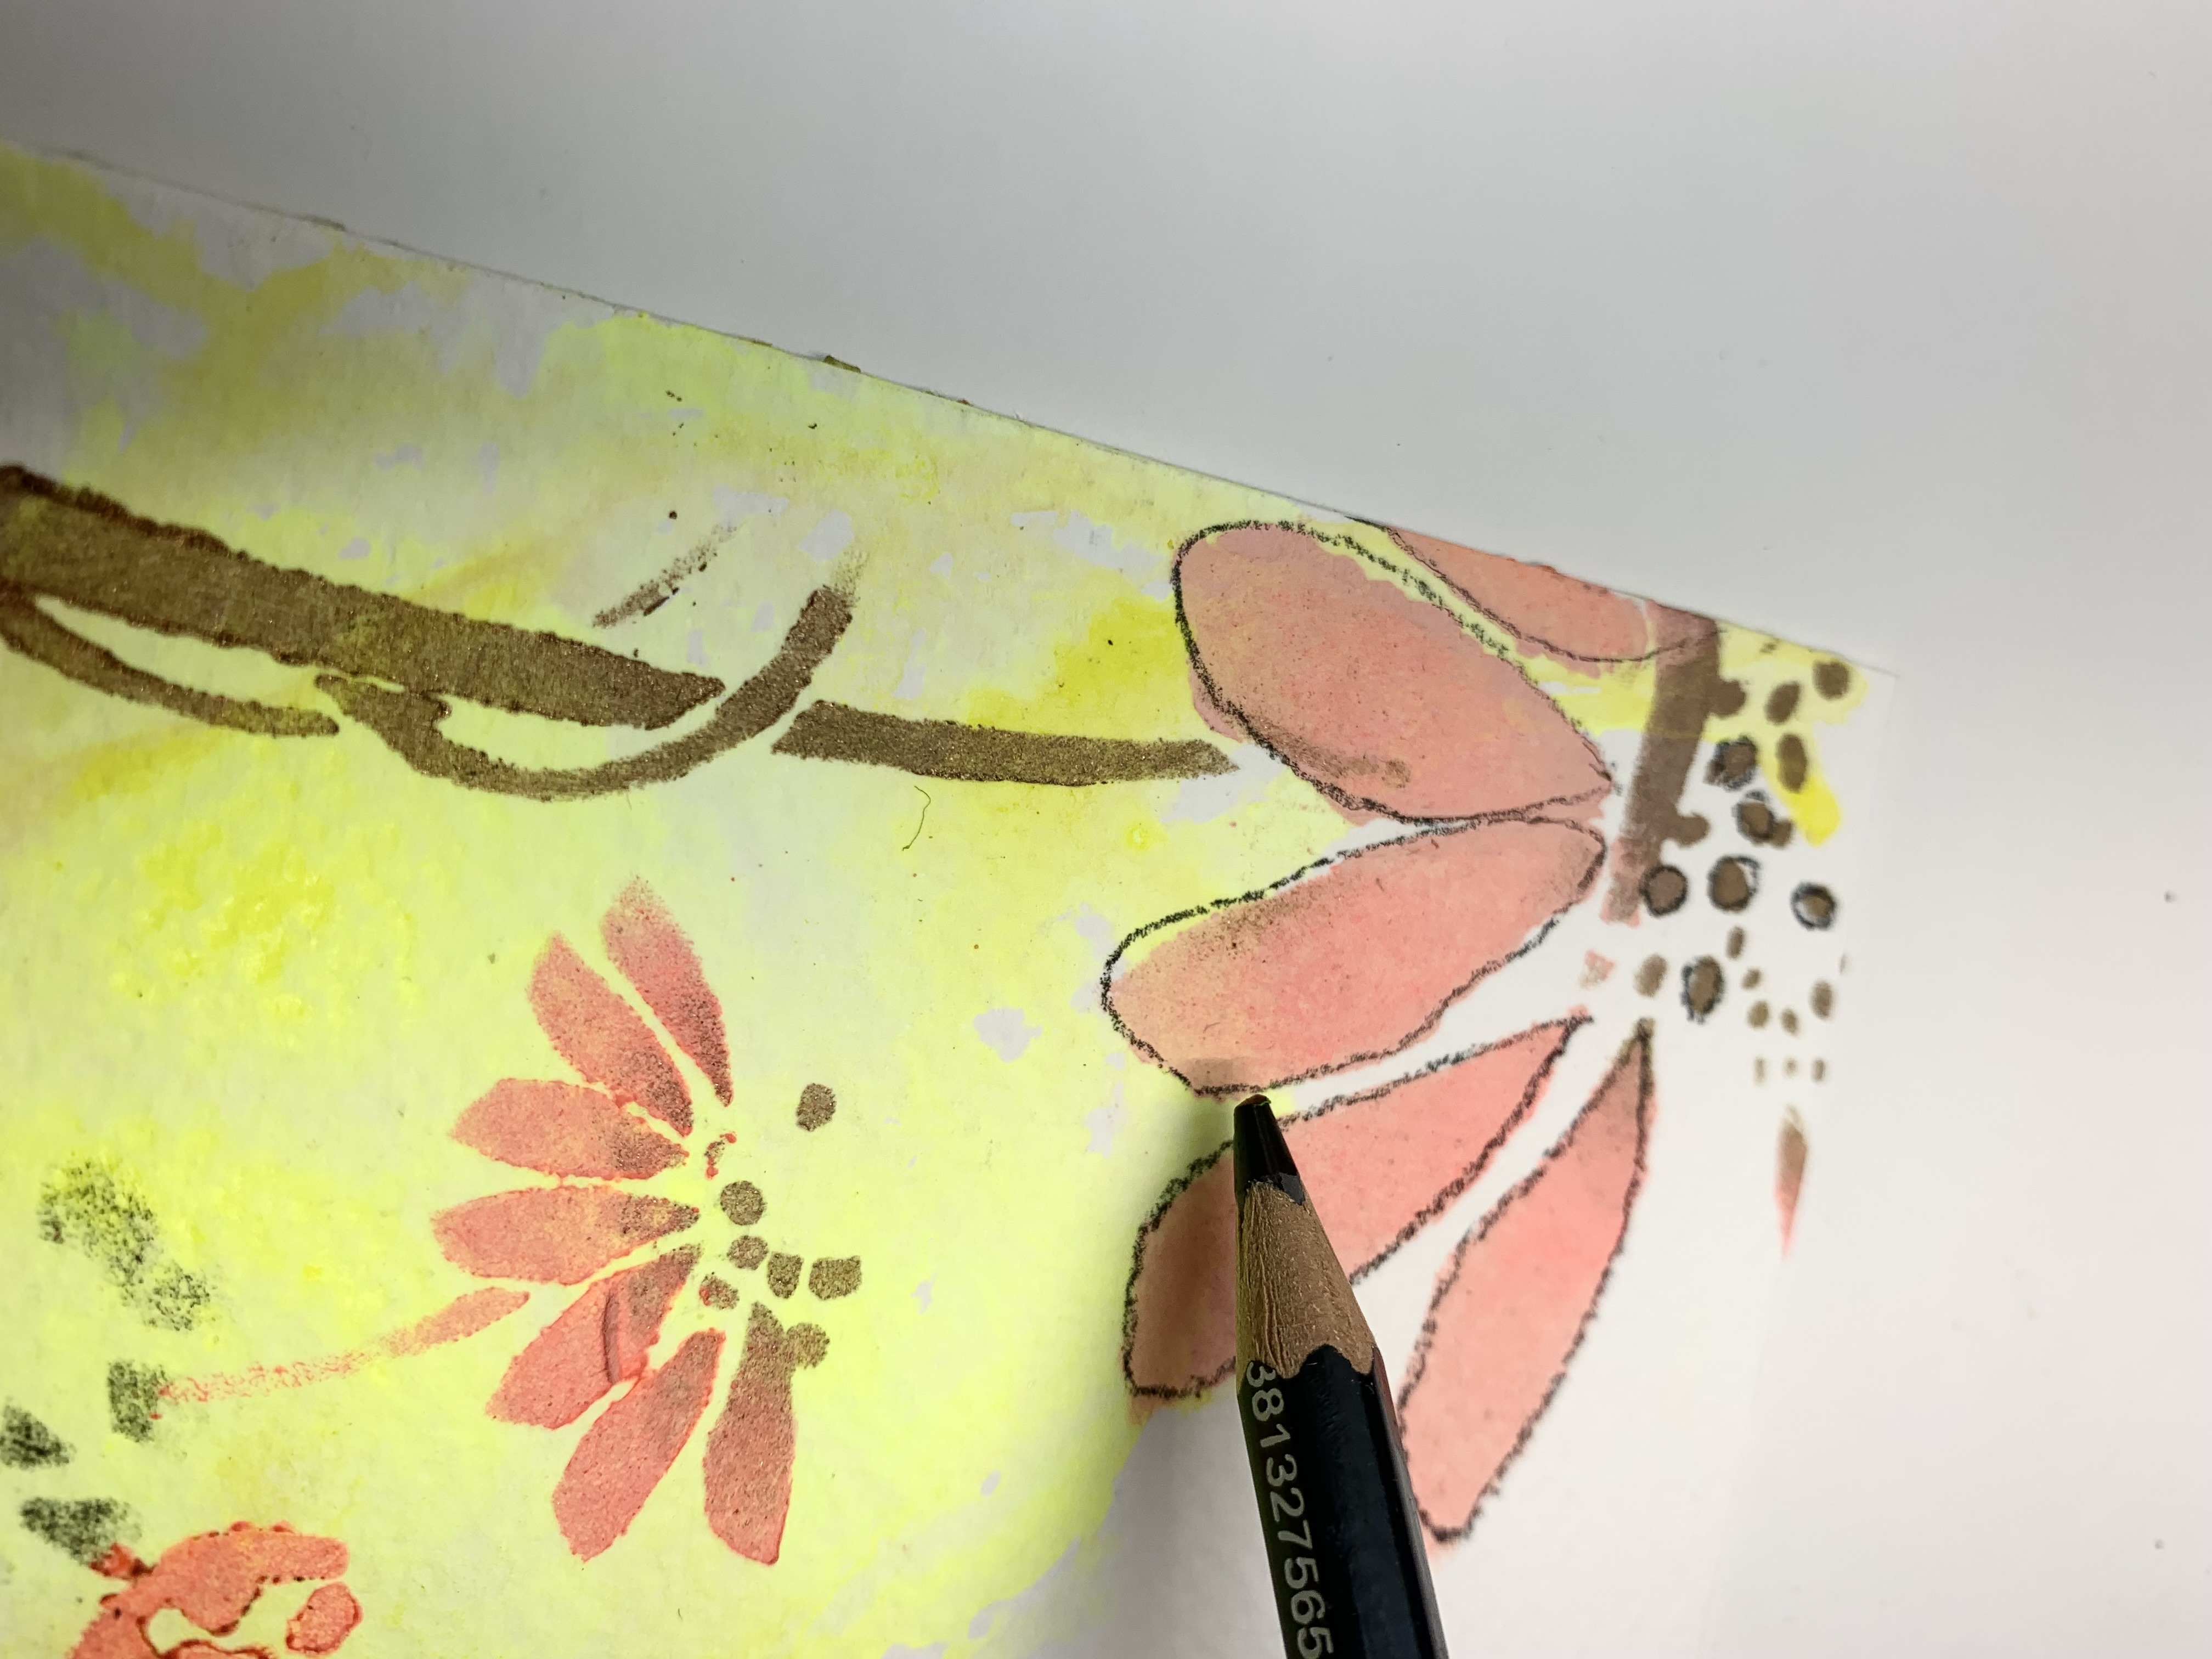
To add dimension and softness to the petals I am using an Aquarell pencil which is water soluble. Simply trace the area with the pencil and with a wet brush trace the pencil lines to generate movement . See picture below.


For the final steps, punch a hole in each tag, add pieces of old book pages and bits of fabric.

Take the time to enjoy your garden and it’s spring awakening.
Hope you enjoyed the tutorial.


Supplies:

Watercolor paper
Acrylic inks
Aquarell pencil
Fine paint brush 
Water 
Hole punch 
Ribbon 


Tina